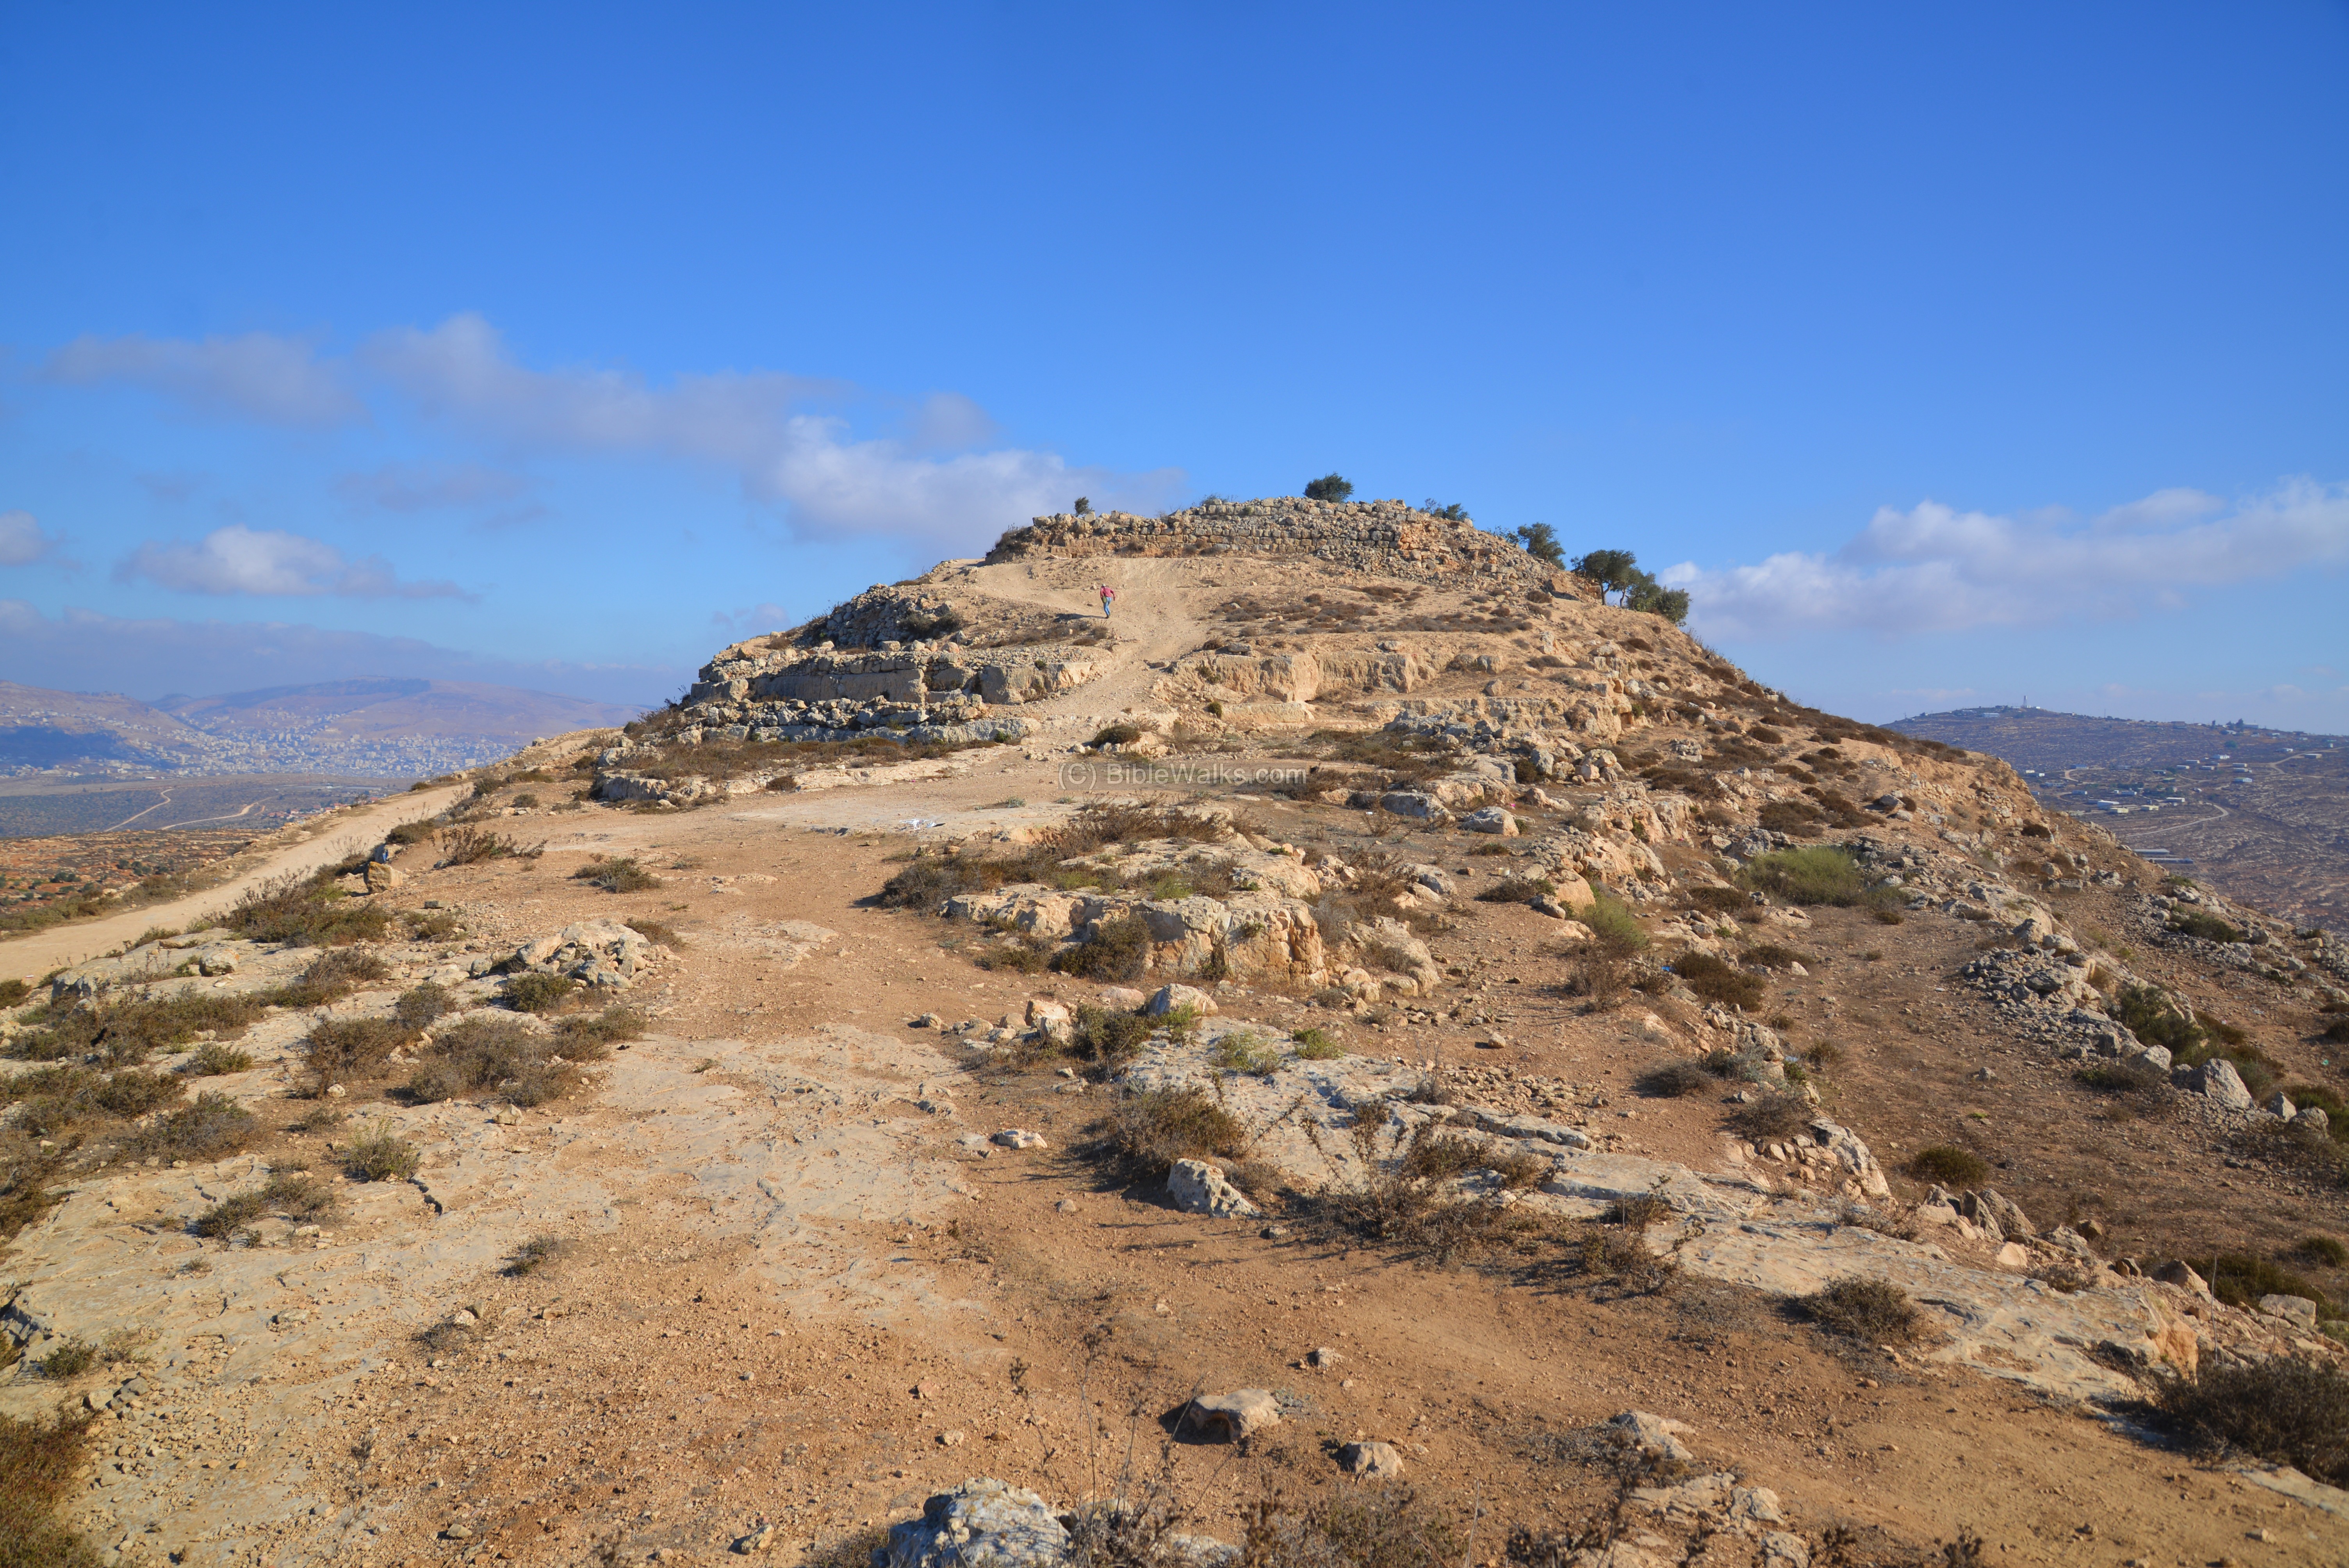
The Biblical city of Arumah is situated on a steep hill southeast of Itamar. On its foothills are huge cisterns and ruins of Hasmonean fortifications.
* Site of the Month June 2017 *
Home > Sites > Samaria > Arumah
Contents:
Background
Location
History
Photos
* Aerial Photos
* Summit
* North
* South
* Southern foothills
* Illicit diggings
* Cisterns
* Panoramic views
Etymology
Links
Overview:
The ruins of the Biblical city of Arumah are located on the steep hill of Horvat Arumah (Khirbet el ‘Ormeh). This was the city where Abimelech son of Gideon the Judge has dwelled, and later a formidable Hasmonean fortress was constructed on it.
Judges 9: 41: “And Abimelech dwelt at Arumah…”
The major visible structures on the hill include huge water cisterns and fortifications on its south side.
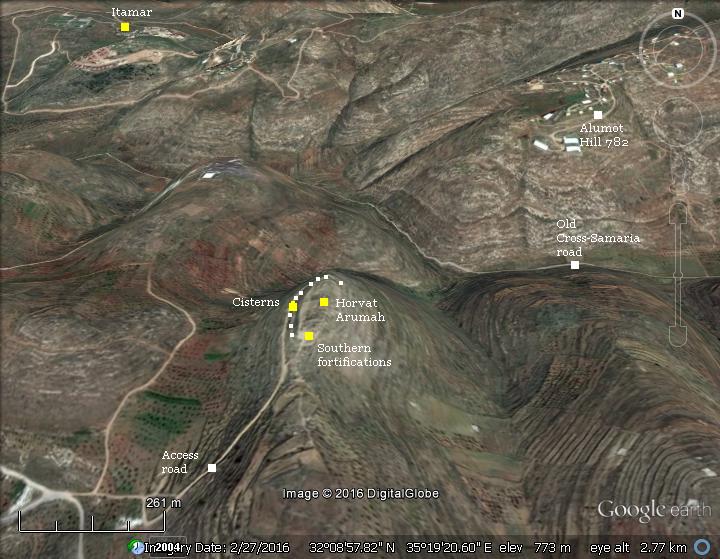
Location and map:
Horvat Arumah (Khirbet el ‘Ormeh) is located on a steep hill (alt. 843m) south of the Itamar community in Samaria mountainous region. Access to the summit is by a dirt road from the south side.
The ancient route from Shechem, southwards towards Akrabah and Jericho, passed through the valley north of the fortified city. It was later used as the route of the old cross-Samaria road.
History:
- Canaanite period (Bronze period)
The city was fortified during the Canaanite period, long before the conquest of Joshua. Its steep foothills provided a natural defense.
- Biblical times – Judges period (Iron Age I)
Arumah is mentioned only once in the Bible. It was the city where Abimelech reigned after being ousted from Shechem.
Abimelech was the son of judge Gideon by his concubine from Shechem (Judges 8: 30-32): “And Gideon had threescore and ten sons of his body begotten: for he had many wives. And his concubine that was in Shechem, she also bare him a son, whose name he called Abimelech. And Gideon the son of Joash died in a good old age, and was buried in the sepulchre of Joash his father, in Ophrah of the Abiezrites”.
Abimelech wasted no time after the death of his father, and murdered his 70 brothers.
He then declared himself king of the area of Shechem, making the city independent in the times the land was governed by judges (Judges 9: 6):
“And all the men of Shechem gathered together, and all the house of Millo, and went, and made Abimelech king, by the plain of the pillar that was in Shechem”.
Jotham, the youngest and only surviving brother, cursed the citizens of Shechem with his famous parable of the “the trees who went forth to anoint a king over them” (Judges 9: 7-15):
“And when they told it to Jotham, he went and stood in the top of mount Gerizim, and lifted up his voice, and cried, and said unto them, Hearken unto me, ye men of Shechem, that God may hearken unto you. The trees went forth on a time to anoint a king over them; and they said unto the olive tree, Reign thou over us. But the olive tree said unto them, Should I leave my fatness, wherewith by me they honor God and man, and go to be promoted over the trees? And the trees said to the fig tree, Come thou, and reign over us. But the fig tree said unto them, Should I forsake my sweetness, and my good fruit, and go to be promoted over the trees? Then said the trees unto the vine, Come thou, and reign over us. And the vine said unto them, Should I leave my wine, which cheereth God and man, and go to be promoted over the trees? Then said all the trees unto the bramble, Come thou, and reign over us. And the bramble said unto the trees, If in truth ye anoint me king over you, then come and put your trust in my shadow: and if not, let fire come out of the bramble, and devour the cedars of Lebanon”.
After 3 years, the citizens rebelled against Abimelech (Judges 9: 22-40). The King was forced to flee to the stronghold of Arumah (Judges 9: 41): “And Abimelech dwelt at Arumah…”.
After some time, he had his revenge against the Shechemites, killing many of them after recapturing and destroying the city. When the remainders assembled in the tower of Shechem, Abimelech and his men surrounded it with wood and set the tower and its inhabitants on fire.
The wicked king finally died during the siege of Thebez (Judges 9:53-54):
“And a certain woman cast a piece of a millstone upon Abimelech’s head, and all to brake his skull. Then he called hastily unto the young man his armourbearer, and said unto him, Draw thy sword, and slay me, that men say not of me, A women slew him. And his young man thrust him through, and he died.”.
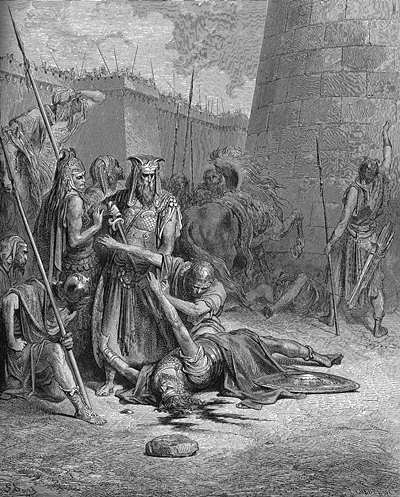
Death of Abimelech (Illustration by Gustave Doré (1832-1883)
A Biblical map is shown here, indicating the location of the places referred in this chapter (Shechem, Gerizim, Arumah, Thebes).
An ancient route passed north of Arumah, as indicated by a dashed line. That route connected the main Samaria North-South road, that runs the length of the central watershed, eastward to the Adam crossing over the Jordan river.
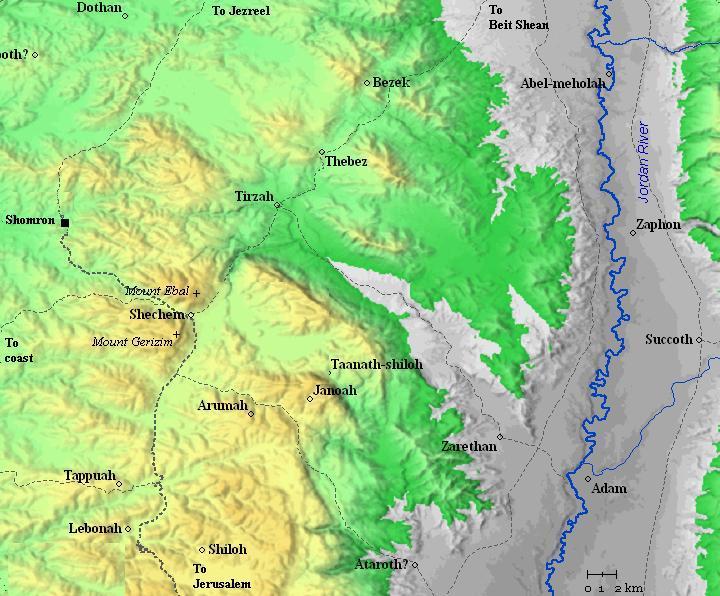
Roads and cities during the Israelite period, 12th C to 7th C BC (based on Bible Mapper 3.0)
- Hasmonean (2nd-1st Century BC)
Another chapter of Arumah’s history was written many centuries later, when Samaria was settled by Samaritans during the Hellenistic period. The Samaritans were enemies of the Hasmoneans, who liberated Jerusalem and the area around it.
The Samaritan cities were besieged in 108-107 BC by the Hasmonean King John Hyrcanus I. He captured their capital city of Samaria (Shomron) and demolished it (Josephus Flavius Antiquities 13, Chapter 10 2-3). The fall of the city to the Hasmoneans, an important event in the Jewish history, expanded their empire to the area of the Galilee (103-104 BC).
Samaria was later resettled by the Hasmoneans during the reign of his son, Alexander Jannaeus (103-76BC). In order to protect the new northern territories, Alexander constructed massive forts on Arumah and Sartaba.
Coins of Alexander Jannaeus were the majority of the coins found by the survey teams. Out of the 9 coins found in the survey, 7 out of 9 coins were of Janaeus, one of John Hyrcanus and one of Demetrius I Soter.
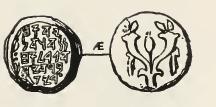
Coin of John Hyrcanus
In Arumah, massive walls were built along the sides of the hill. Fortifications were constructed on the south side of the hill – the weakest section where the hill connects to the south ridge.
More than 10 huge water reservoirs were cut on the west and north sides of the hill, with a total capacity of 15,000 cubic meters. This capacity is much larger than the water reservoirs of Sartaba (5,000 cubic meters) or Dok/Dagon (1,500), but less than Masada (40,000 cubic meters).
- Herod the Great (1st Century BC)
Herod continued to hold this fortress, and reinforced it. The importance of Arumah for Herod was to protect the central Samaria area, and to control the roads that passed near it.
-
Survey of Western Palestine
Conder and Kitchener of the Palestine Exploration Fund (PEF) surveyed the area during the Survey of Western Palestine (SWP) in 1874-75.
They quoted C.W.M Van De Velde (1818-1898) who surveyed the land and identified Biblical Arumah in Khirbet el Ormeh. It appears on his map of the Holy Land of 1865.
The SWP map is shown here. The interesting element of the map is the double dashed line north and east of el Ormeh, indicating that the ancient road from Shechem to Akrabeh passed near the site.
Victor Guerin (1821-1891) also identified Arumah on this site. It appears on his map of the Holy Land (1881).
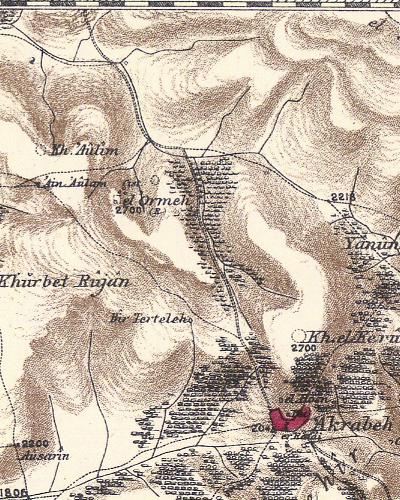
Part of map Sheets 15 of Survey of Western Palestine,
by Conder and Kitchener, 1872-1877.
(Published 1880, reprinted by LifeintheHolyLand.com)
- Modern Period
Tel Arumah was not yet excavated, but was surveyed by various teams (Shechem area survey of 1968, Z. Kalai 1972, H. Eshel and Z.H. Erlich 1987, Finkelstein and Lederman 1997, Boaz Ziso and Dvir Raviv 2011).
The site is located in administration area “B” (Palestinian civil control and joint Israeli-Palestinian security control), which requires travel permit for Israelis. Within this framework, the Israeli authorities cannot legally prevent illicit digging in area “B” in Samaria and Judea. Unfortunately this site, as many others, is being severely robbed and damaged by the Palestinian looters.
Photos
Visit to the site was made possible and guided by the archaeologist Dr. Dvir Raviv, and we thank him for this.
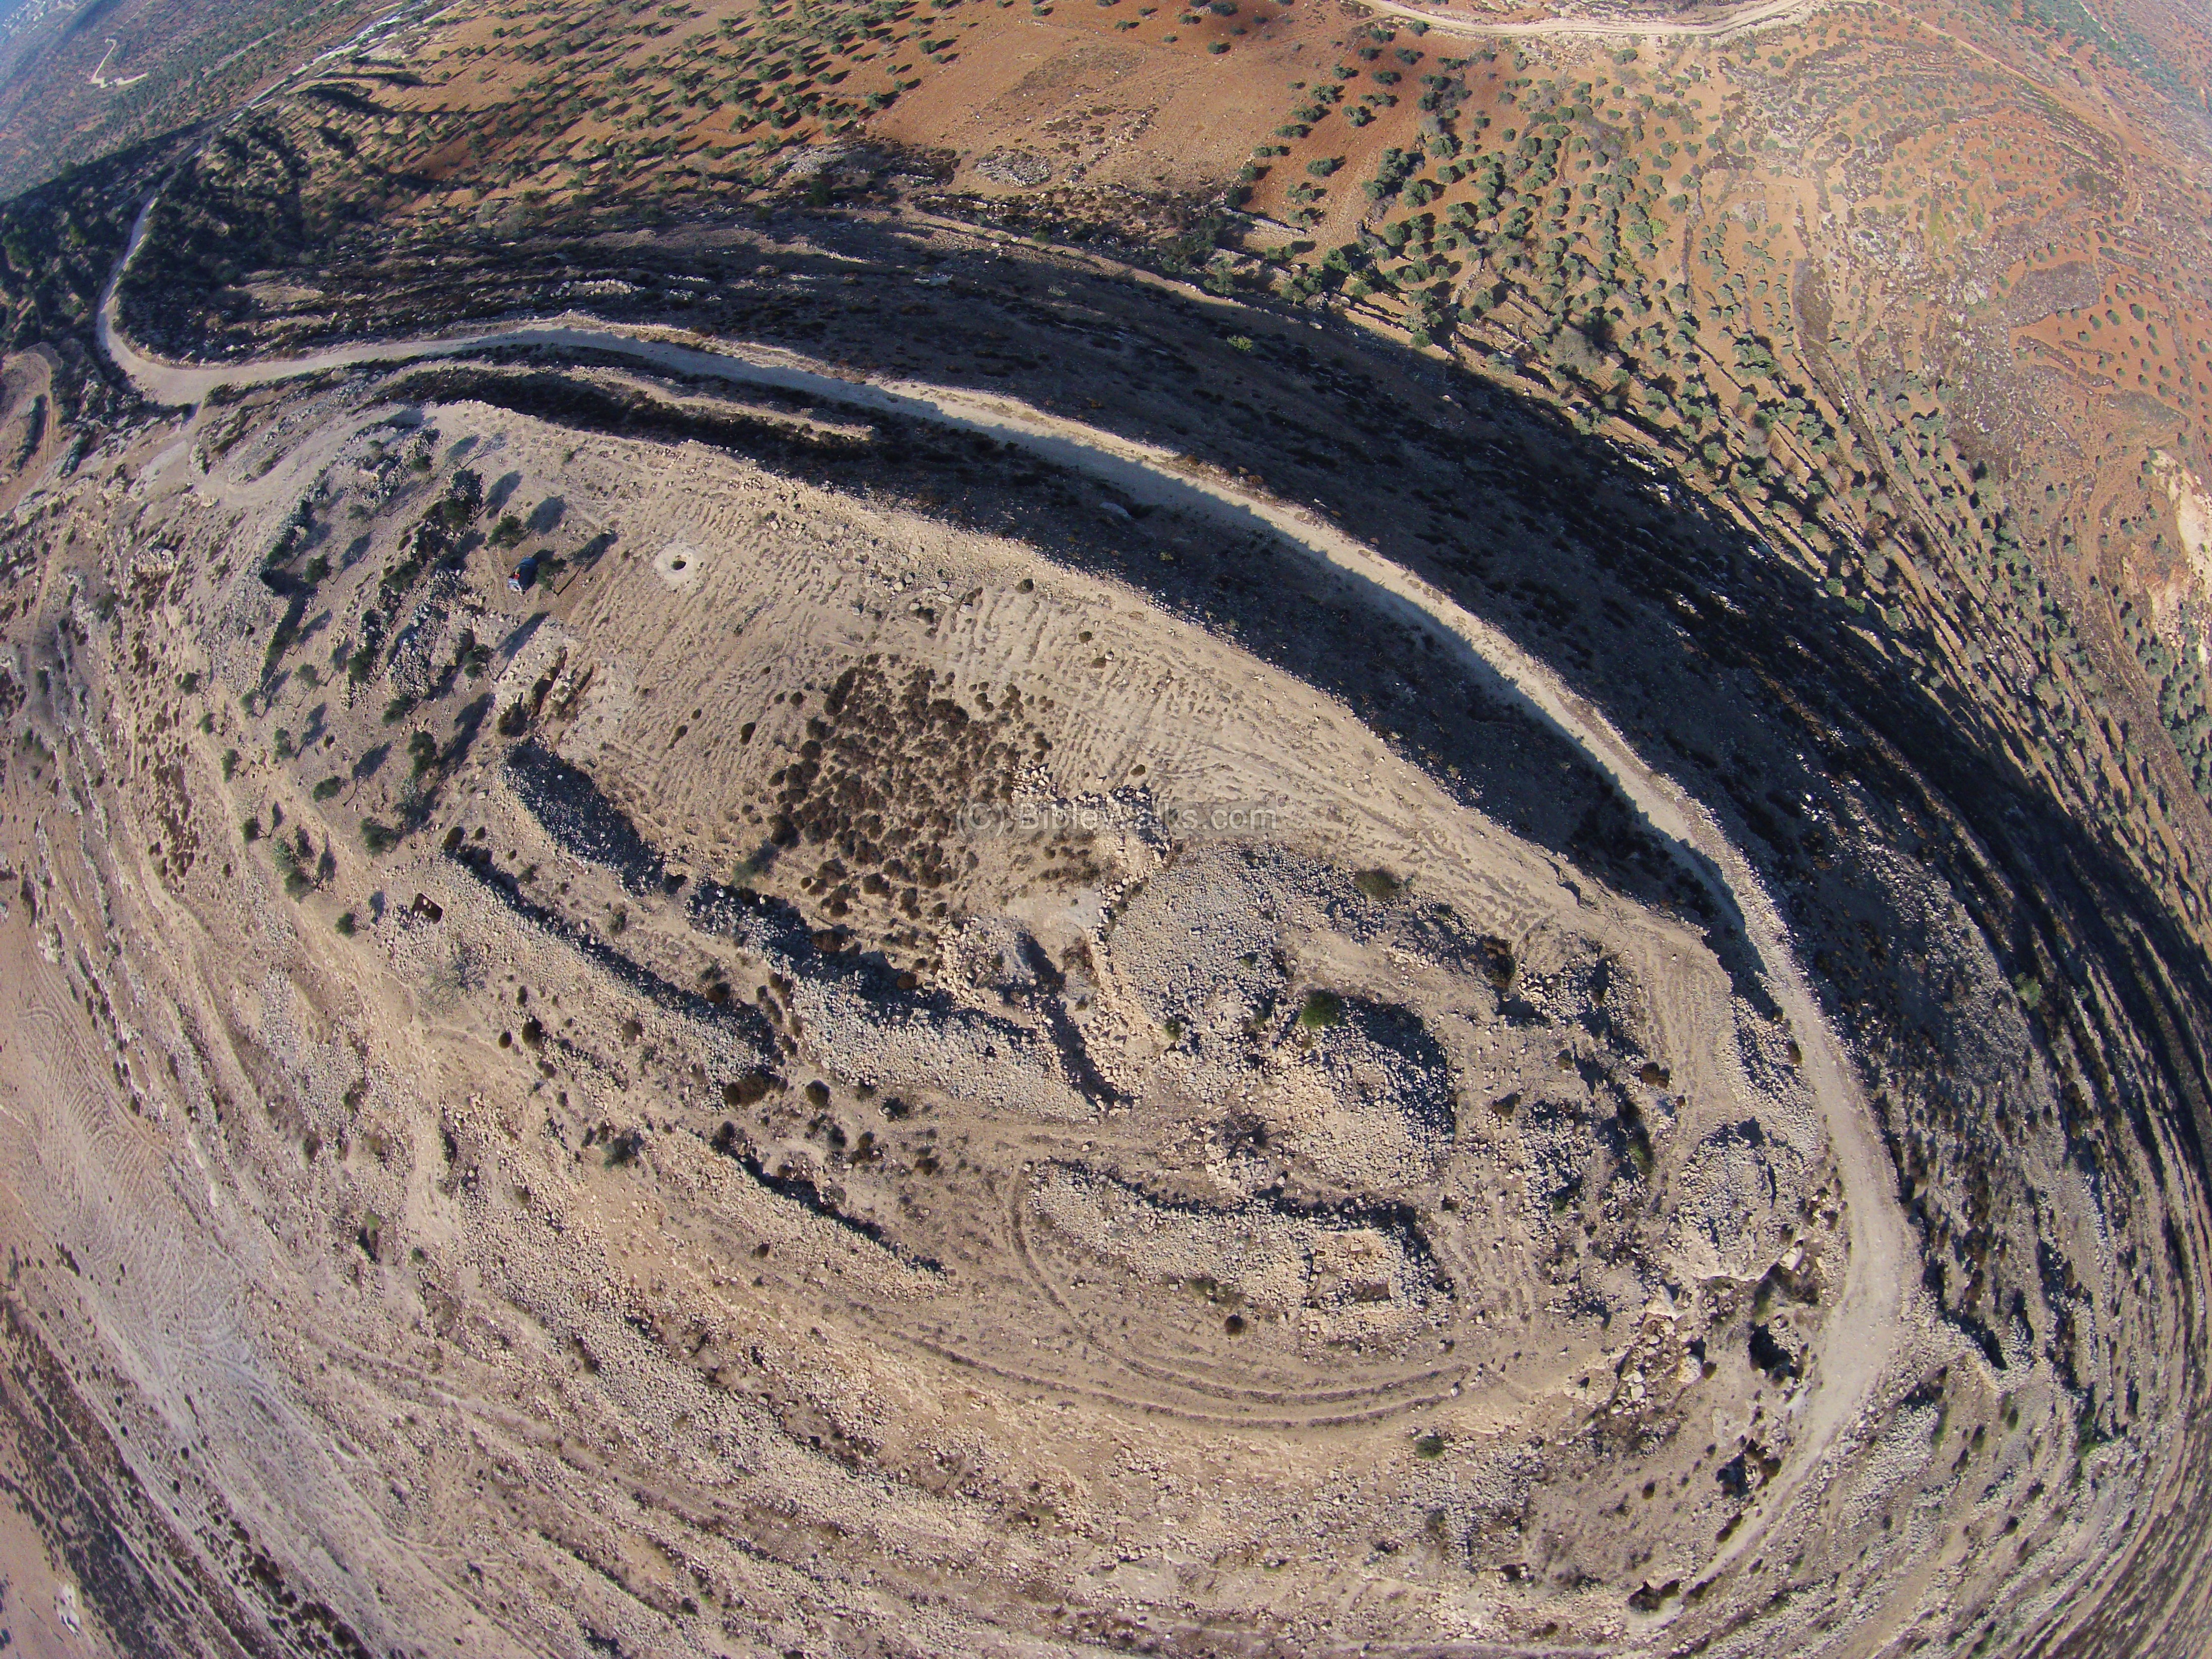
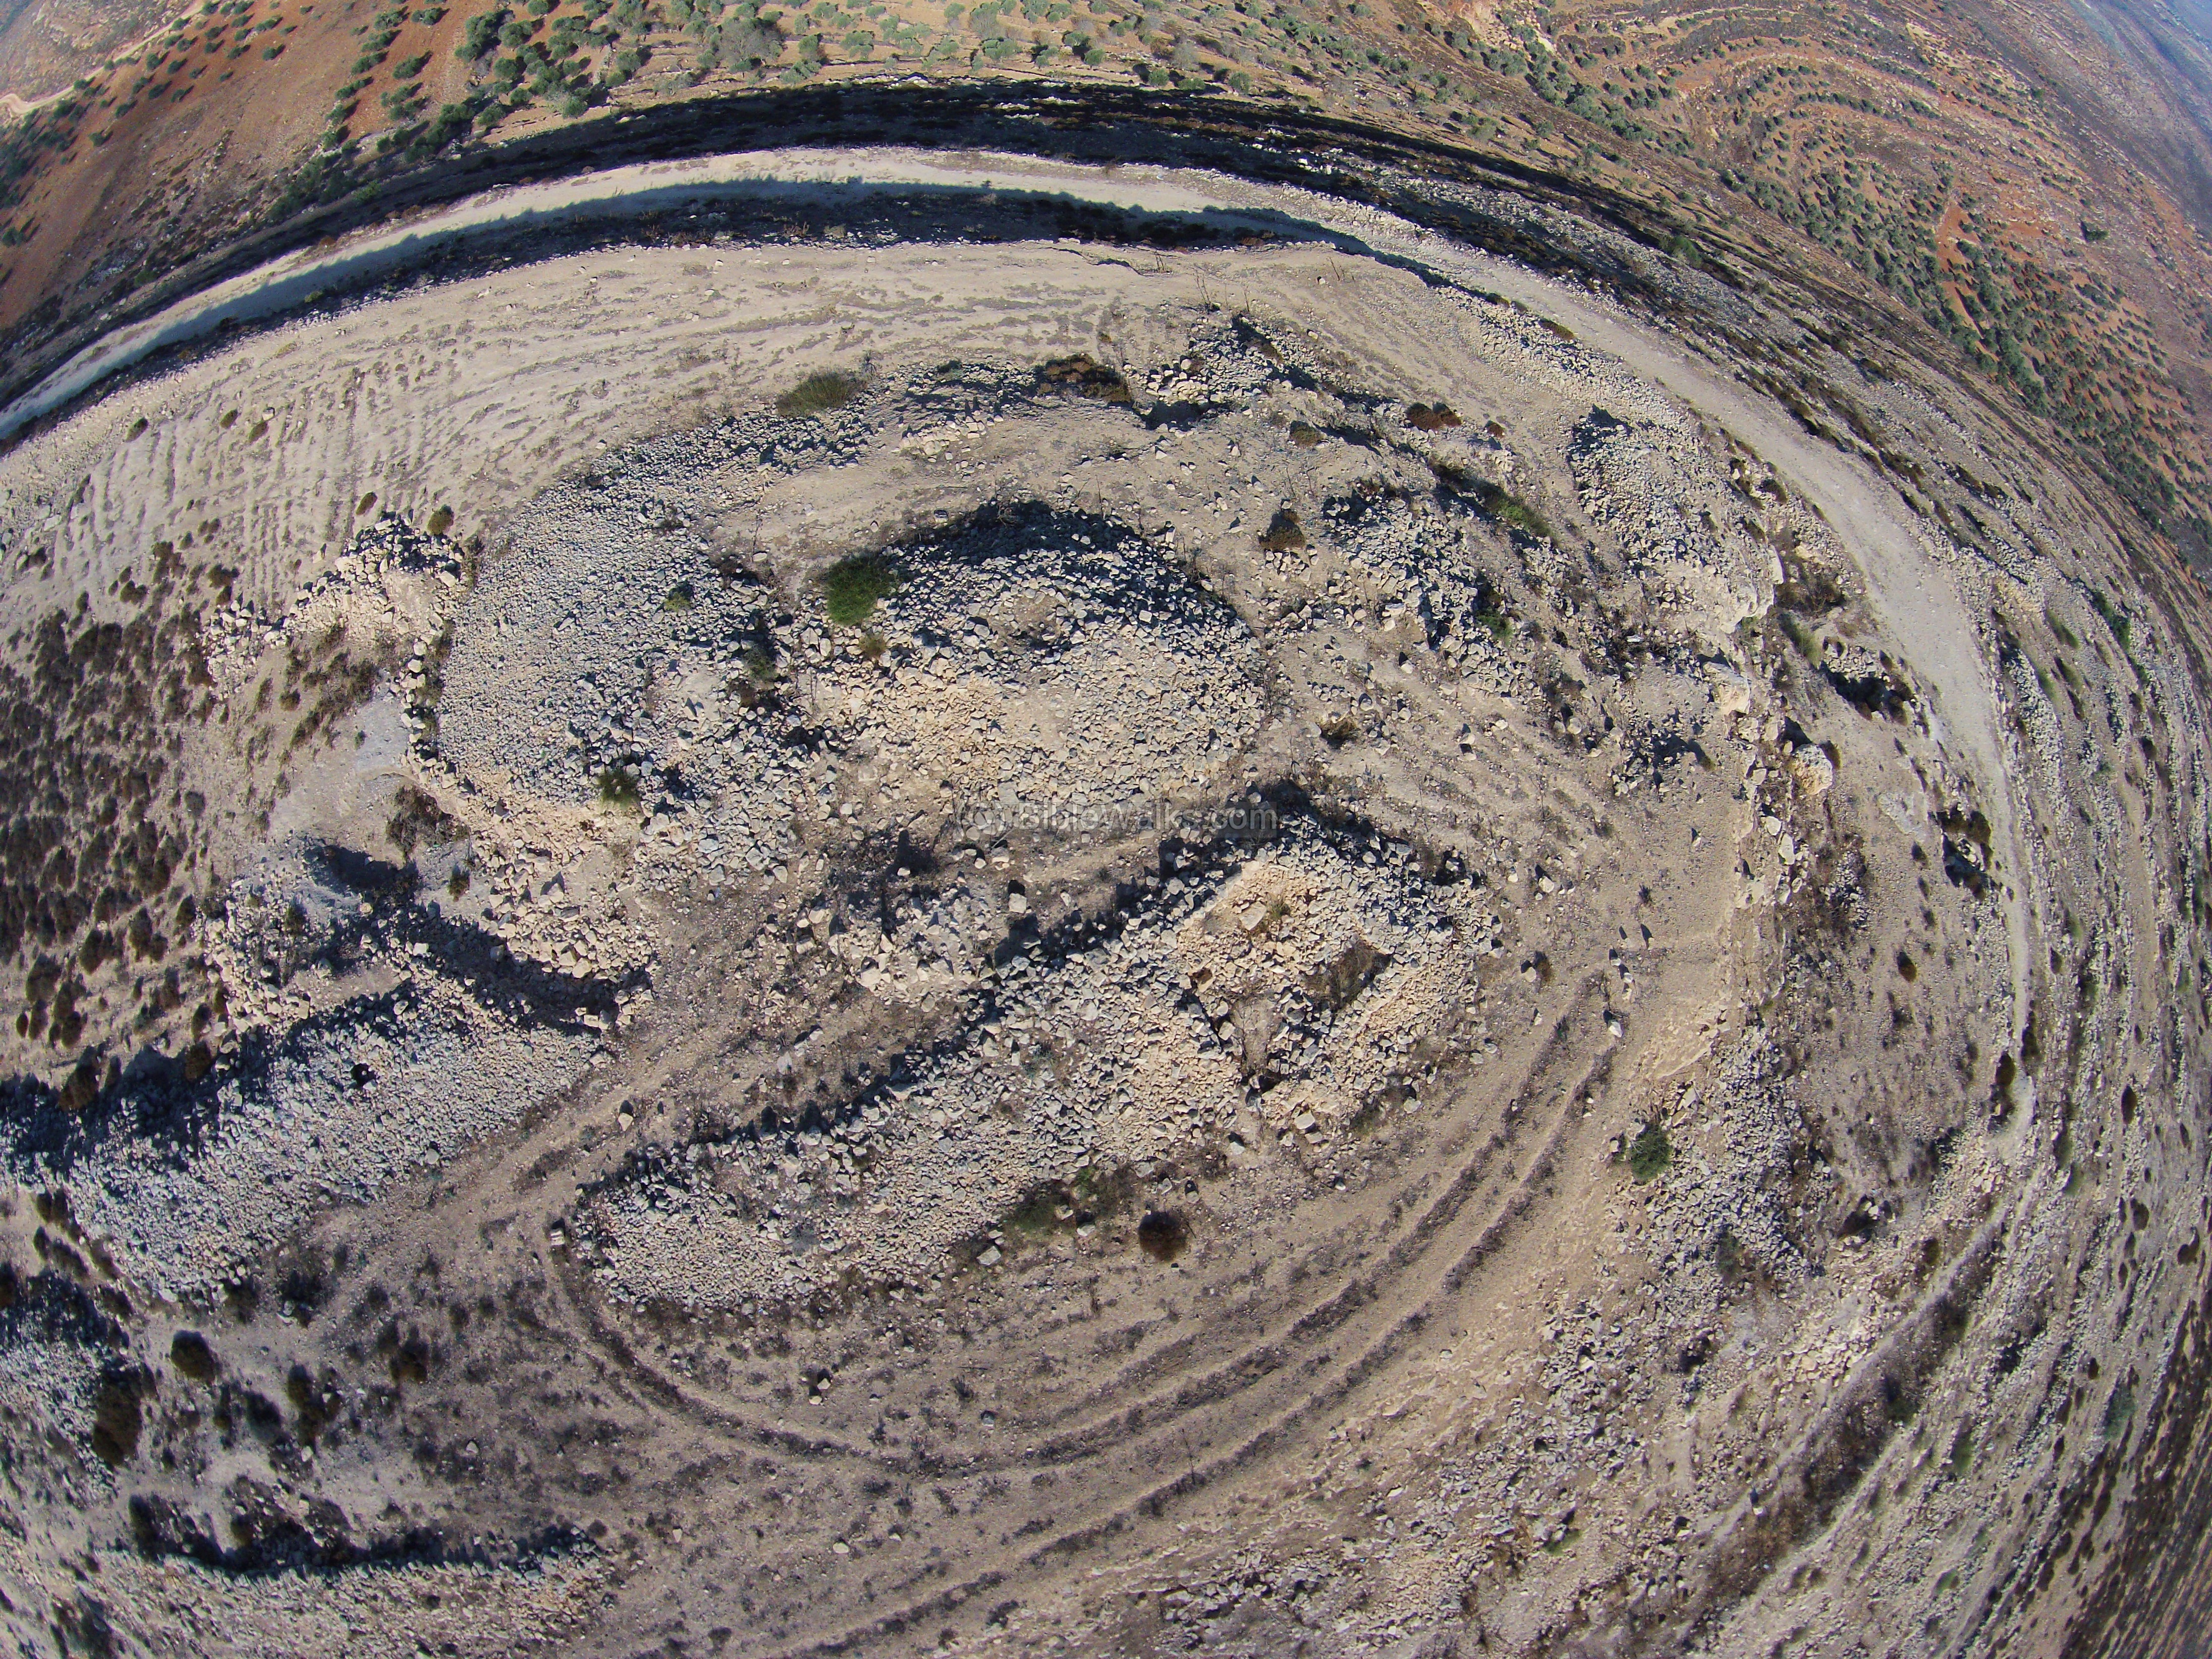
(a) Aerial Photos
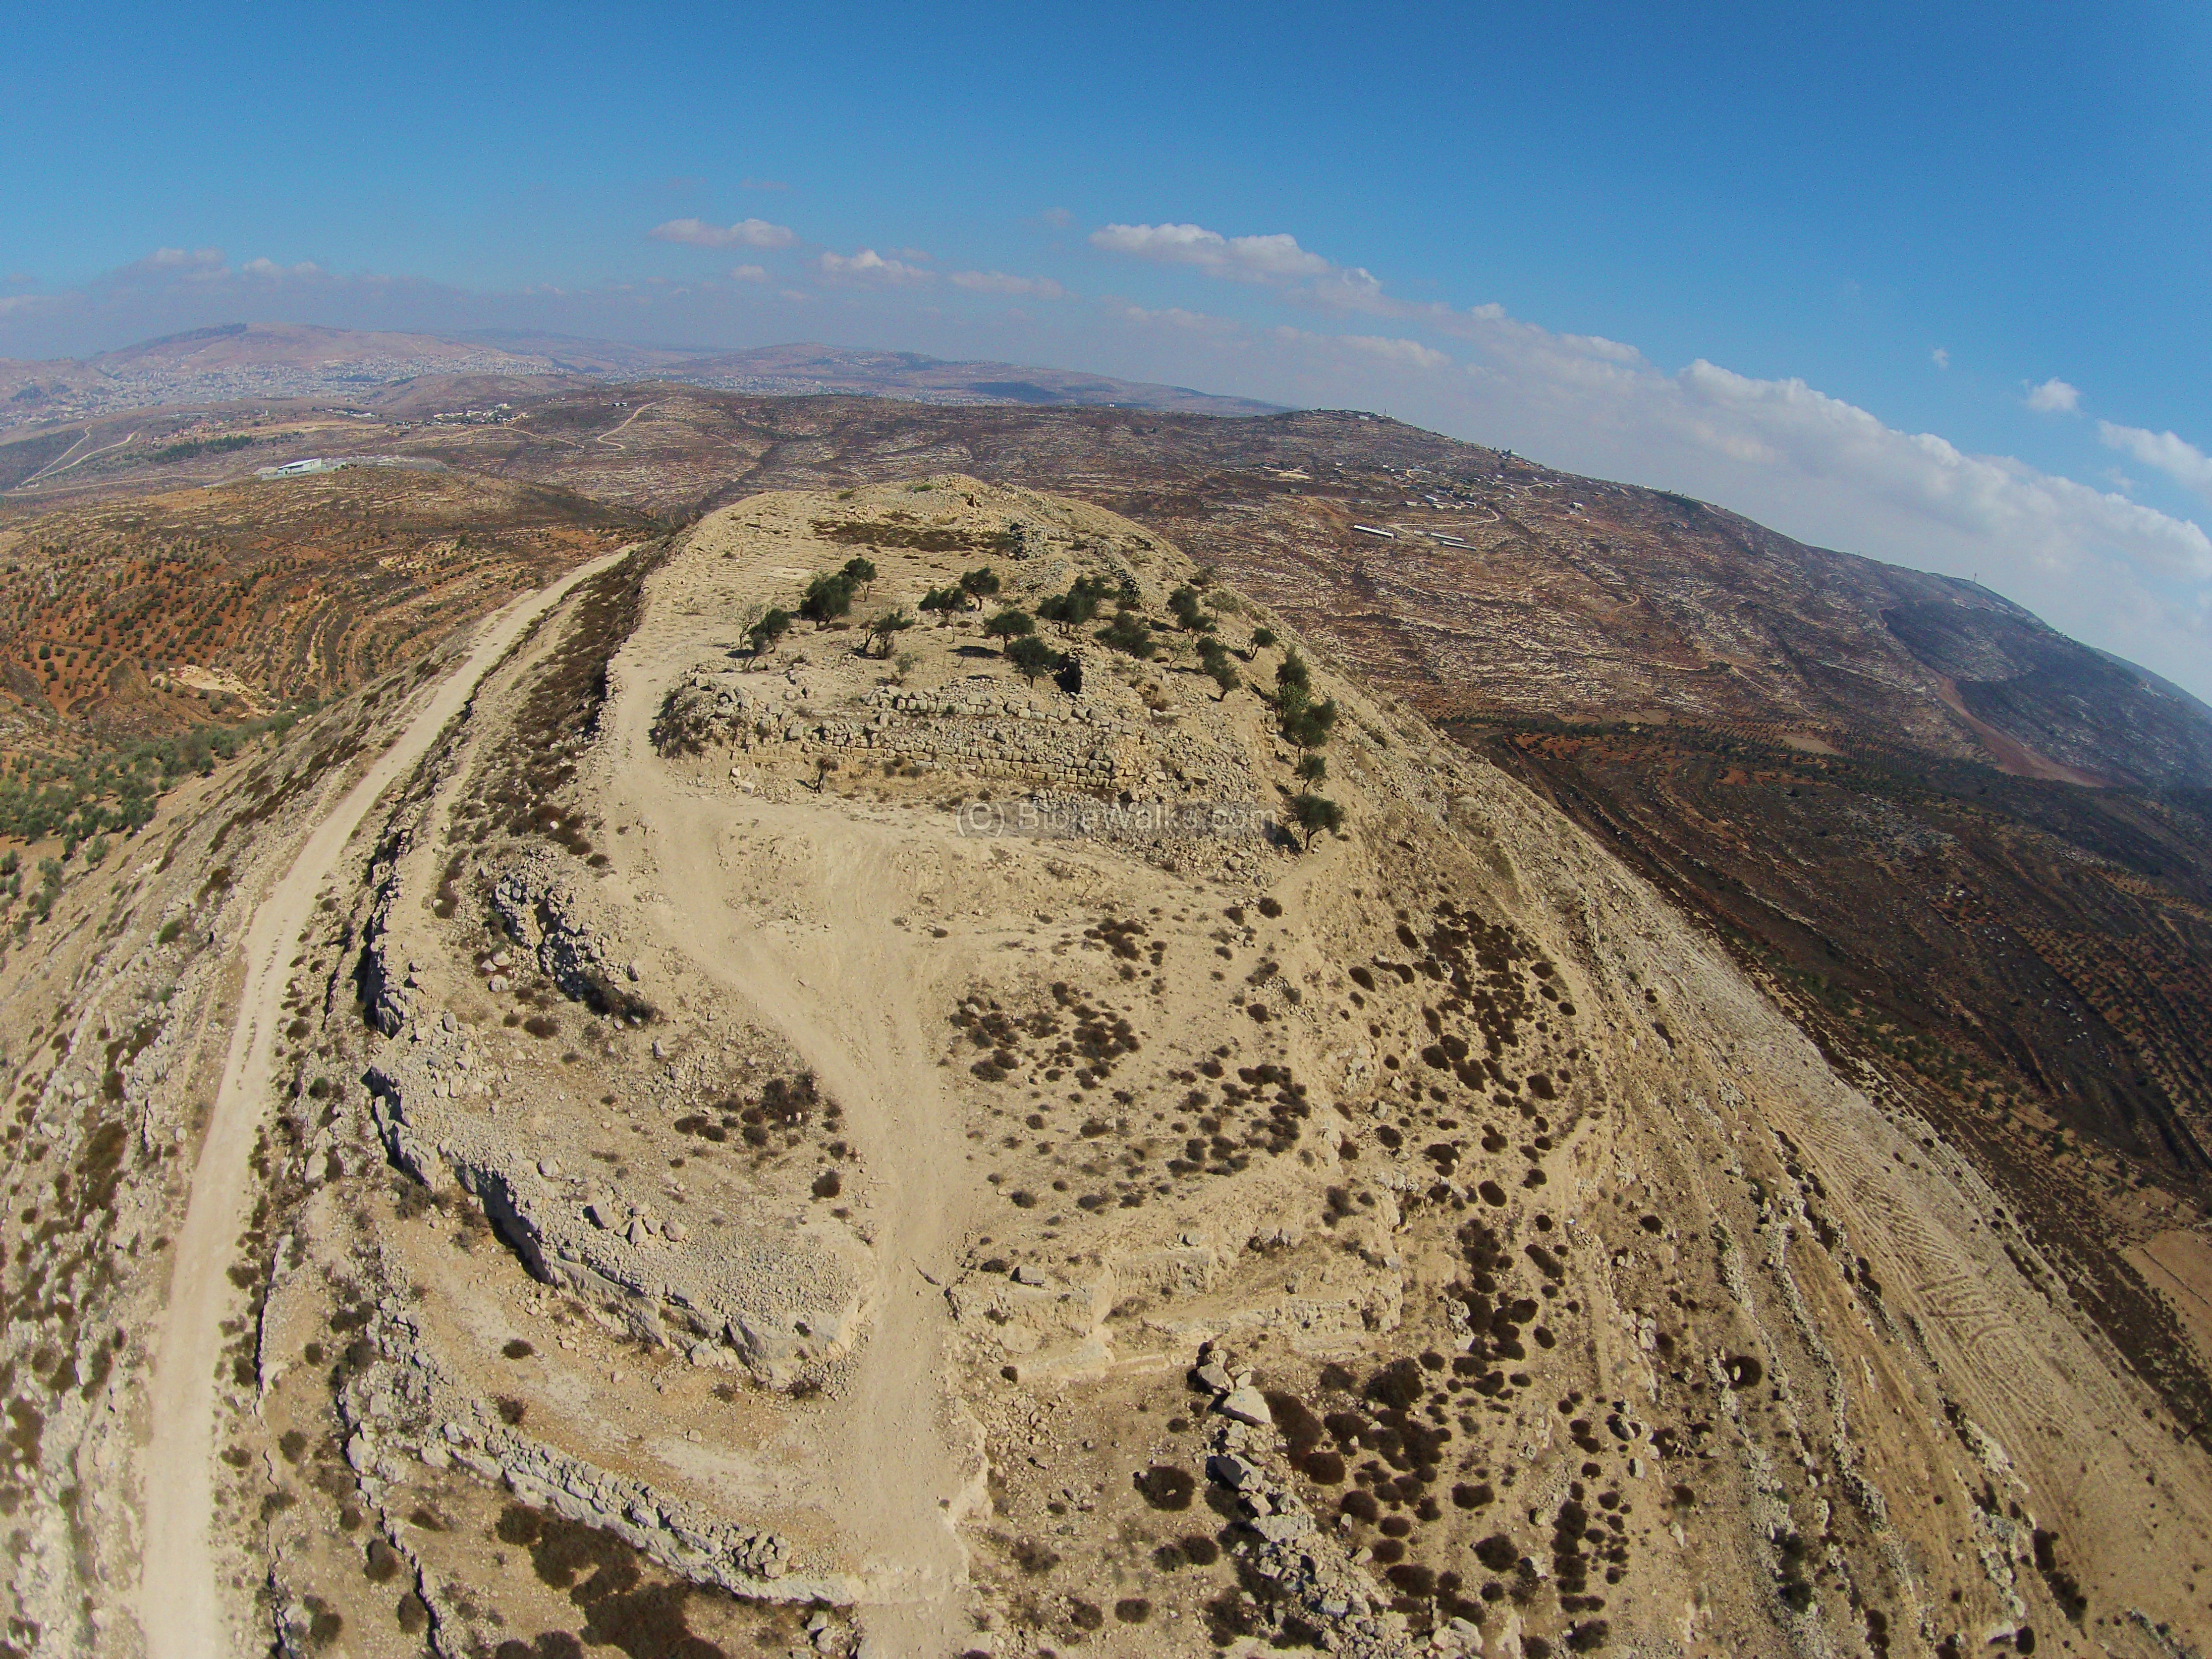
An aerial view of Horvat Arumah was captured from the south side.
Click on the photos to view in higher resolution…
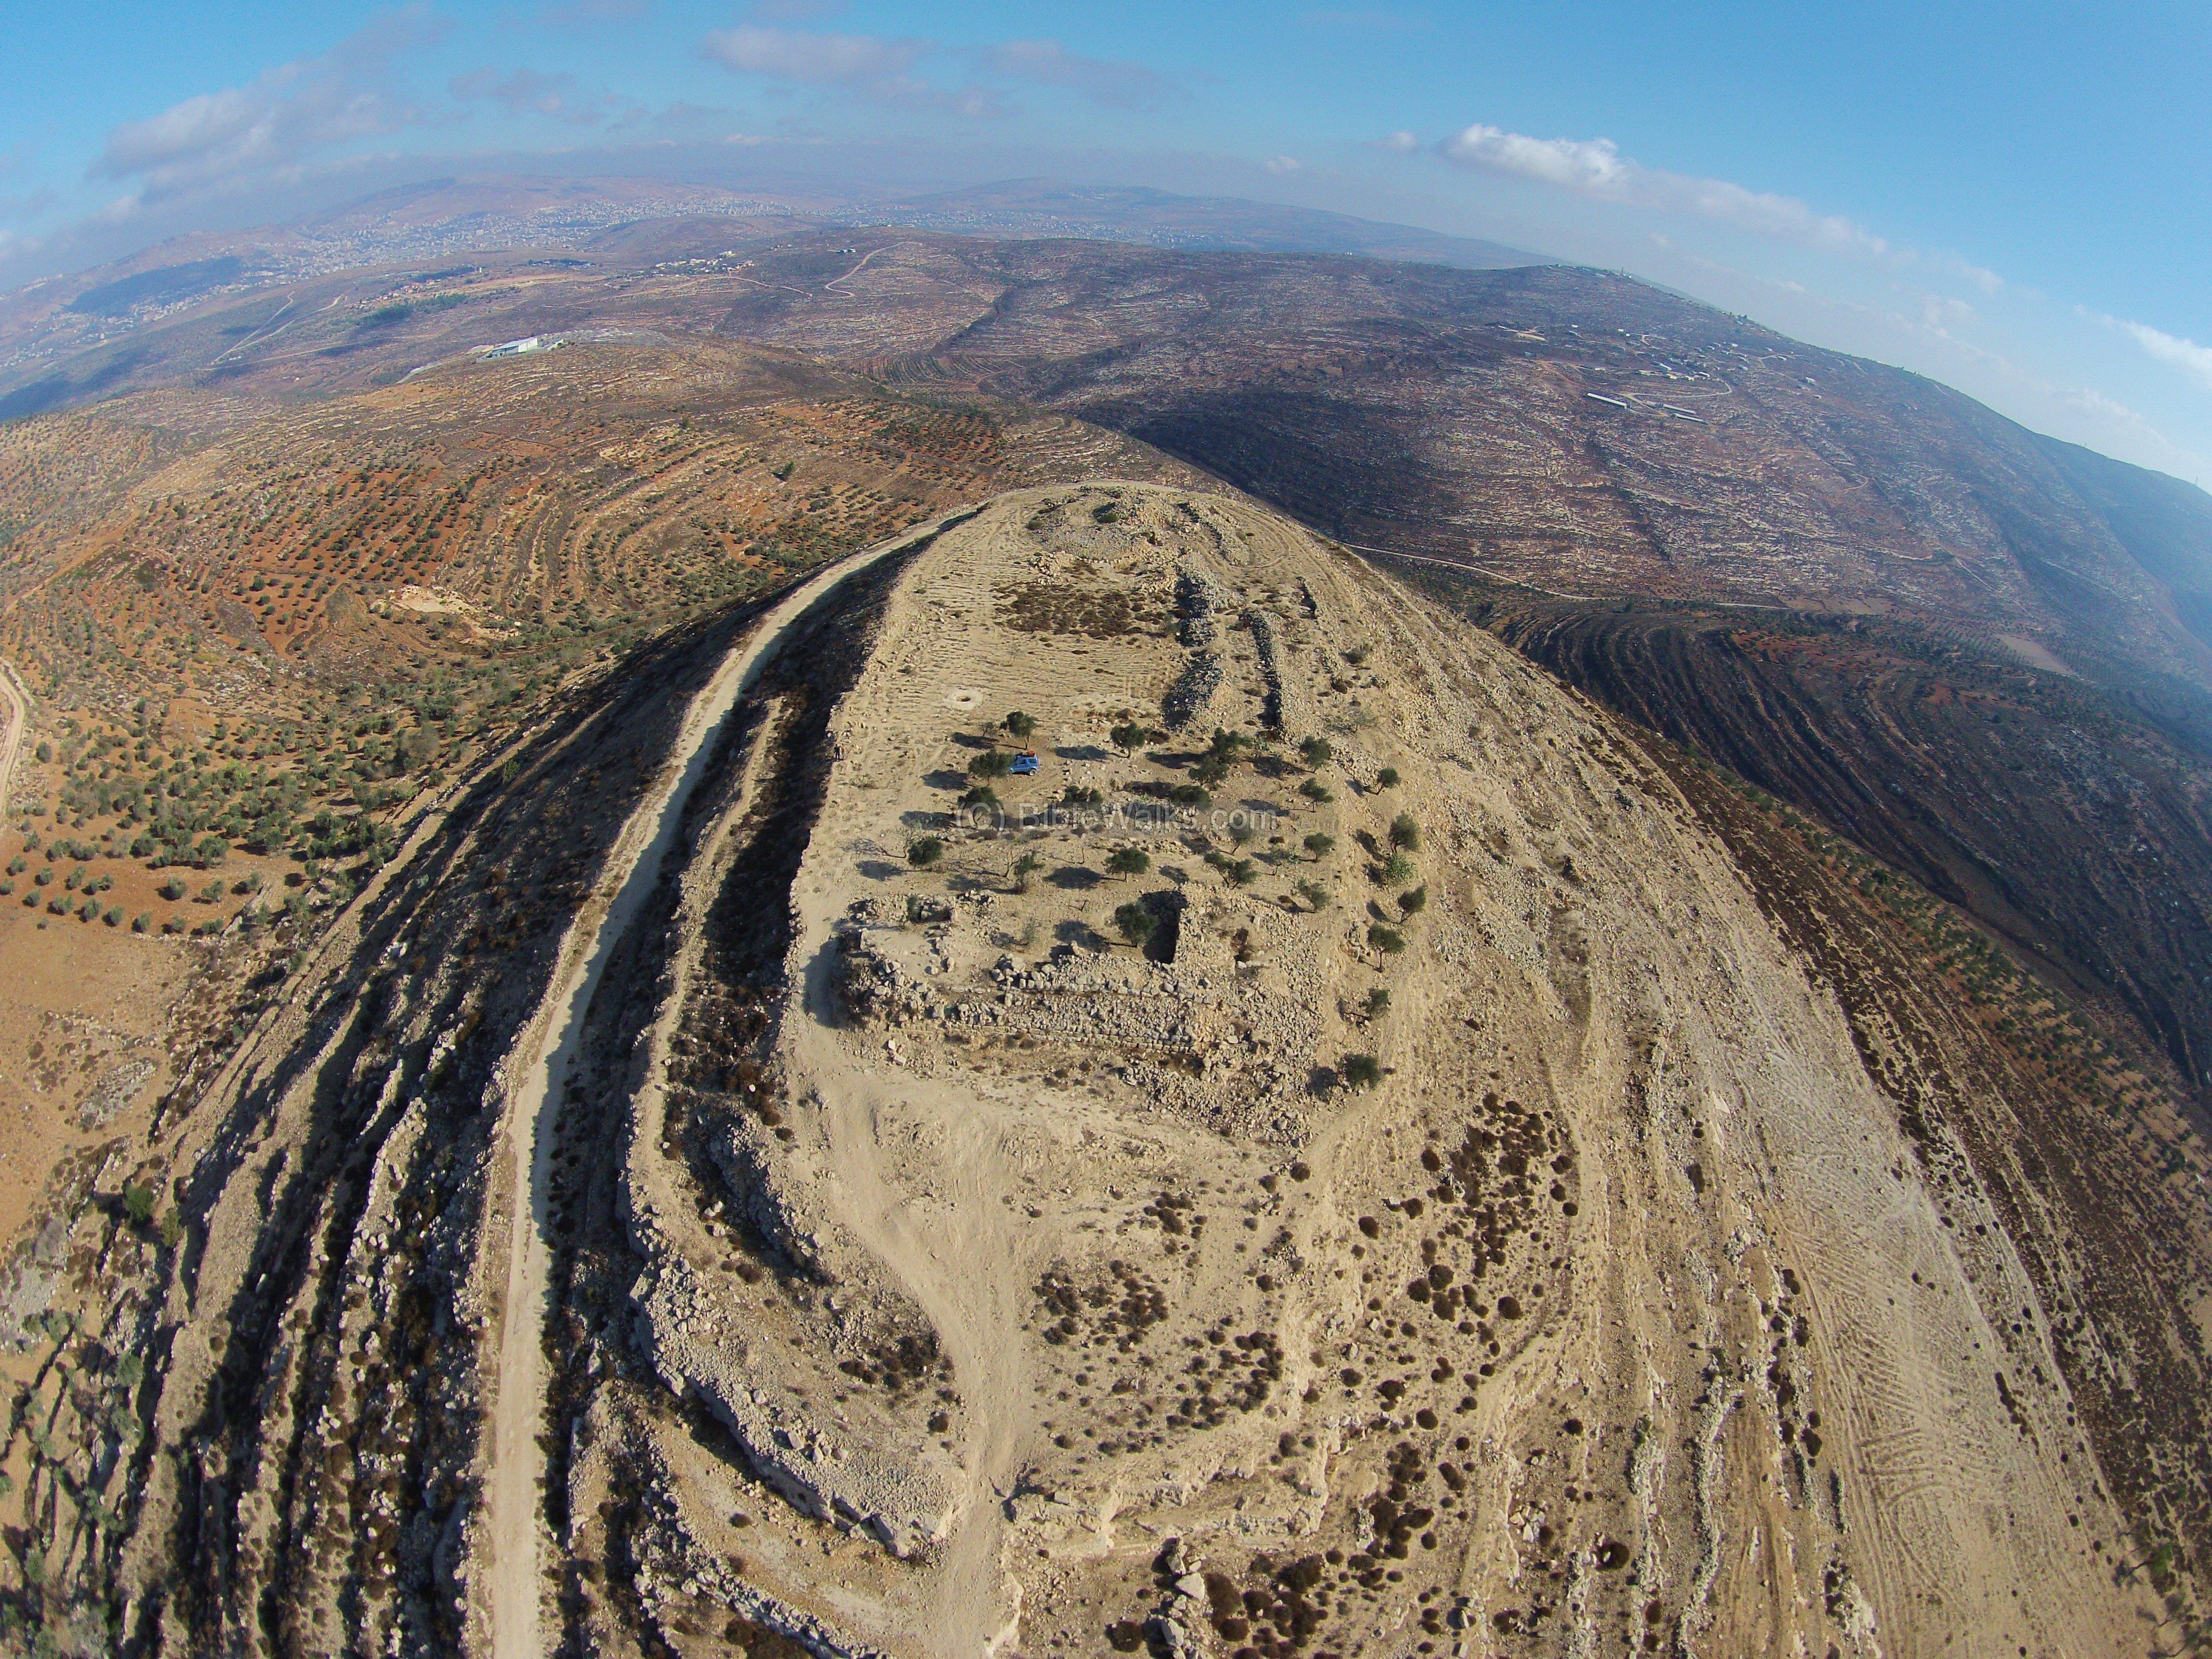
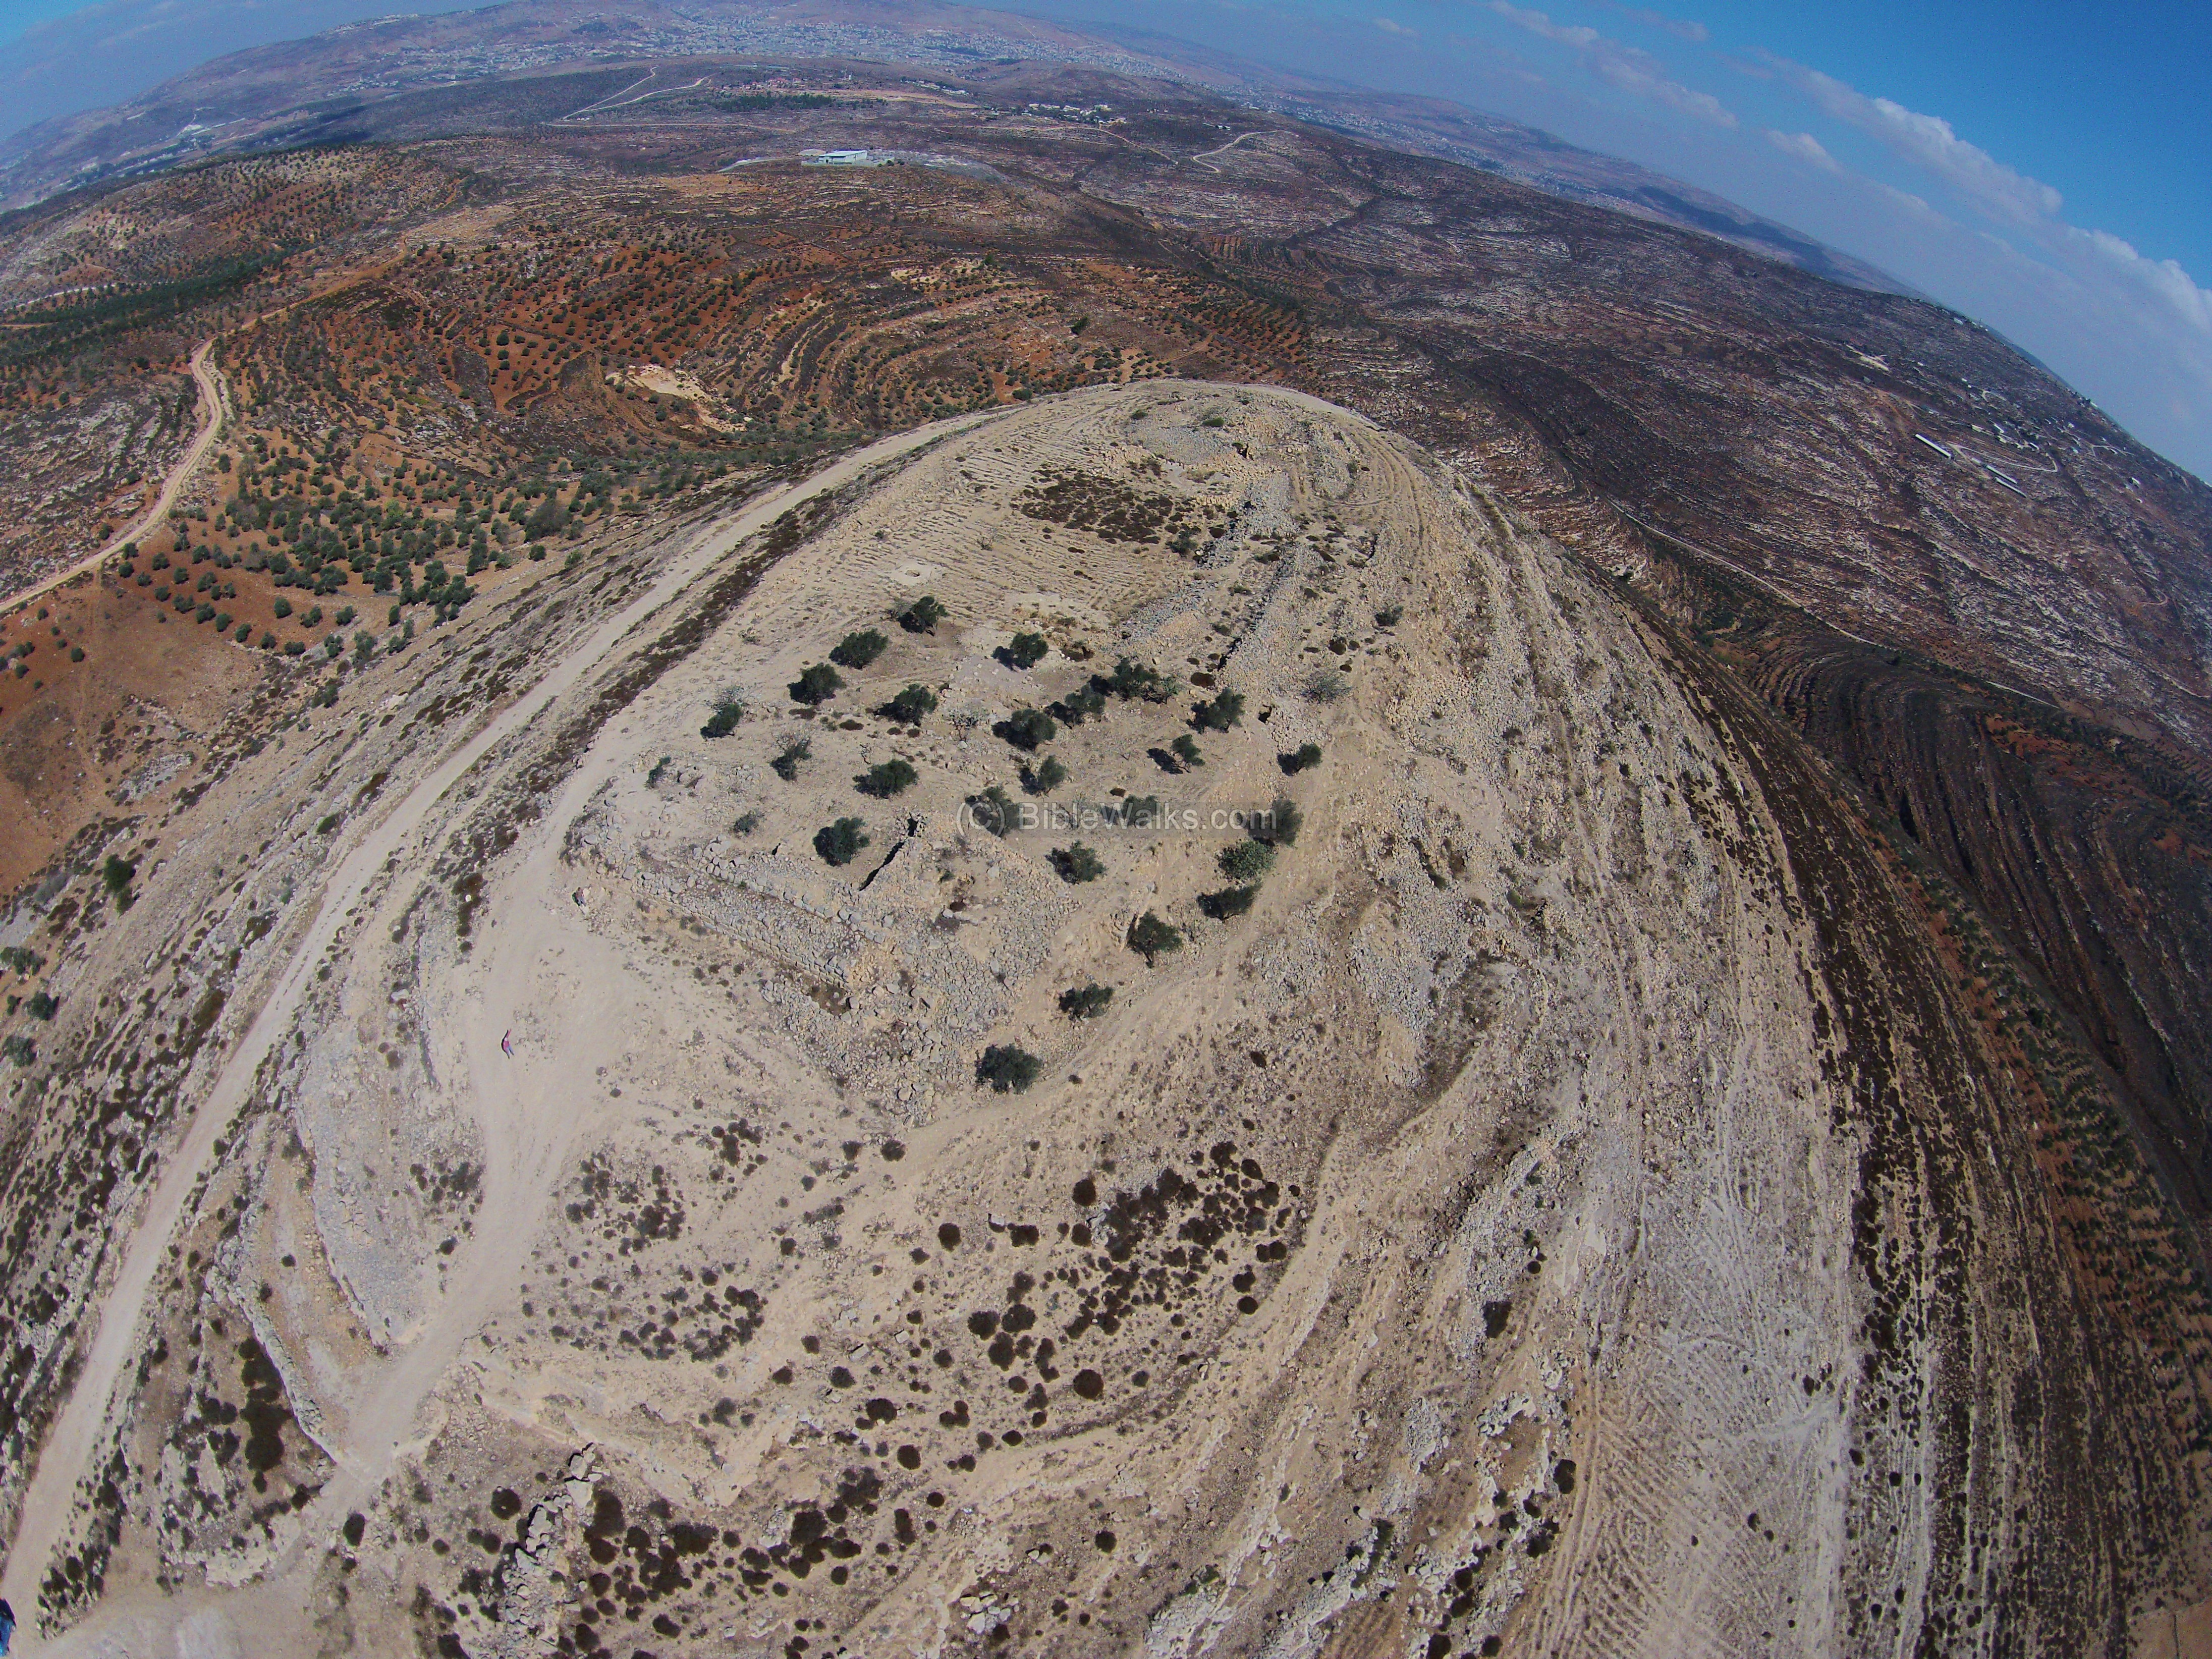
Another aerial view from the south side:
![]() The following YouTube video shows a flight of a drone over the site. It is best seen when you select “full screen” after running the video.
The following YouTube video shows a flight of a drone over the site. It is best seen when you select “full screen” after running the video.
(b) Summit
The summit of the hill is flat, covering an area of 15 dunams (3.7 acres). On the summit are traces of ruins, dated to the 1st century BC. During this period – Hasmonean and Herodian – the function of the site was military – a frontier fortress facing the Samaritan region and protecting a major road.
The site was not yet excavated, and so its plan has not yet been scientifically determined.
On the summit are heaps of stones and traces of walls.
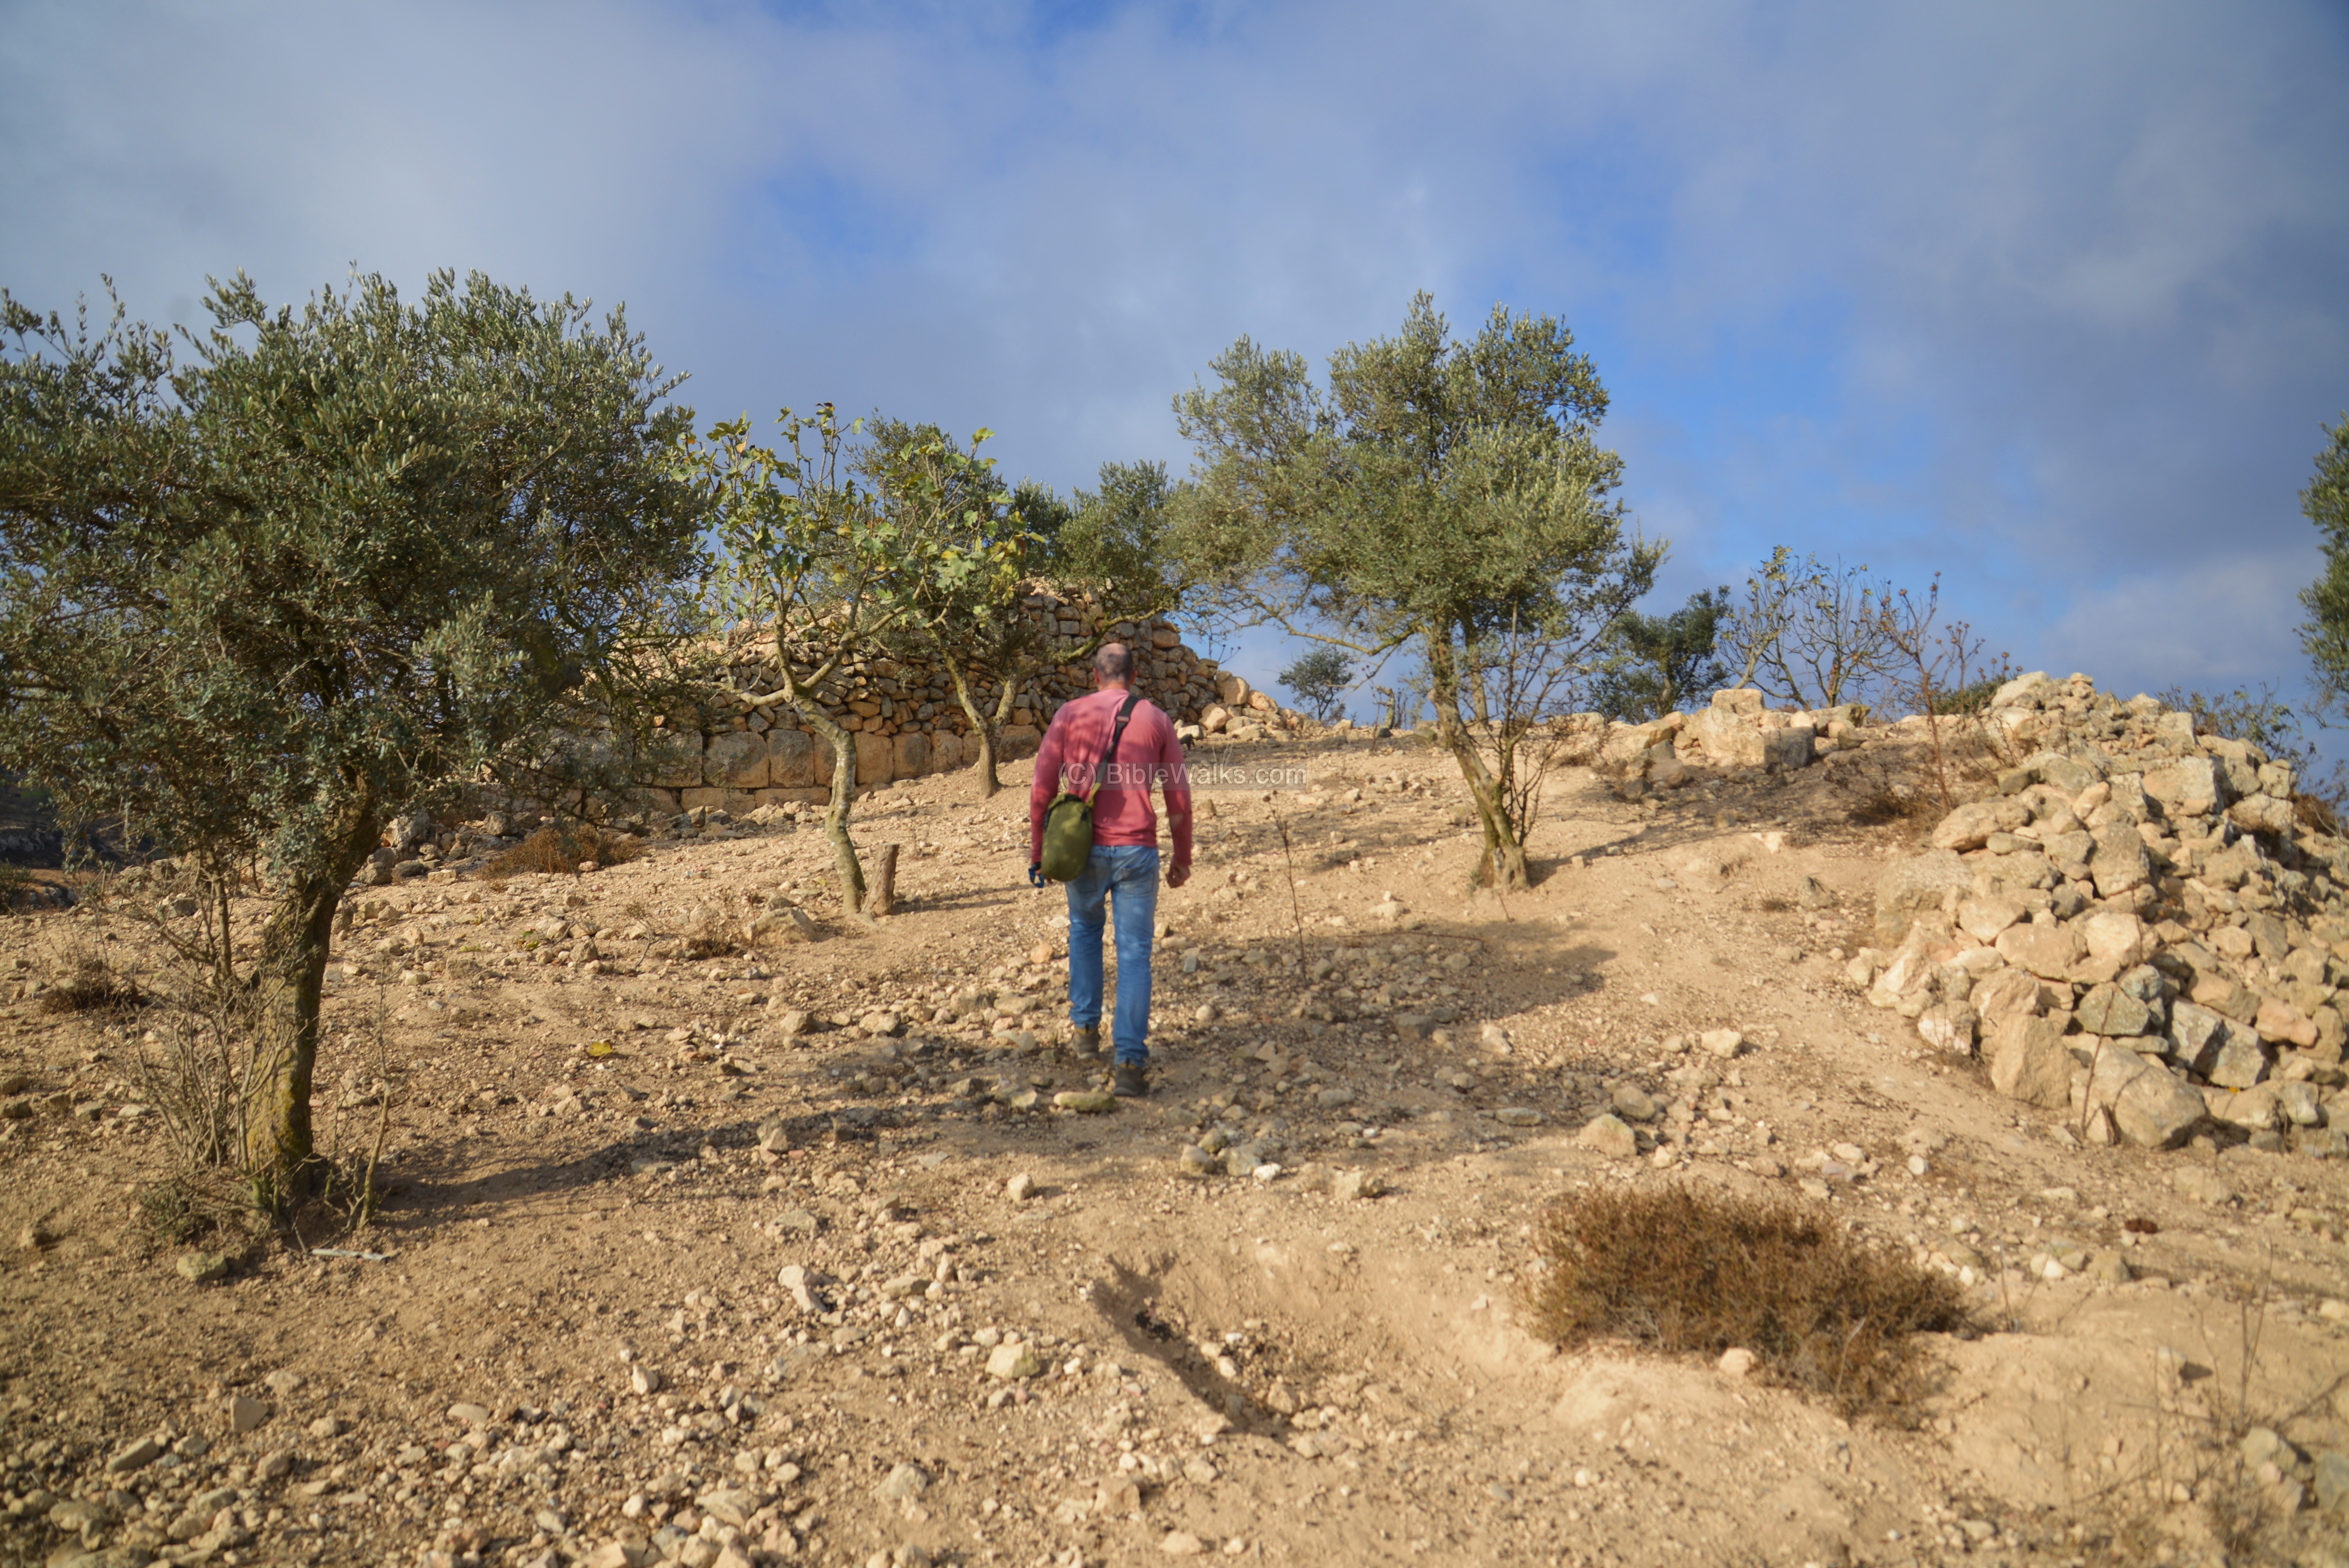
The south side of the summit is planted with olive and fig trees.
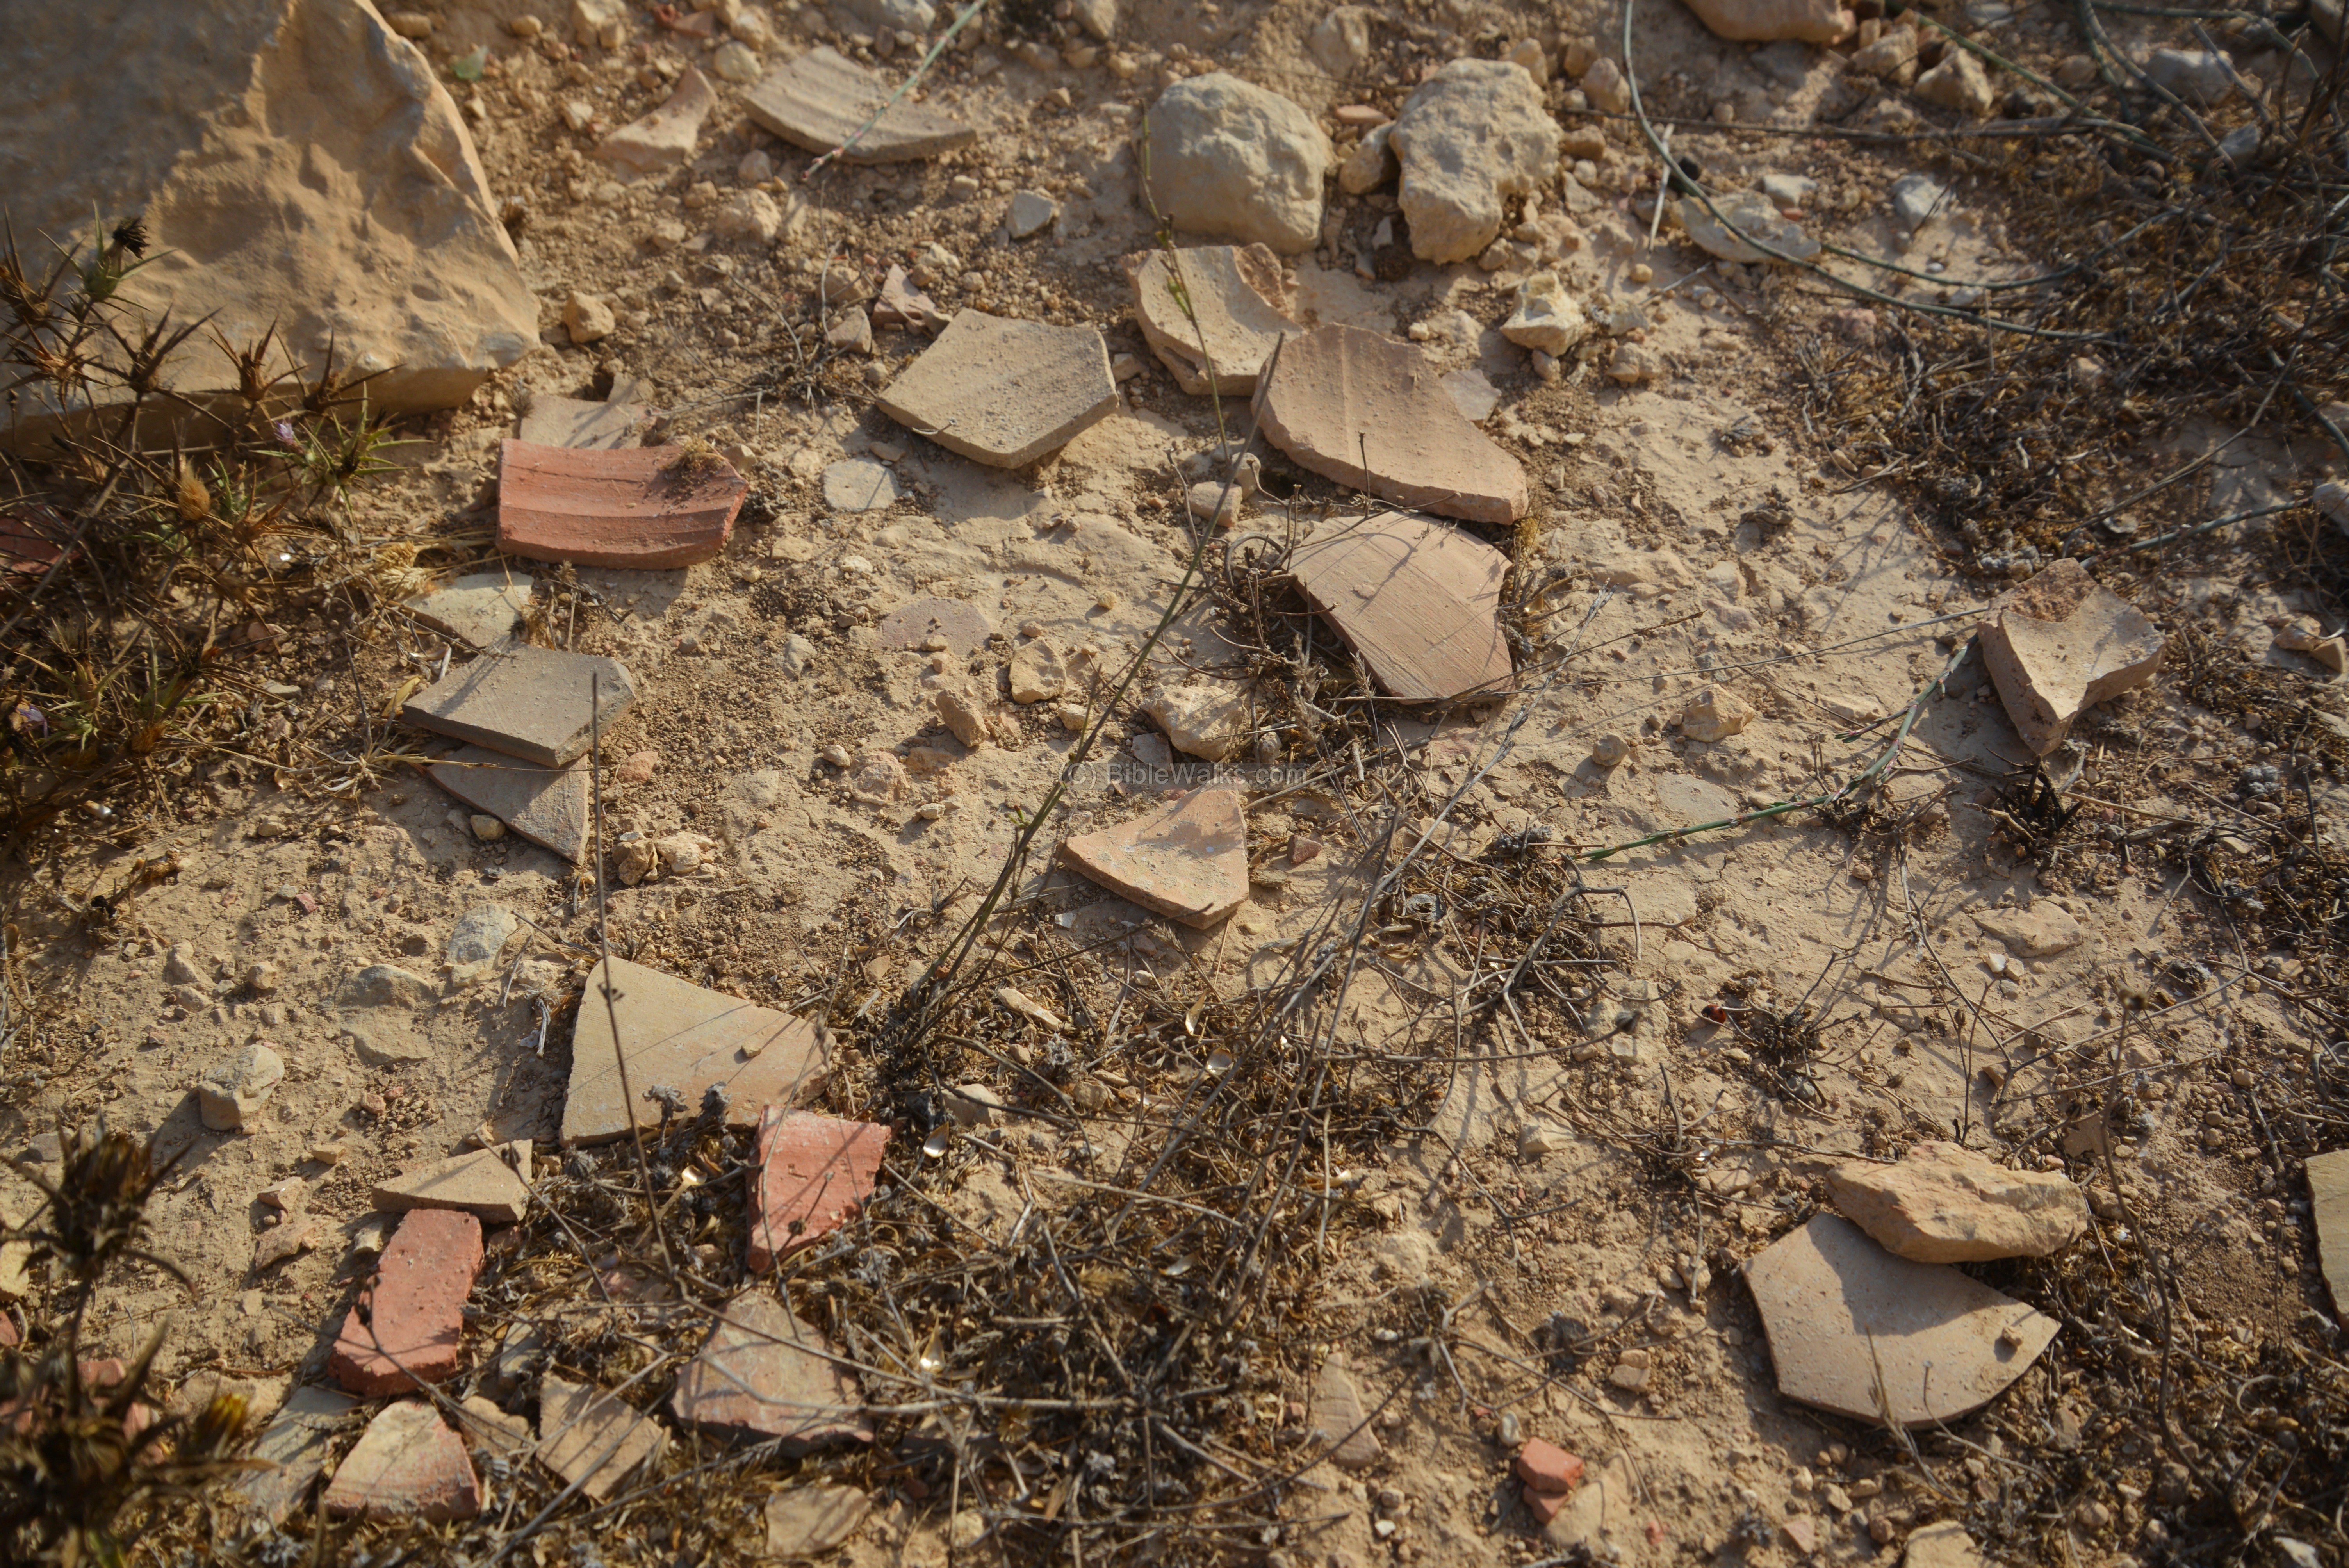
Fragments of ceramics are found everywhere, some of them as a result of illicit digging on top of the hill.
(c) North side of Summit
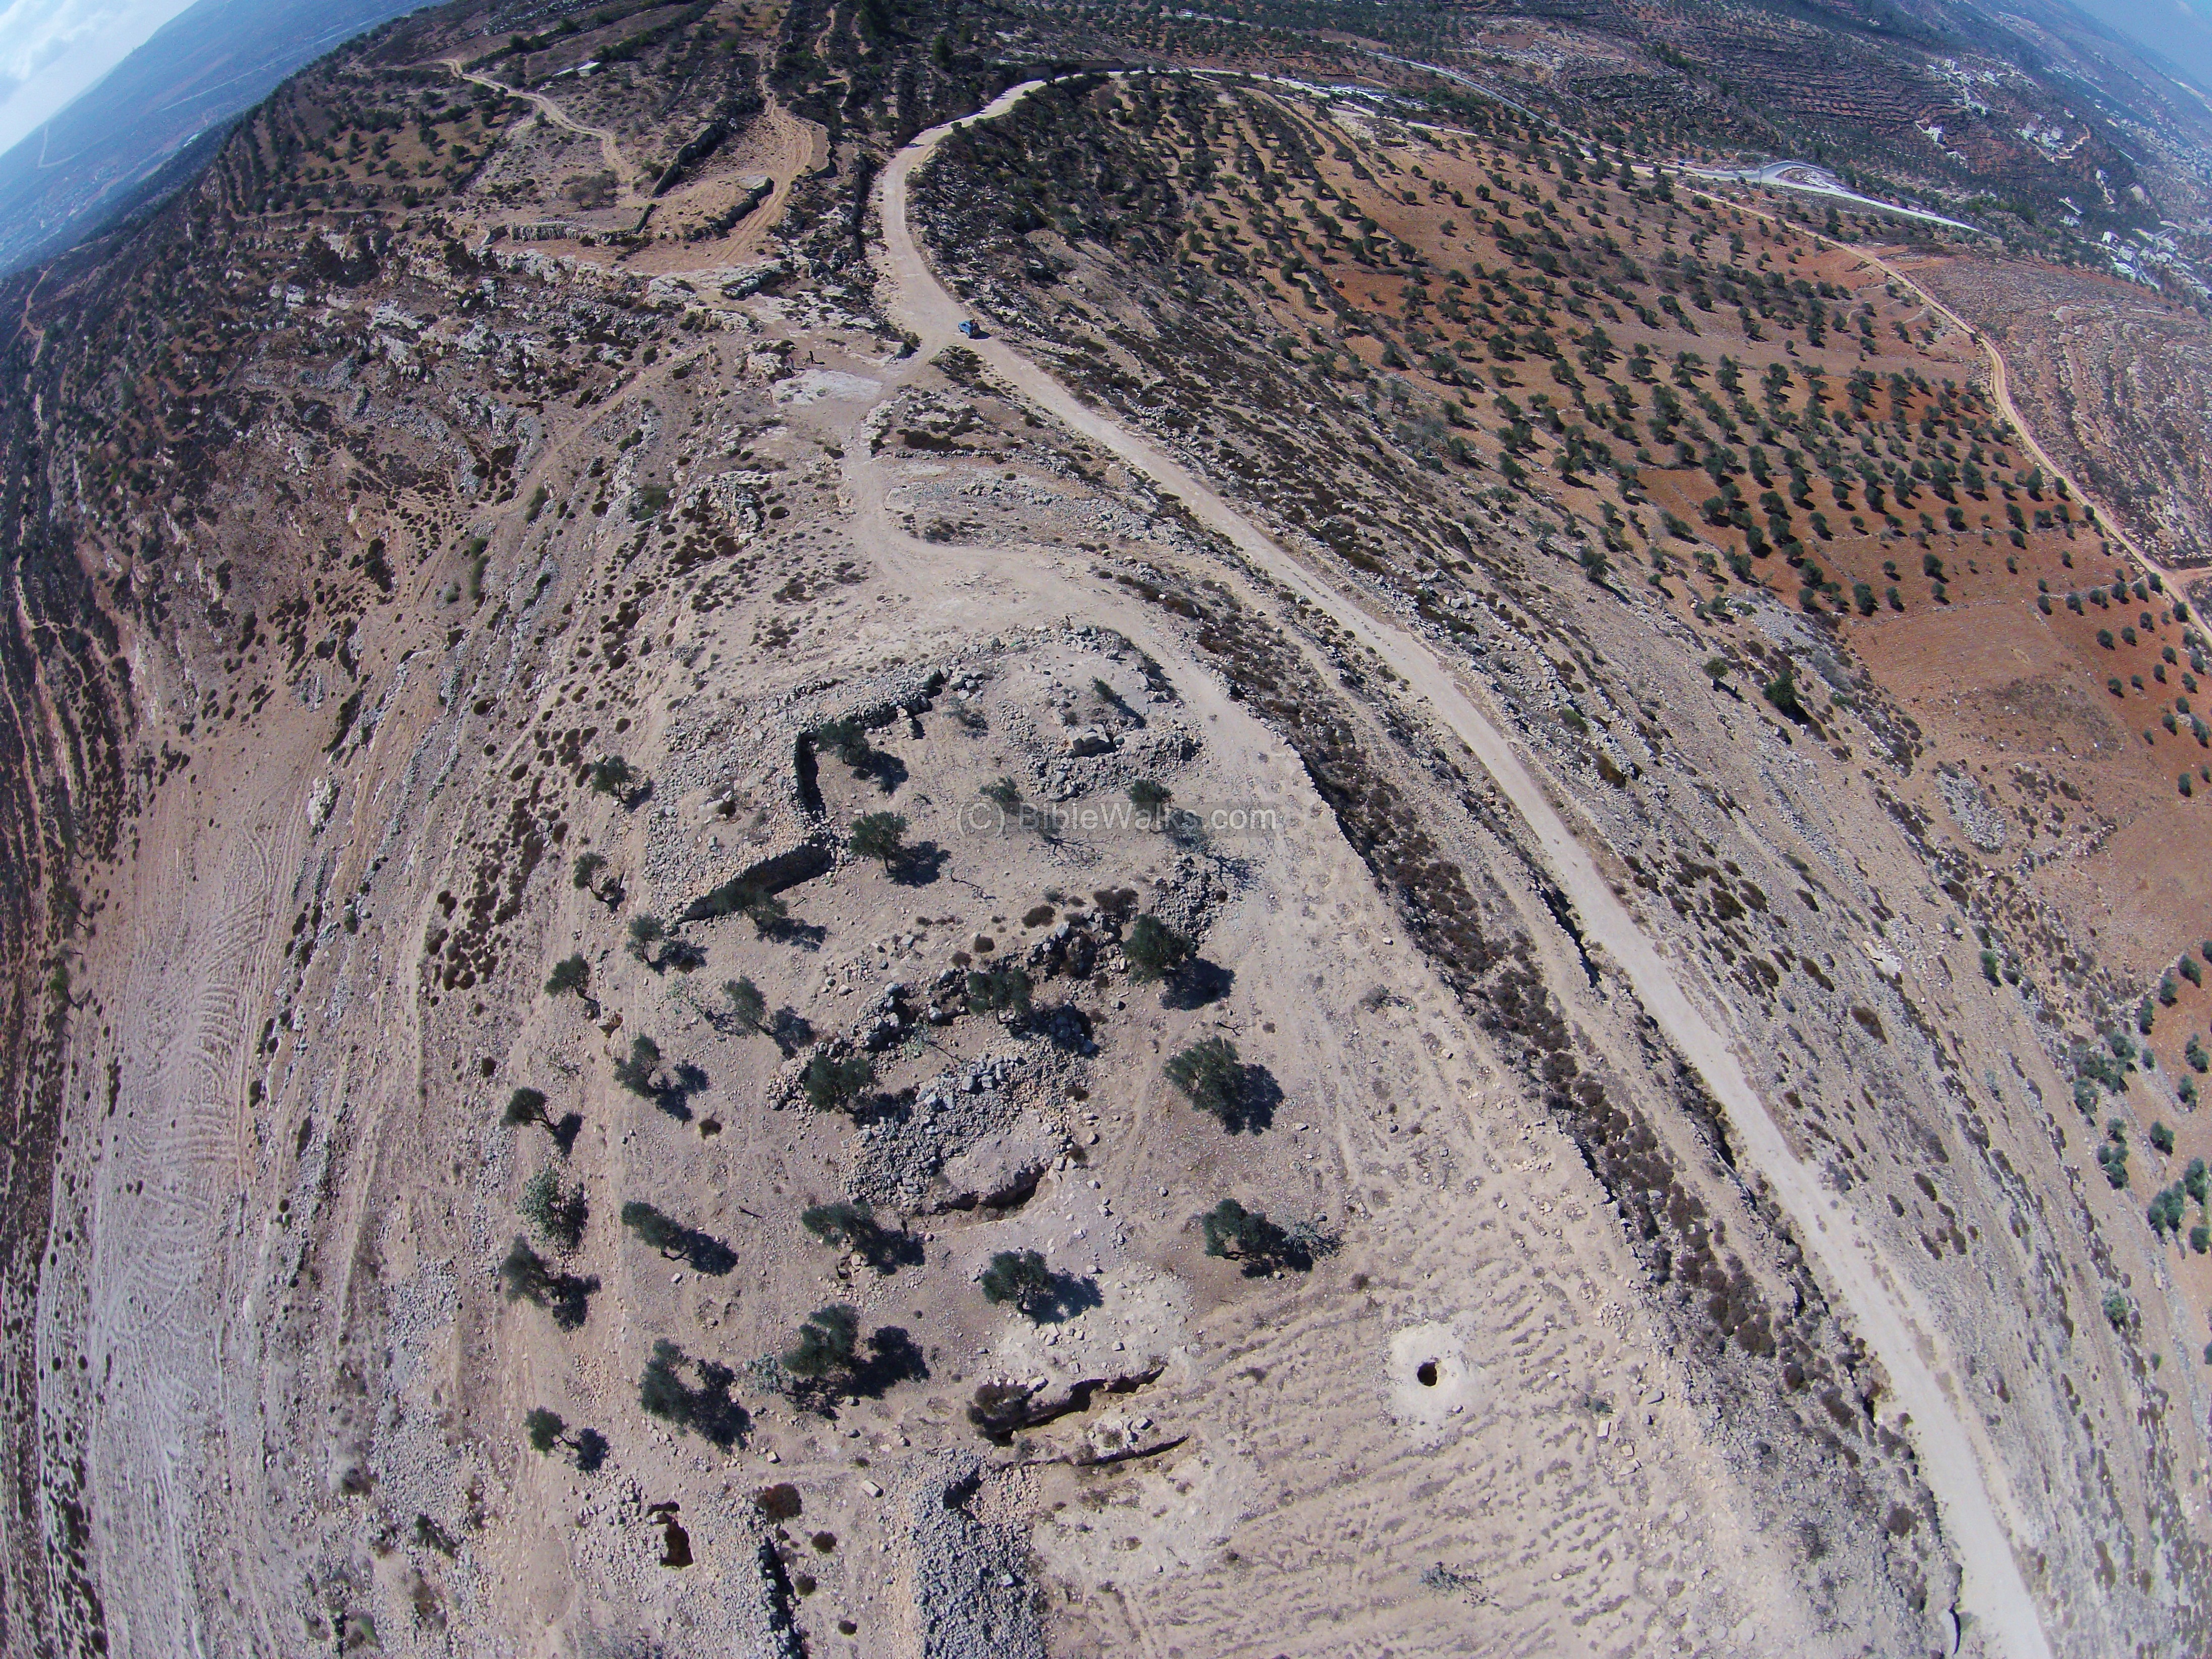
An aerial view of the north side of the summit is seen here. Heaps of stones indicate the traces of the structures on this part of the hill.
Another view of the north side is seen in the following photo.
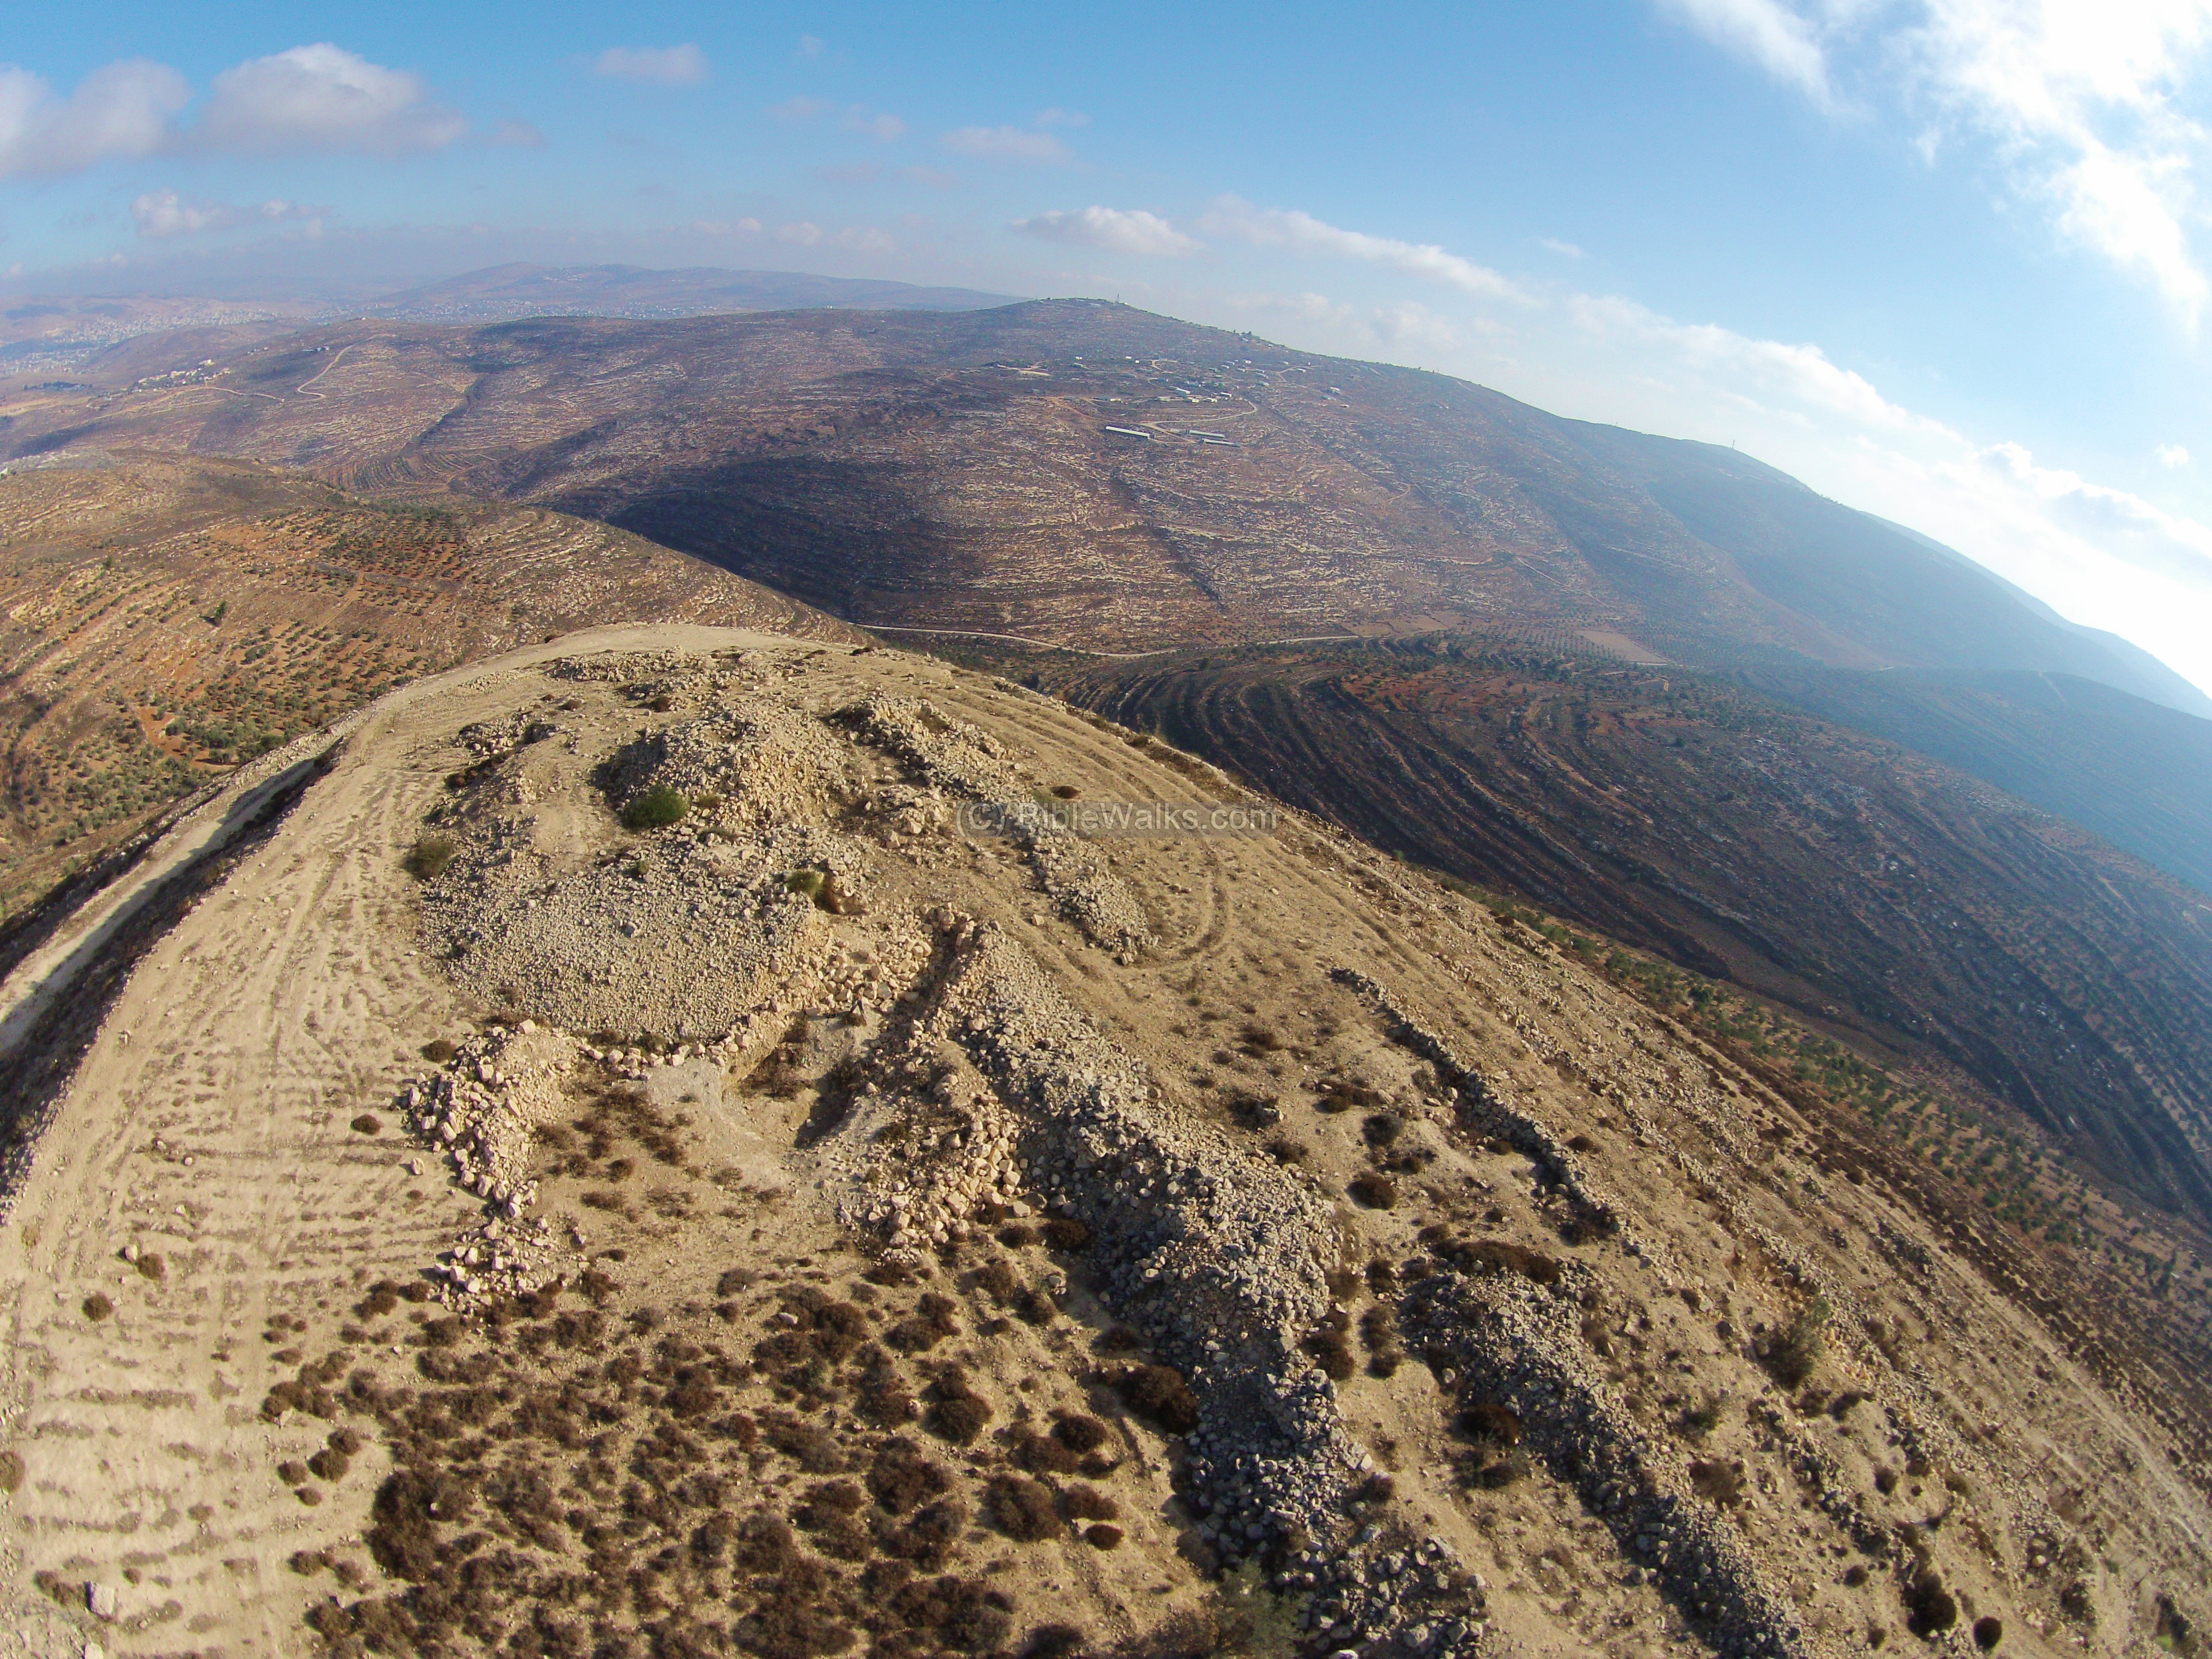
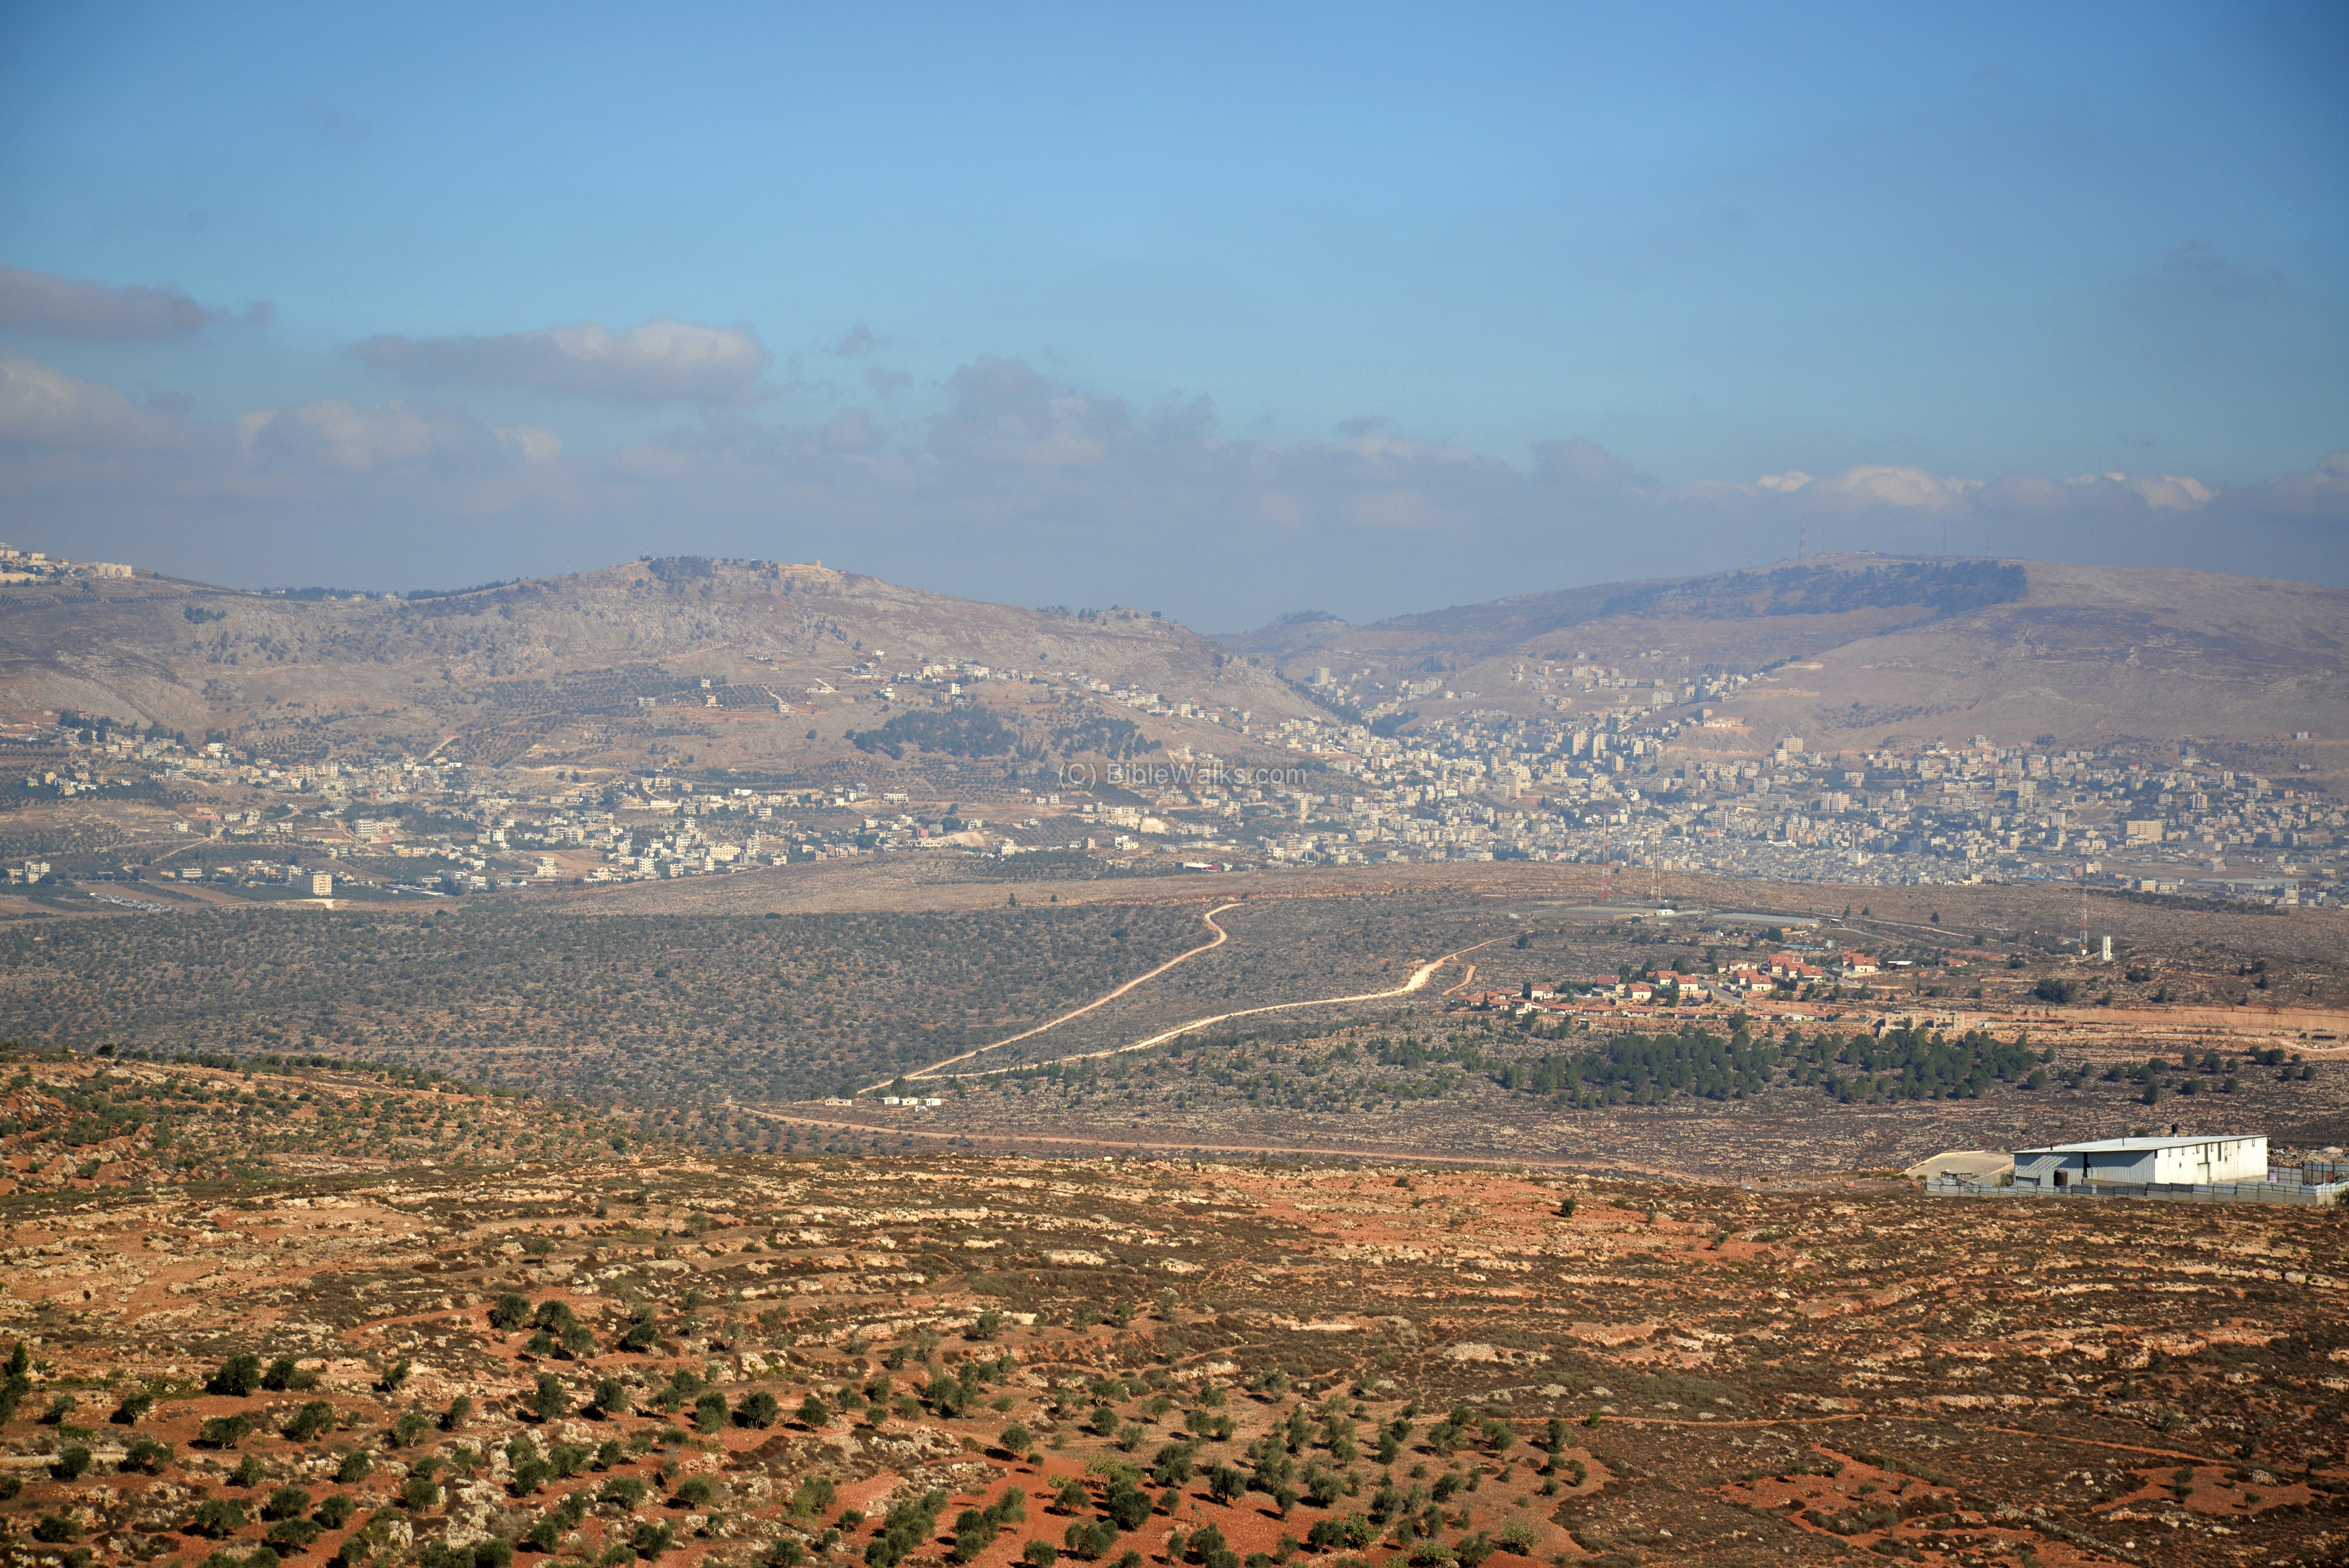
The north side overlooks the ancient road that passed in the valley below.
The north side overlooks to the city of Shechem, which is 18km north of Arumah. Ruins of the ancient city are located in the valley between the two mountains, Mt Gerizim (left) and Mt Ebal (right). The modern city of Nablus are spread around the valley.
(d) South side of Summit
The southern section of the summit is seen here in this aerial view.
On the surface of the south side are more visible structures, hidden among olive and fig trees.
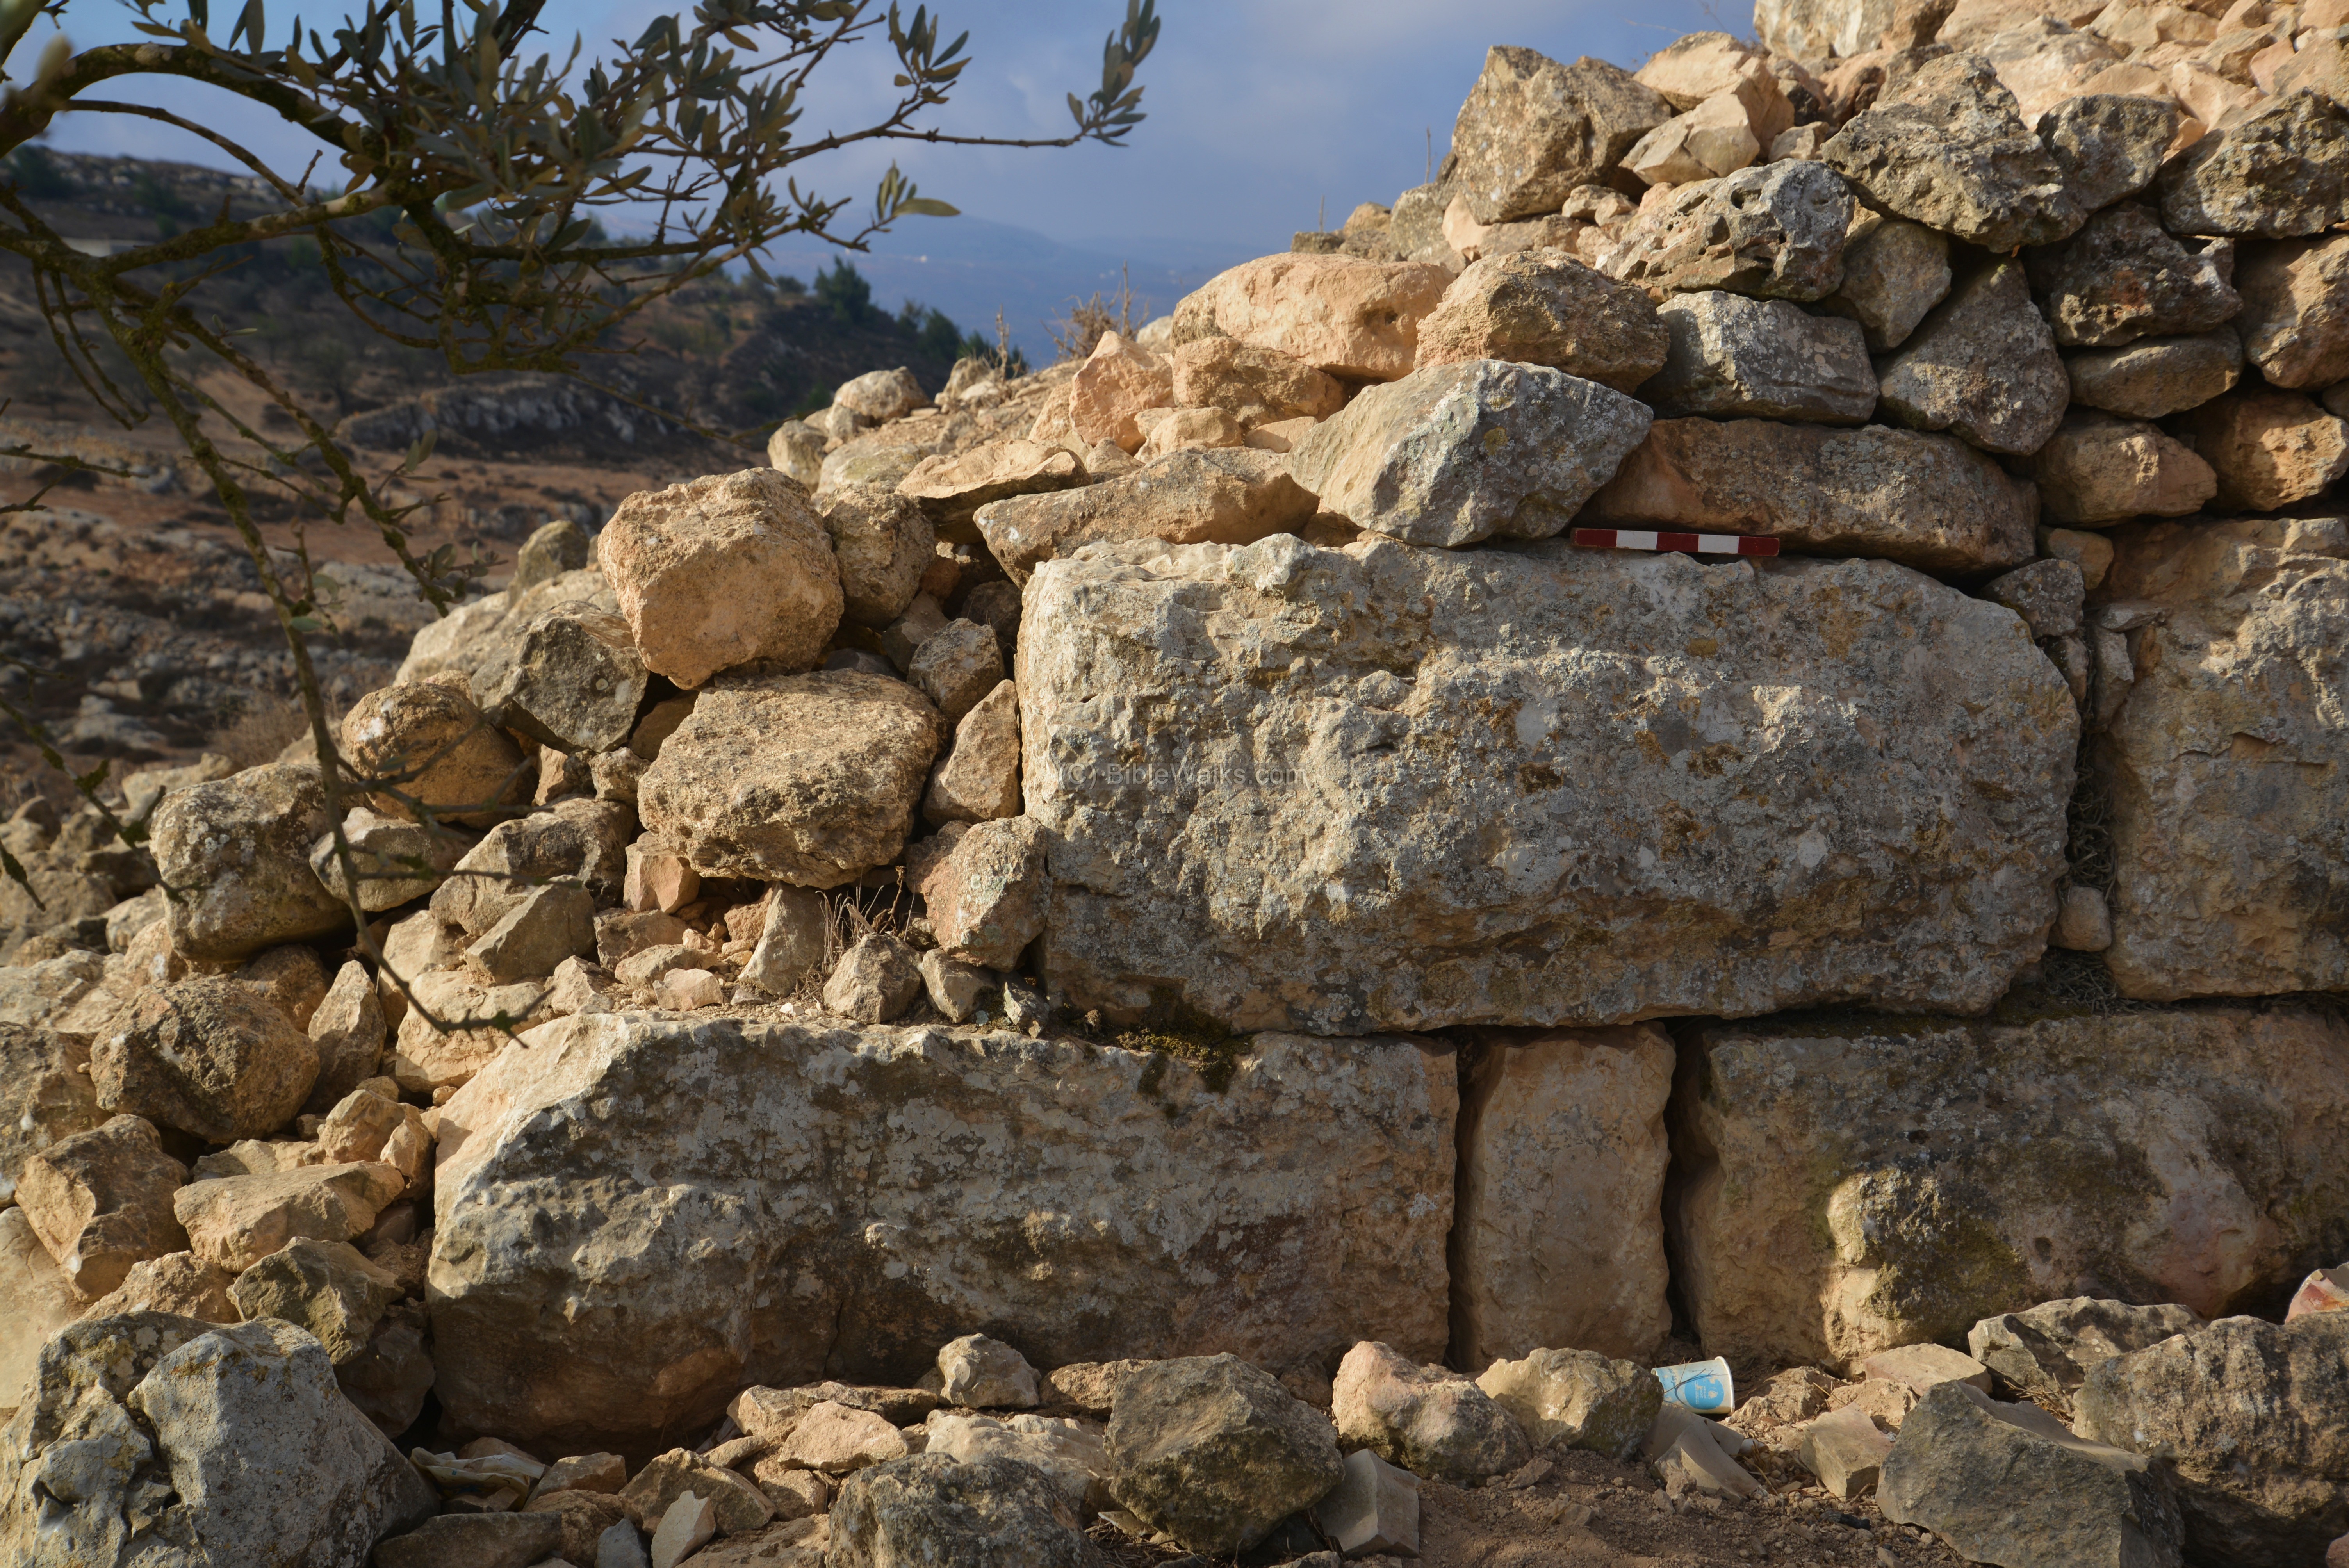
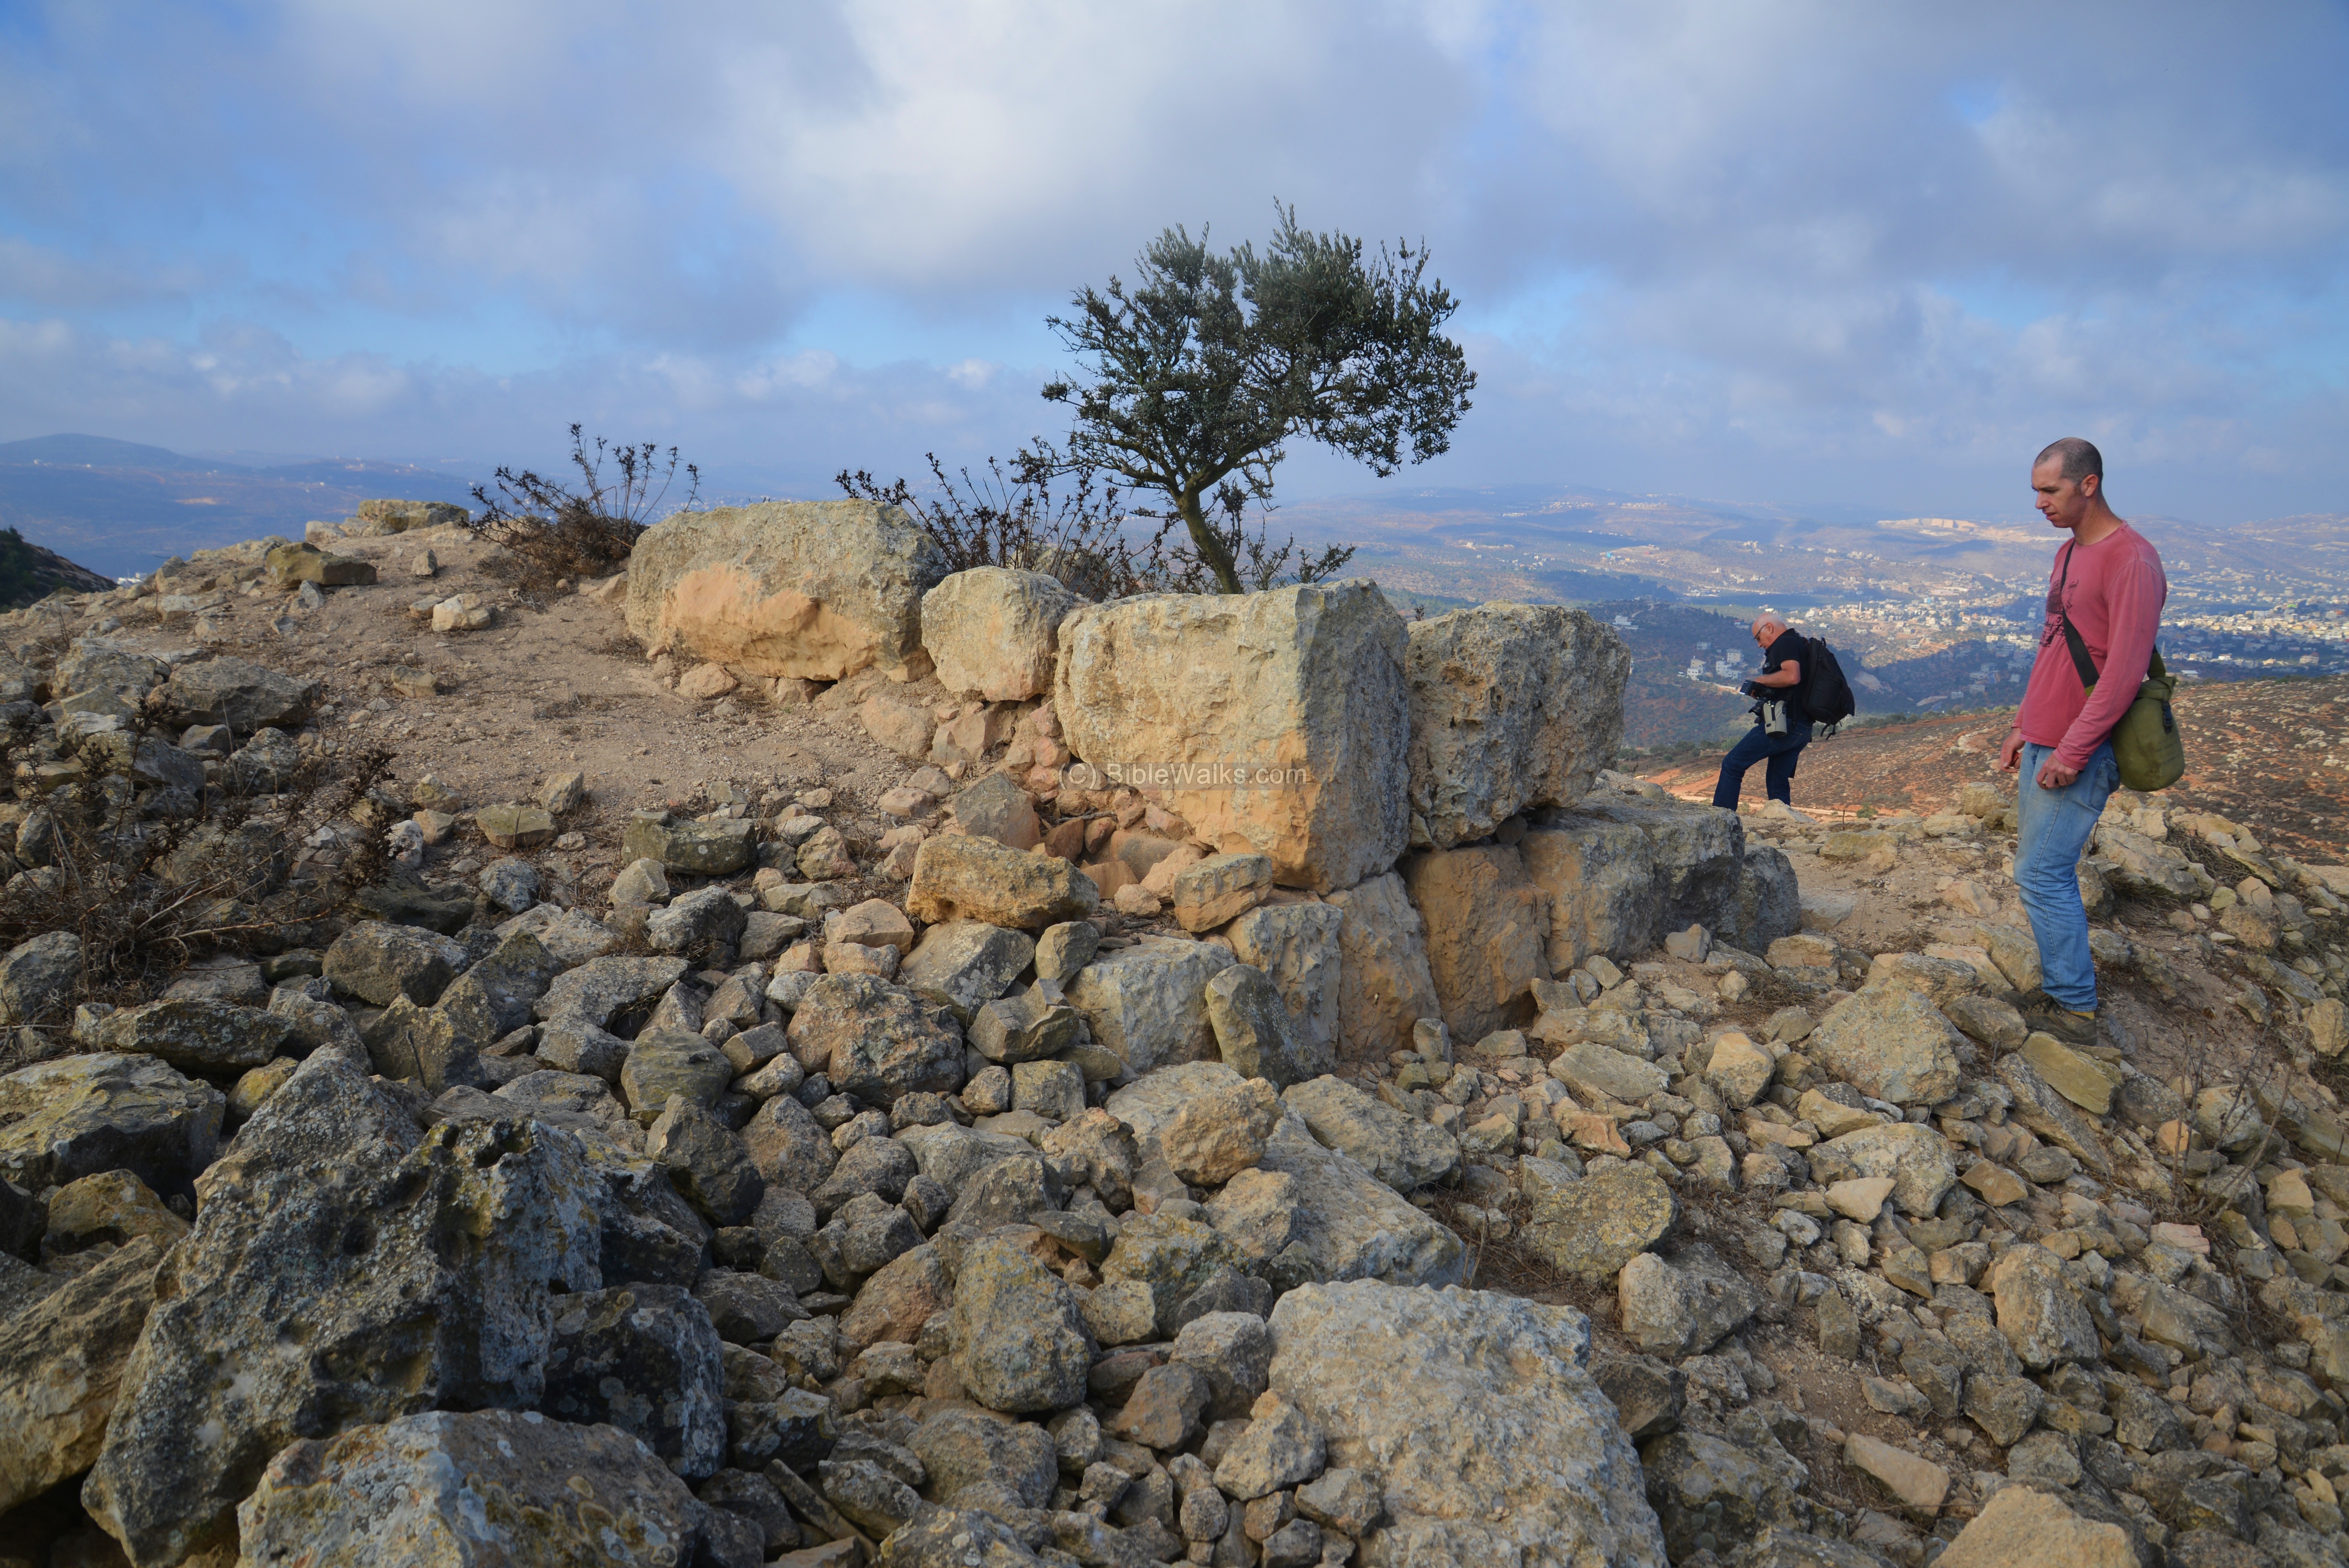
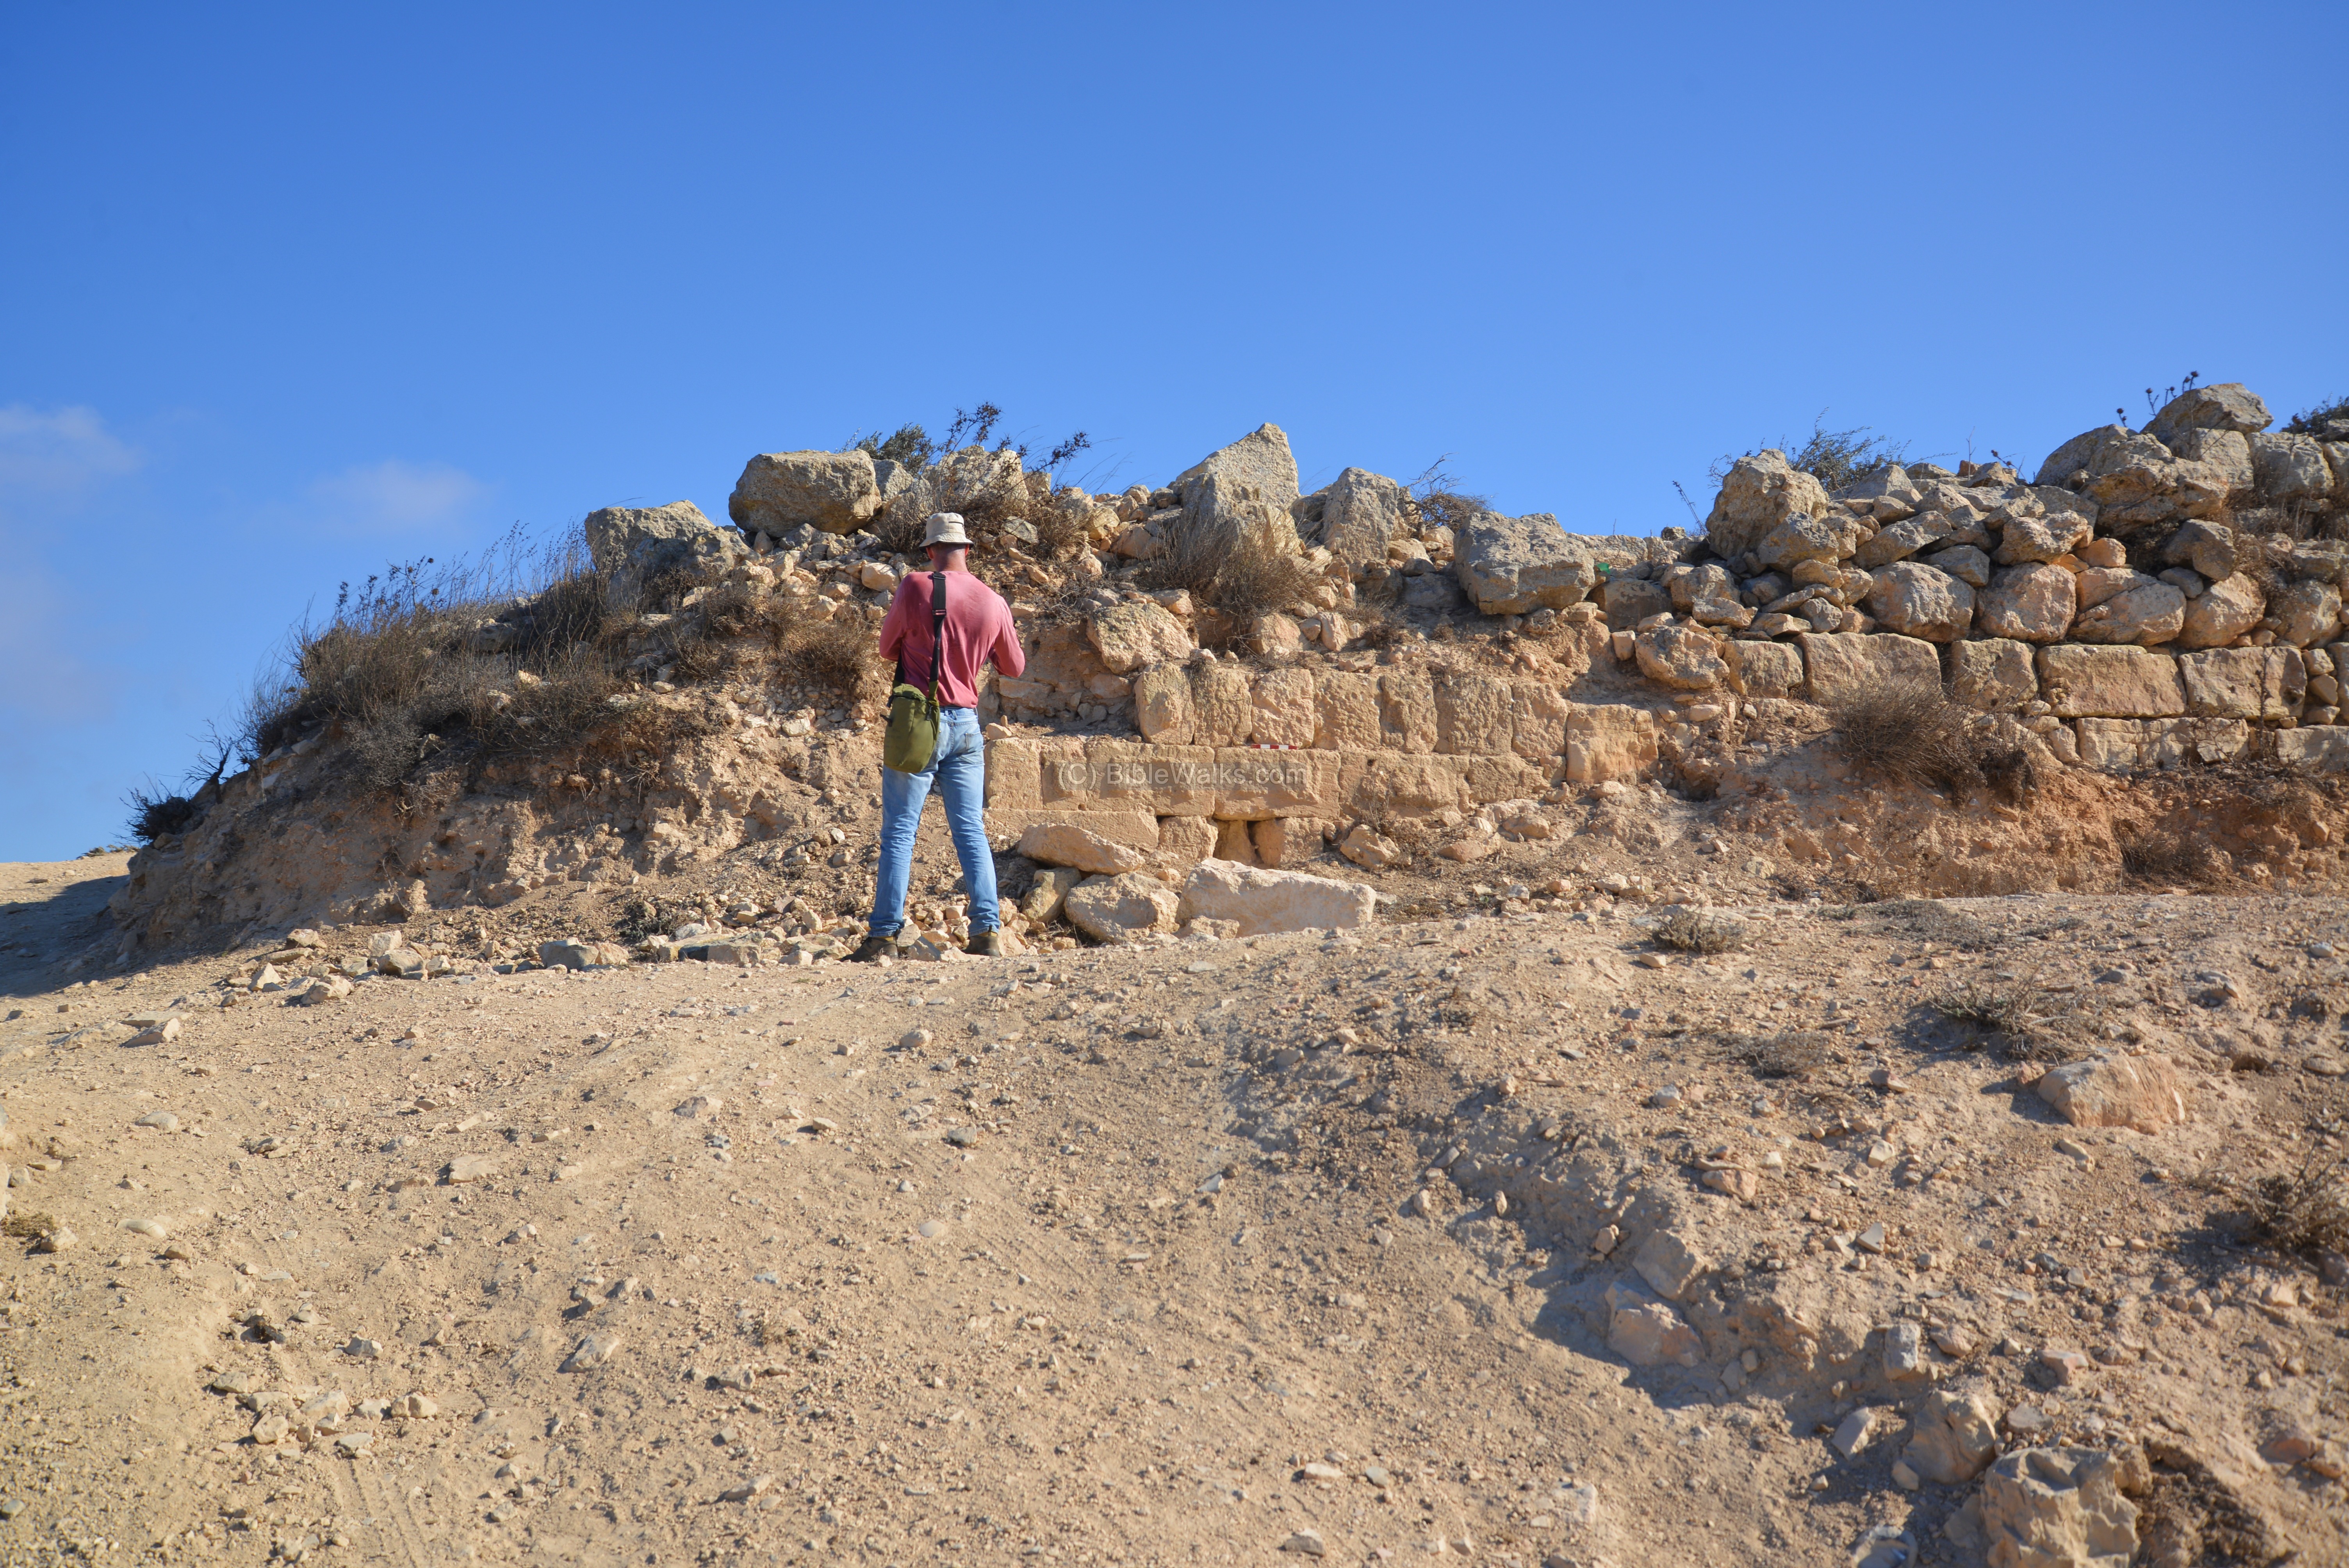
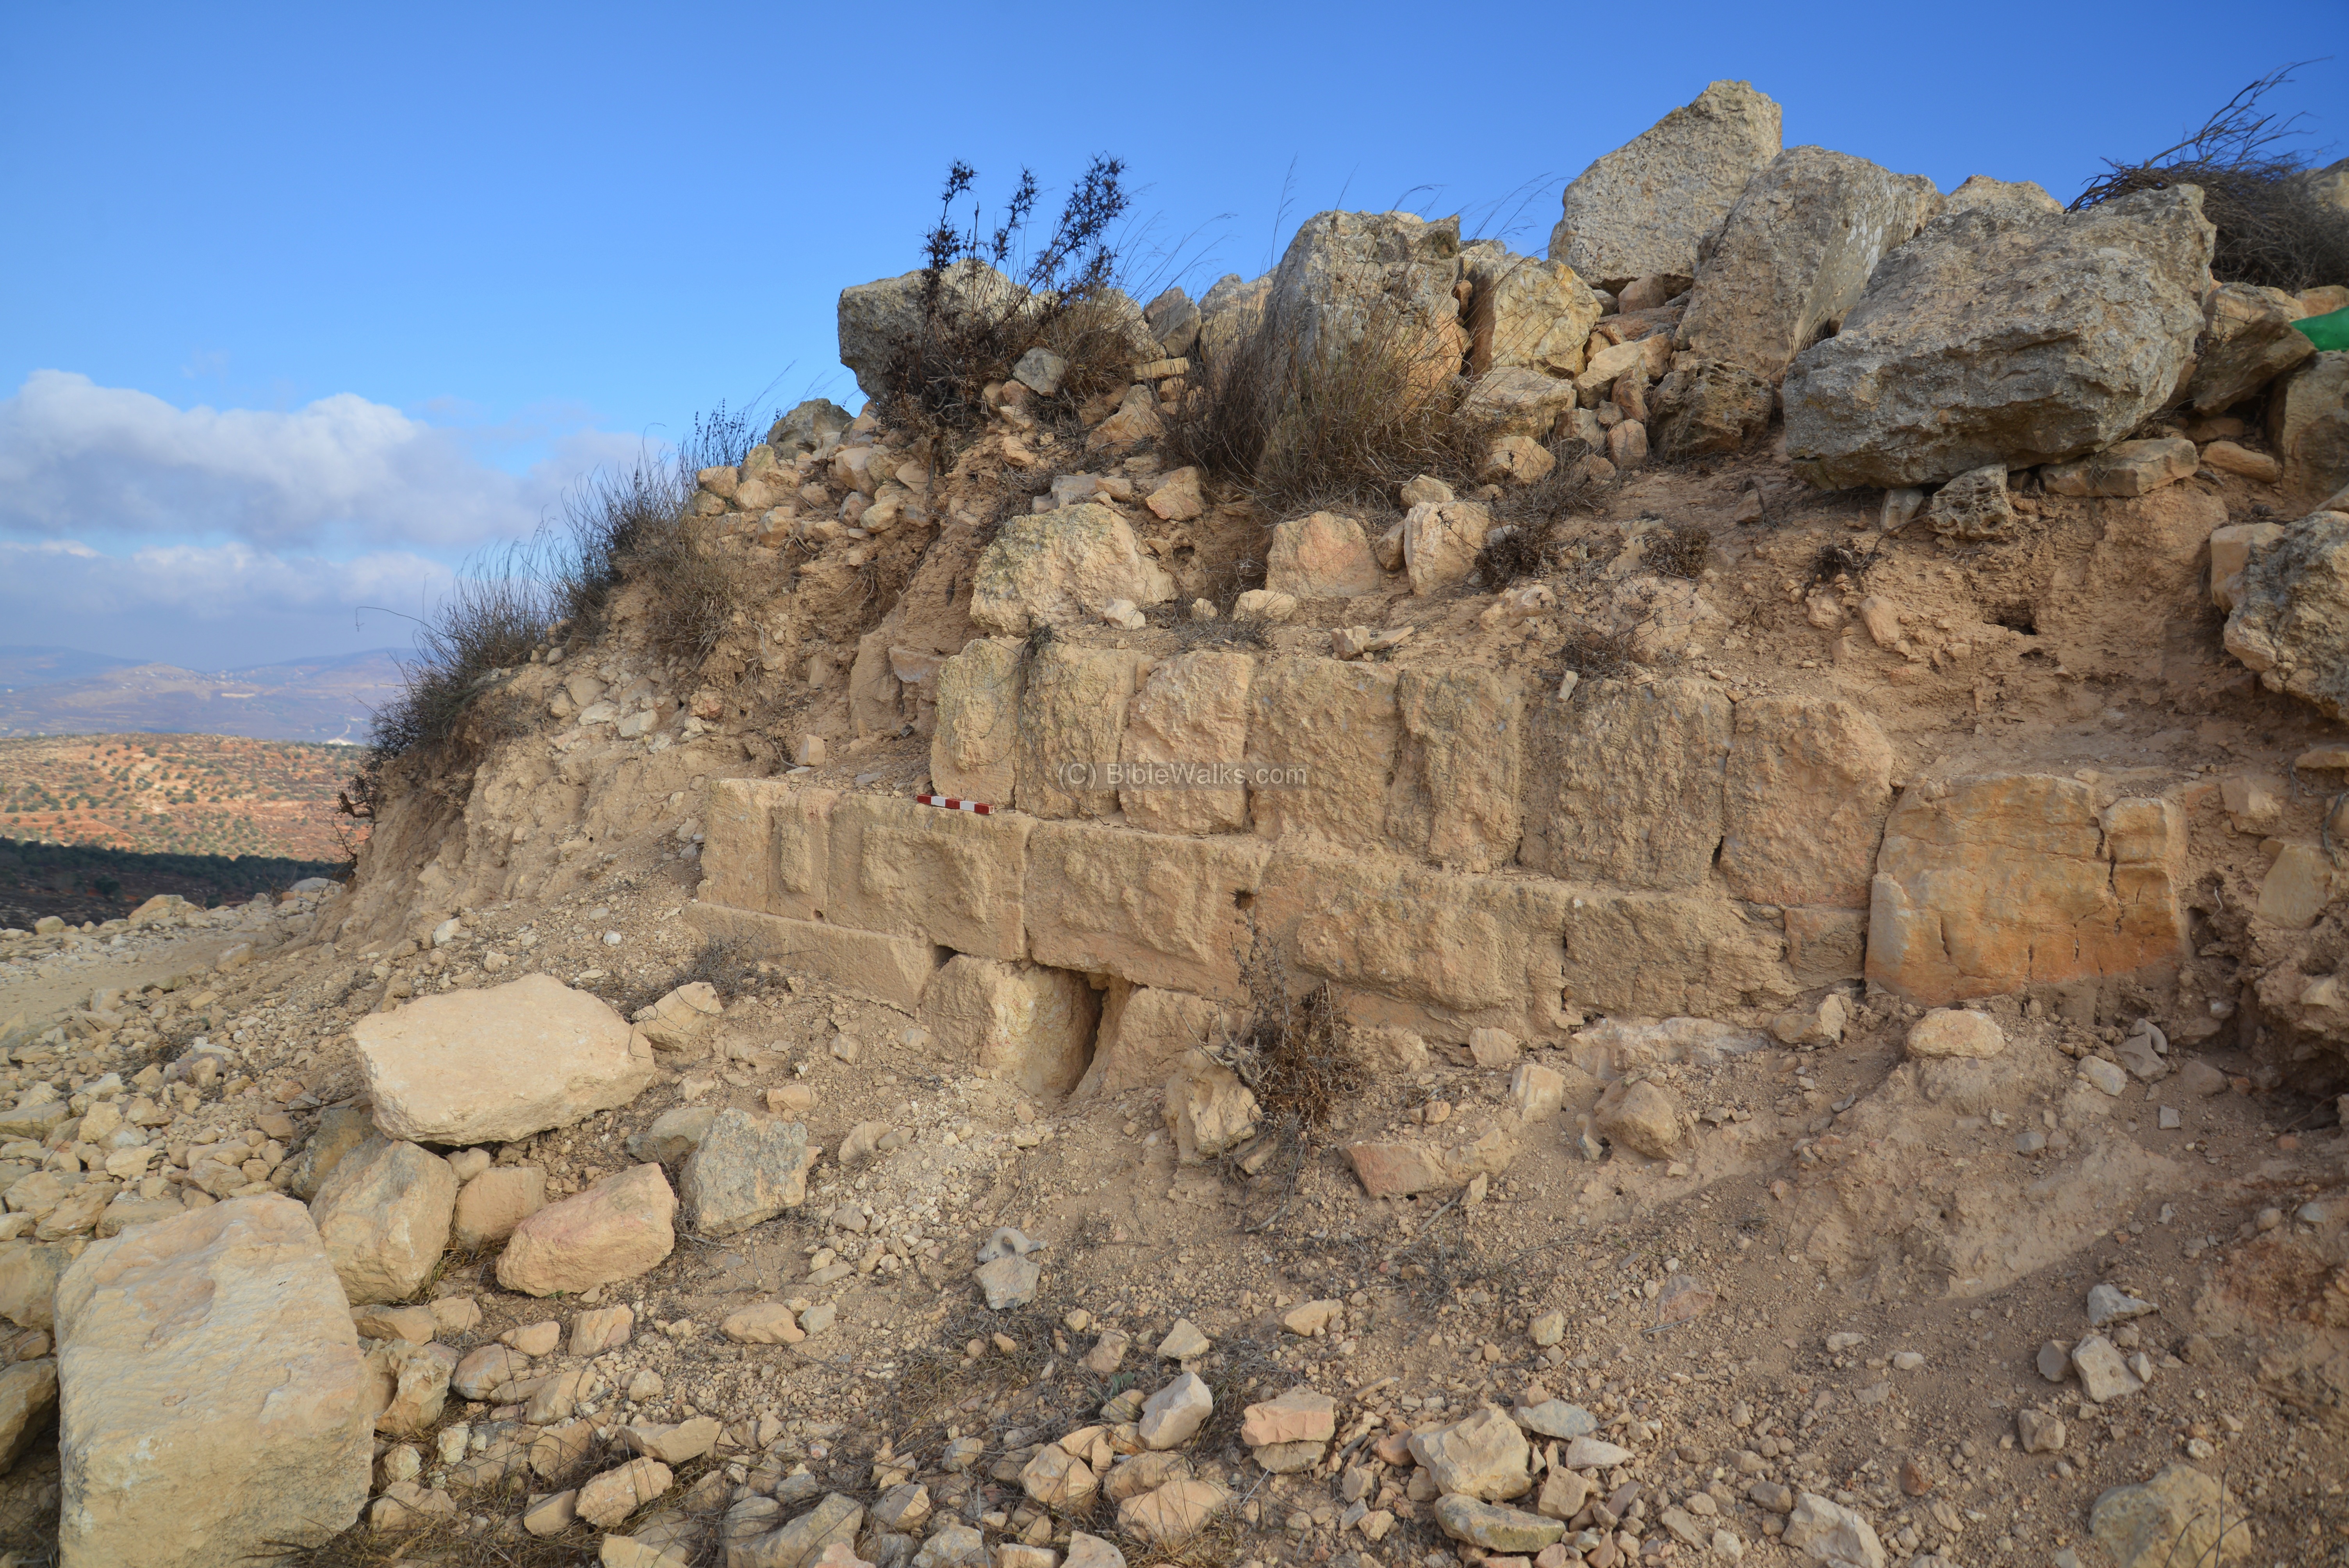
The southern side of the summit were two towers on each of the corners. A section of the fortress wall, part of the the south eastern tower, is seen in this photo:

A closer view of the base of the wall, with its large Hasmonean stones. The archaeological meter scale has 5cm stripes, so the upper stone is 128cm long. The rectangular limestone ashlars feature drafted margins with a prominent boss (protrusion) in the center, characteristic of monumental Hasmonean and Hasmonean architecture style.
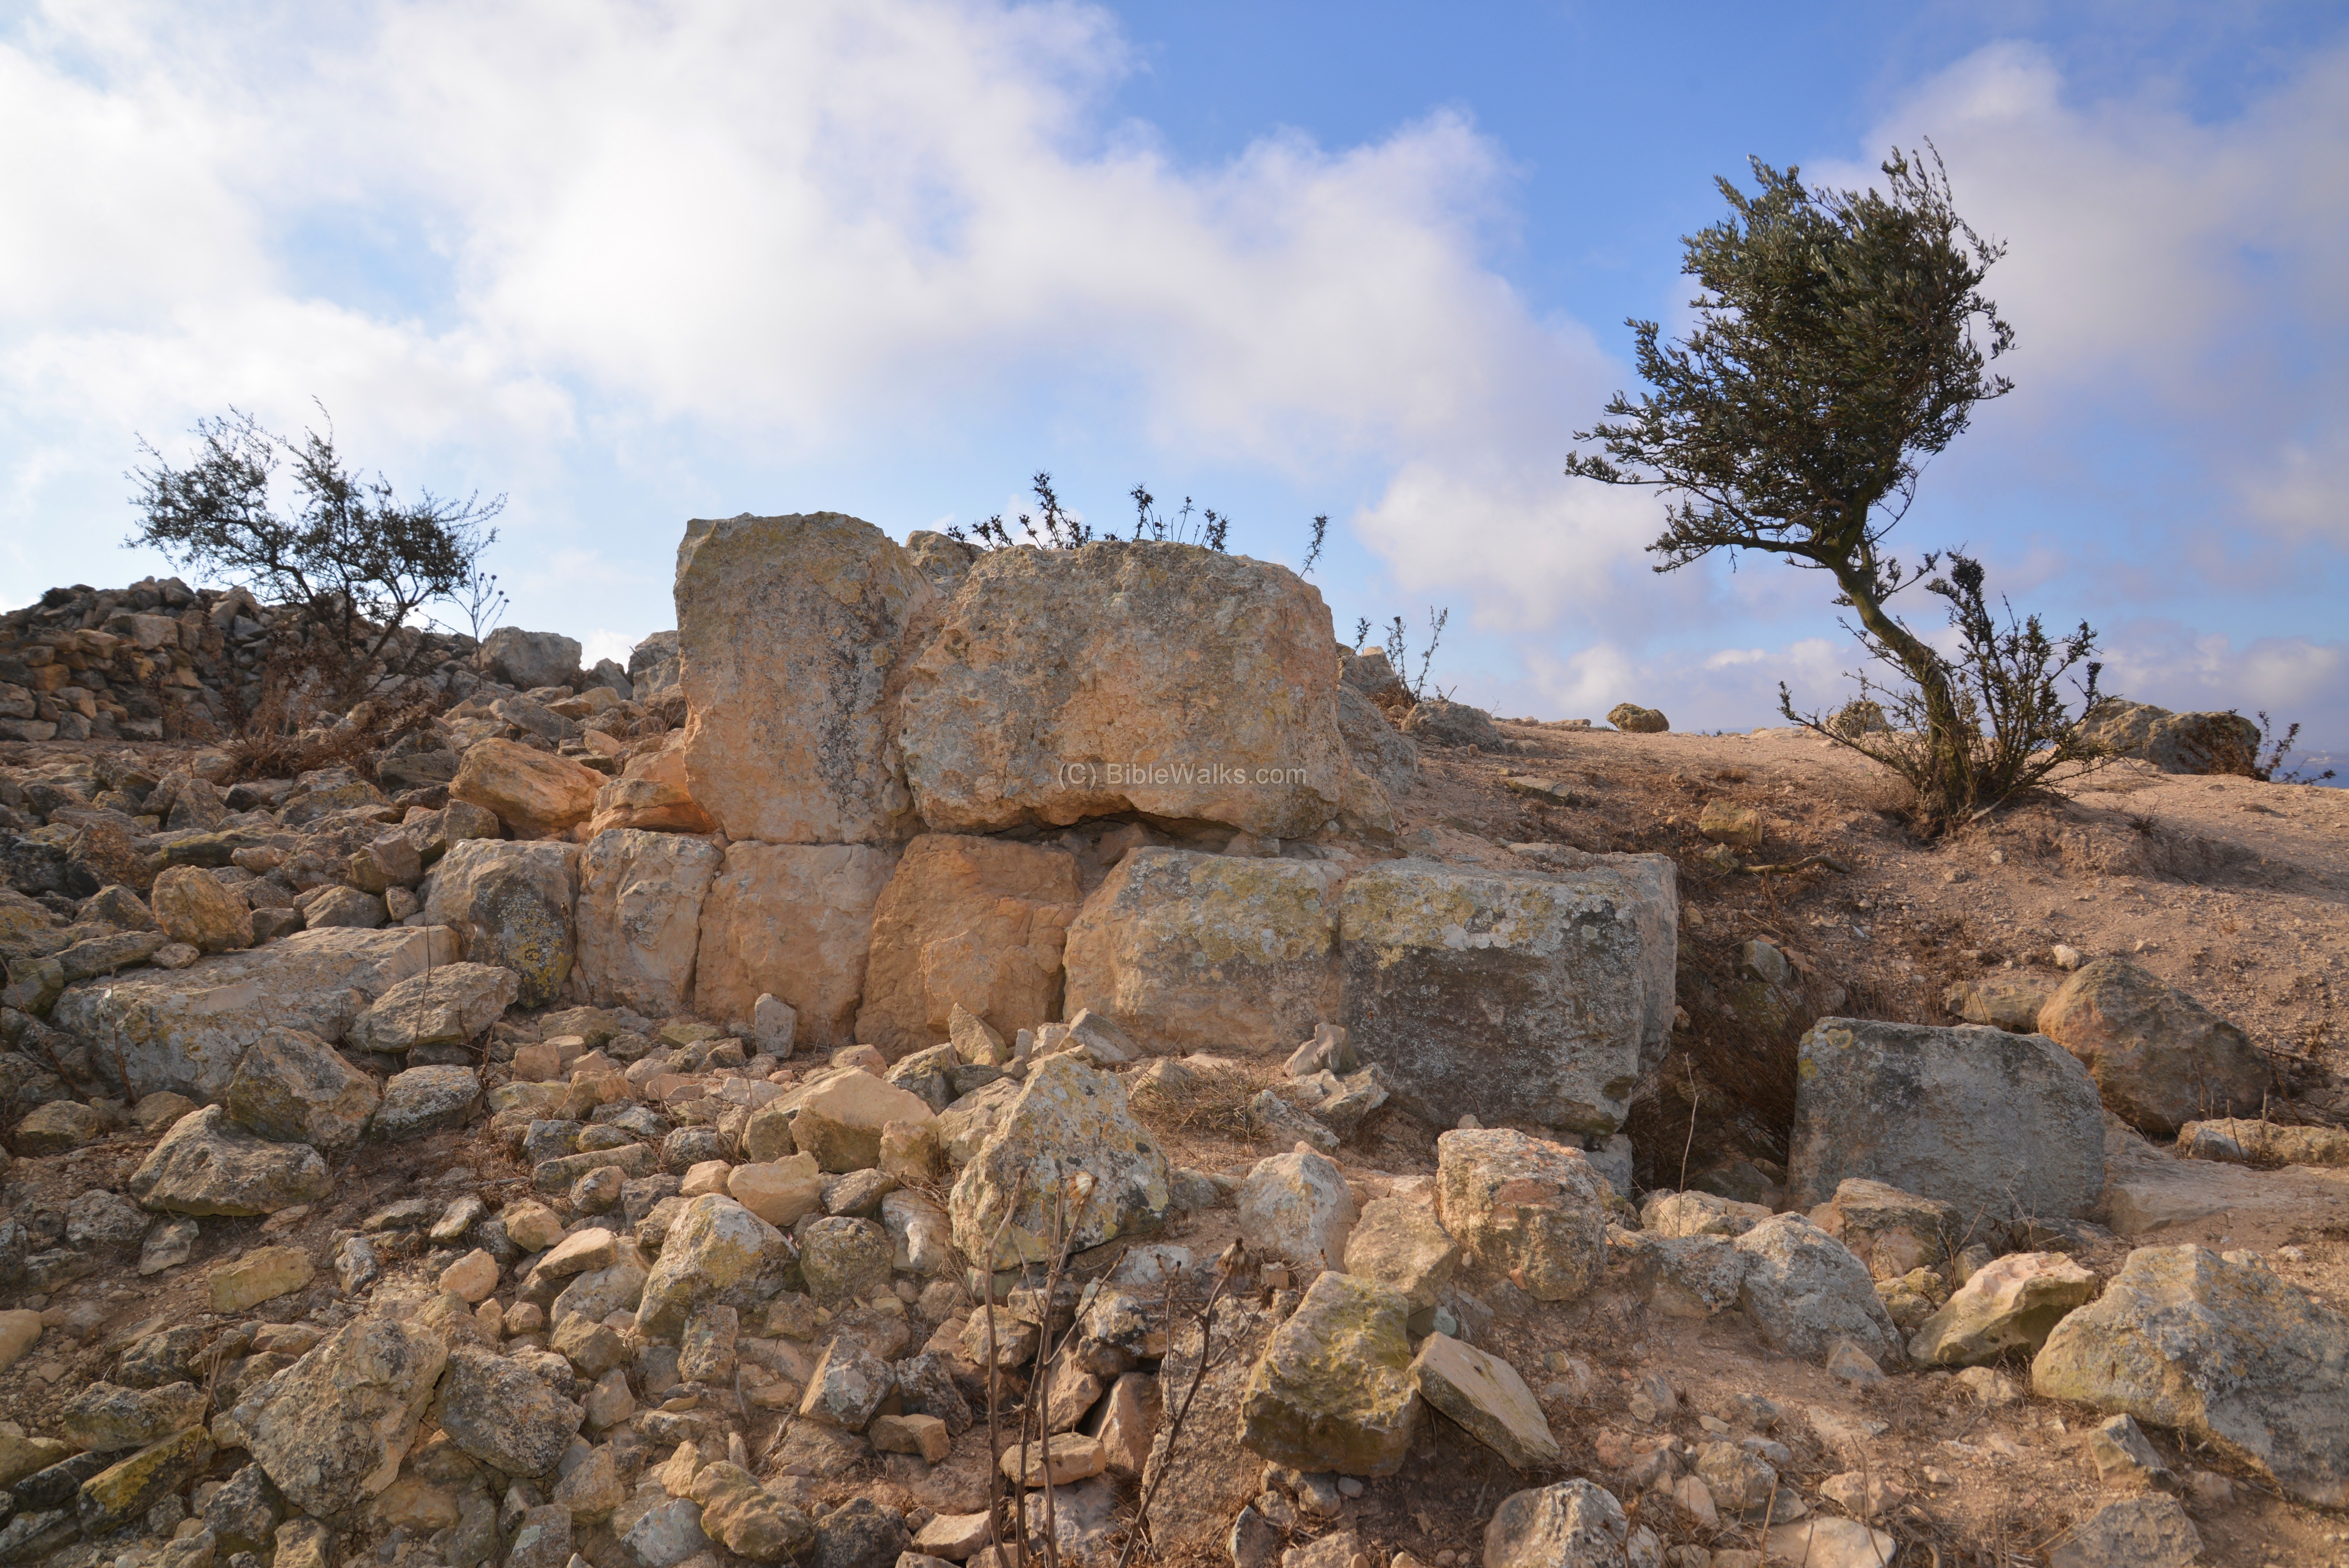
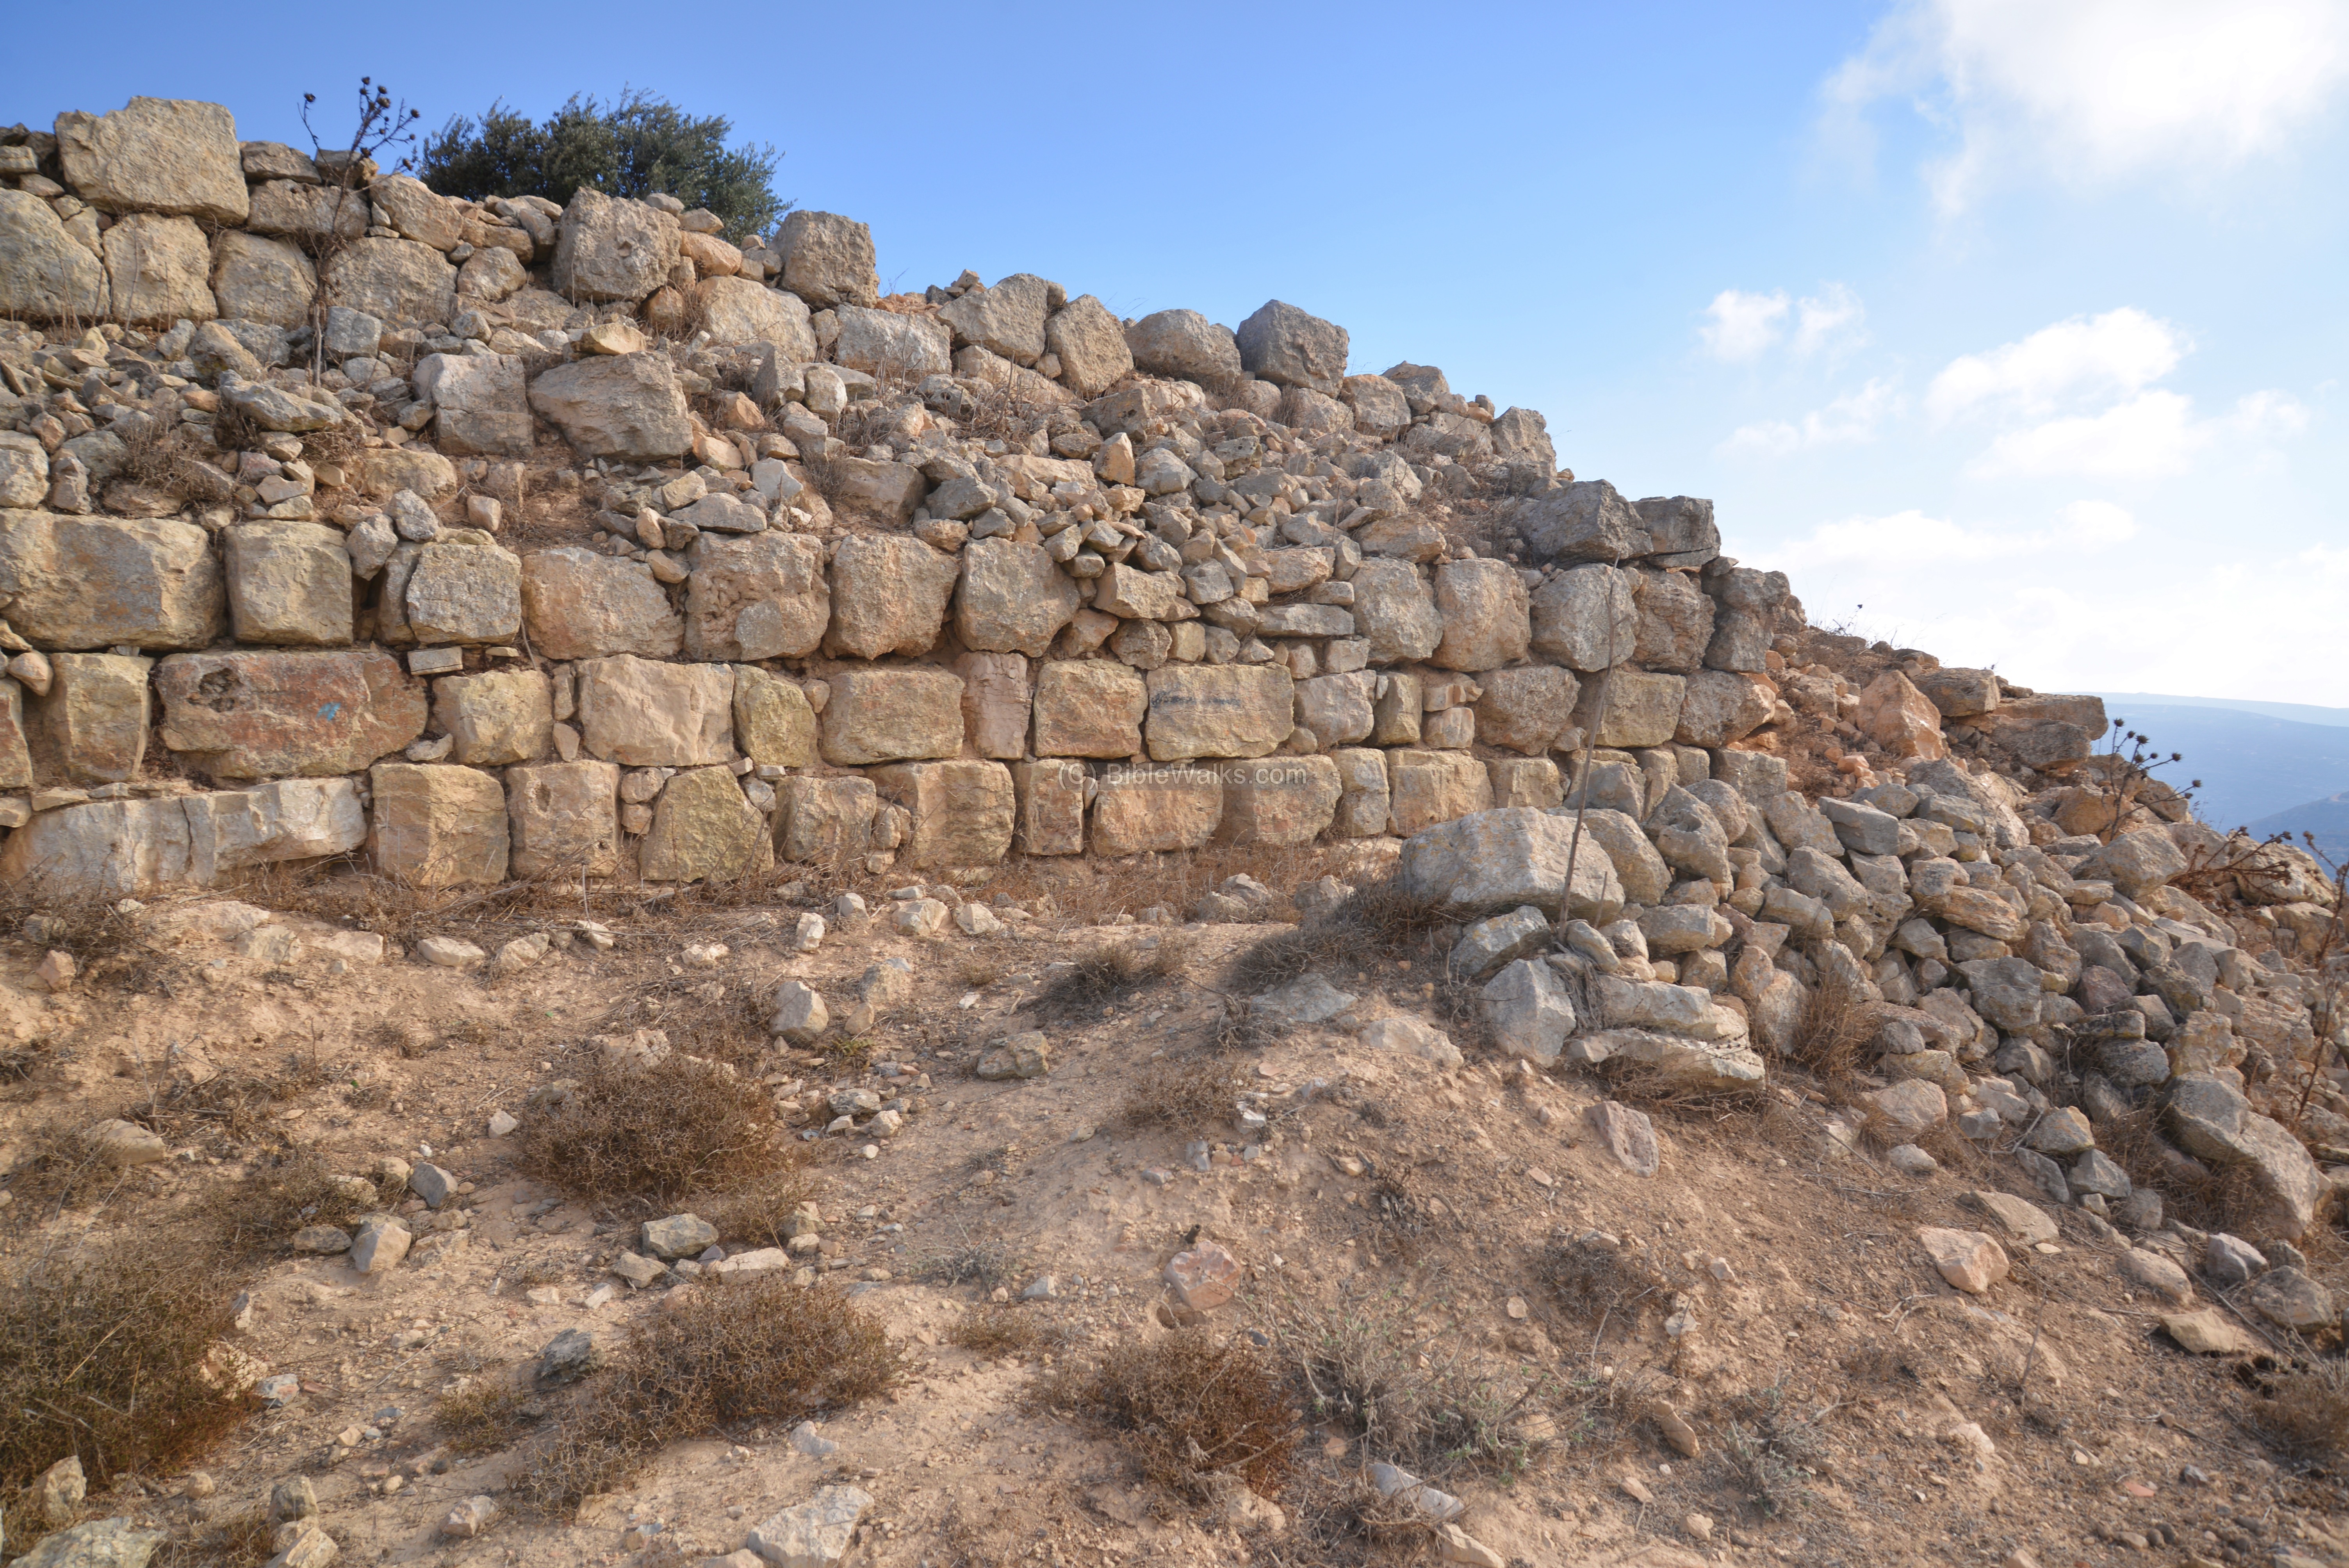
On the western side is a second tower, whose base is seen in the following photo:
A closer view of this section of the base of the tower is in the next photo. Again, the ashlars have drafted margins with a central part that sticks out.
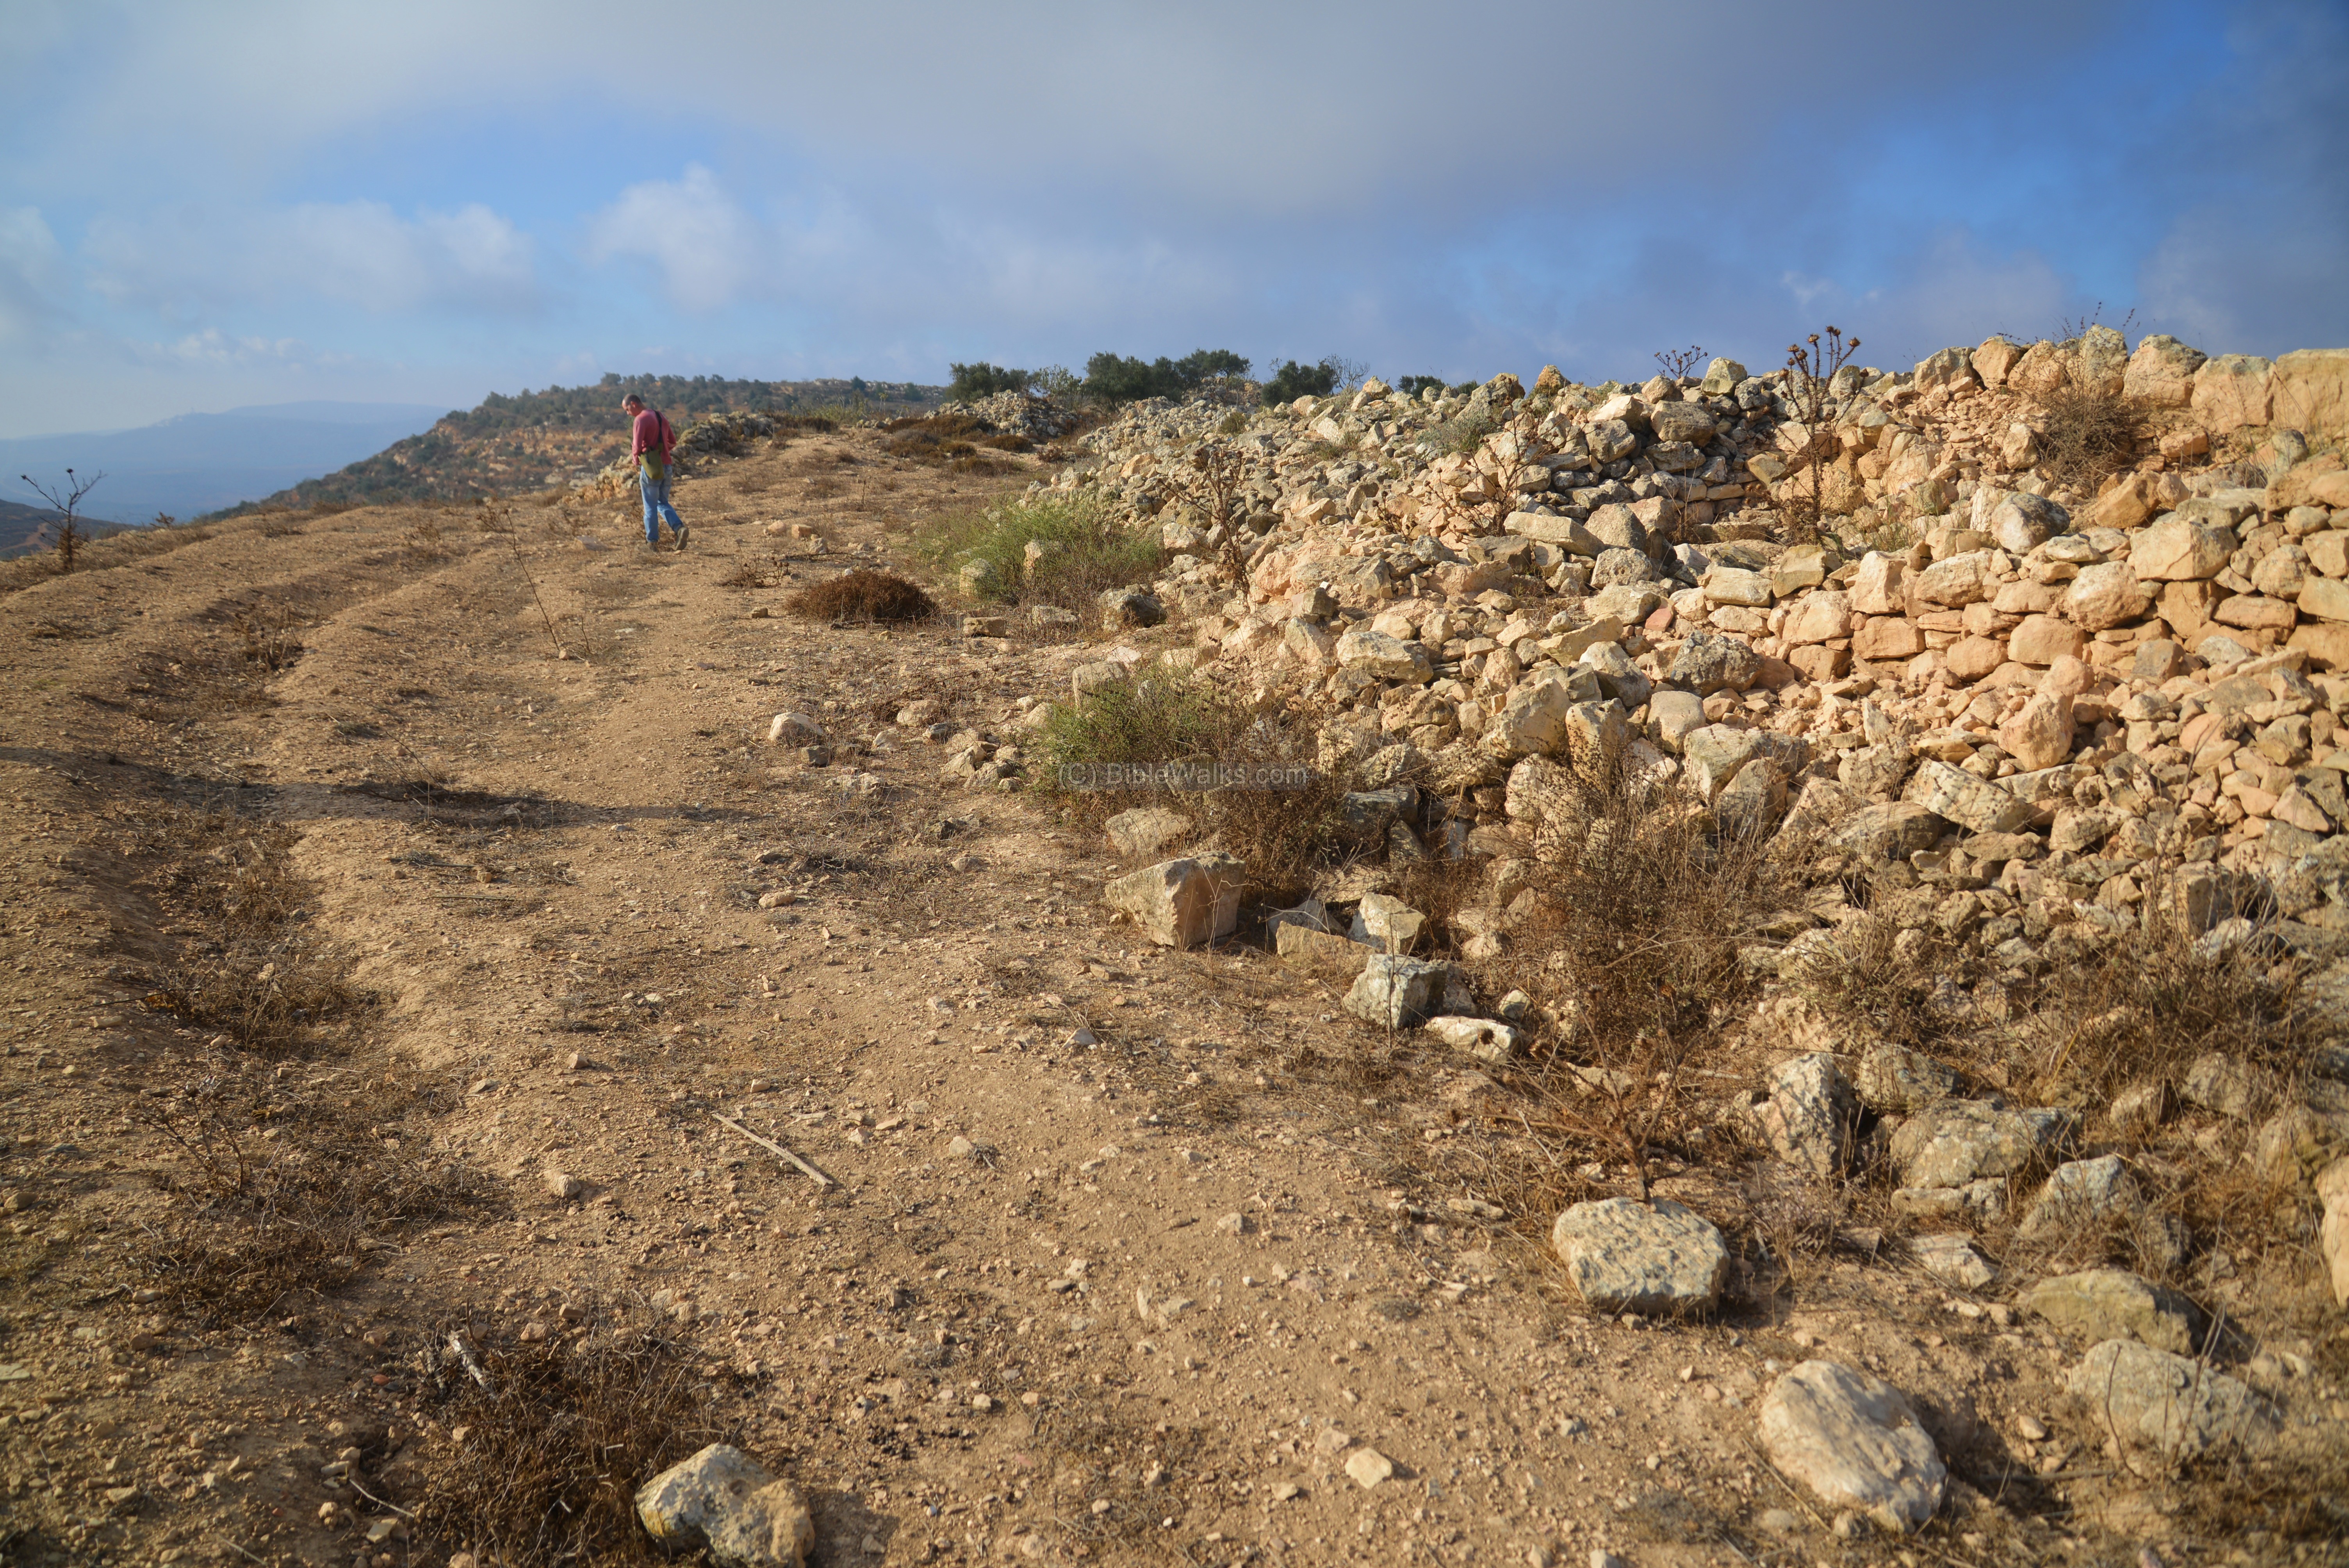
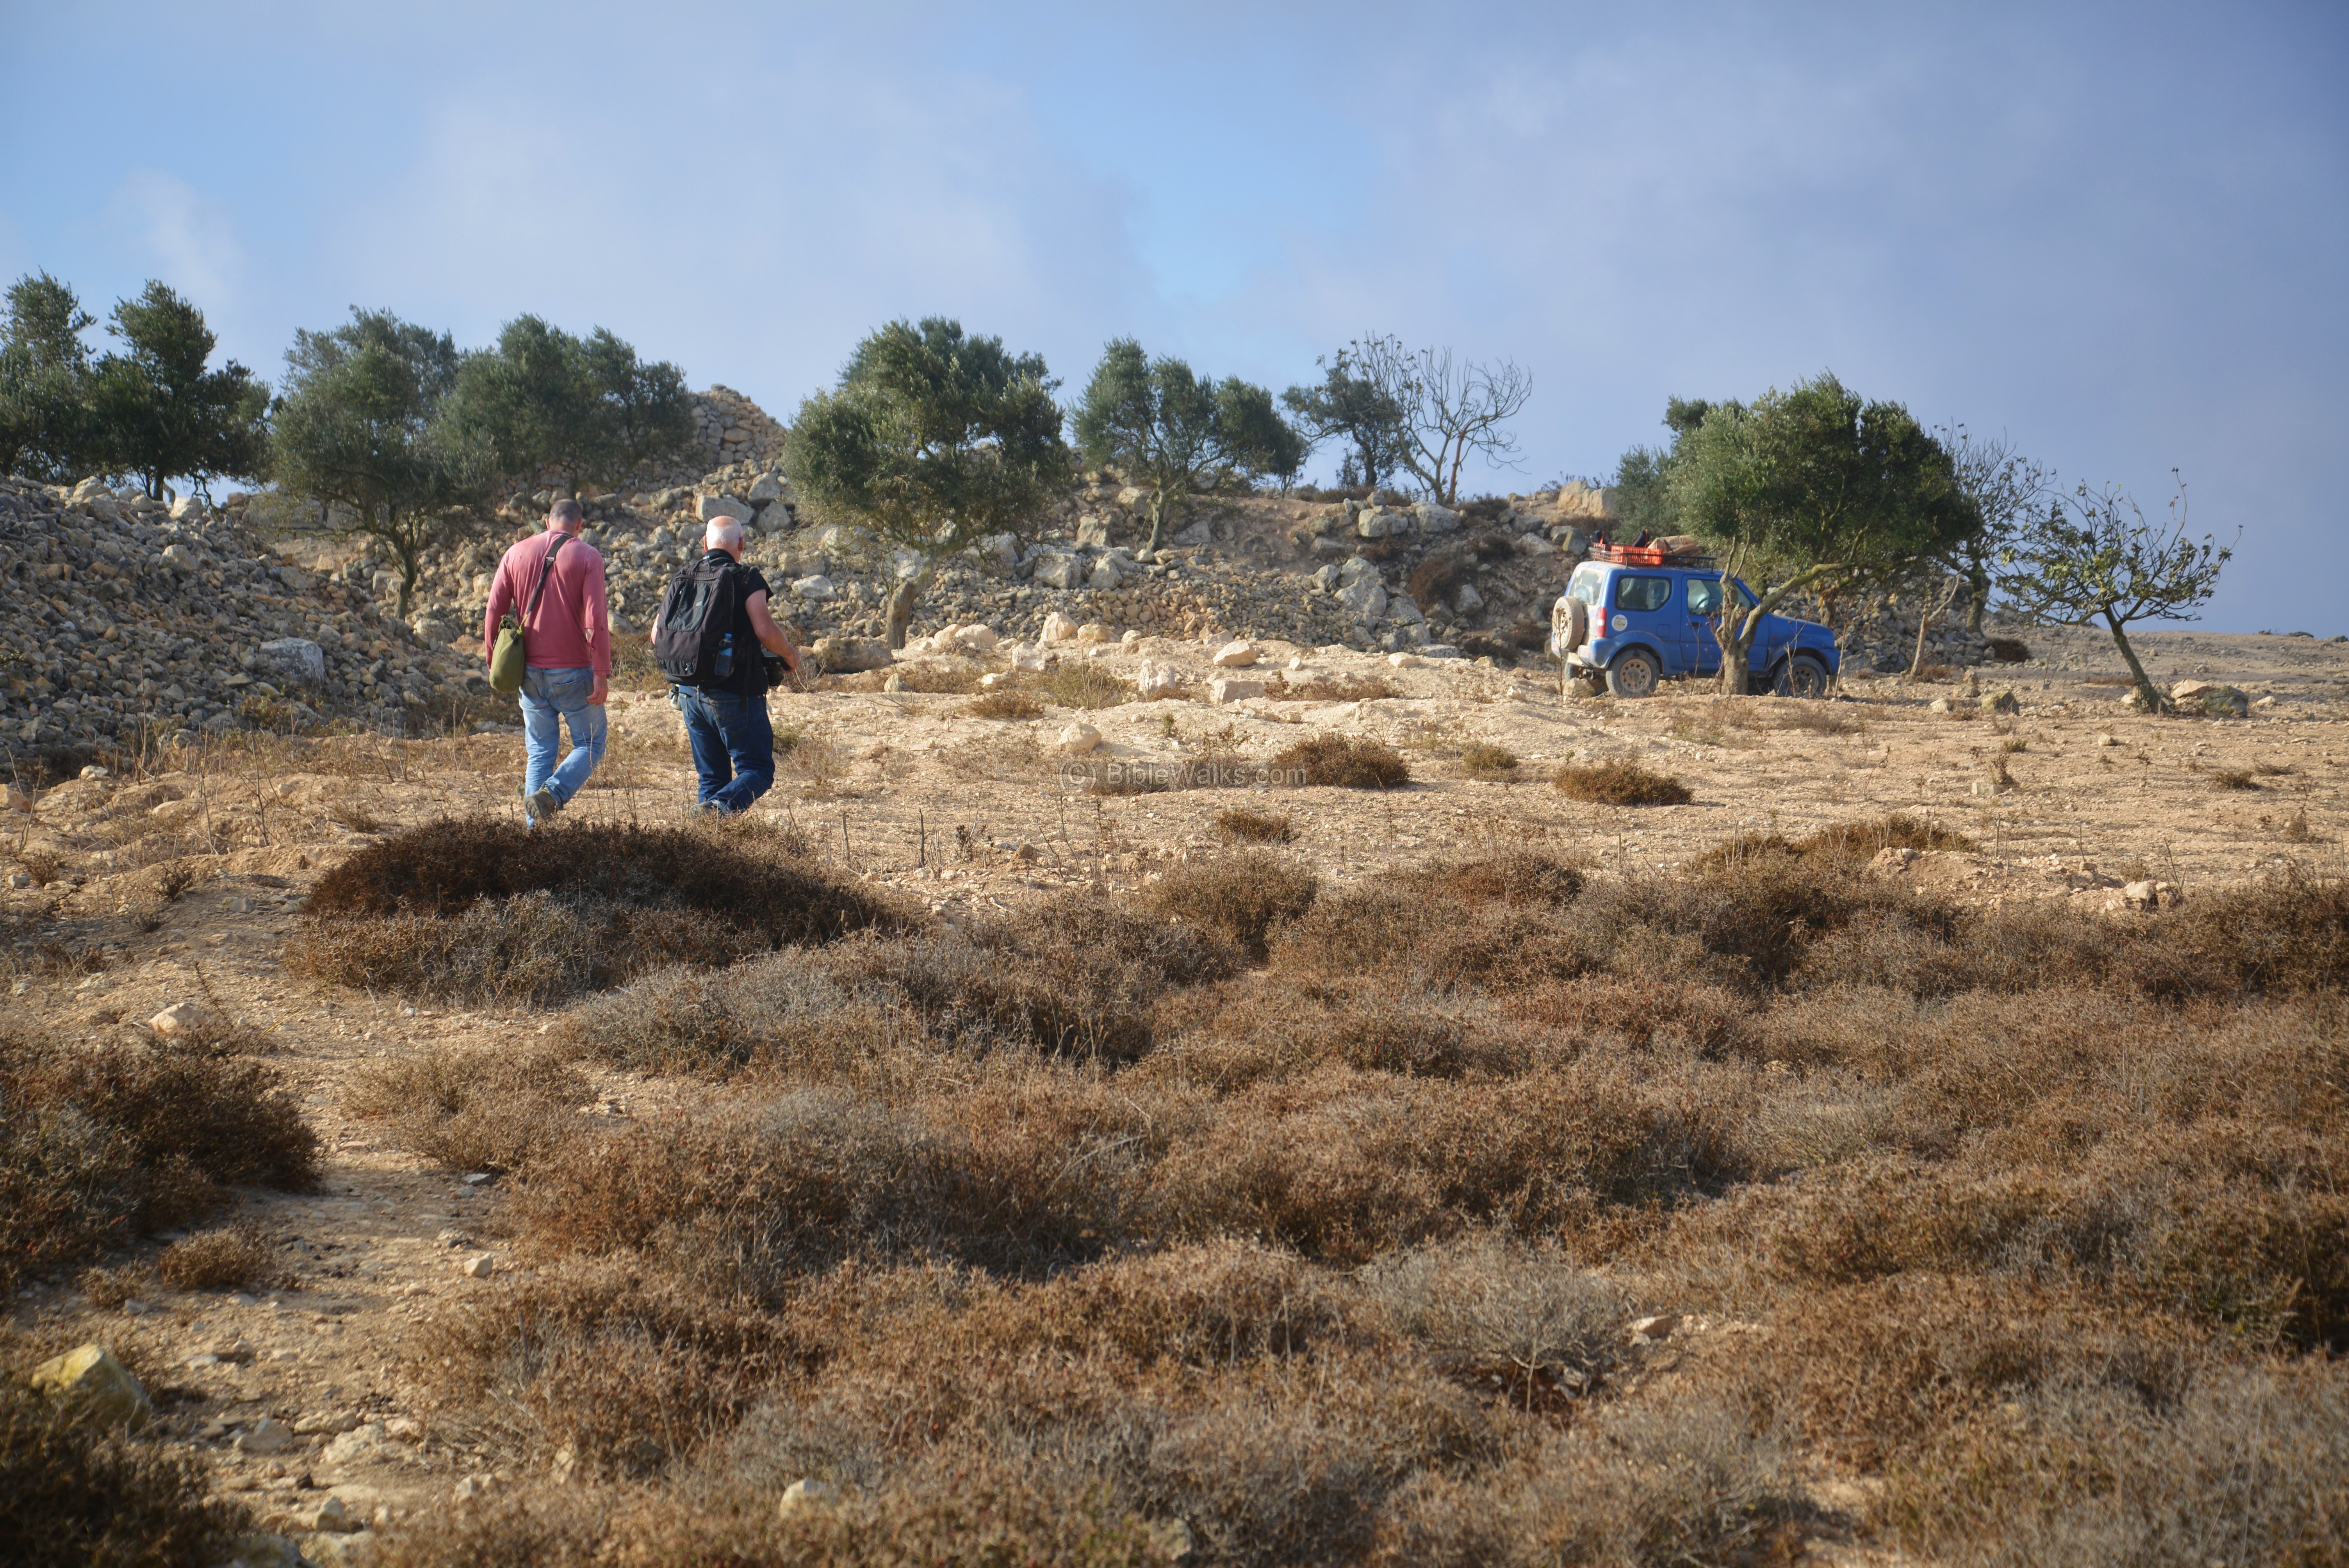
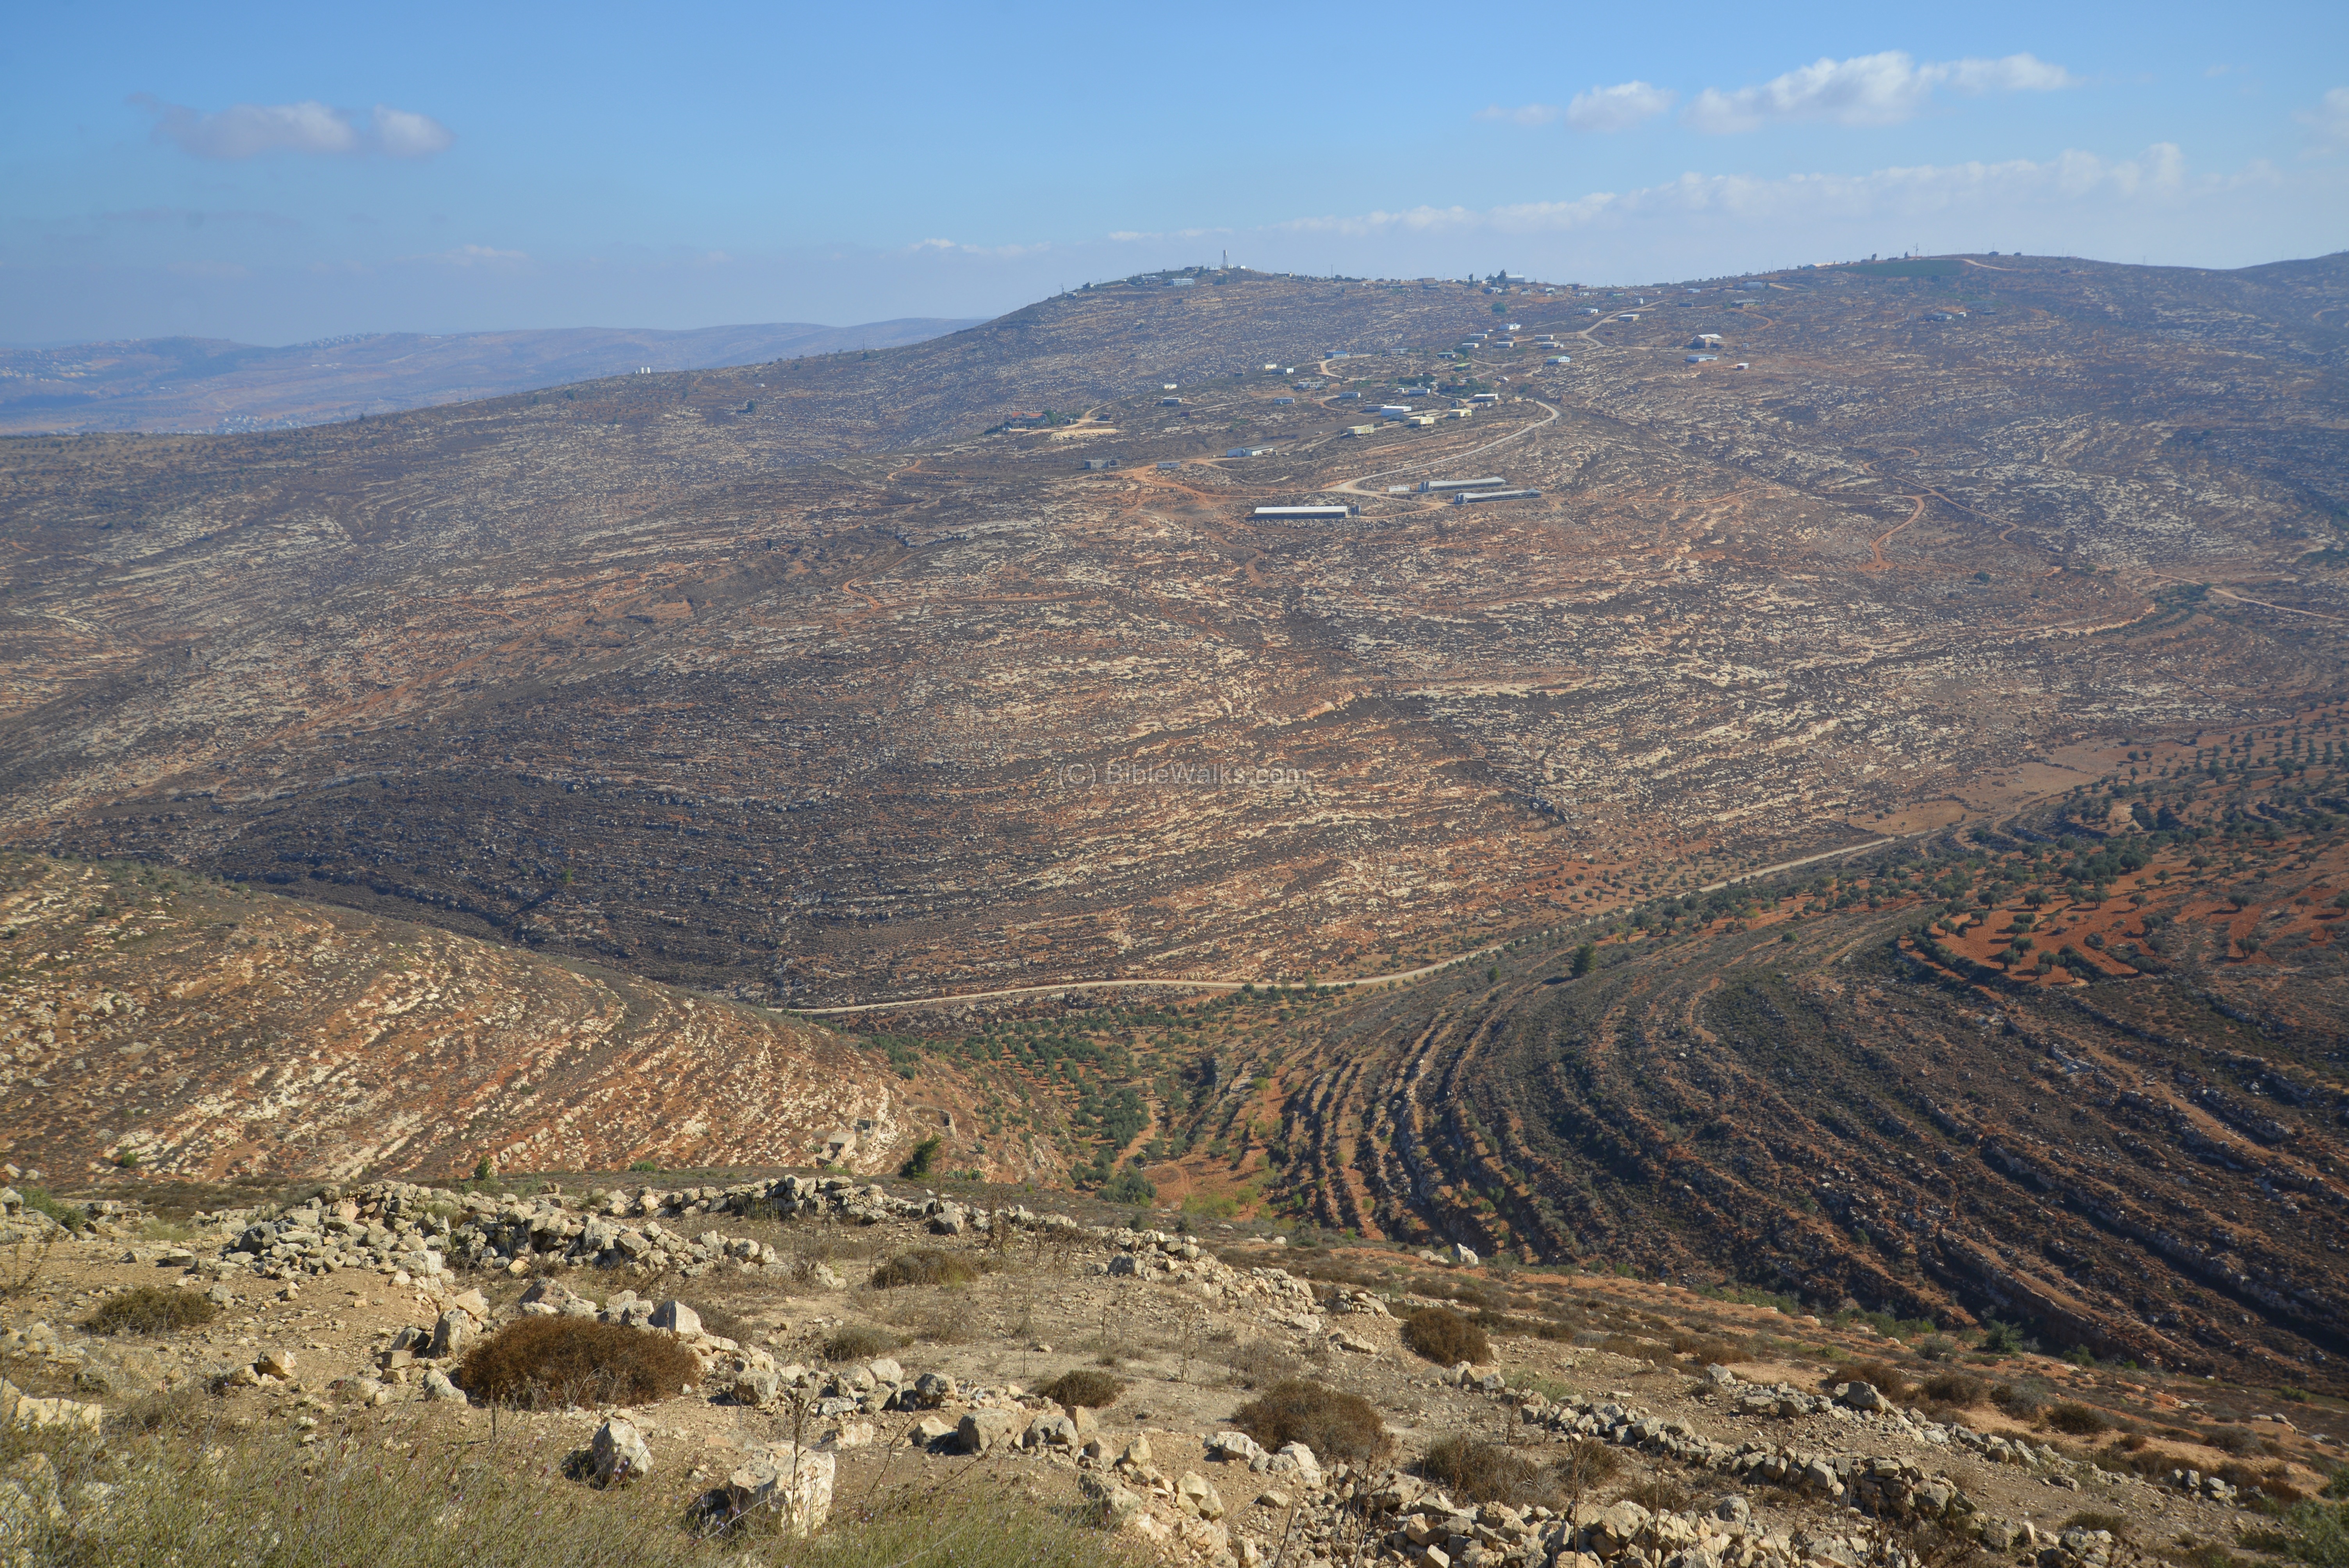
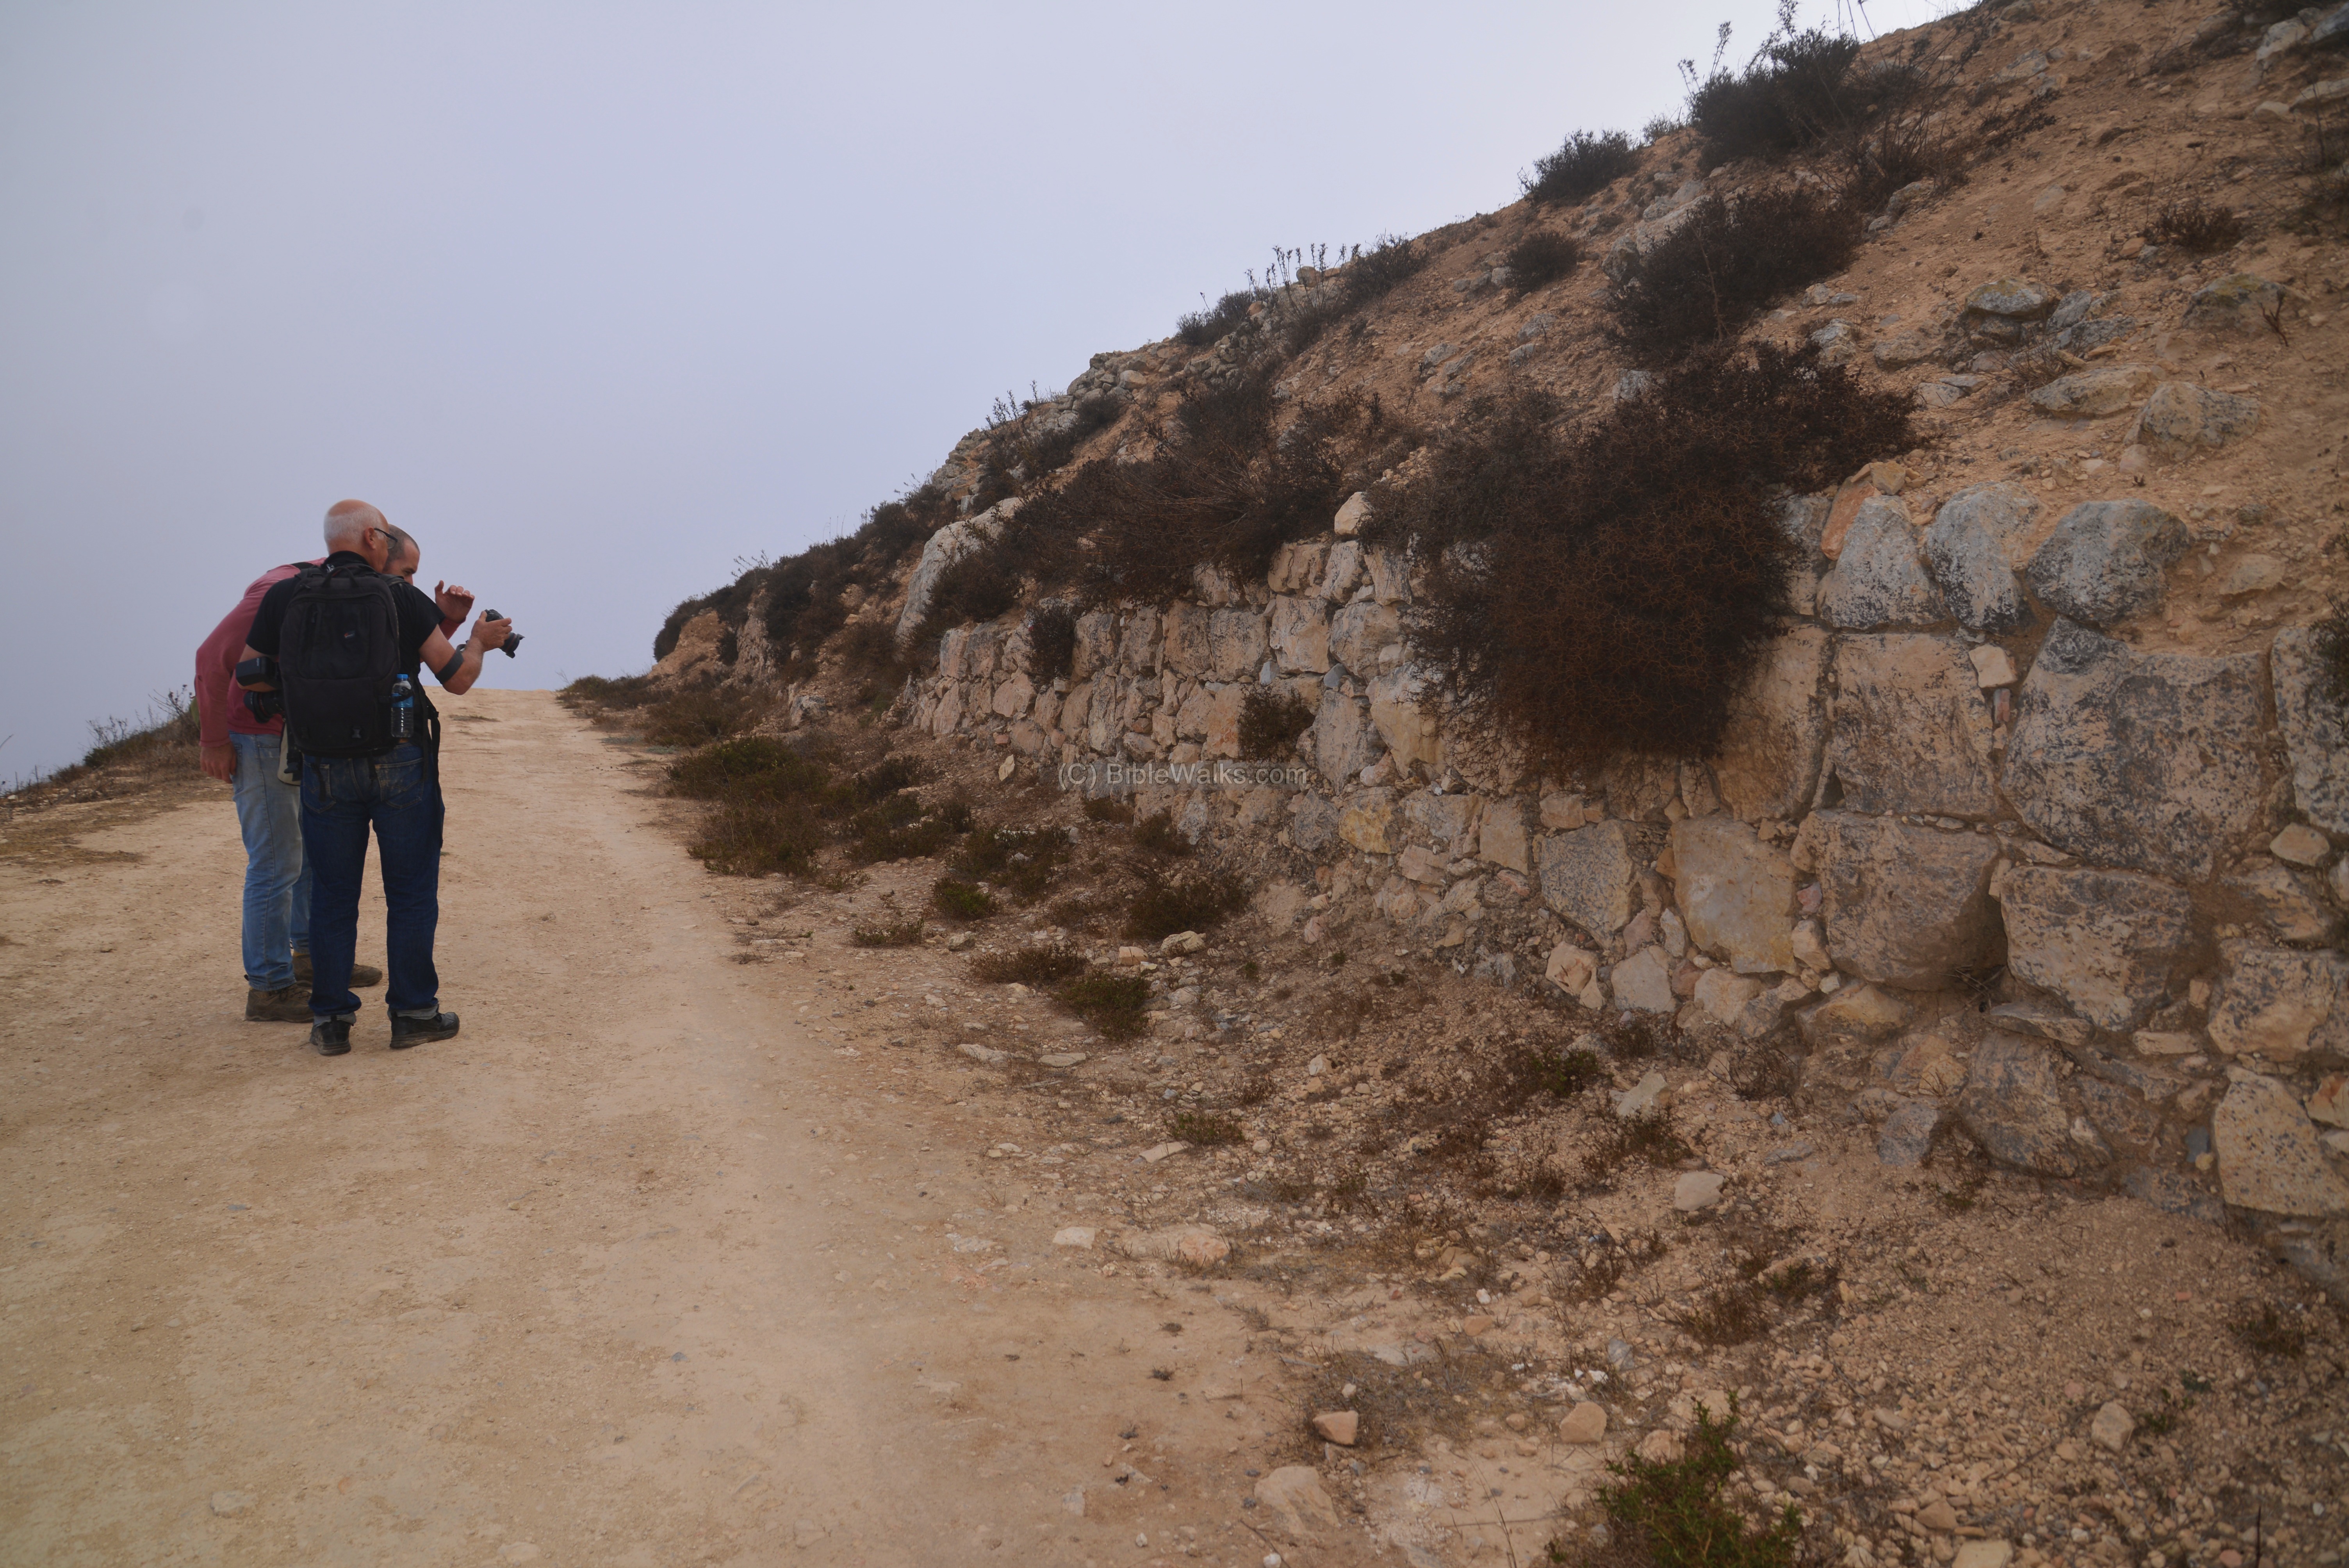
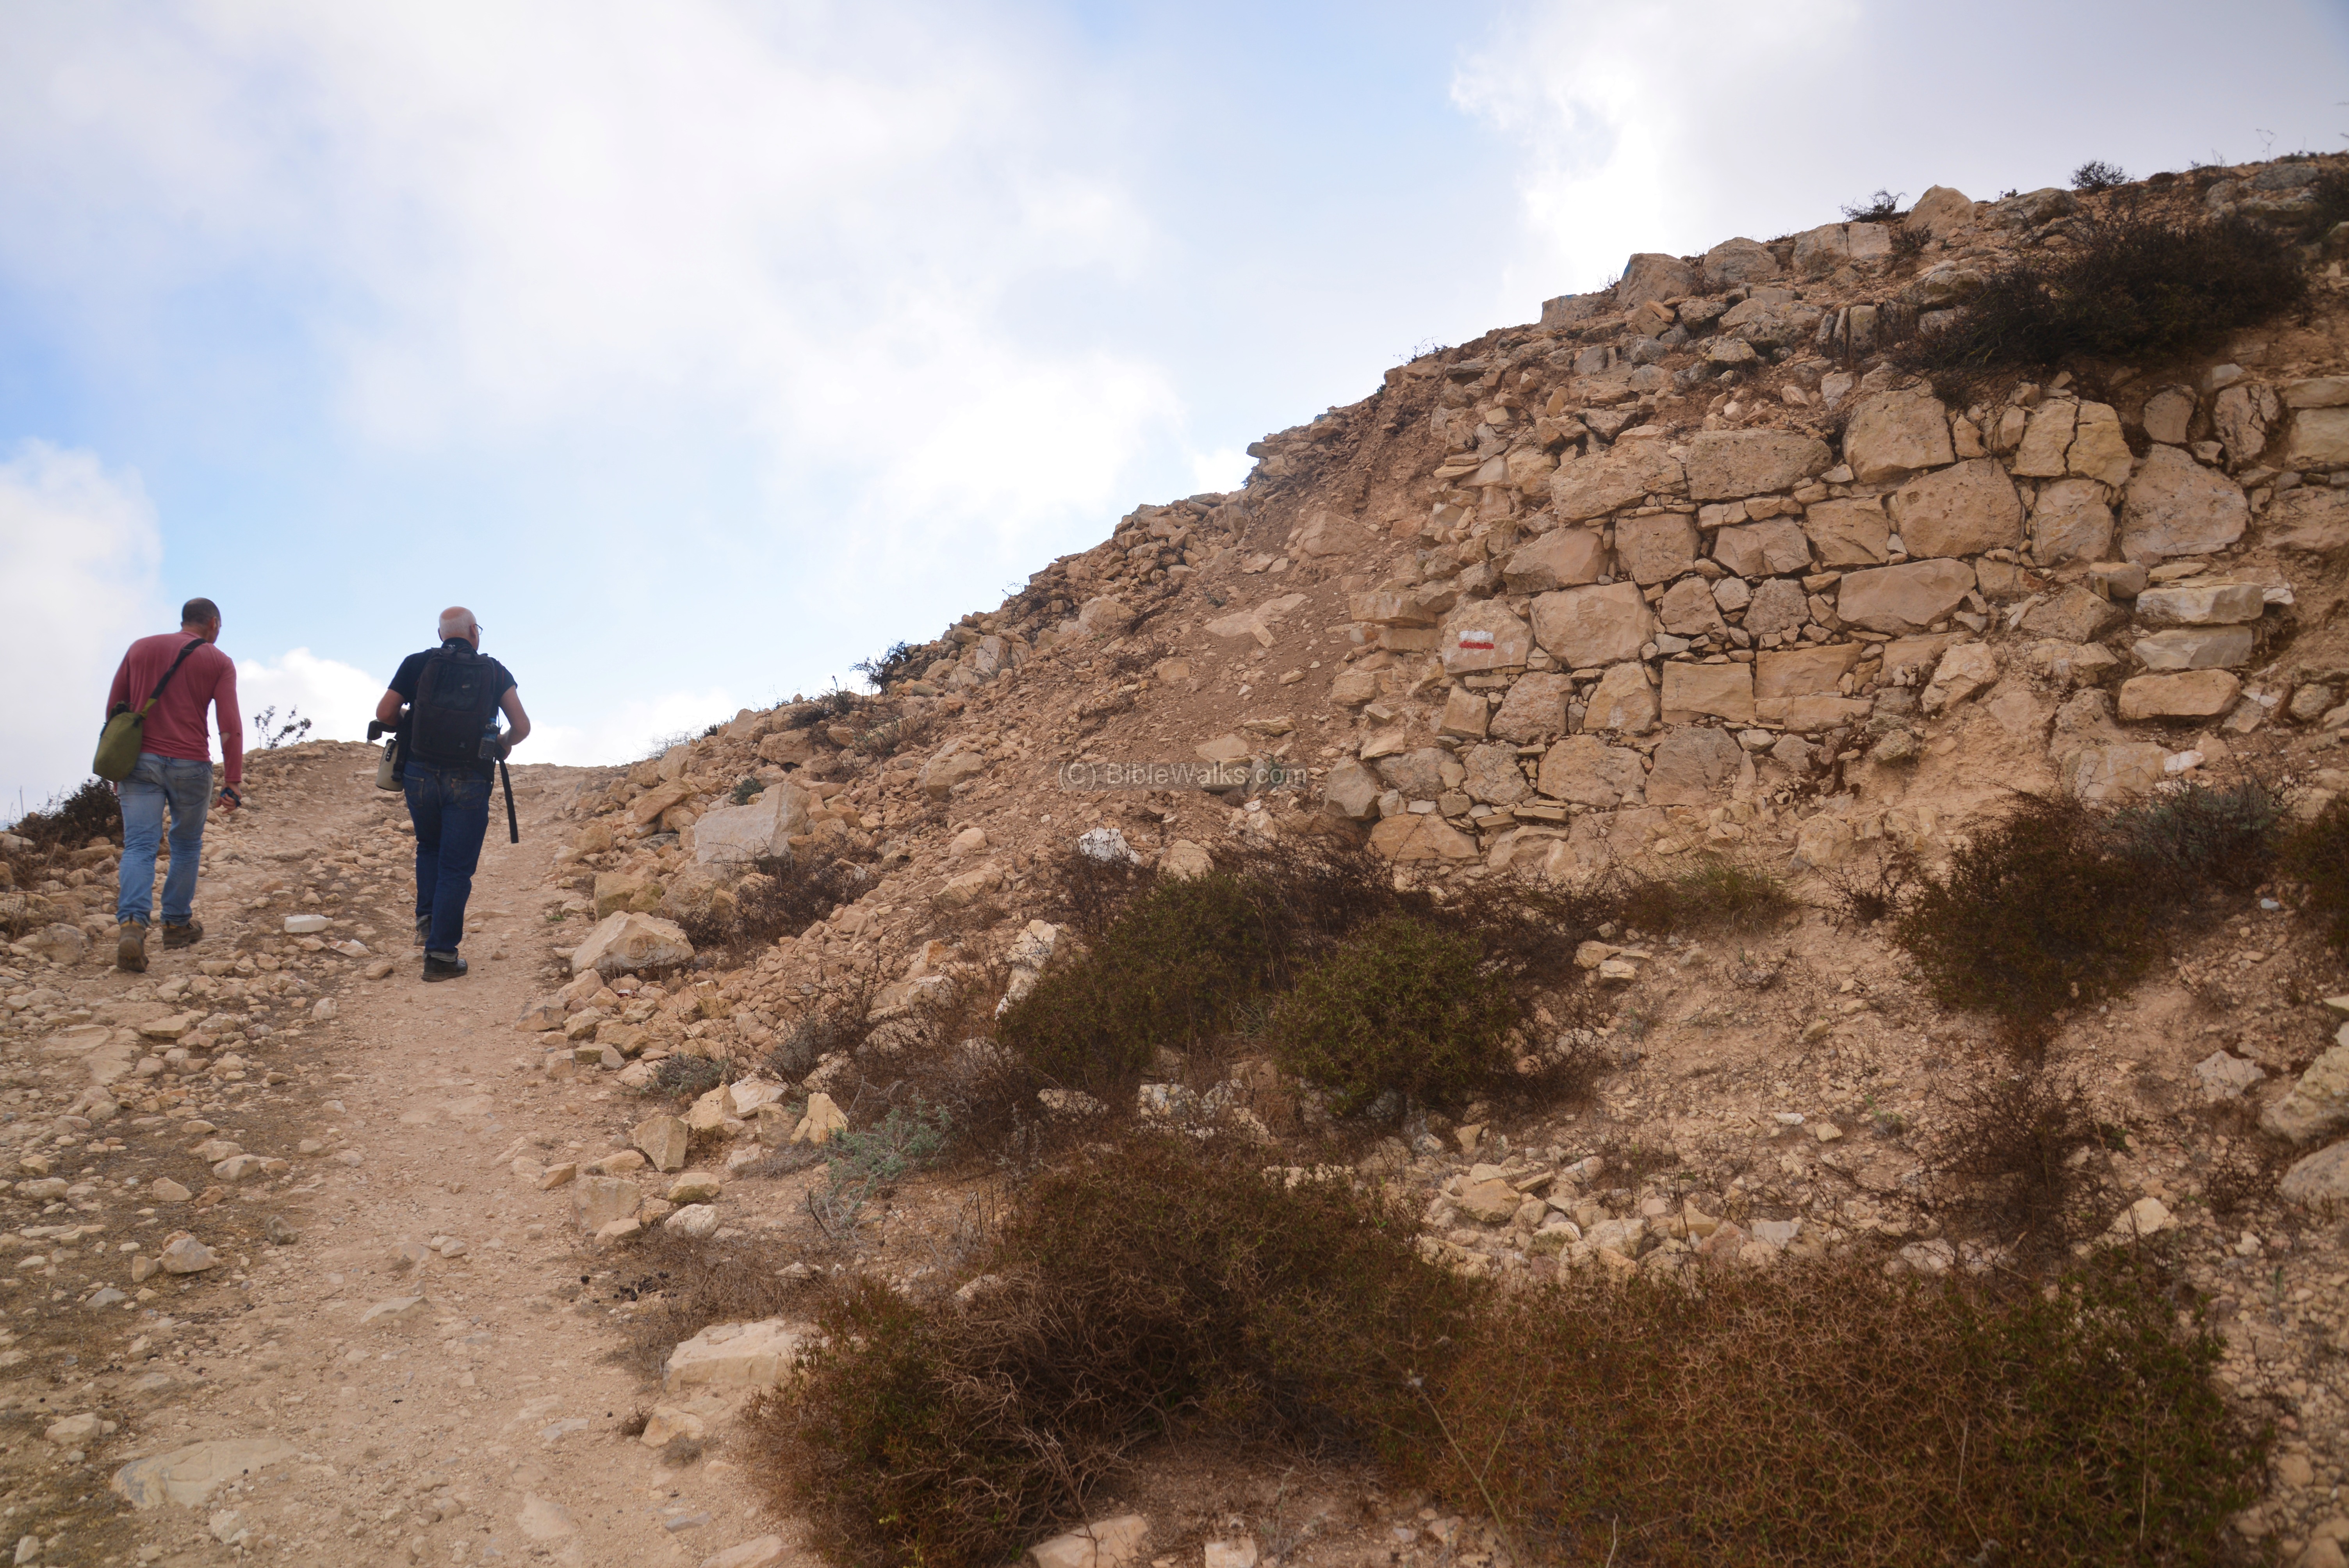
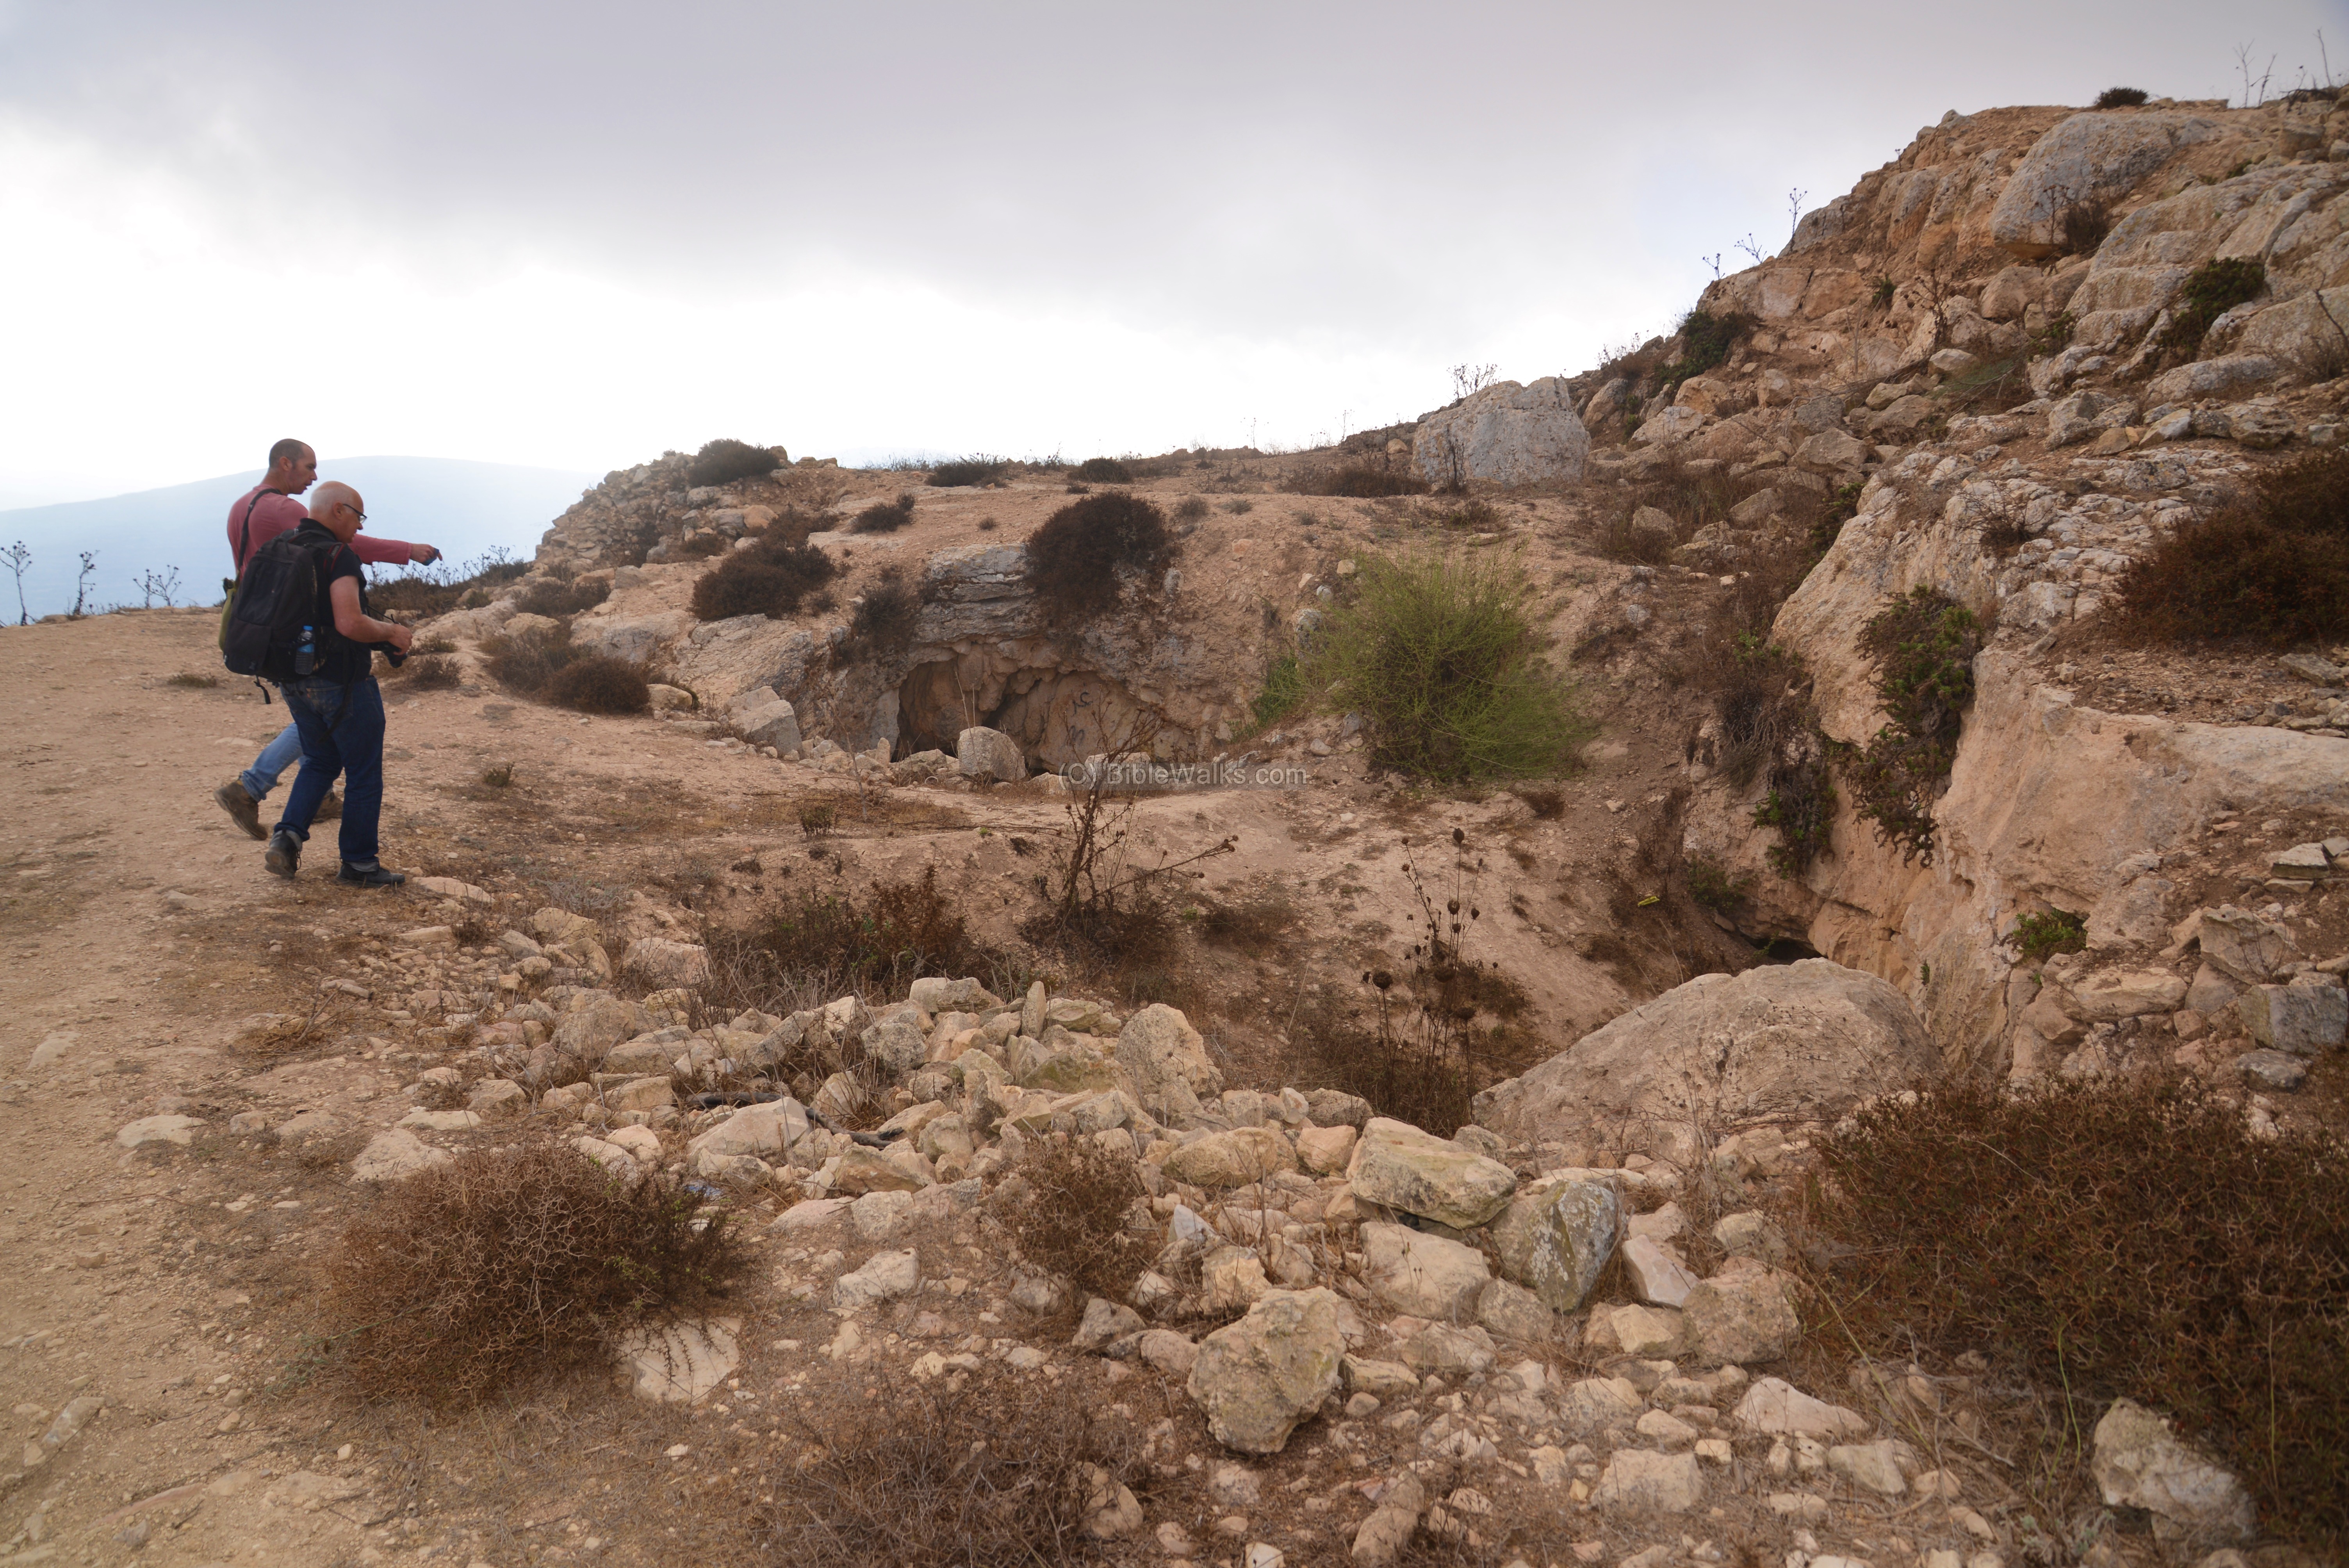
(e) Southern Foothills
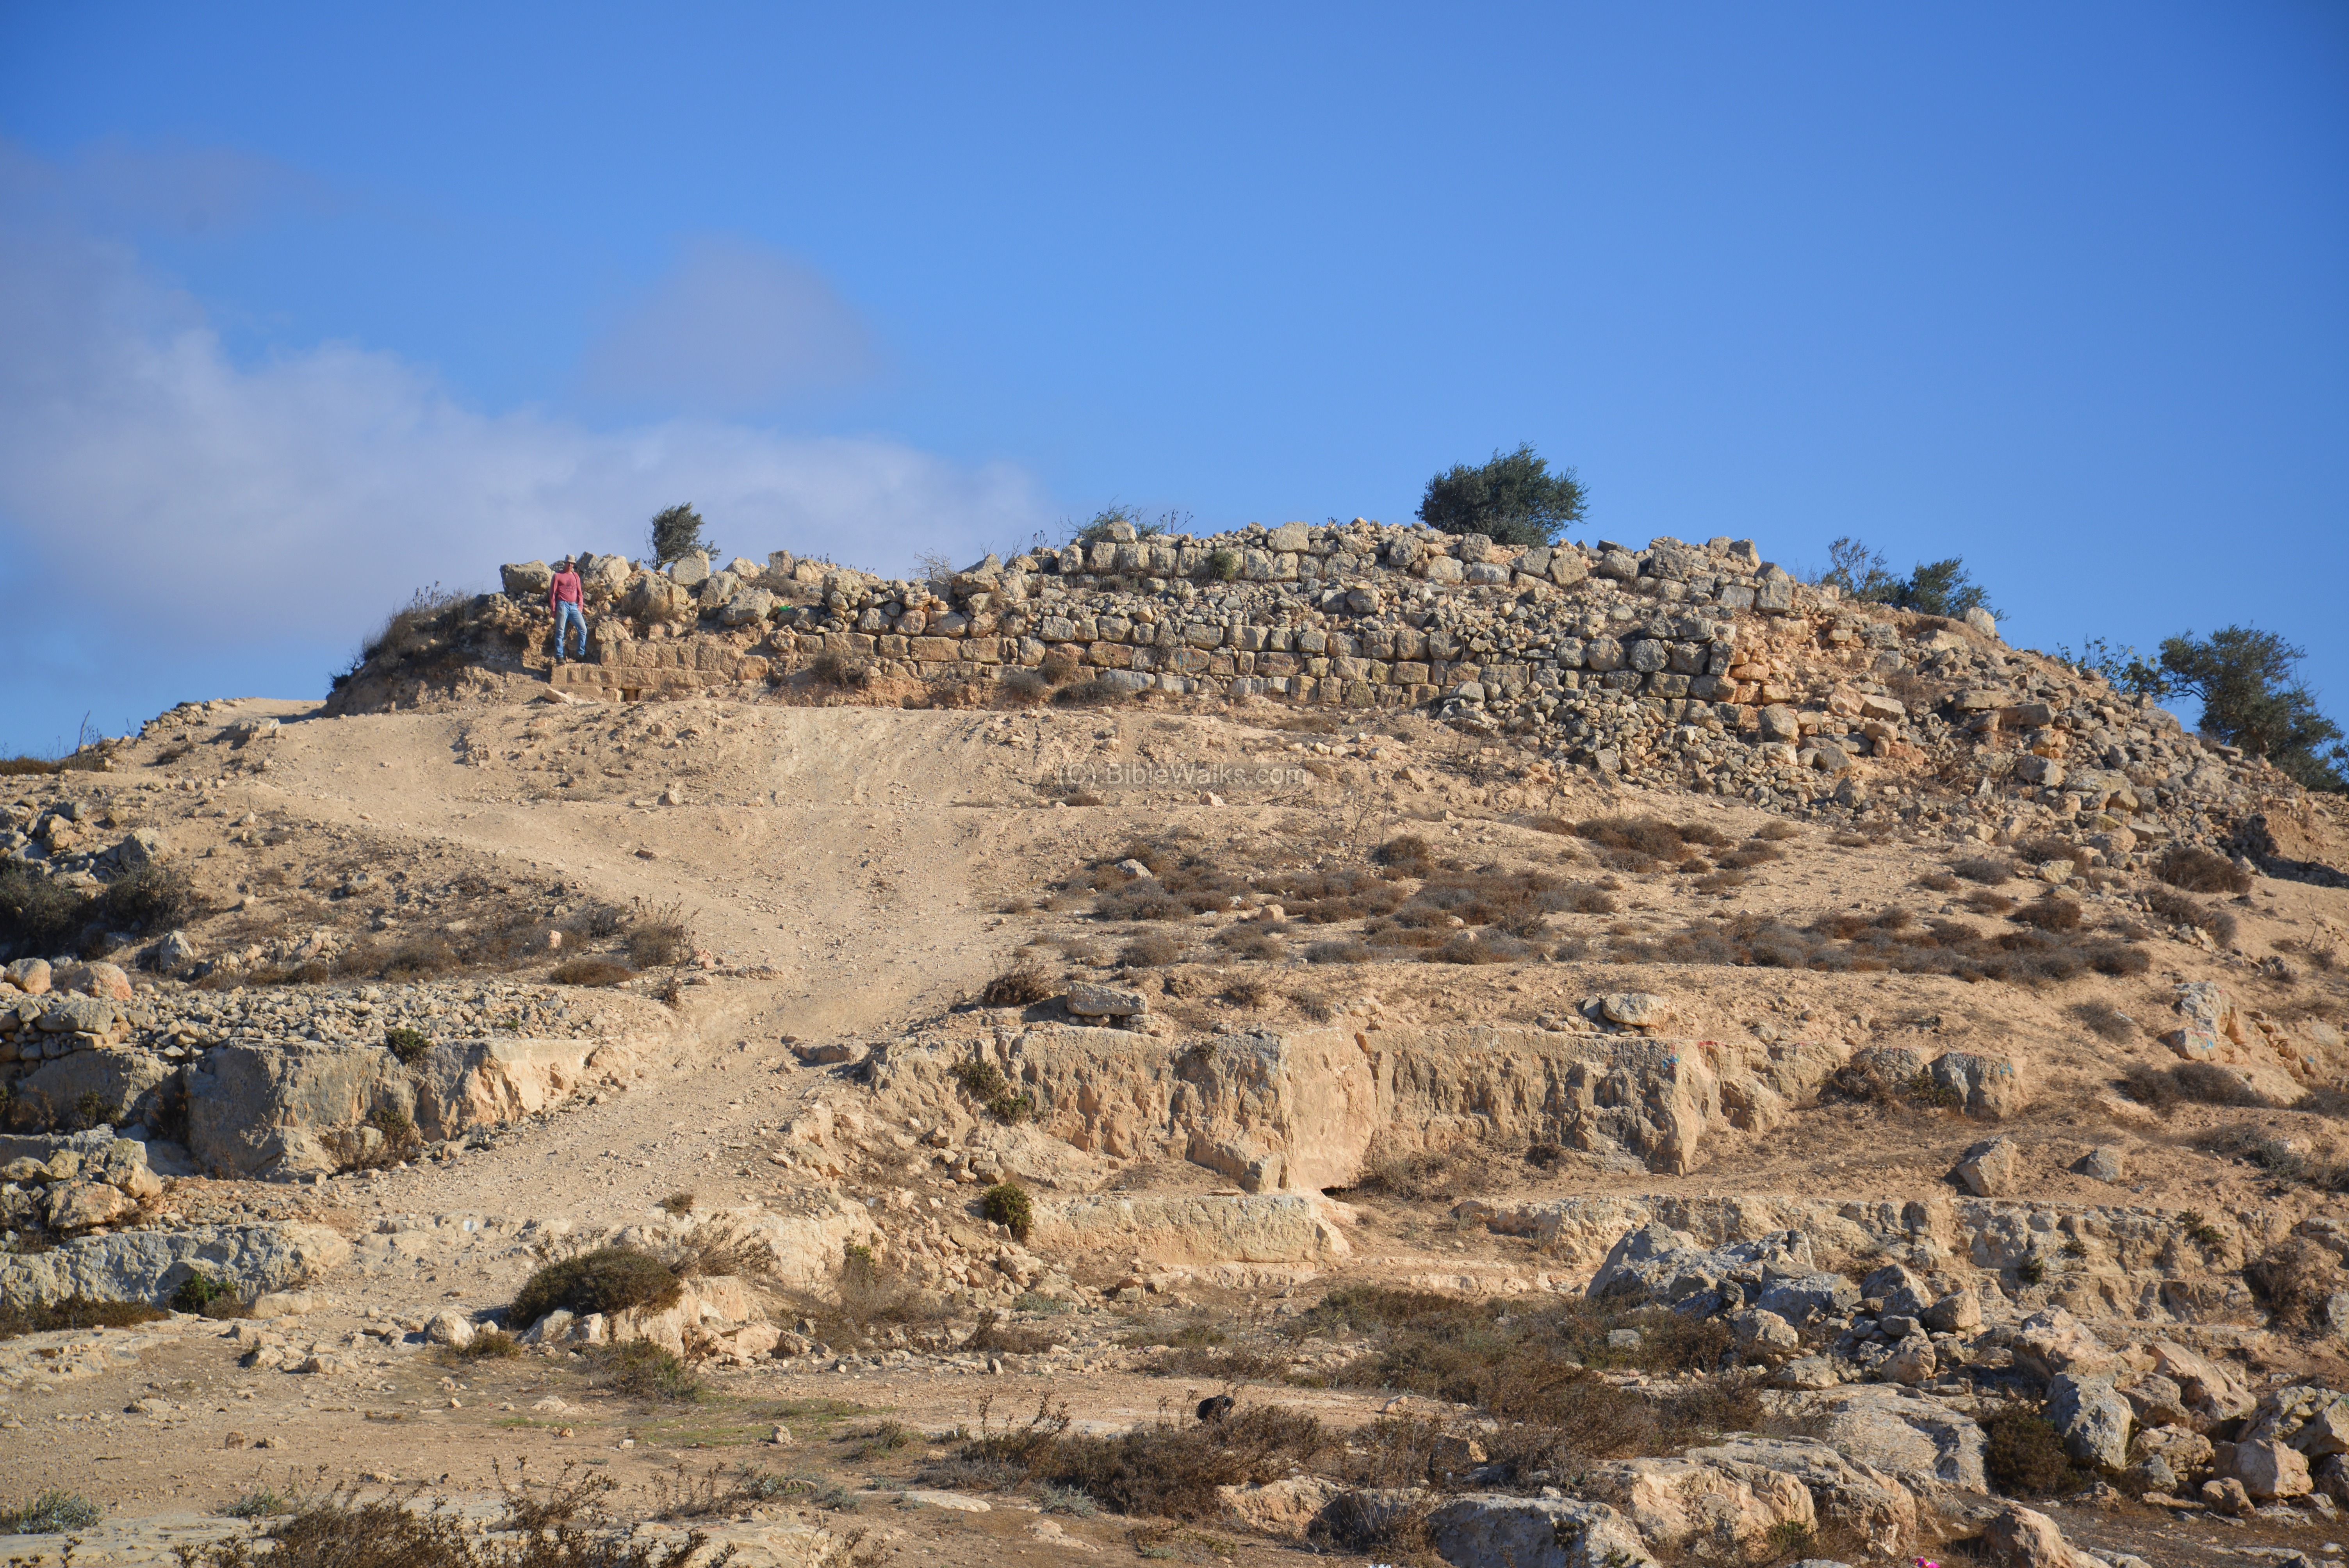
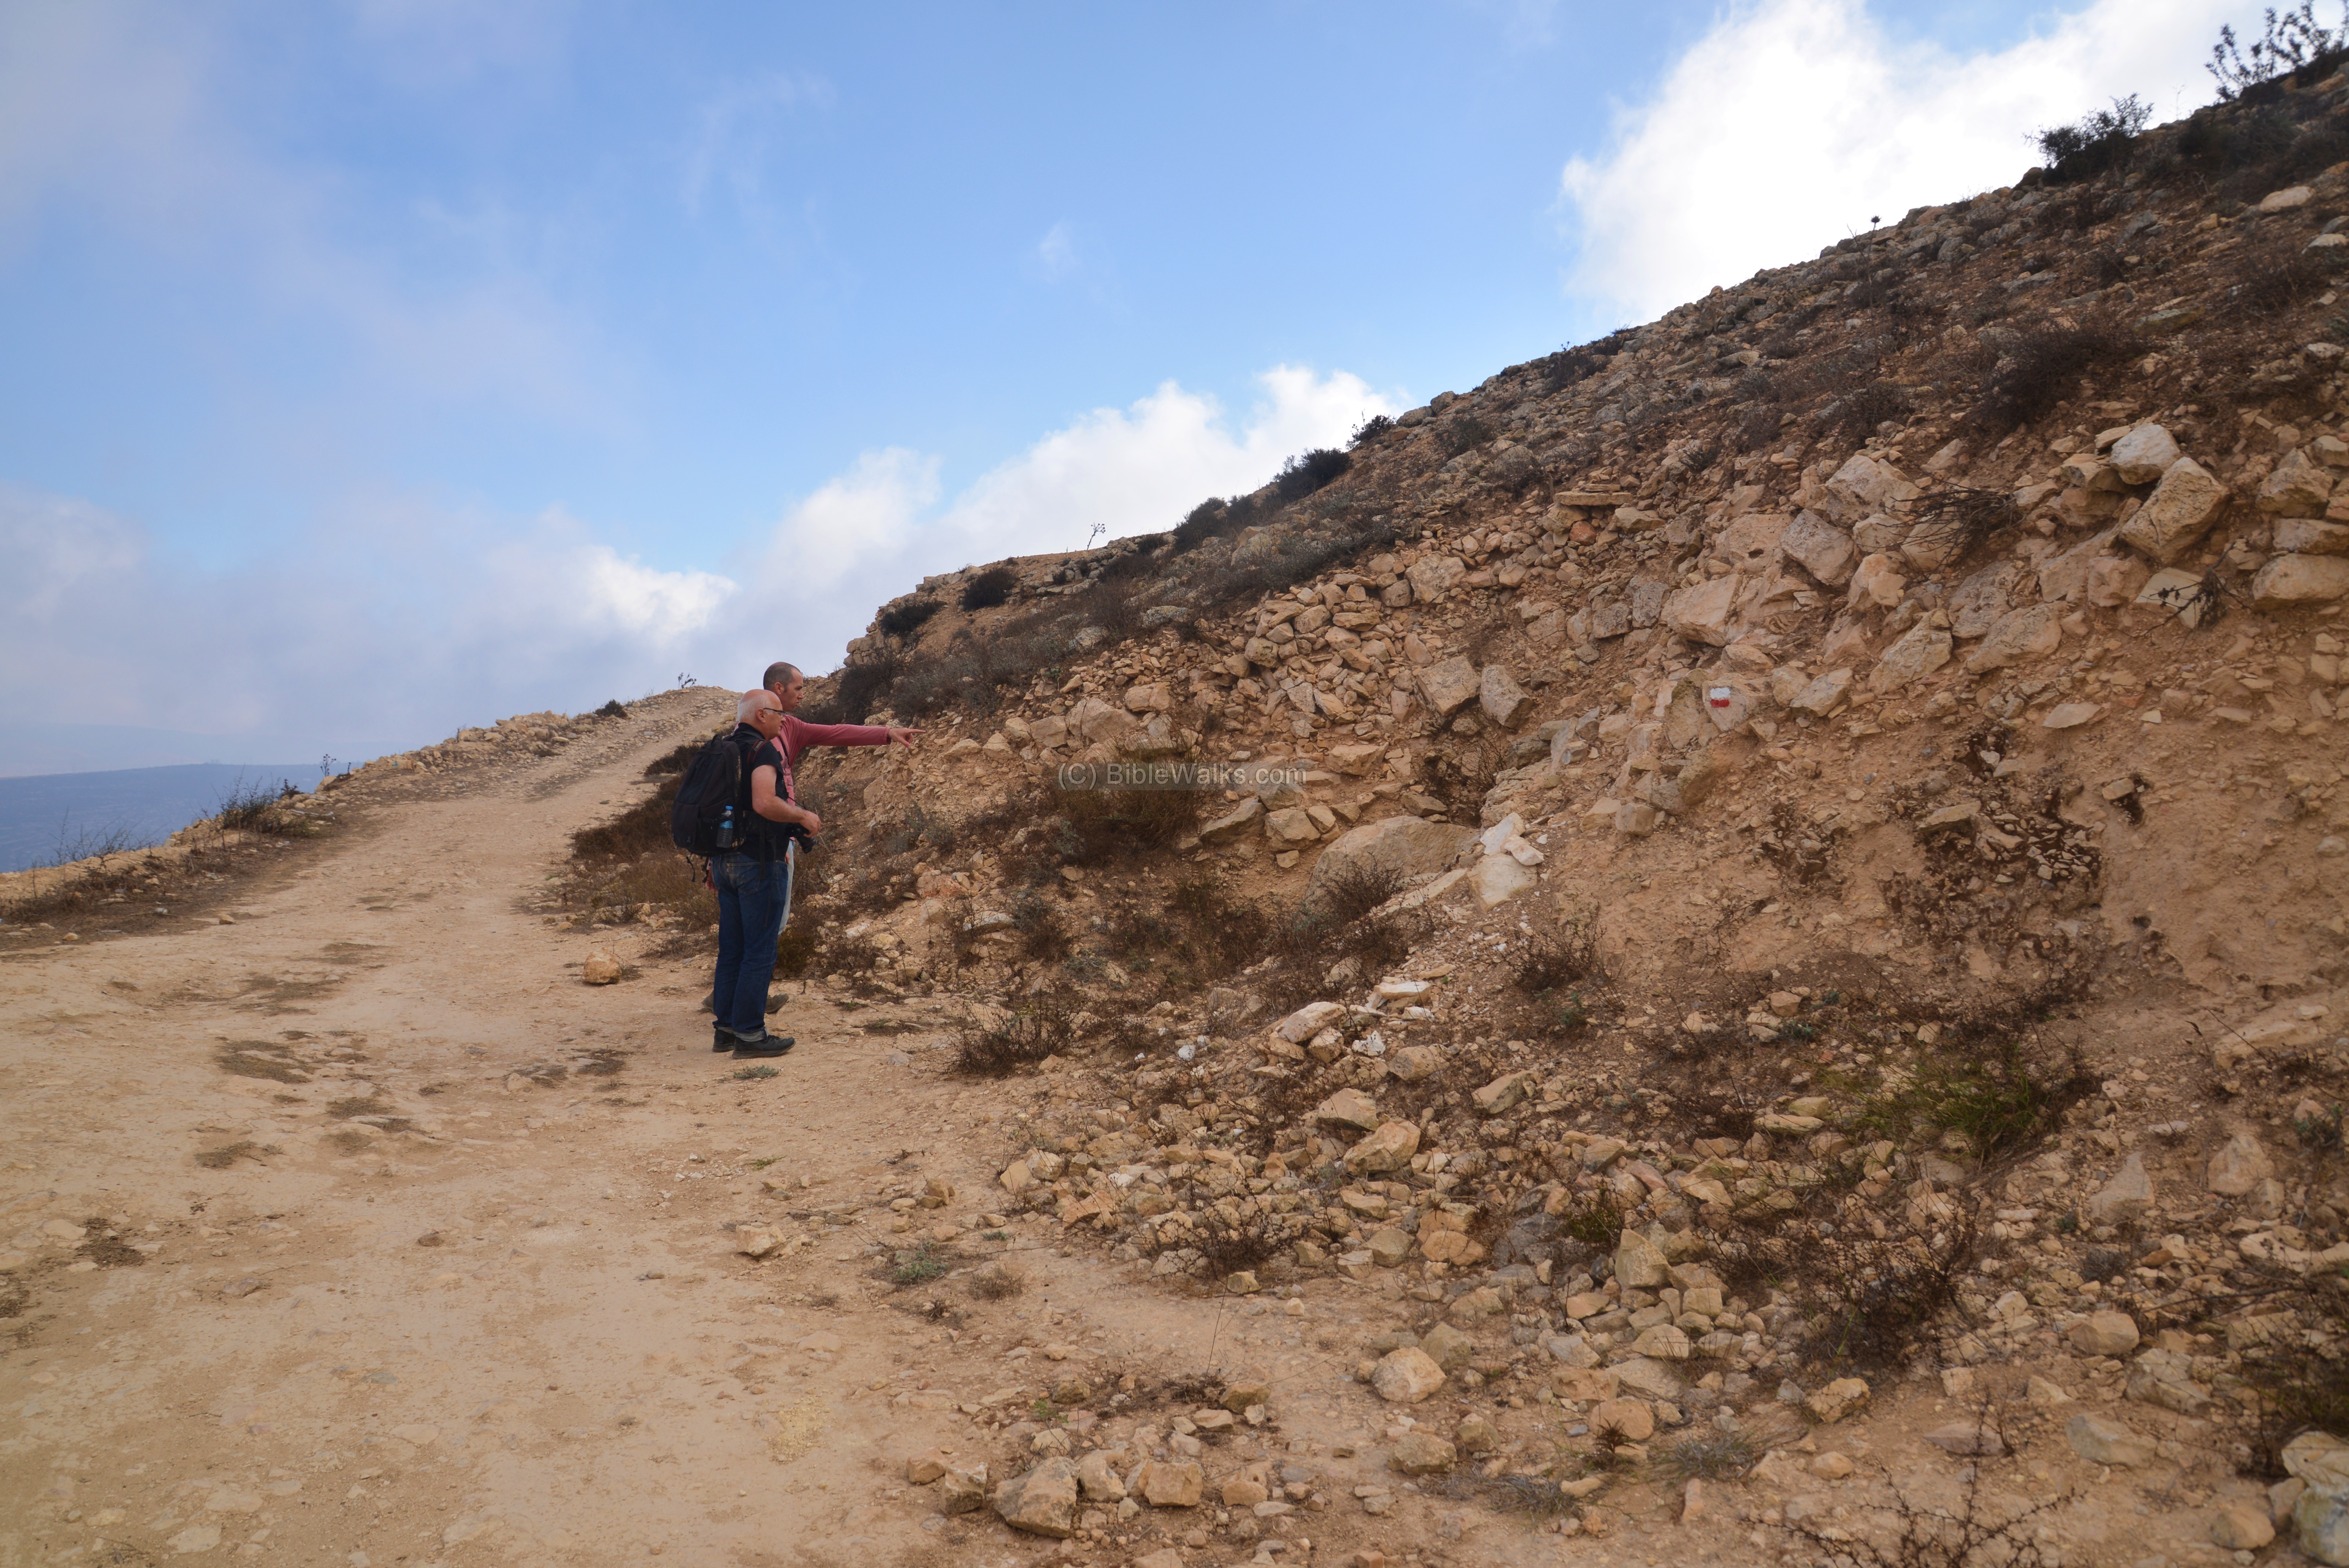
The southern side of the fortress was the weakest section, as it was a continuation of a ridge to the south of the hill, which is seen in this photo. Therefore, the defenders had to strengthen this side with massive walls and the twin towers above on the summit.
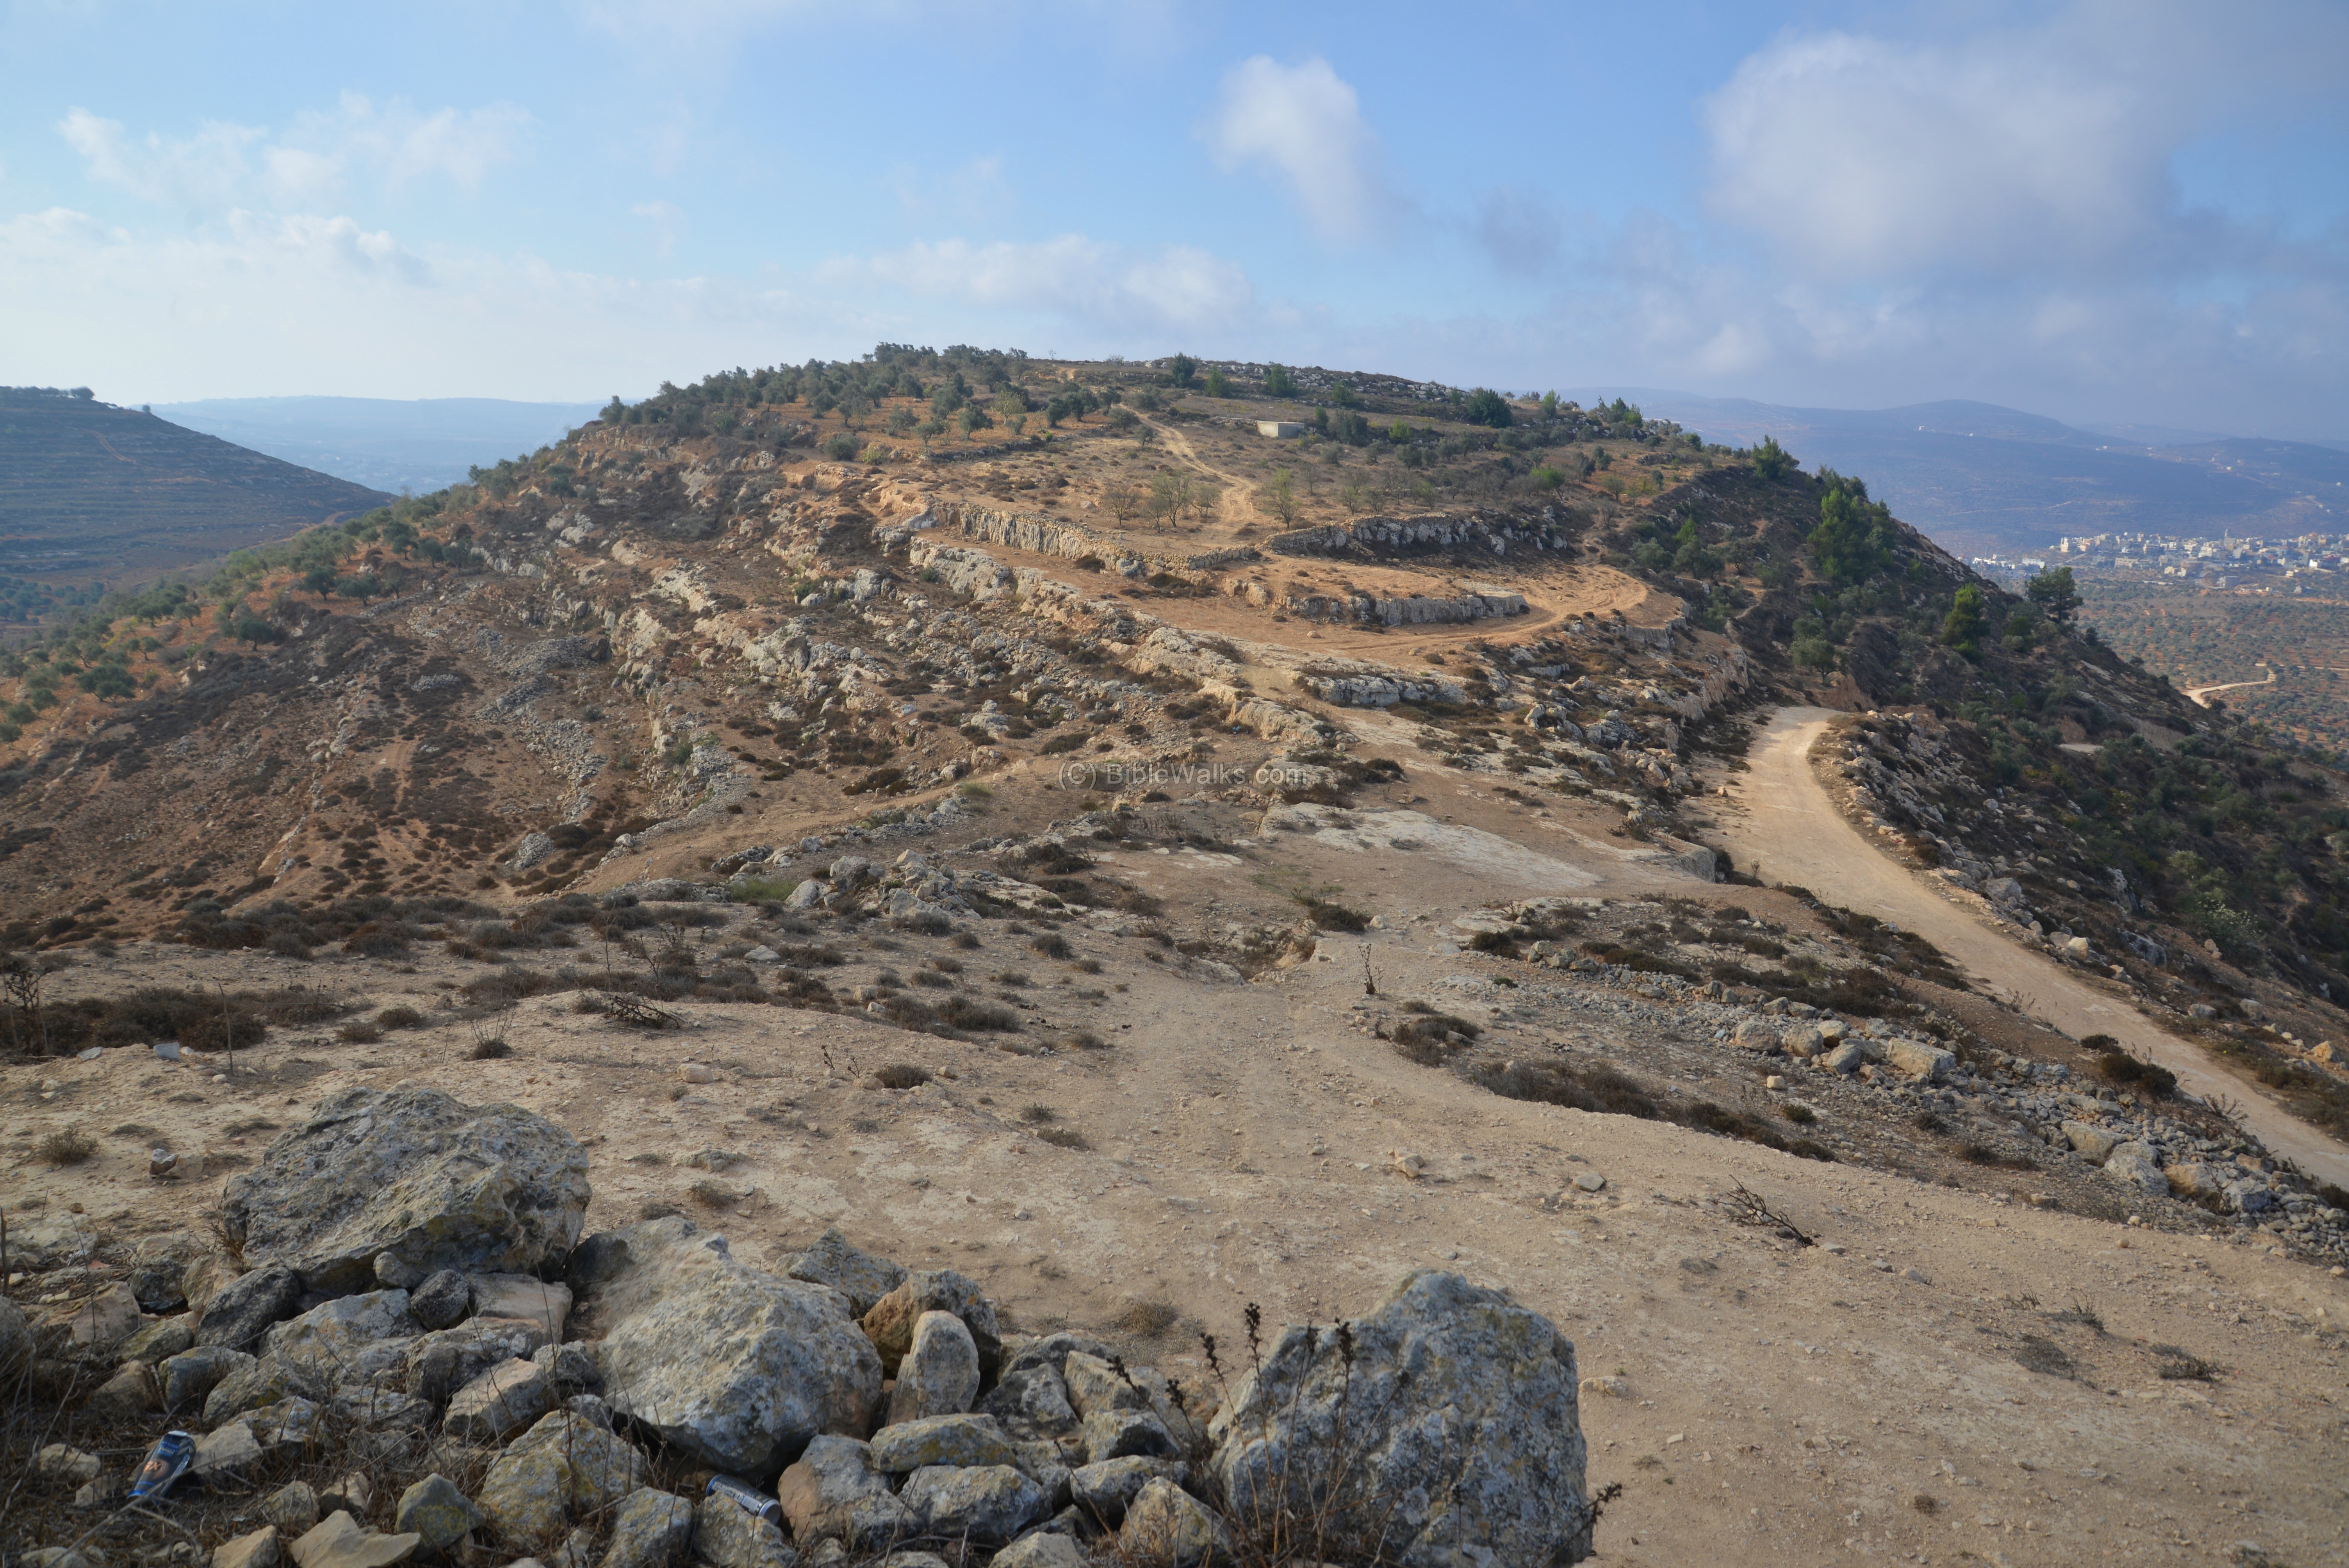
A reverse view, from the ridge towards the fortress, demonstrates the problem on the south side. The hill could have been easily ascended from this side, as opposed to the other steep sides that gave the fortress a natural defense.
A closer view of the southern side shows a series of walls, and the top wall and twin towers on the summit.
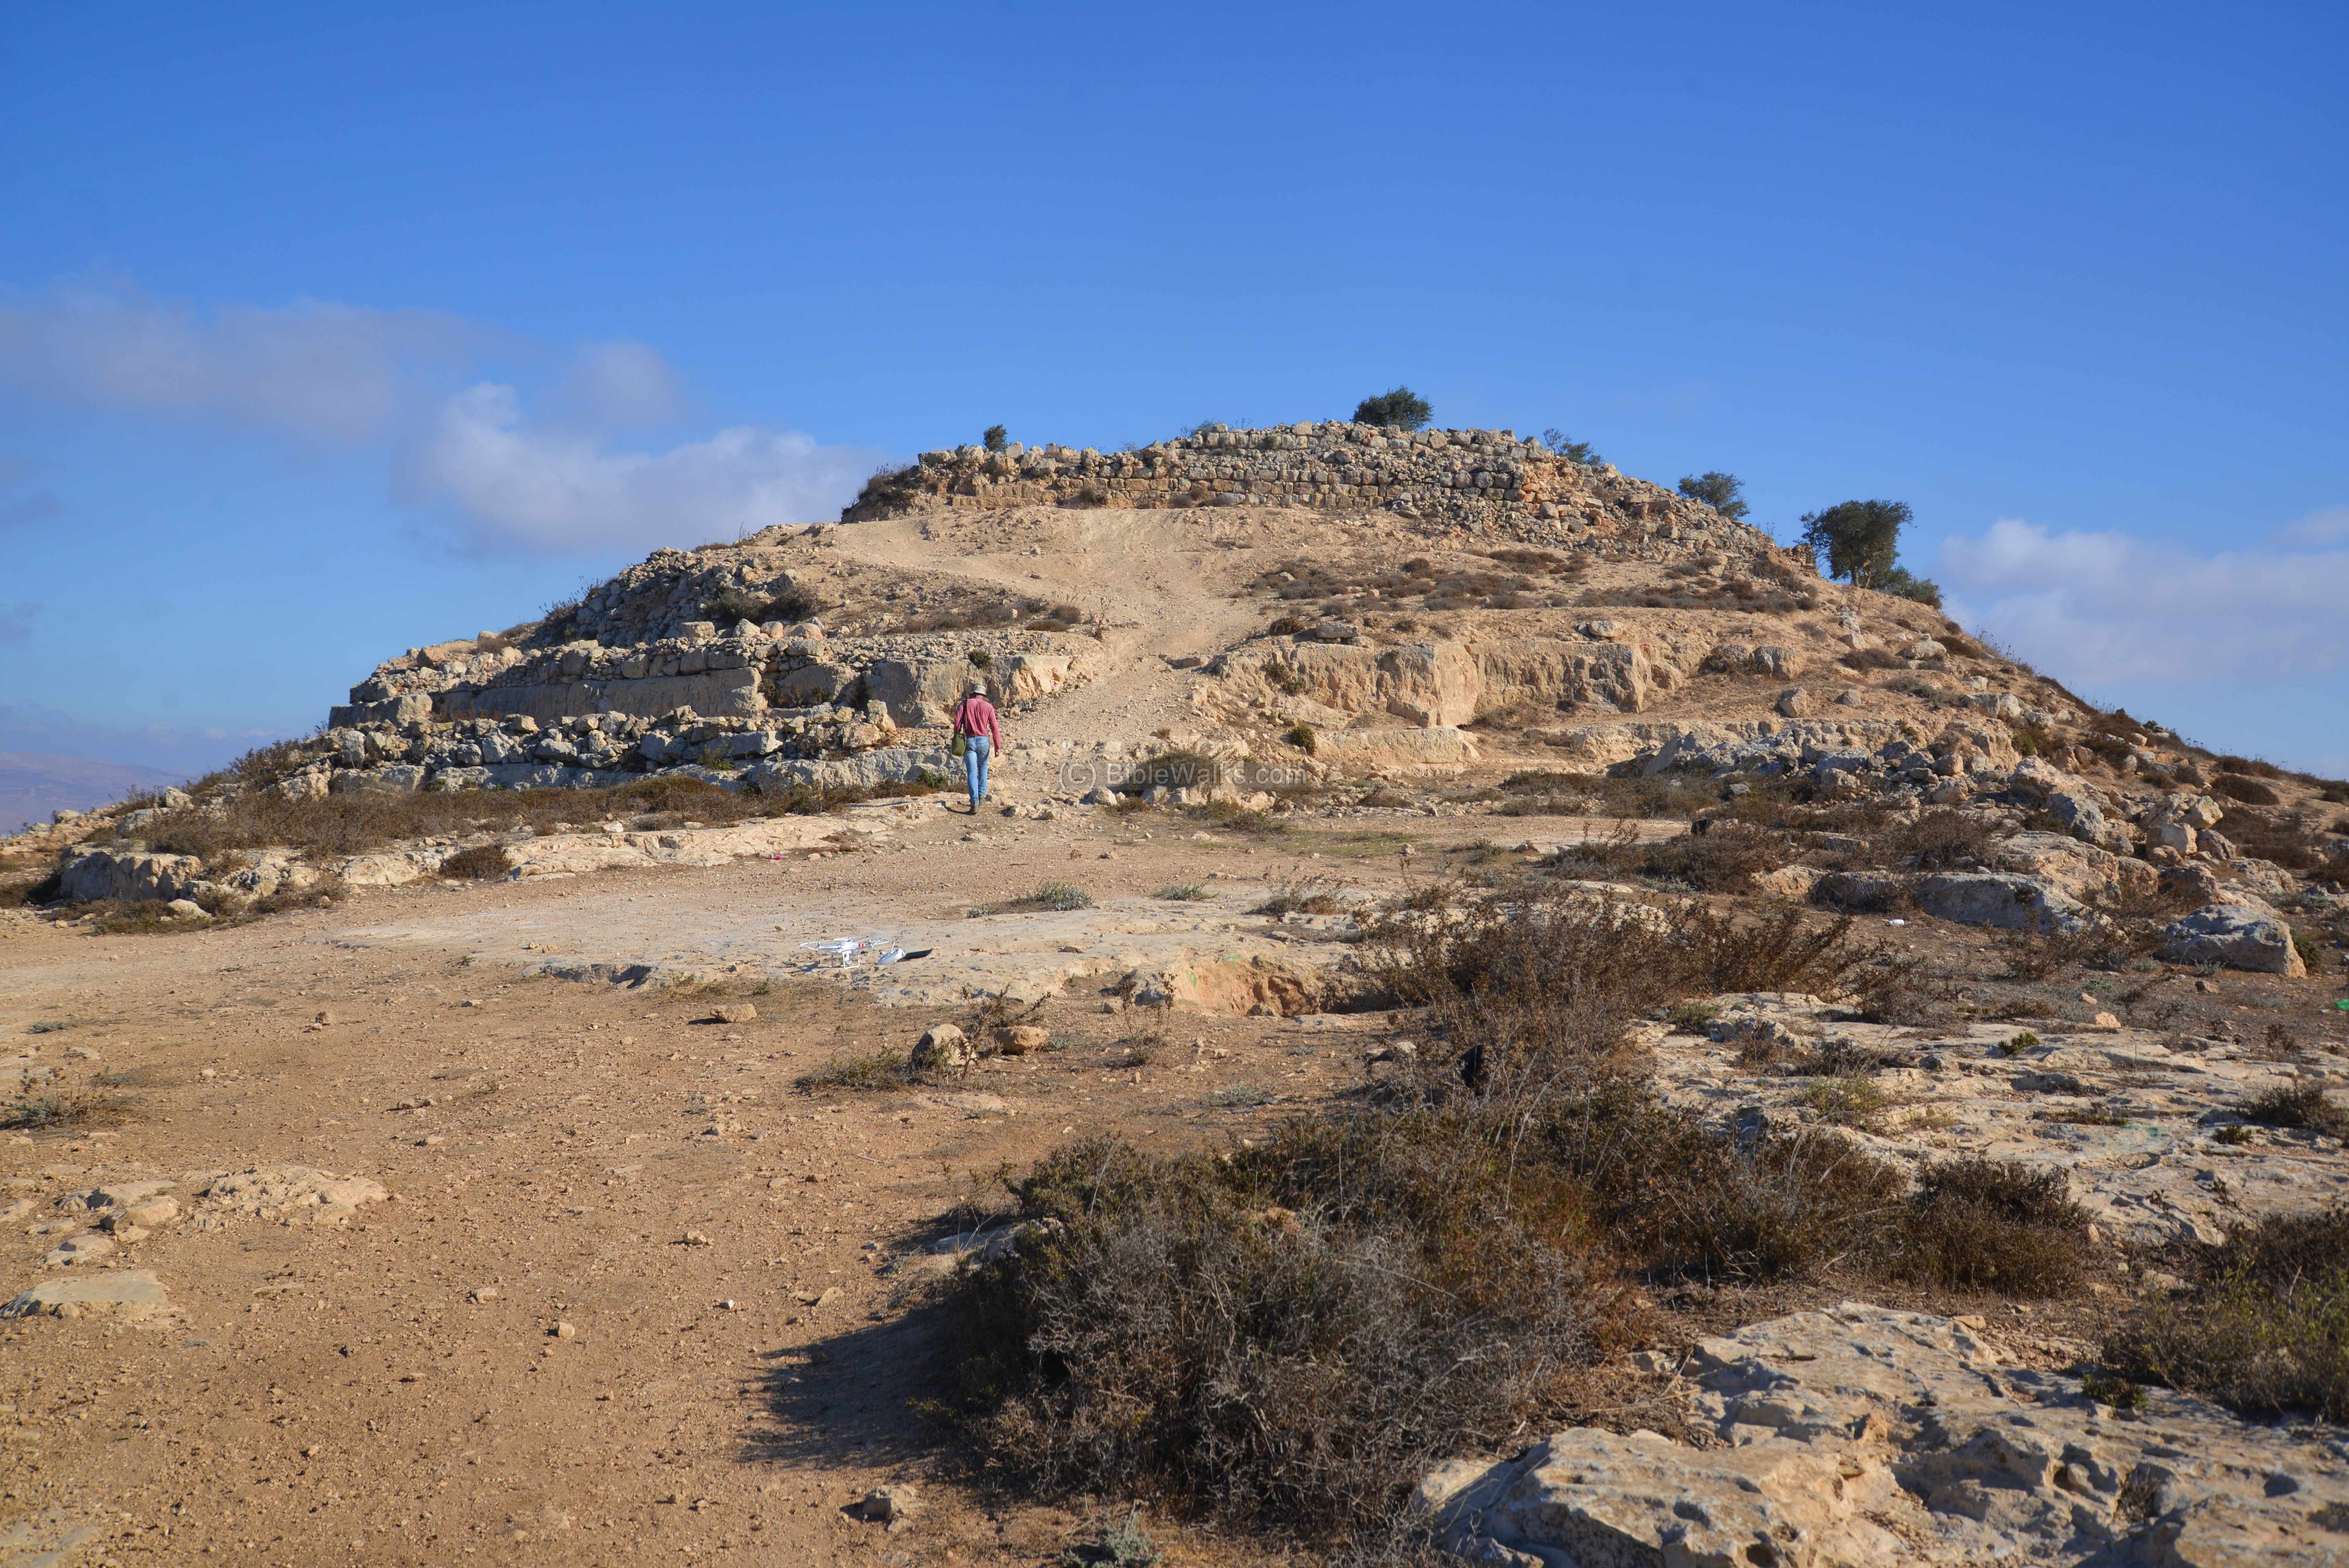
An aerial view from the south side shows a number of walls on the hillside, and the twin towers on the summit.
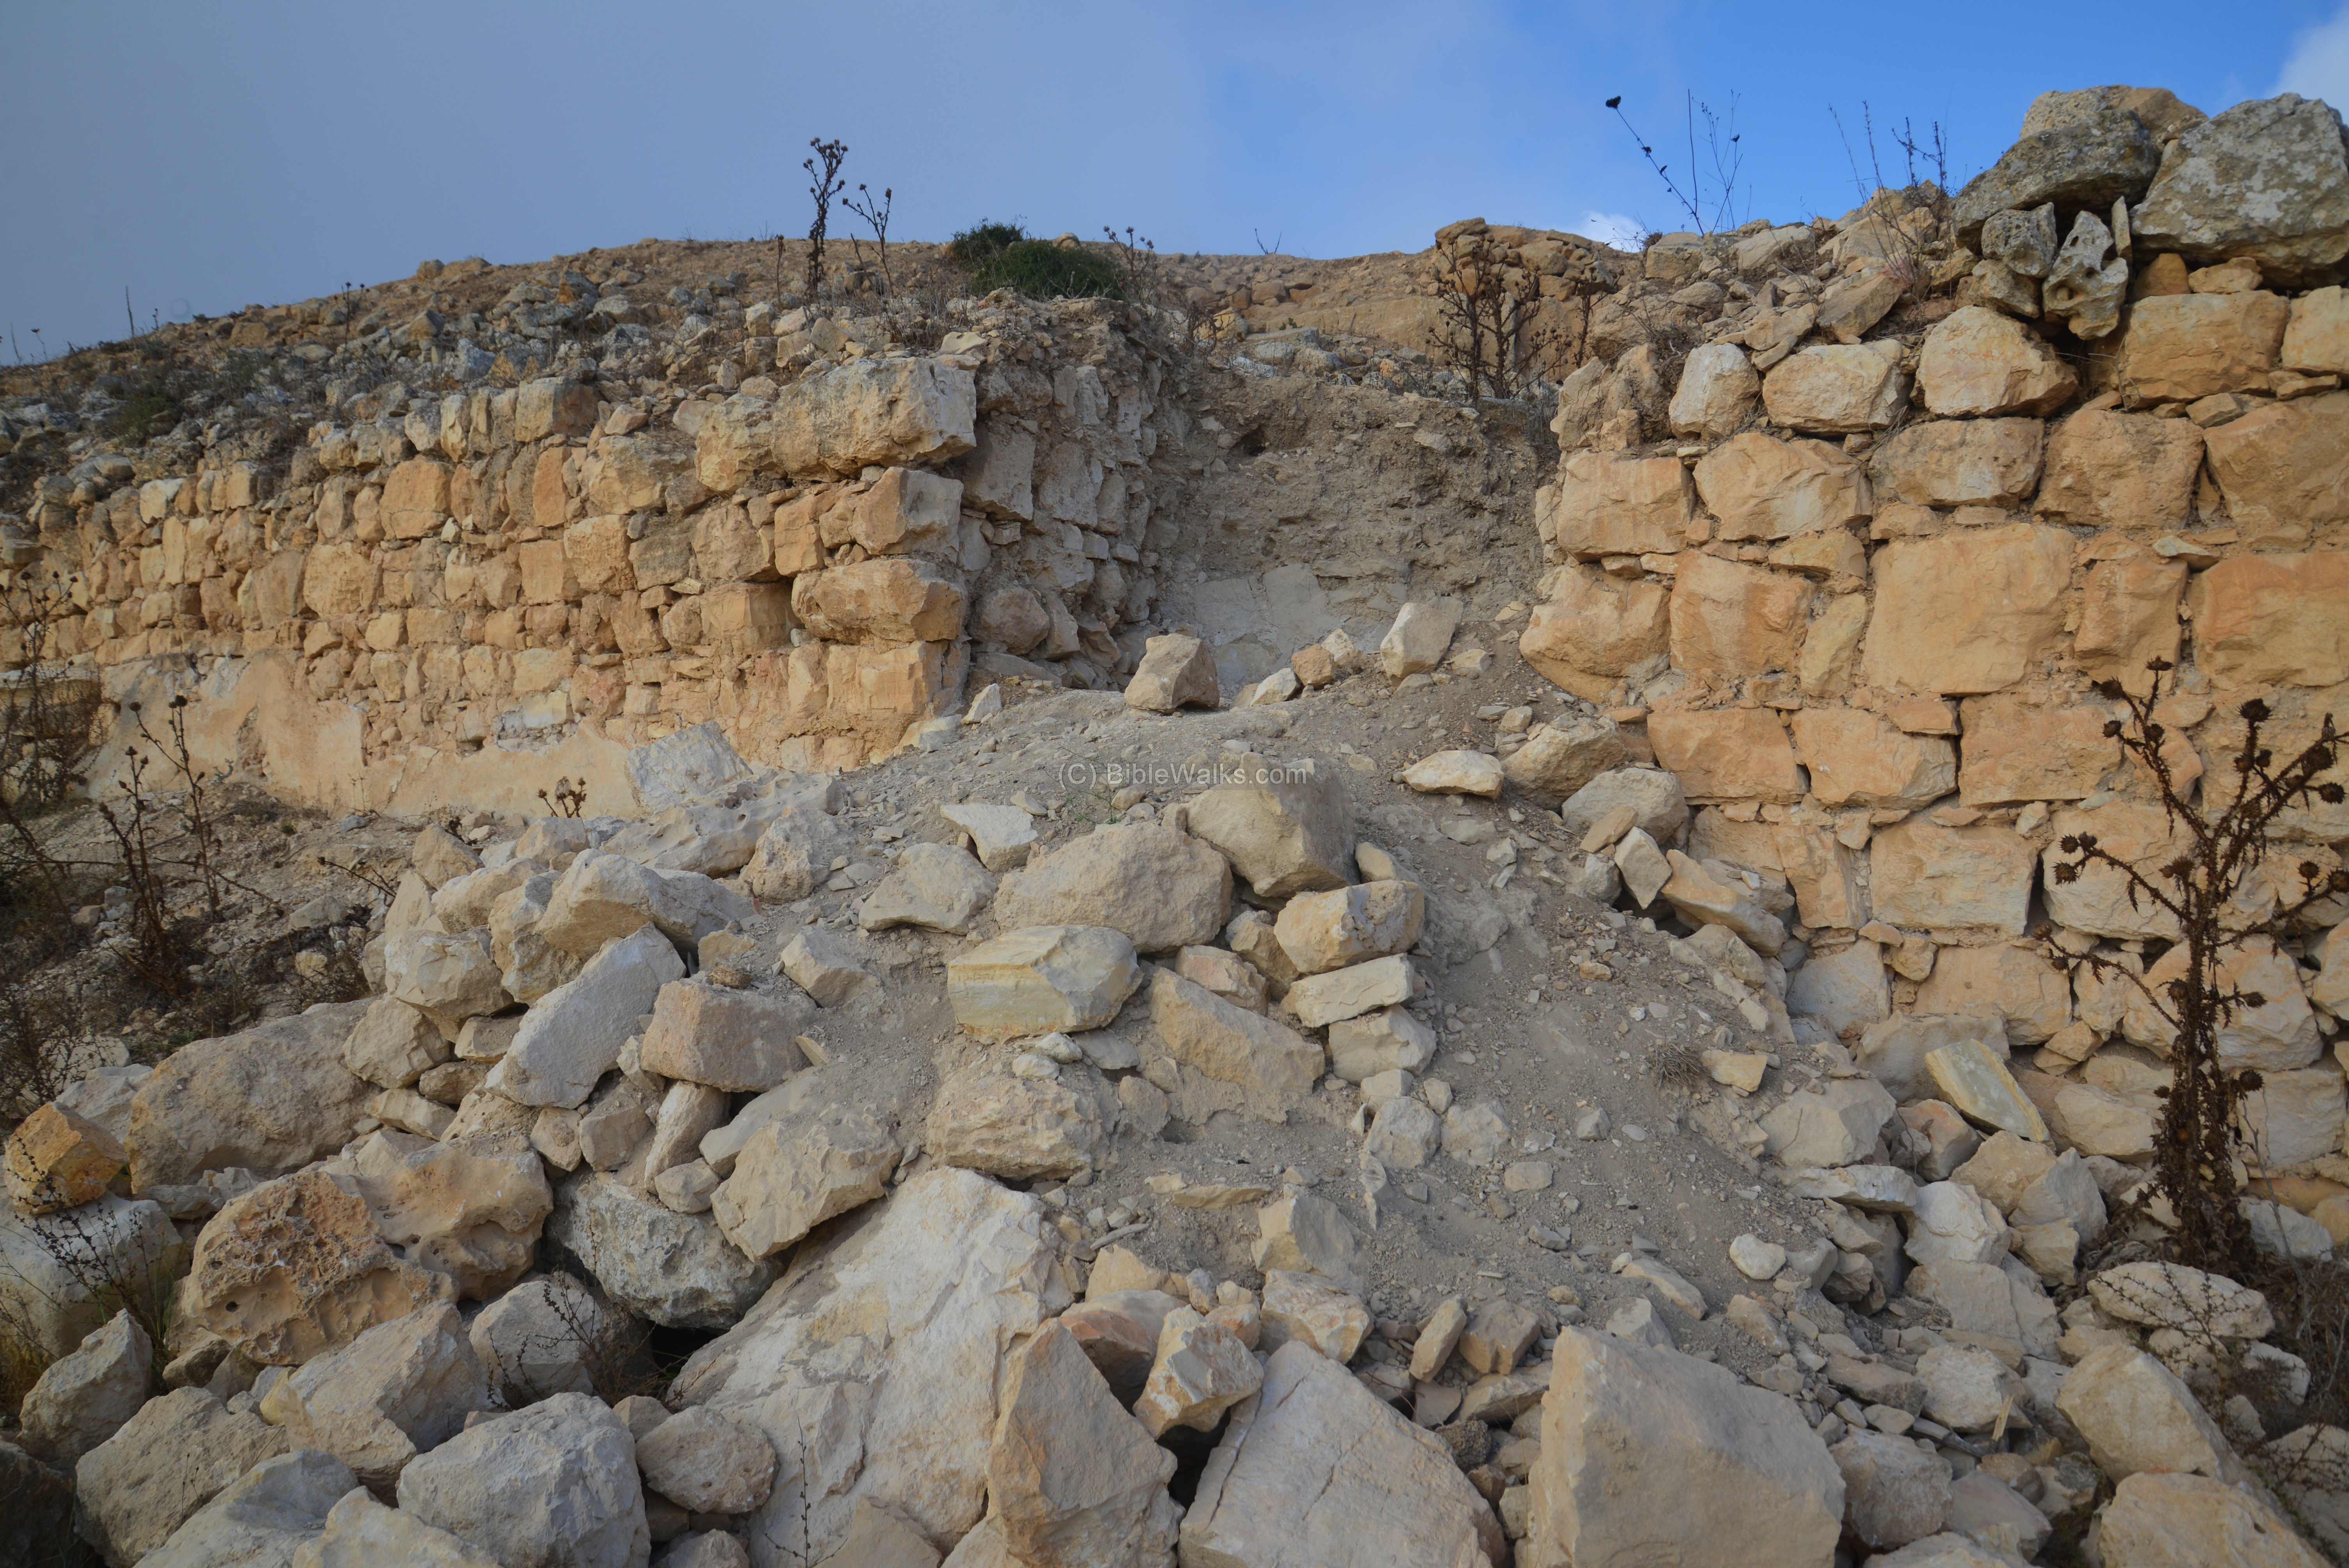
At the top of the ascent was the long wall. Before the massive wall is a moat, cut into the rock, and a glacis. This built slopes made the ascent difficult for the assailants, kept them in an open area for the archers standing in the towers above the wall.
A closer view of the wall:
Here too, the rectangular limestone ashlars feature drafted margins with a prominent boss (protrusion) in the center, characteristic of monumental Hasmonean and Hasmonean architecture style.
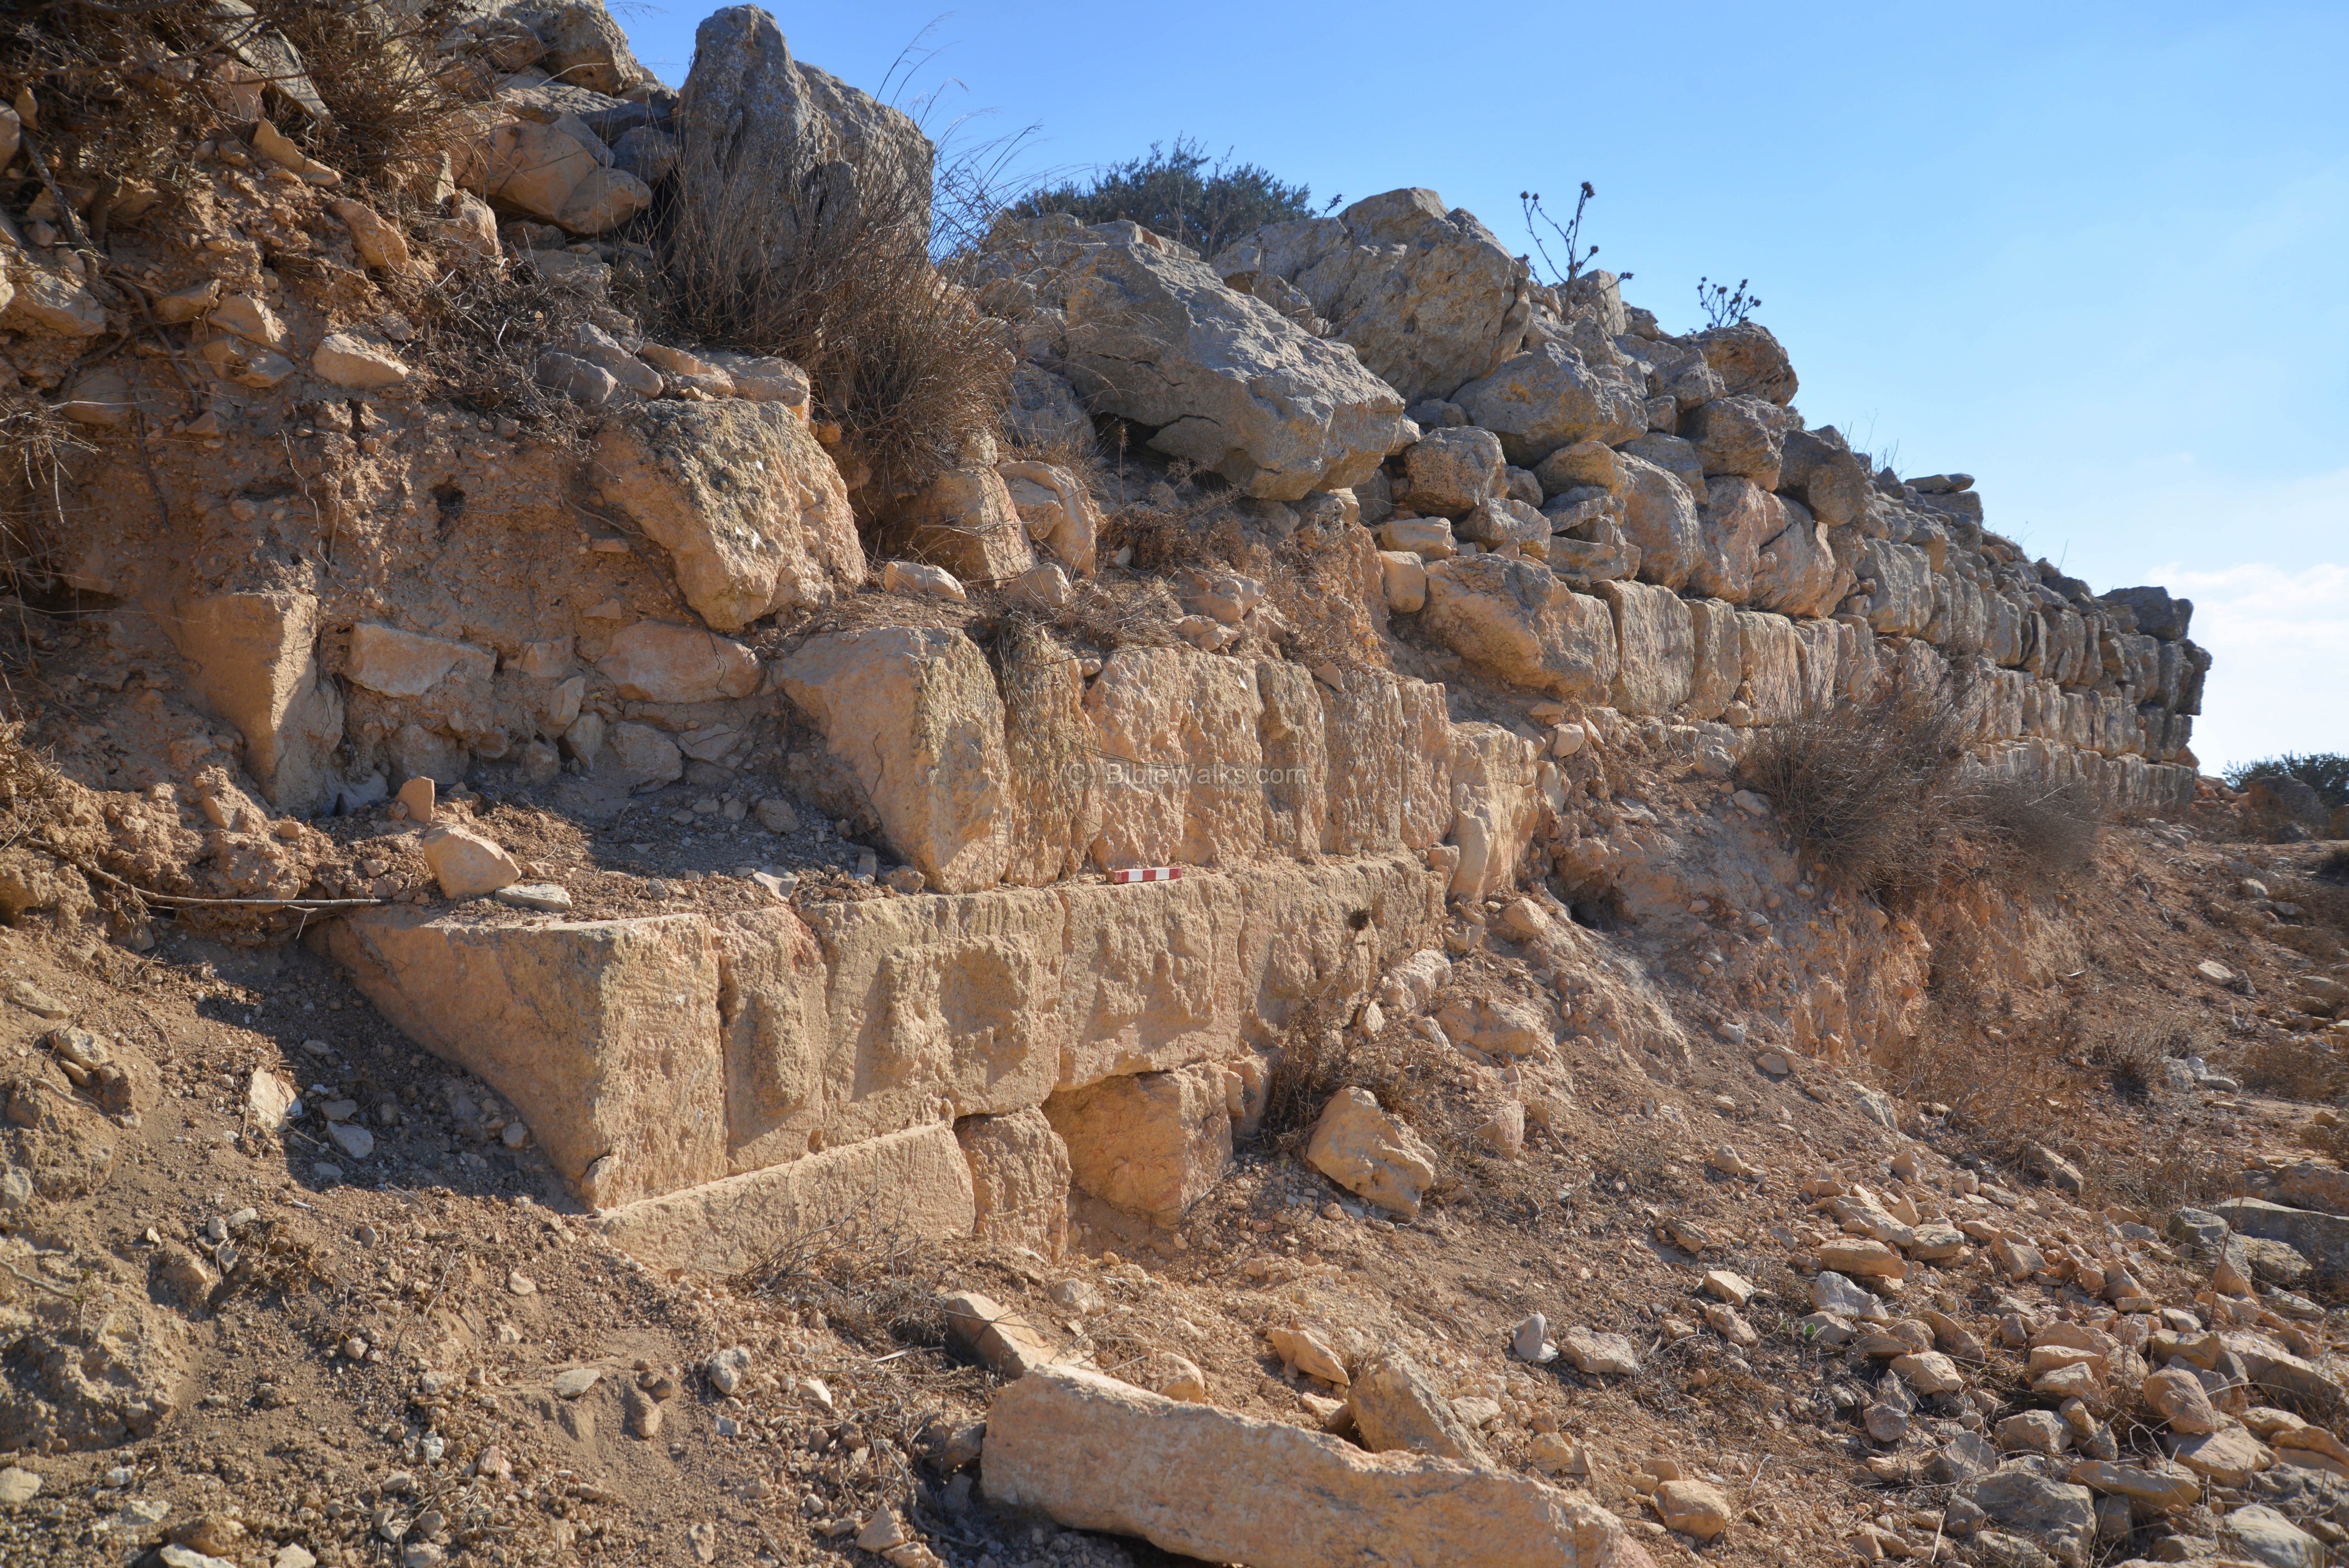
Another view of the west side of the wall:
The next photo is a view of the eastern side of the wall. Here the stones are of different style, perhaps constructed in a different time.
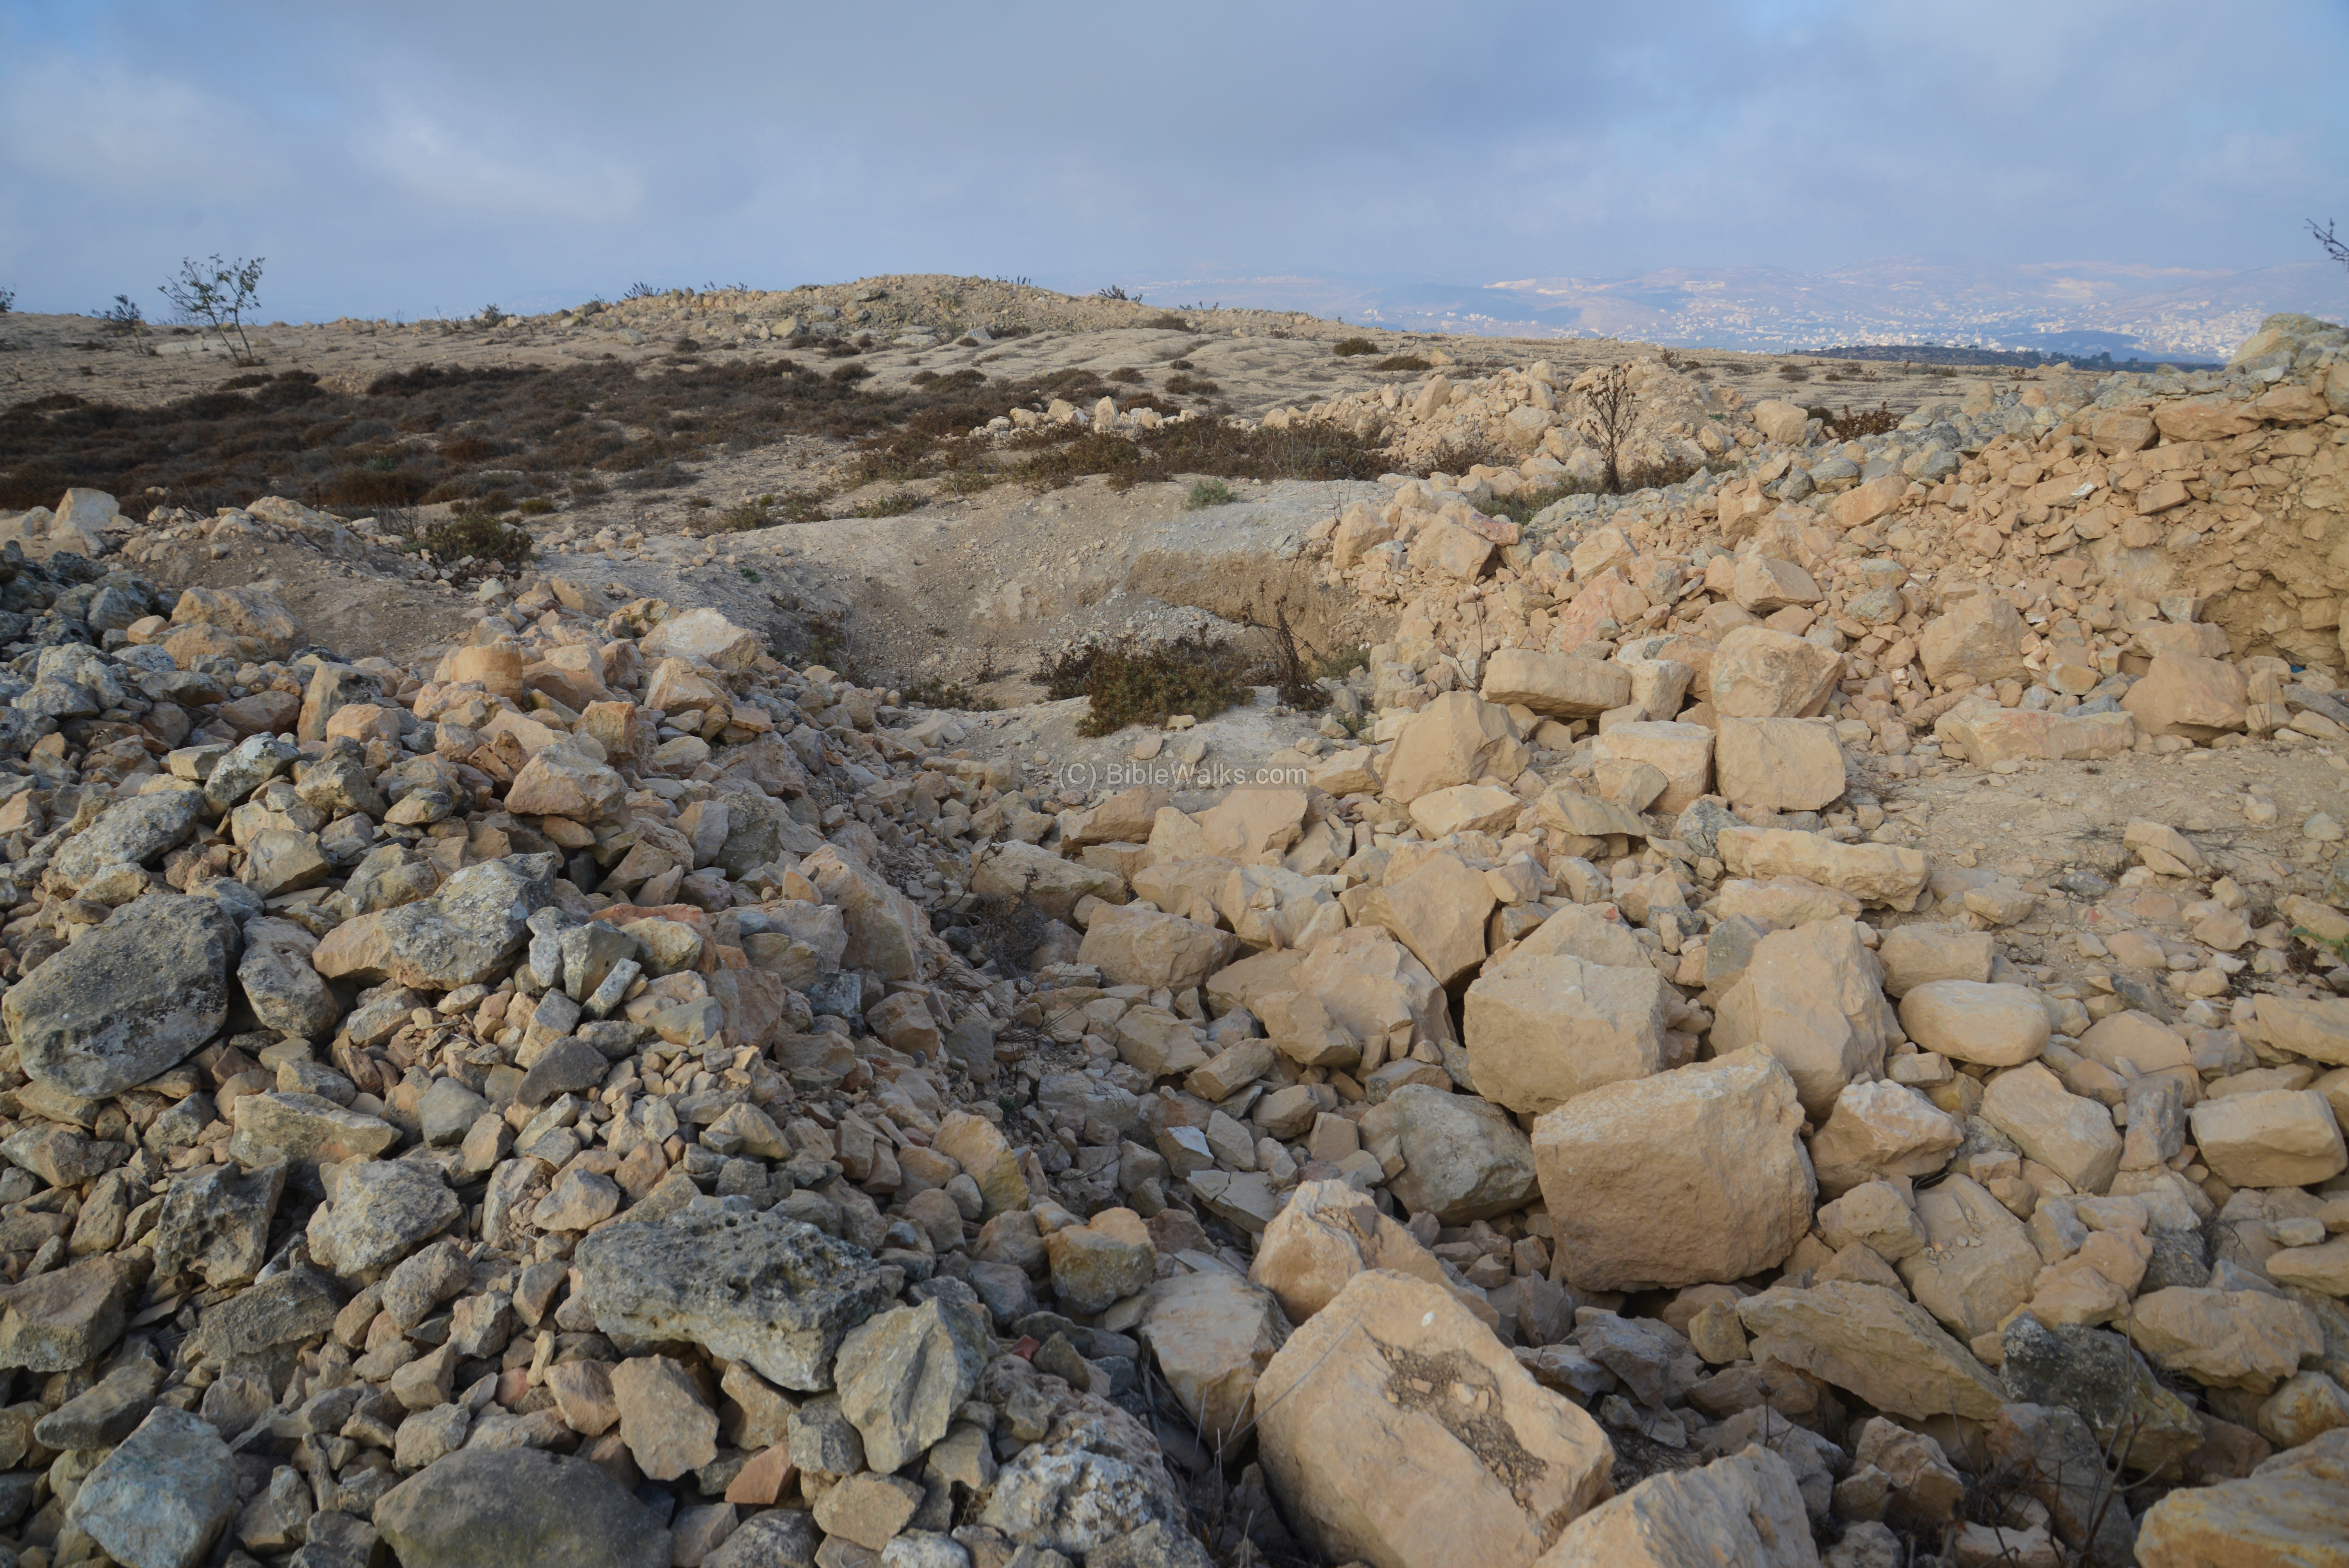
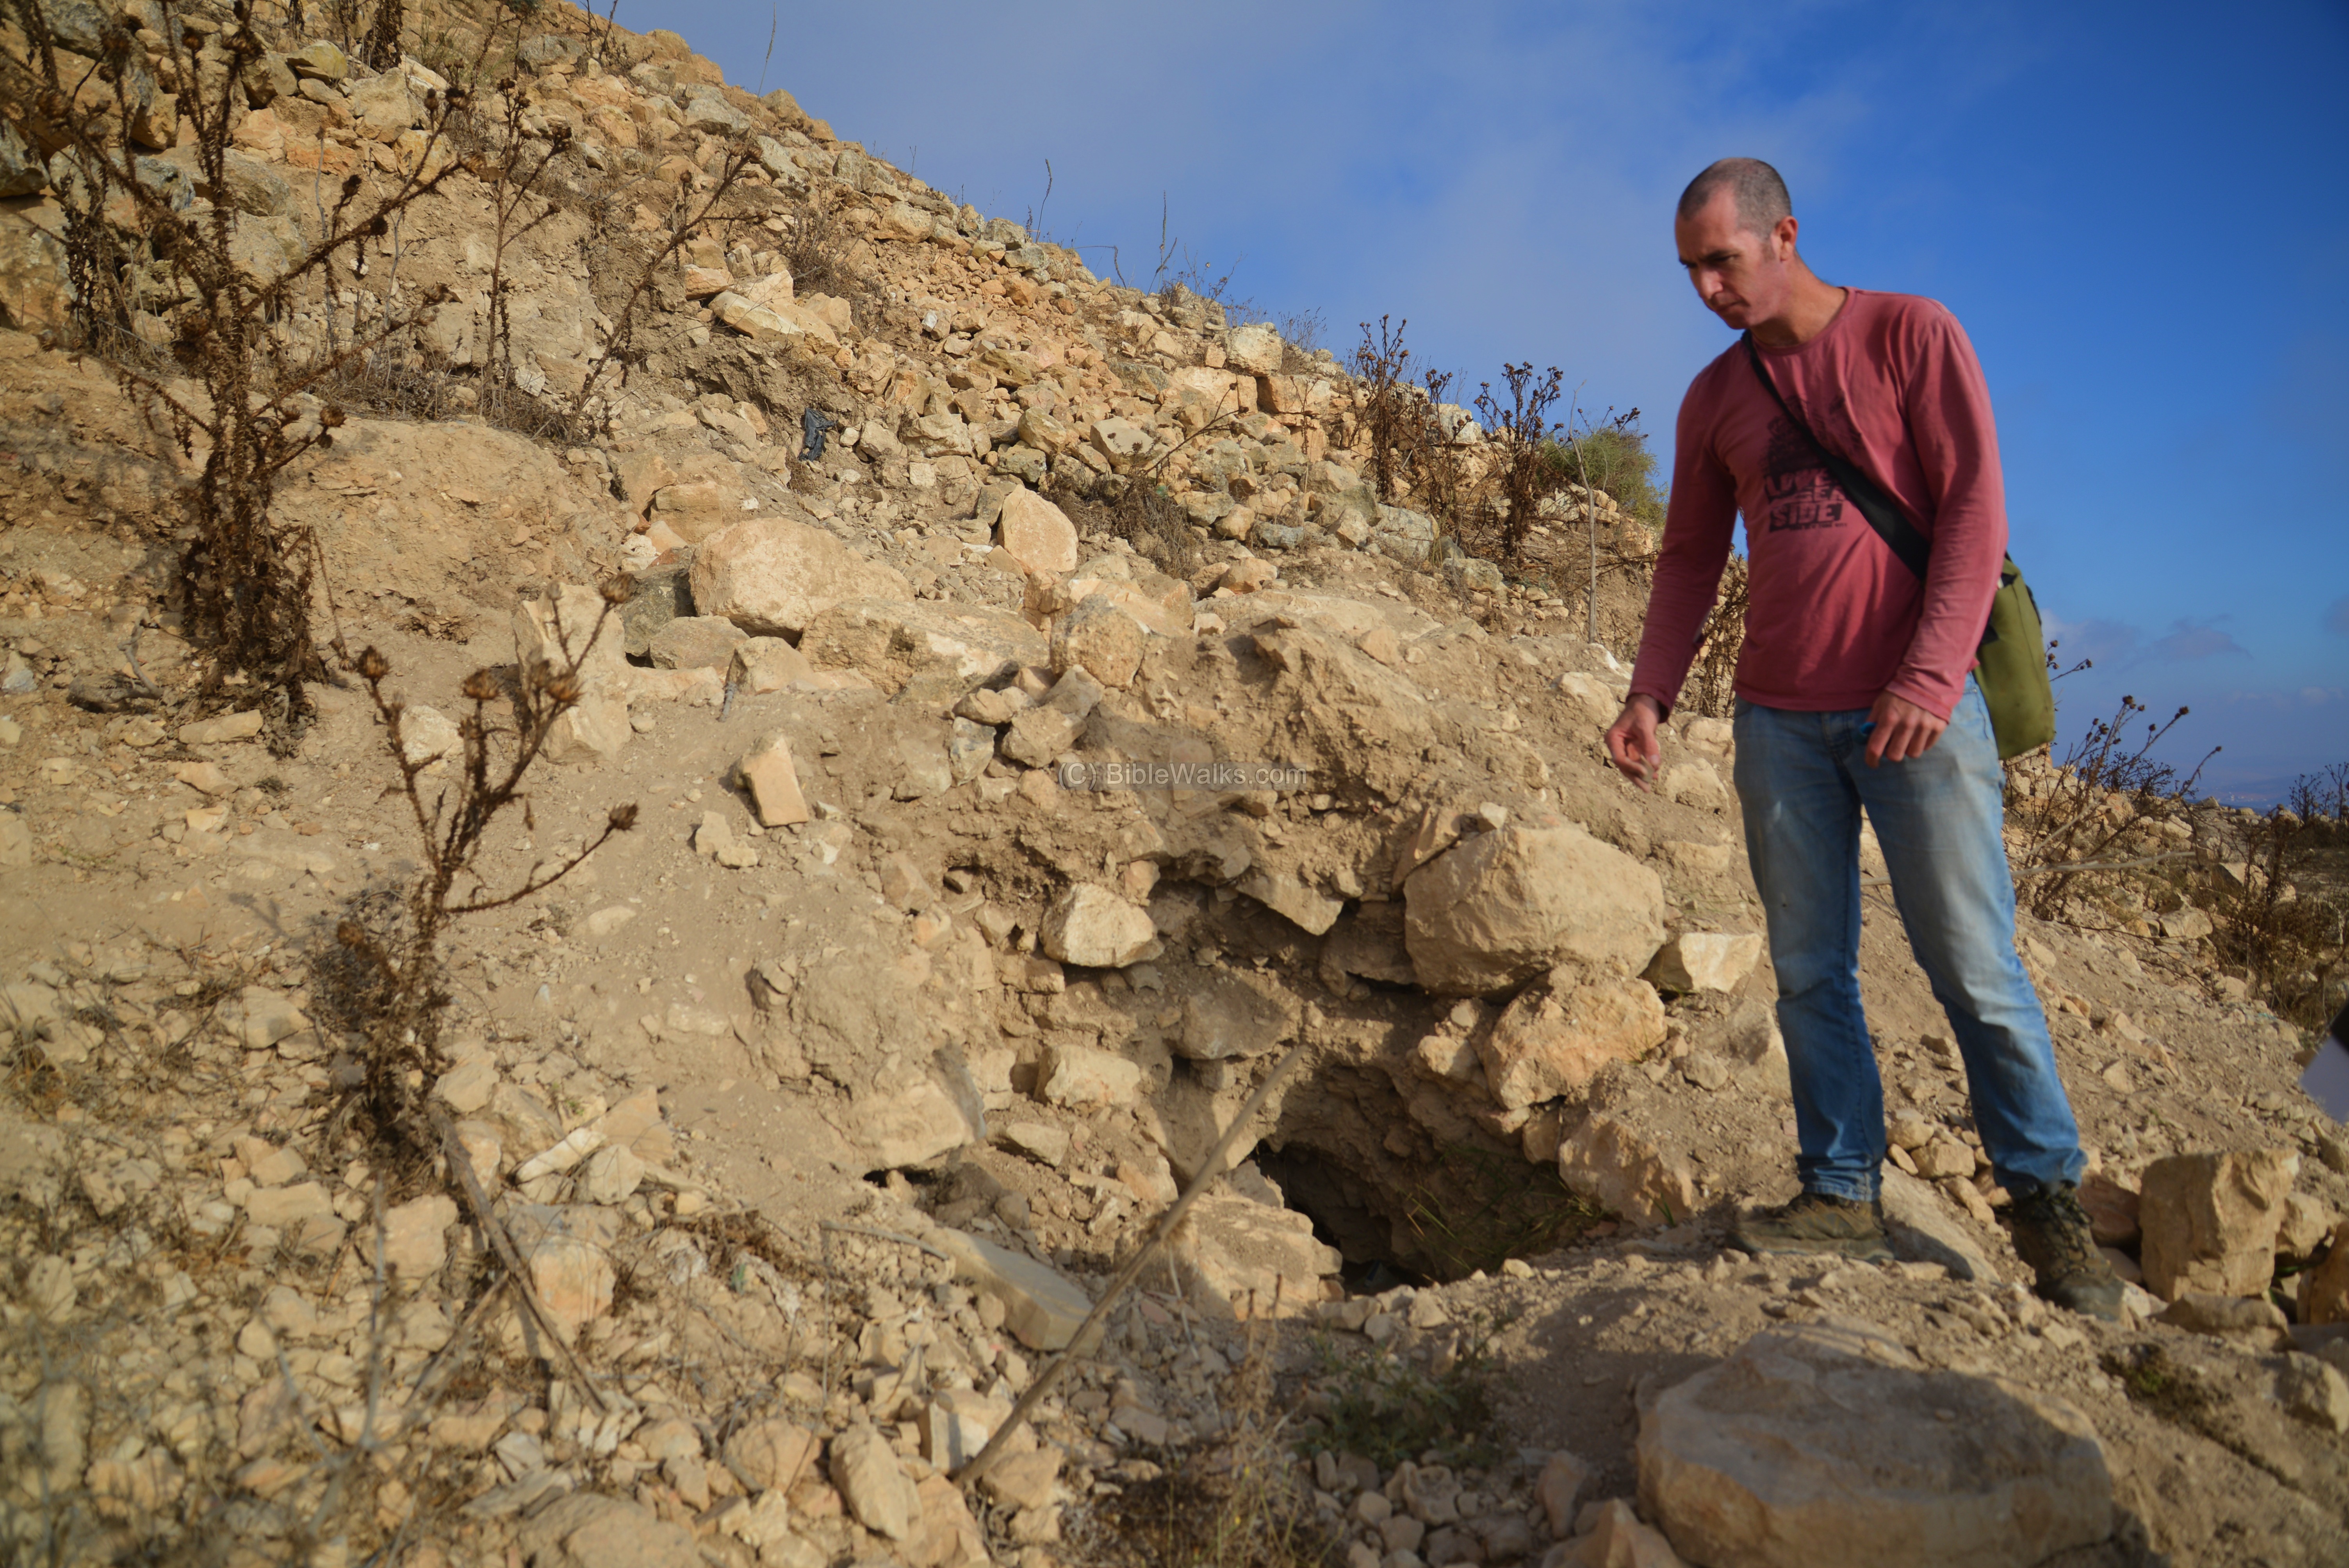
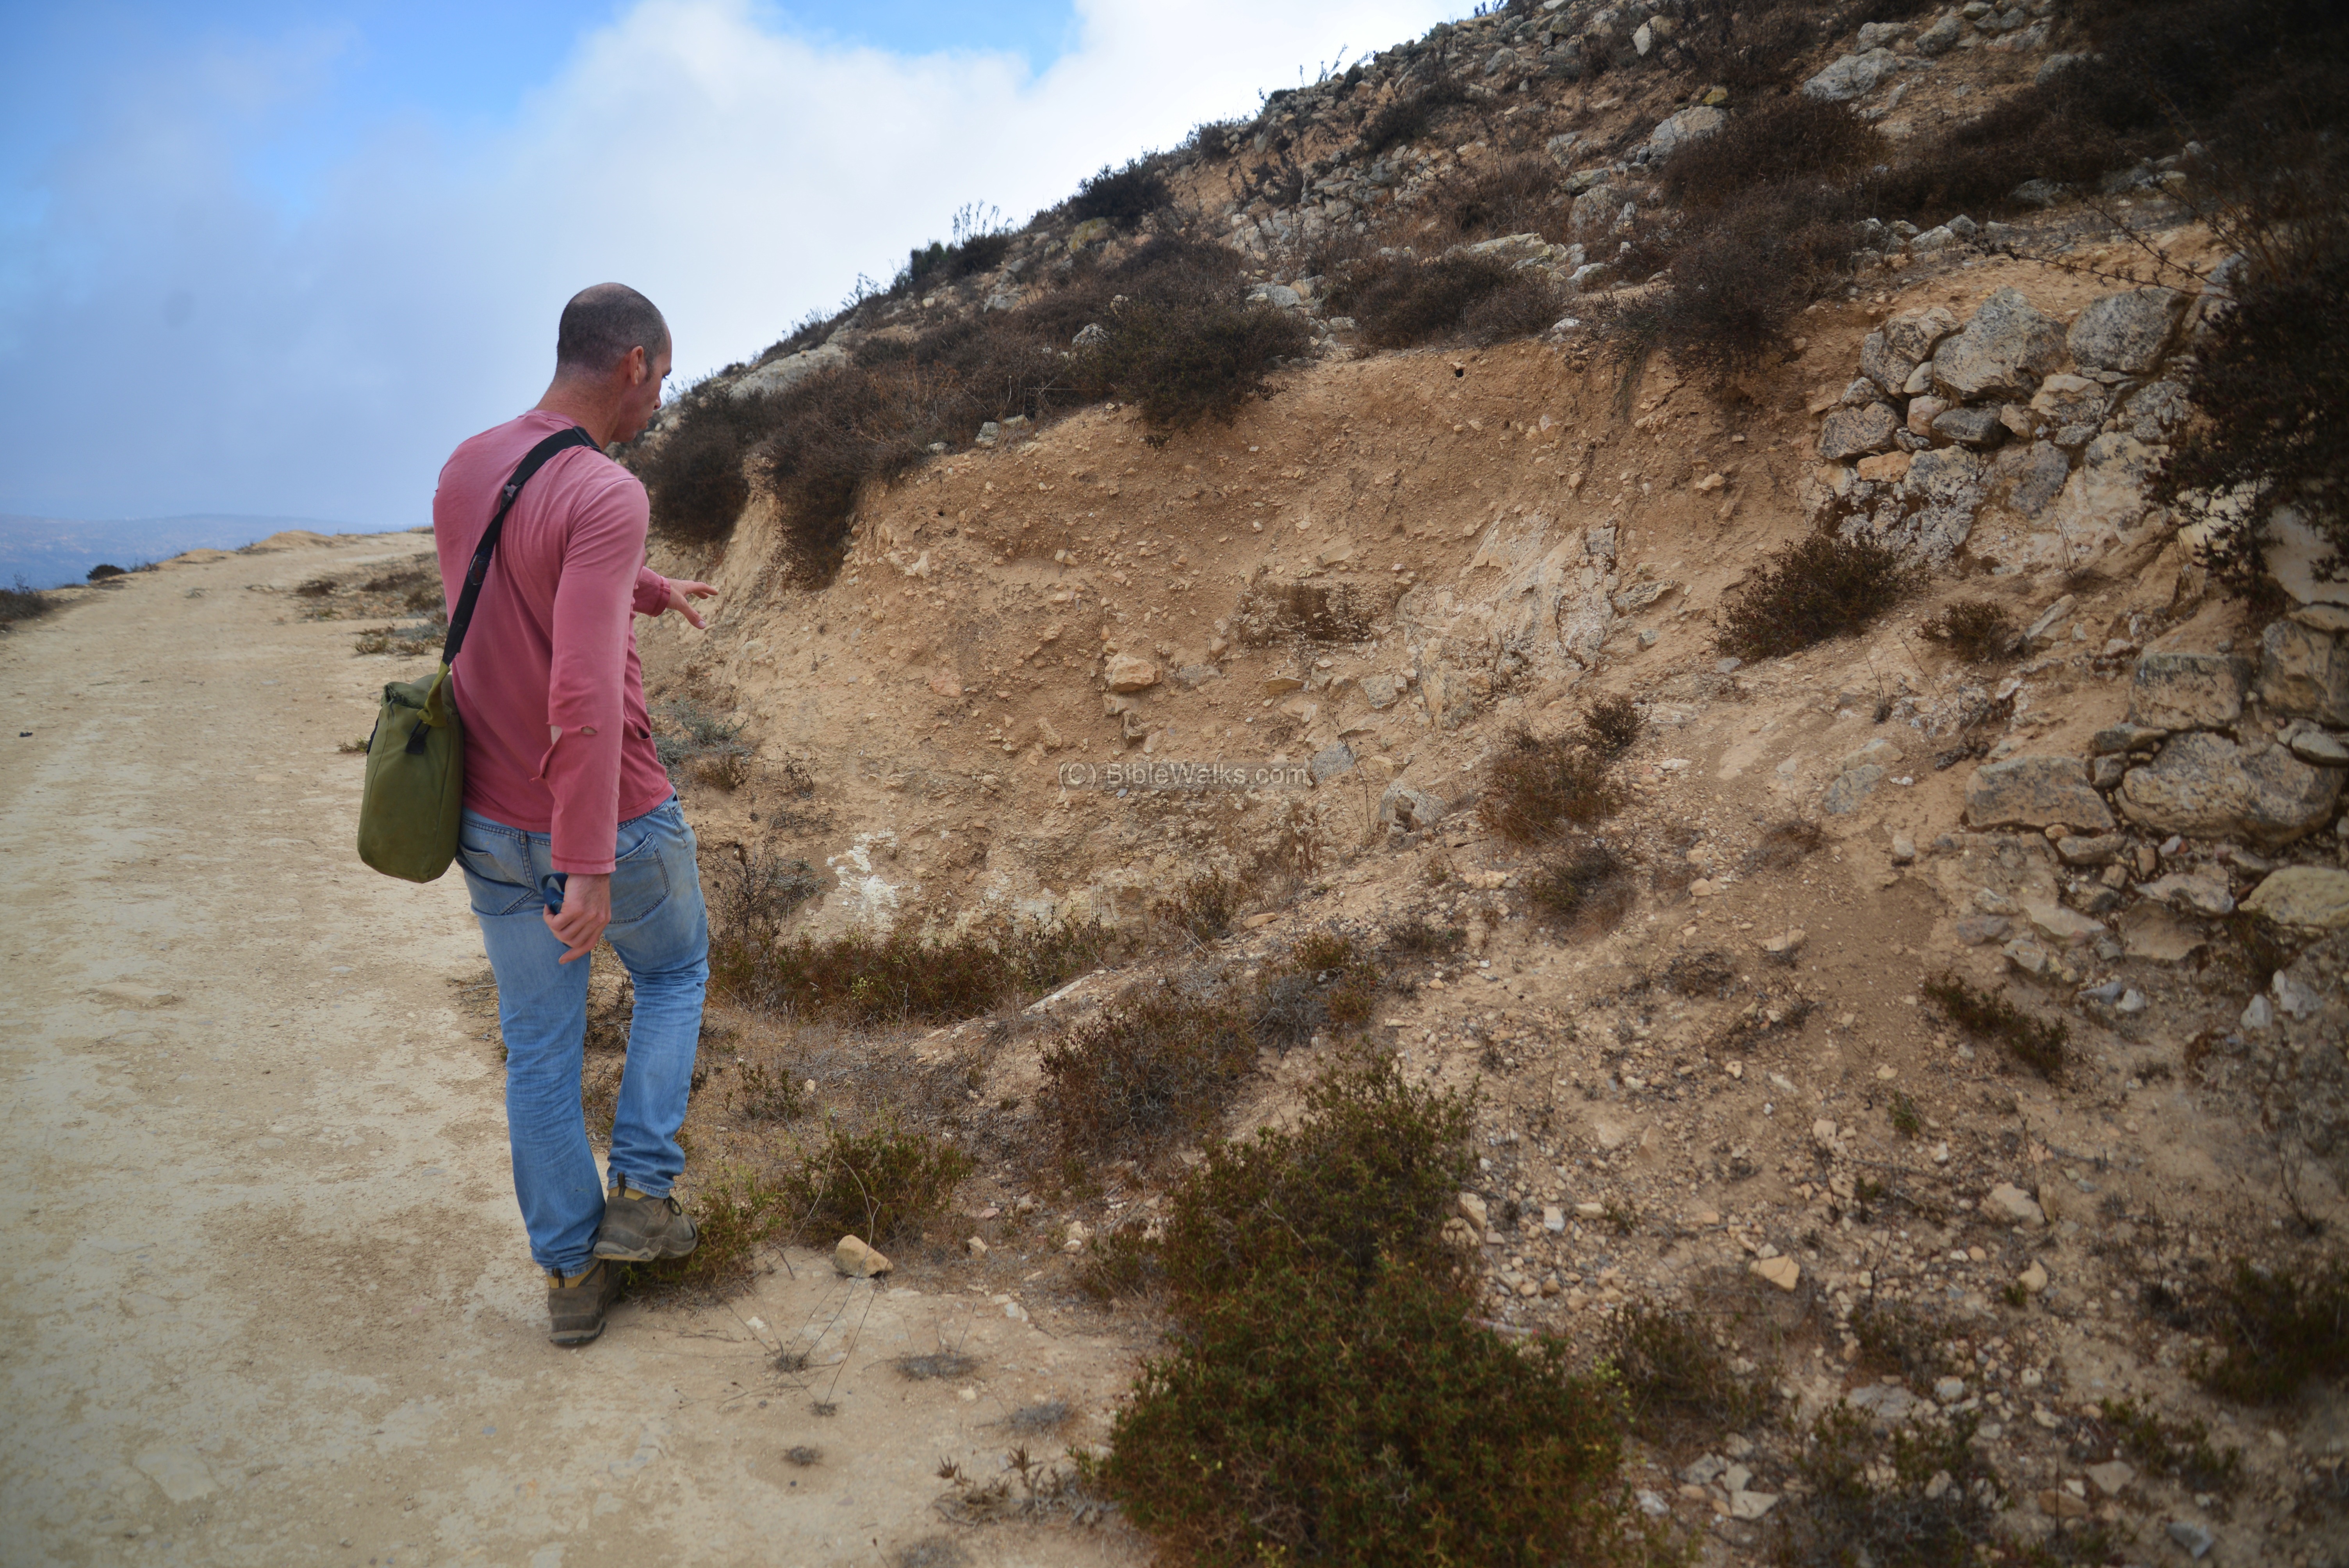
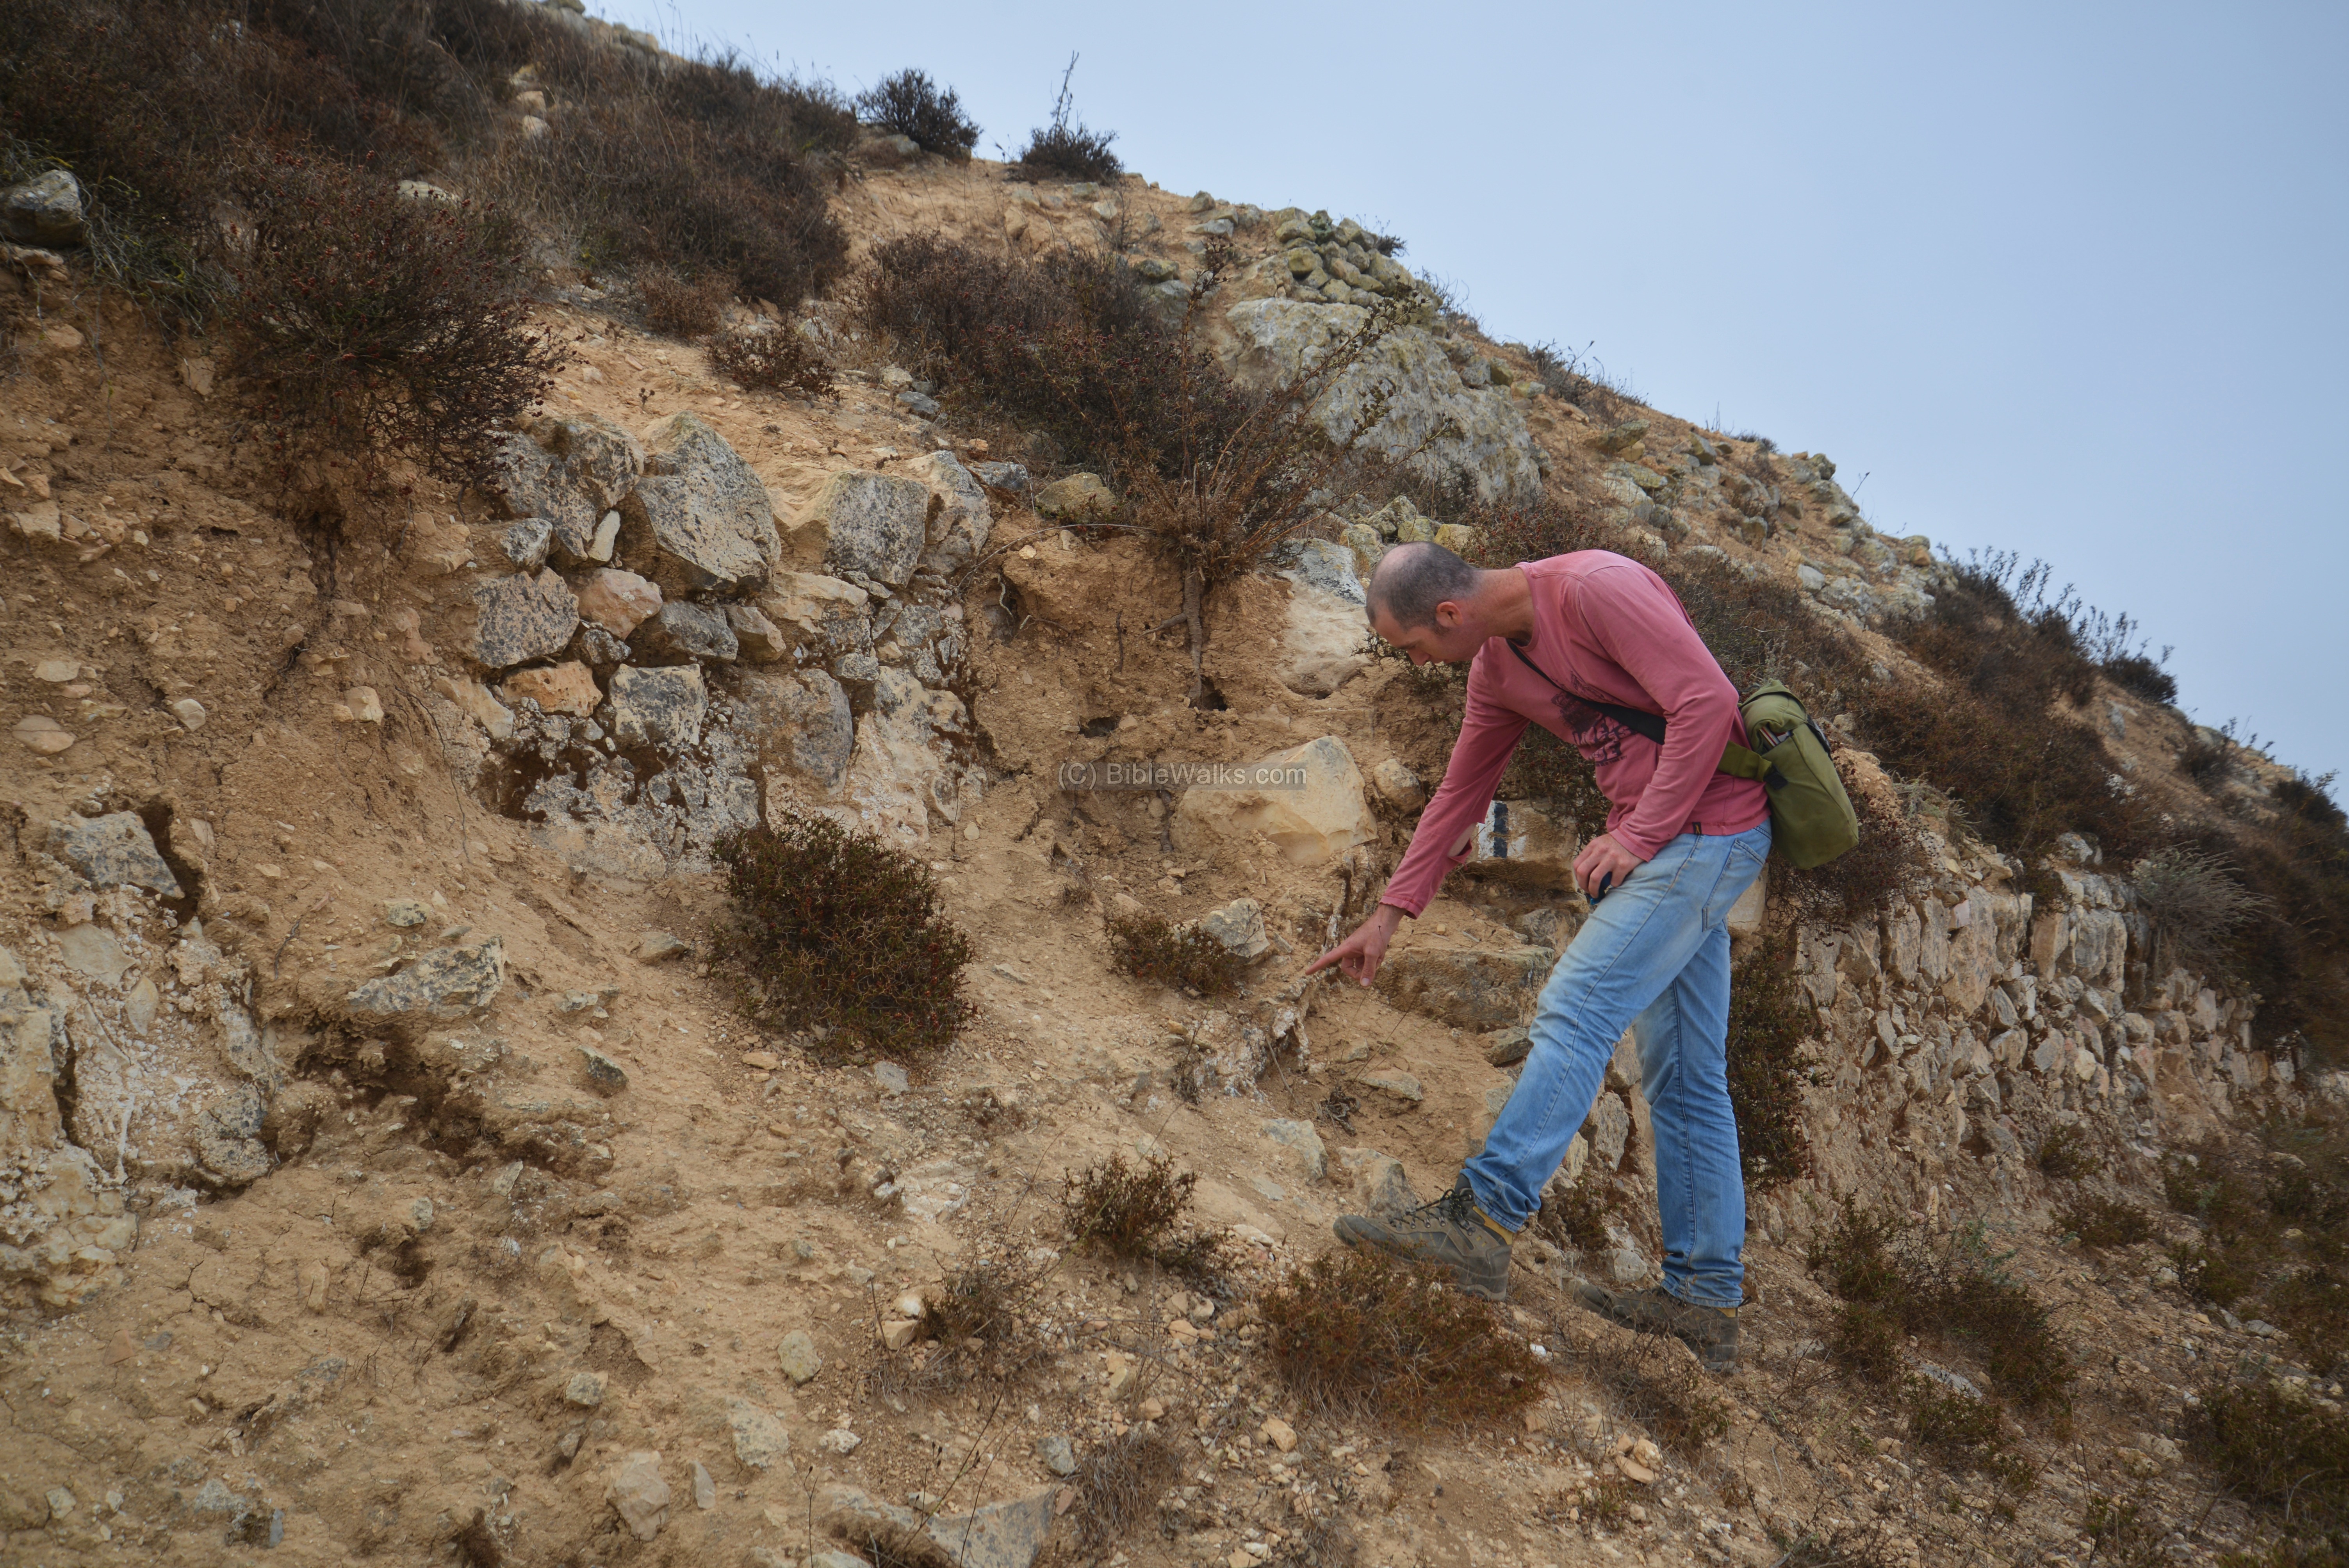
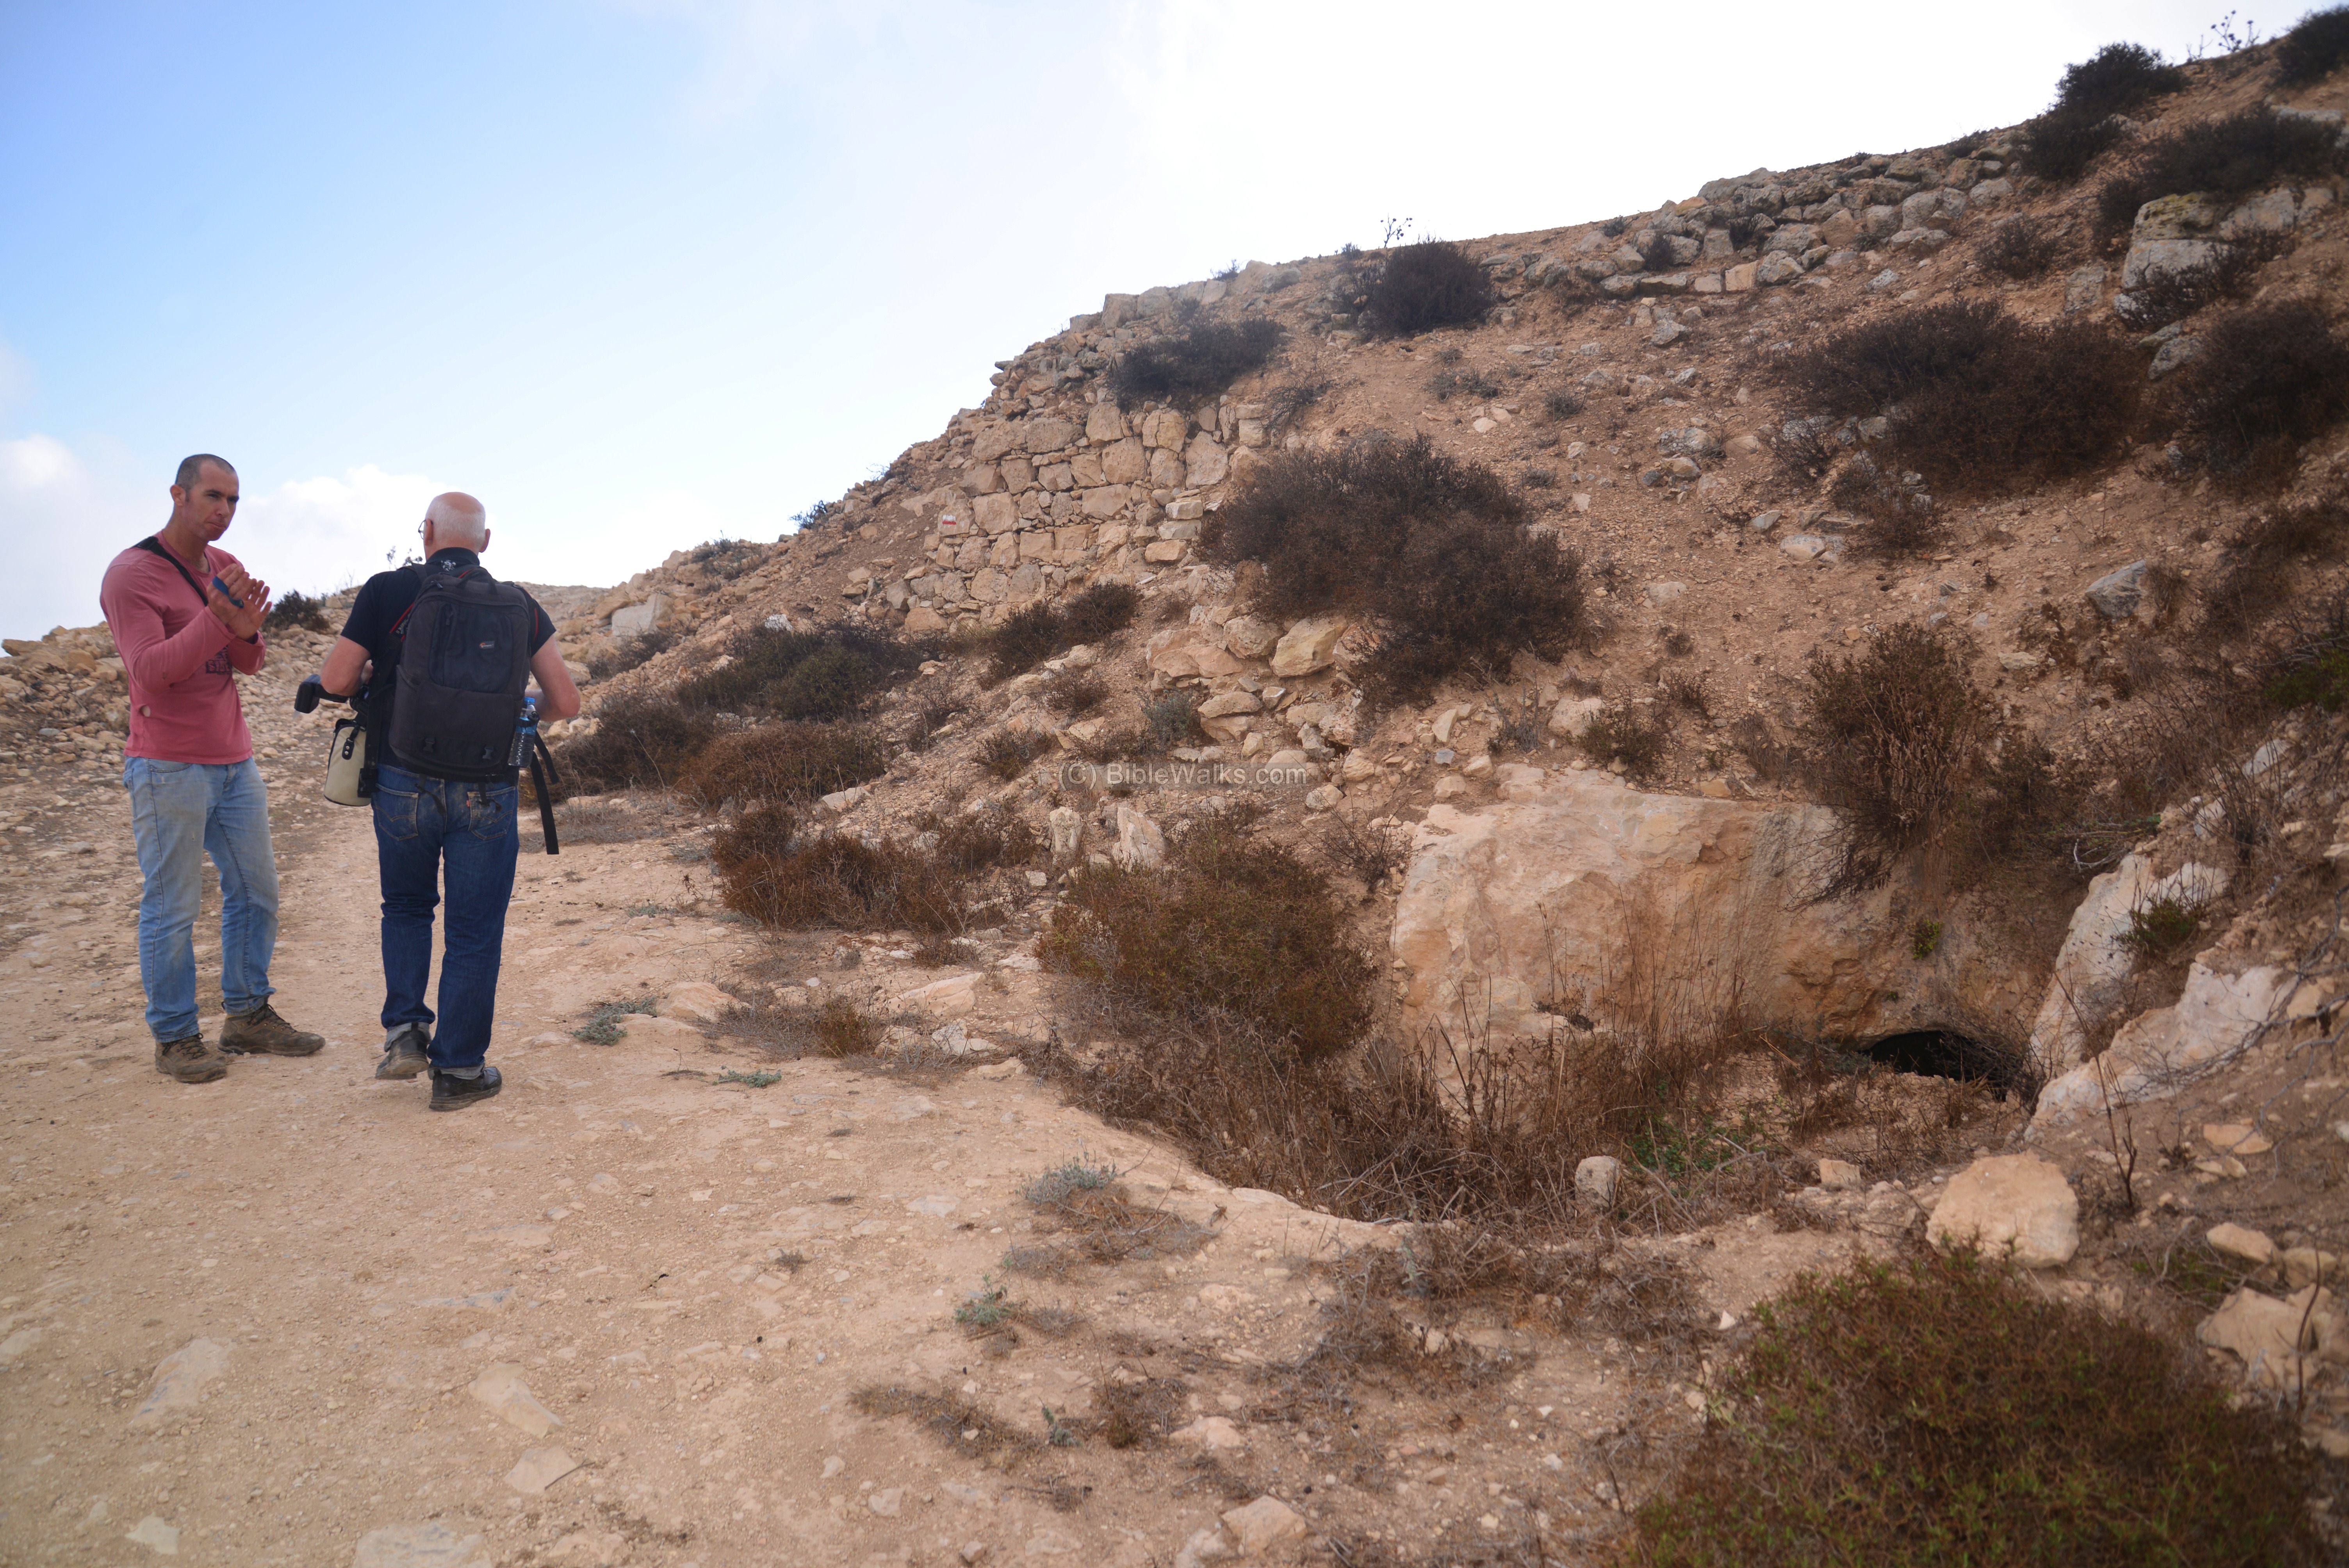
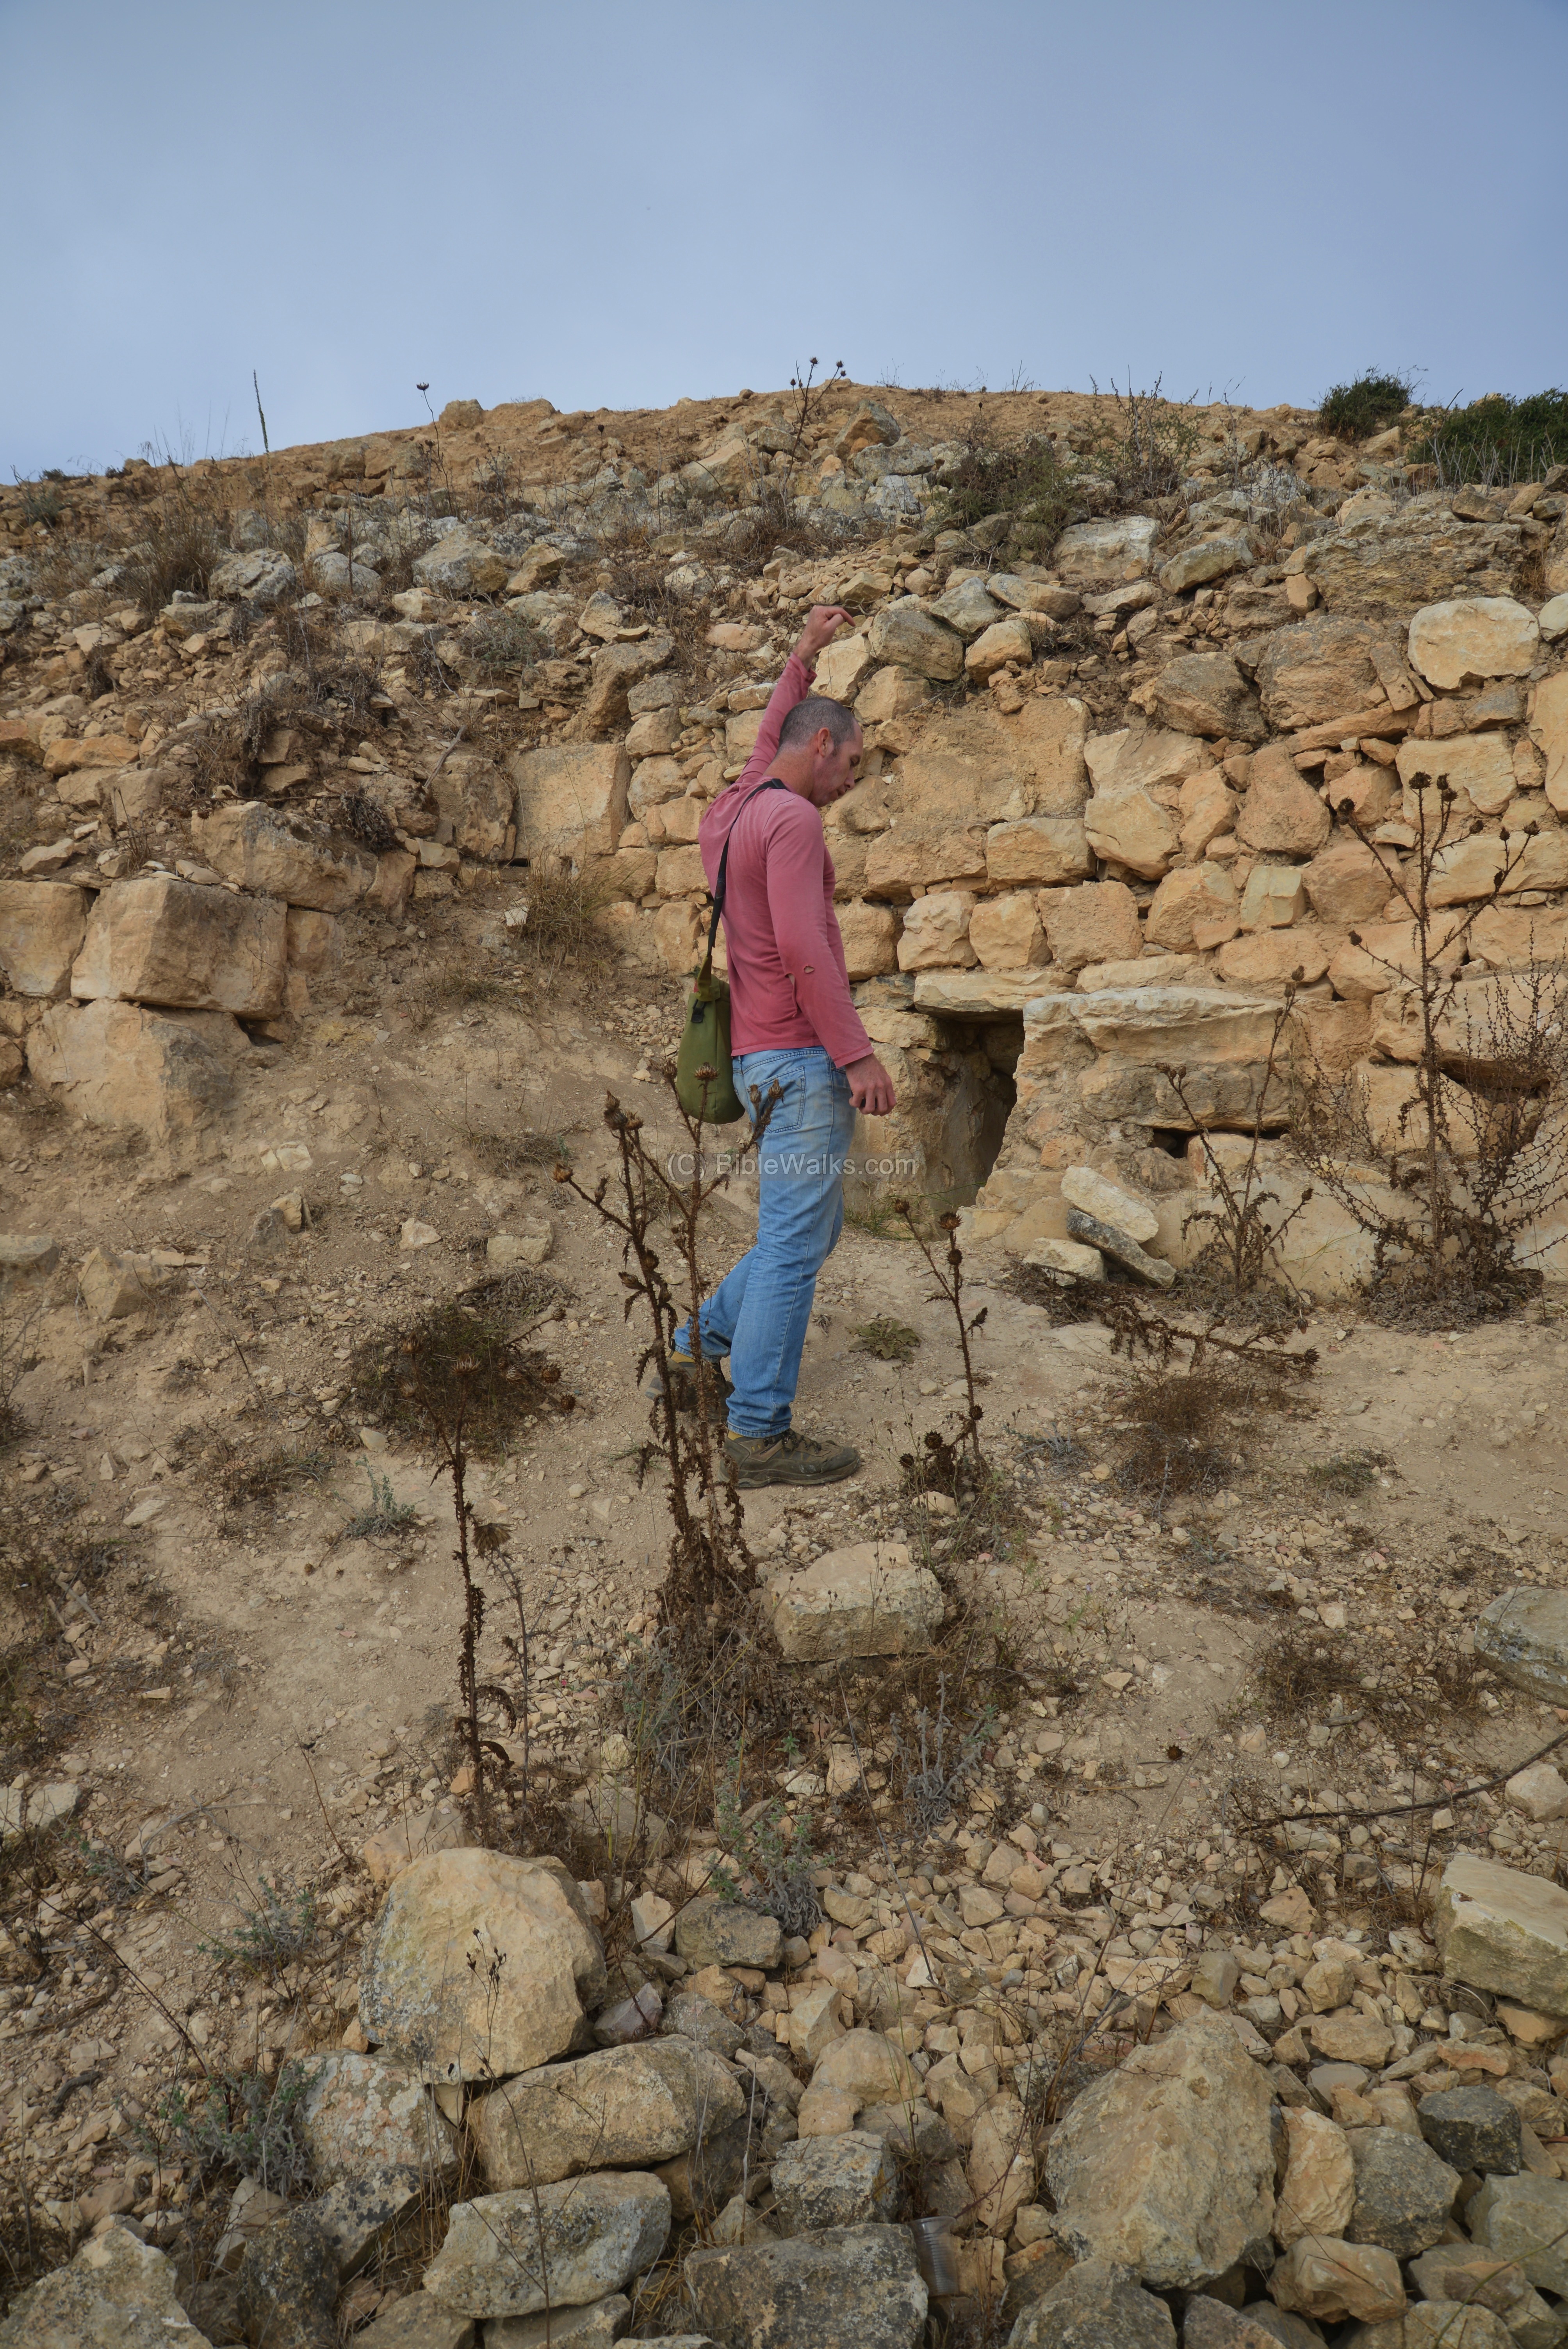
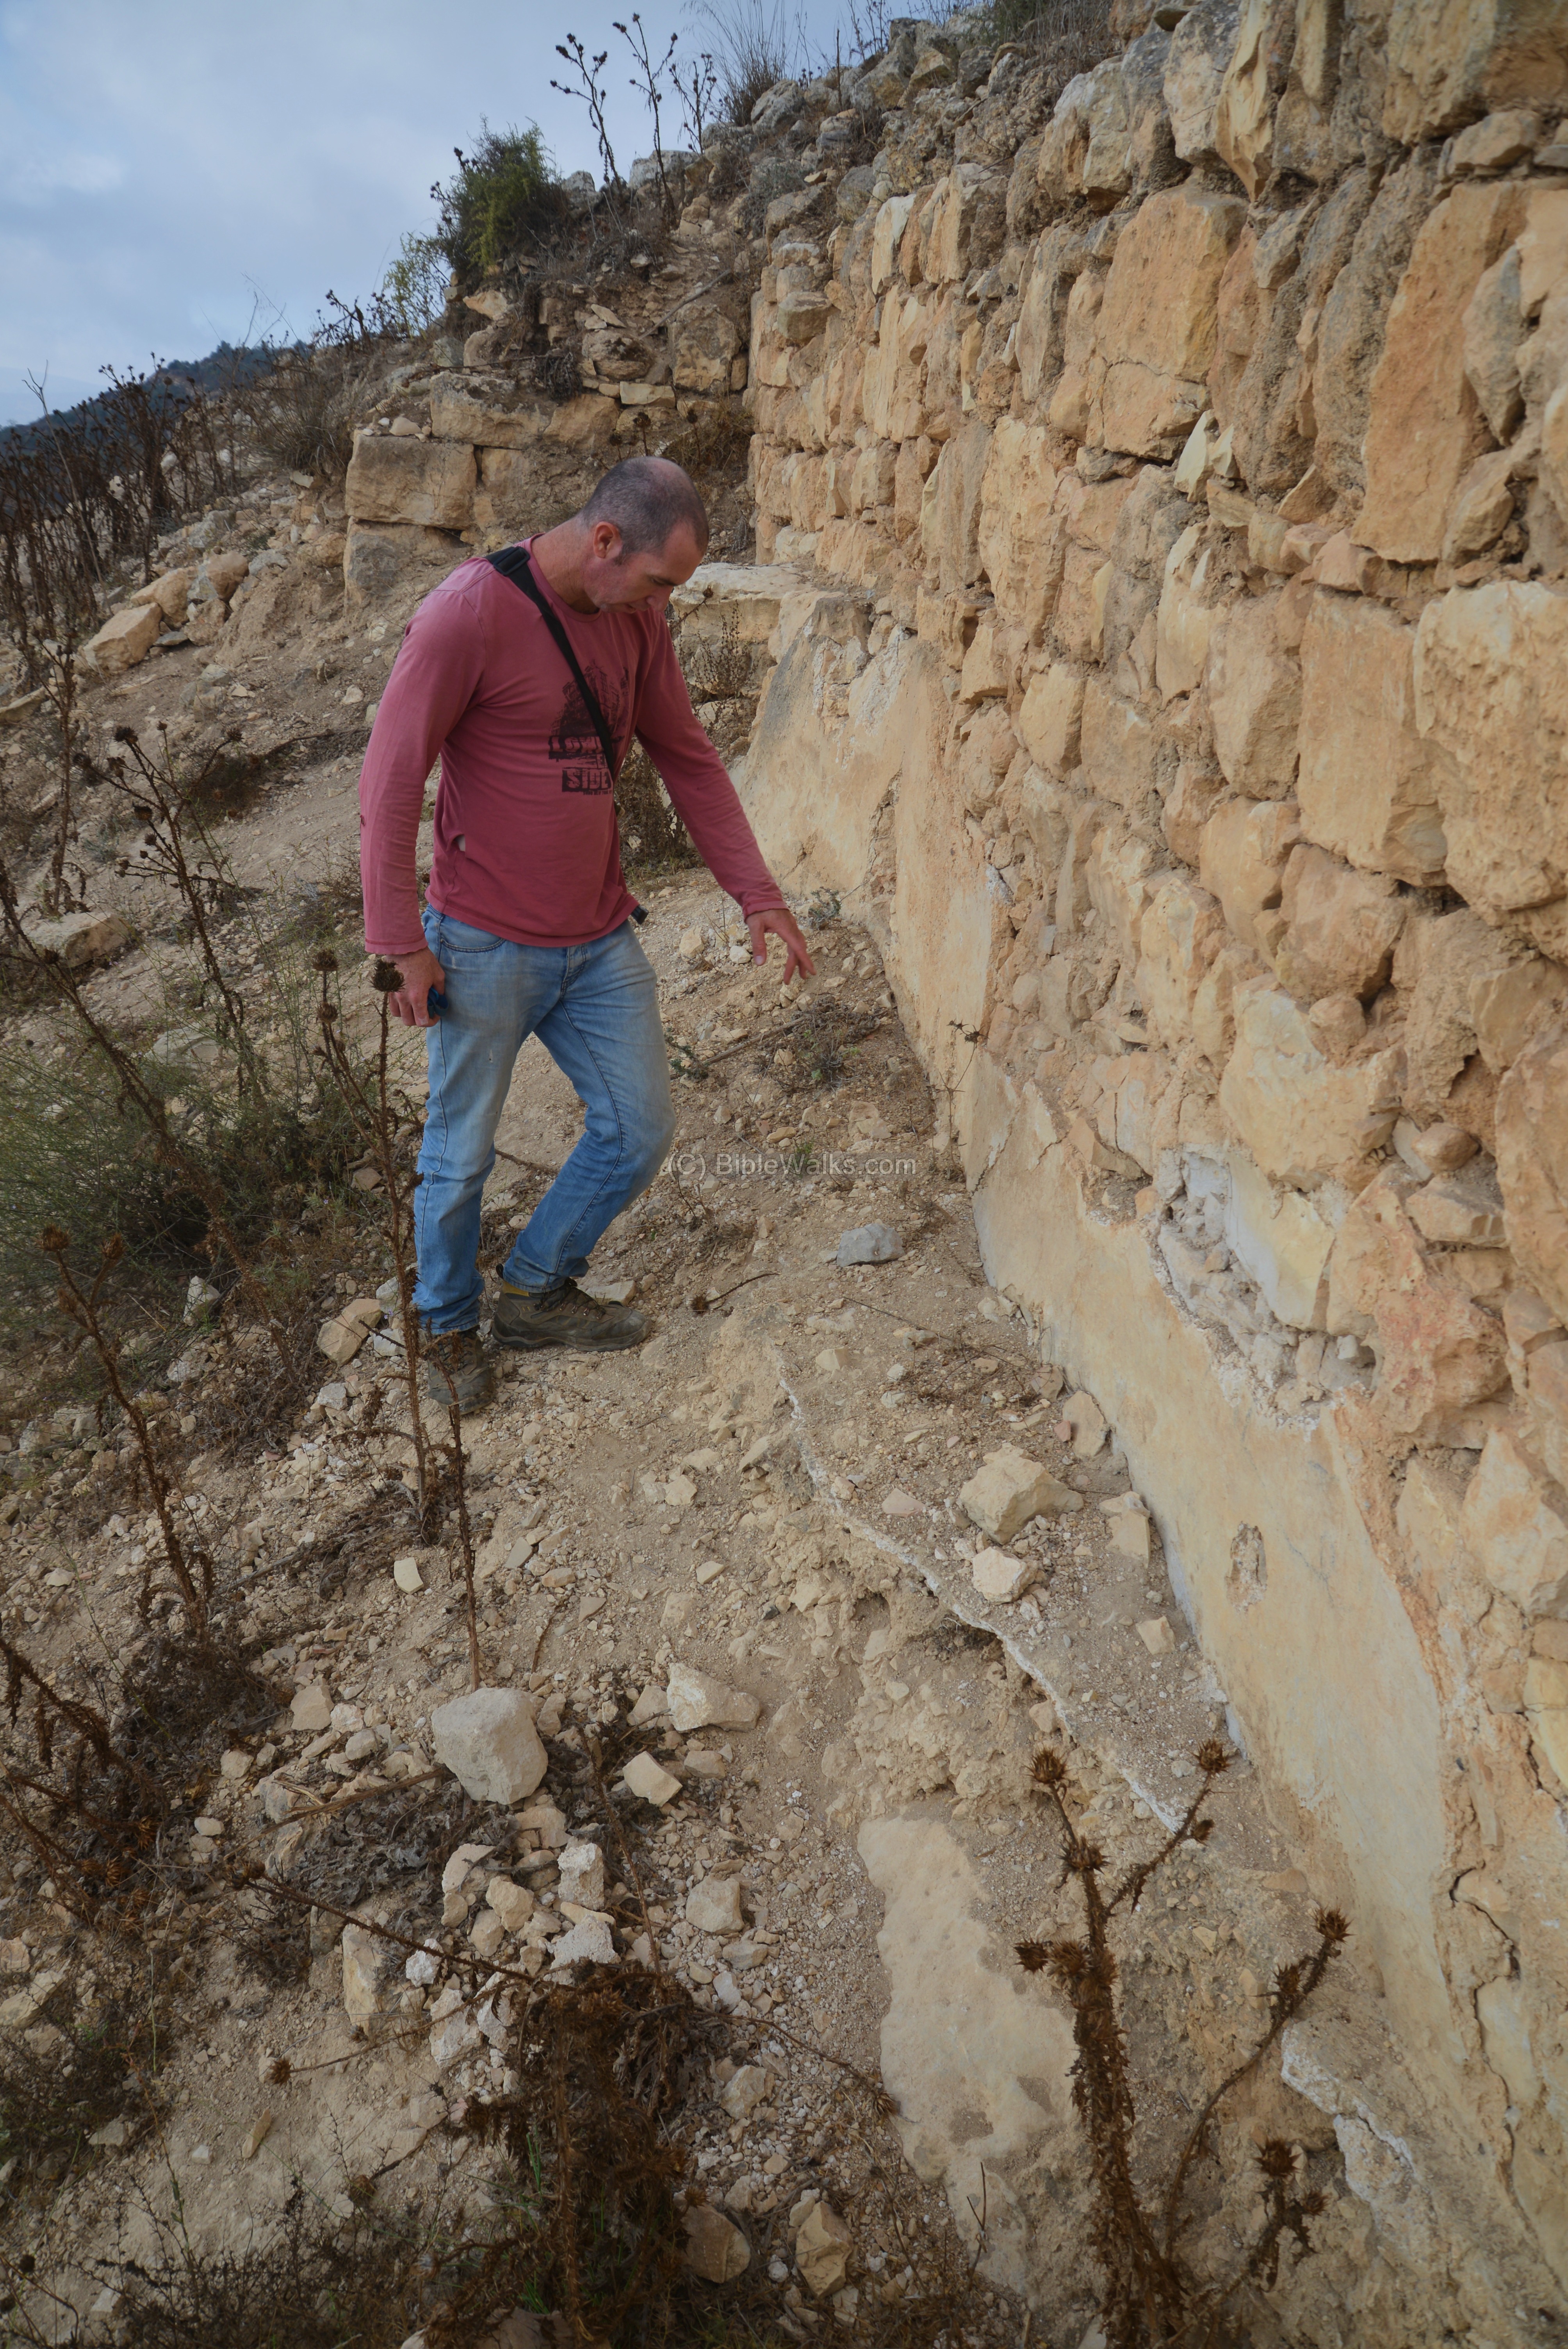
(f) Illicit diggings
Sadly, this site is witnessing a large scale looting, as many other archaeological sites in the Palestinian controlled areas. The Israeli authorities cannot legally prevent illicit digging in area “B” in Samaria and Judea, and so robbers continue to cause severe damages to these historic sites.
Here, Dvir Raviv inspects one of the diggings.
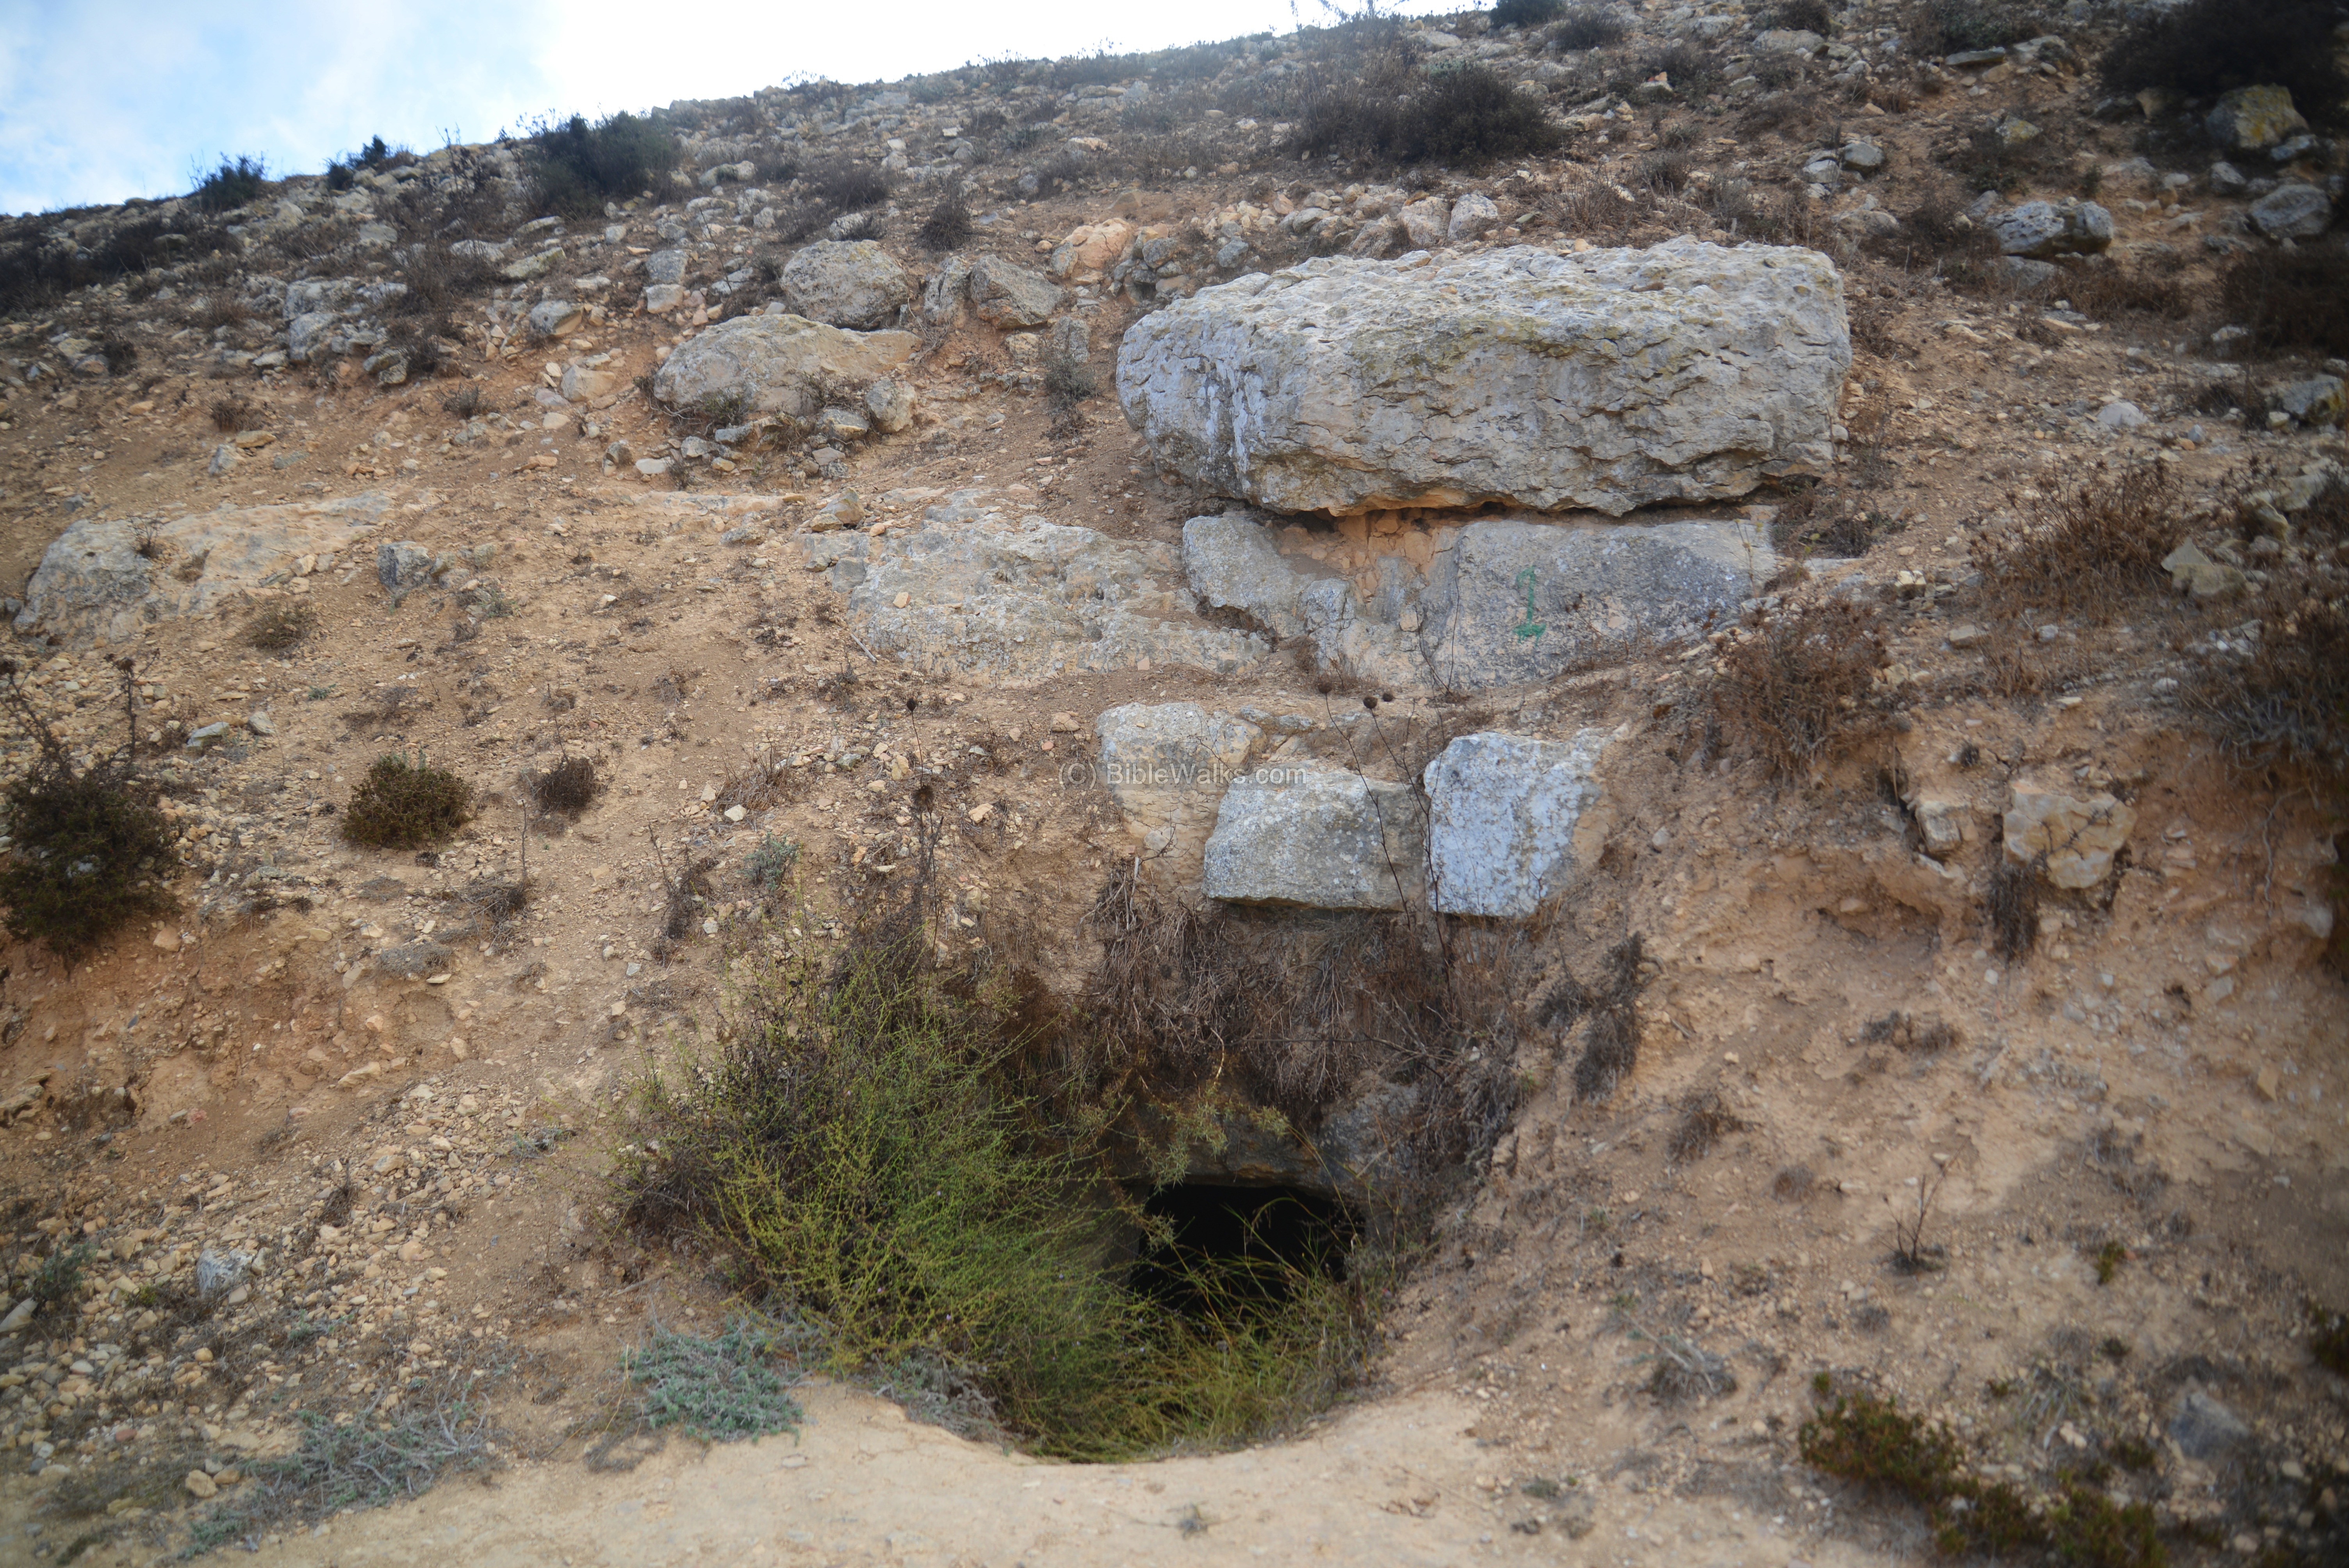
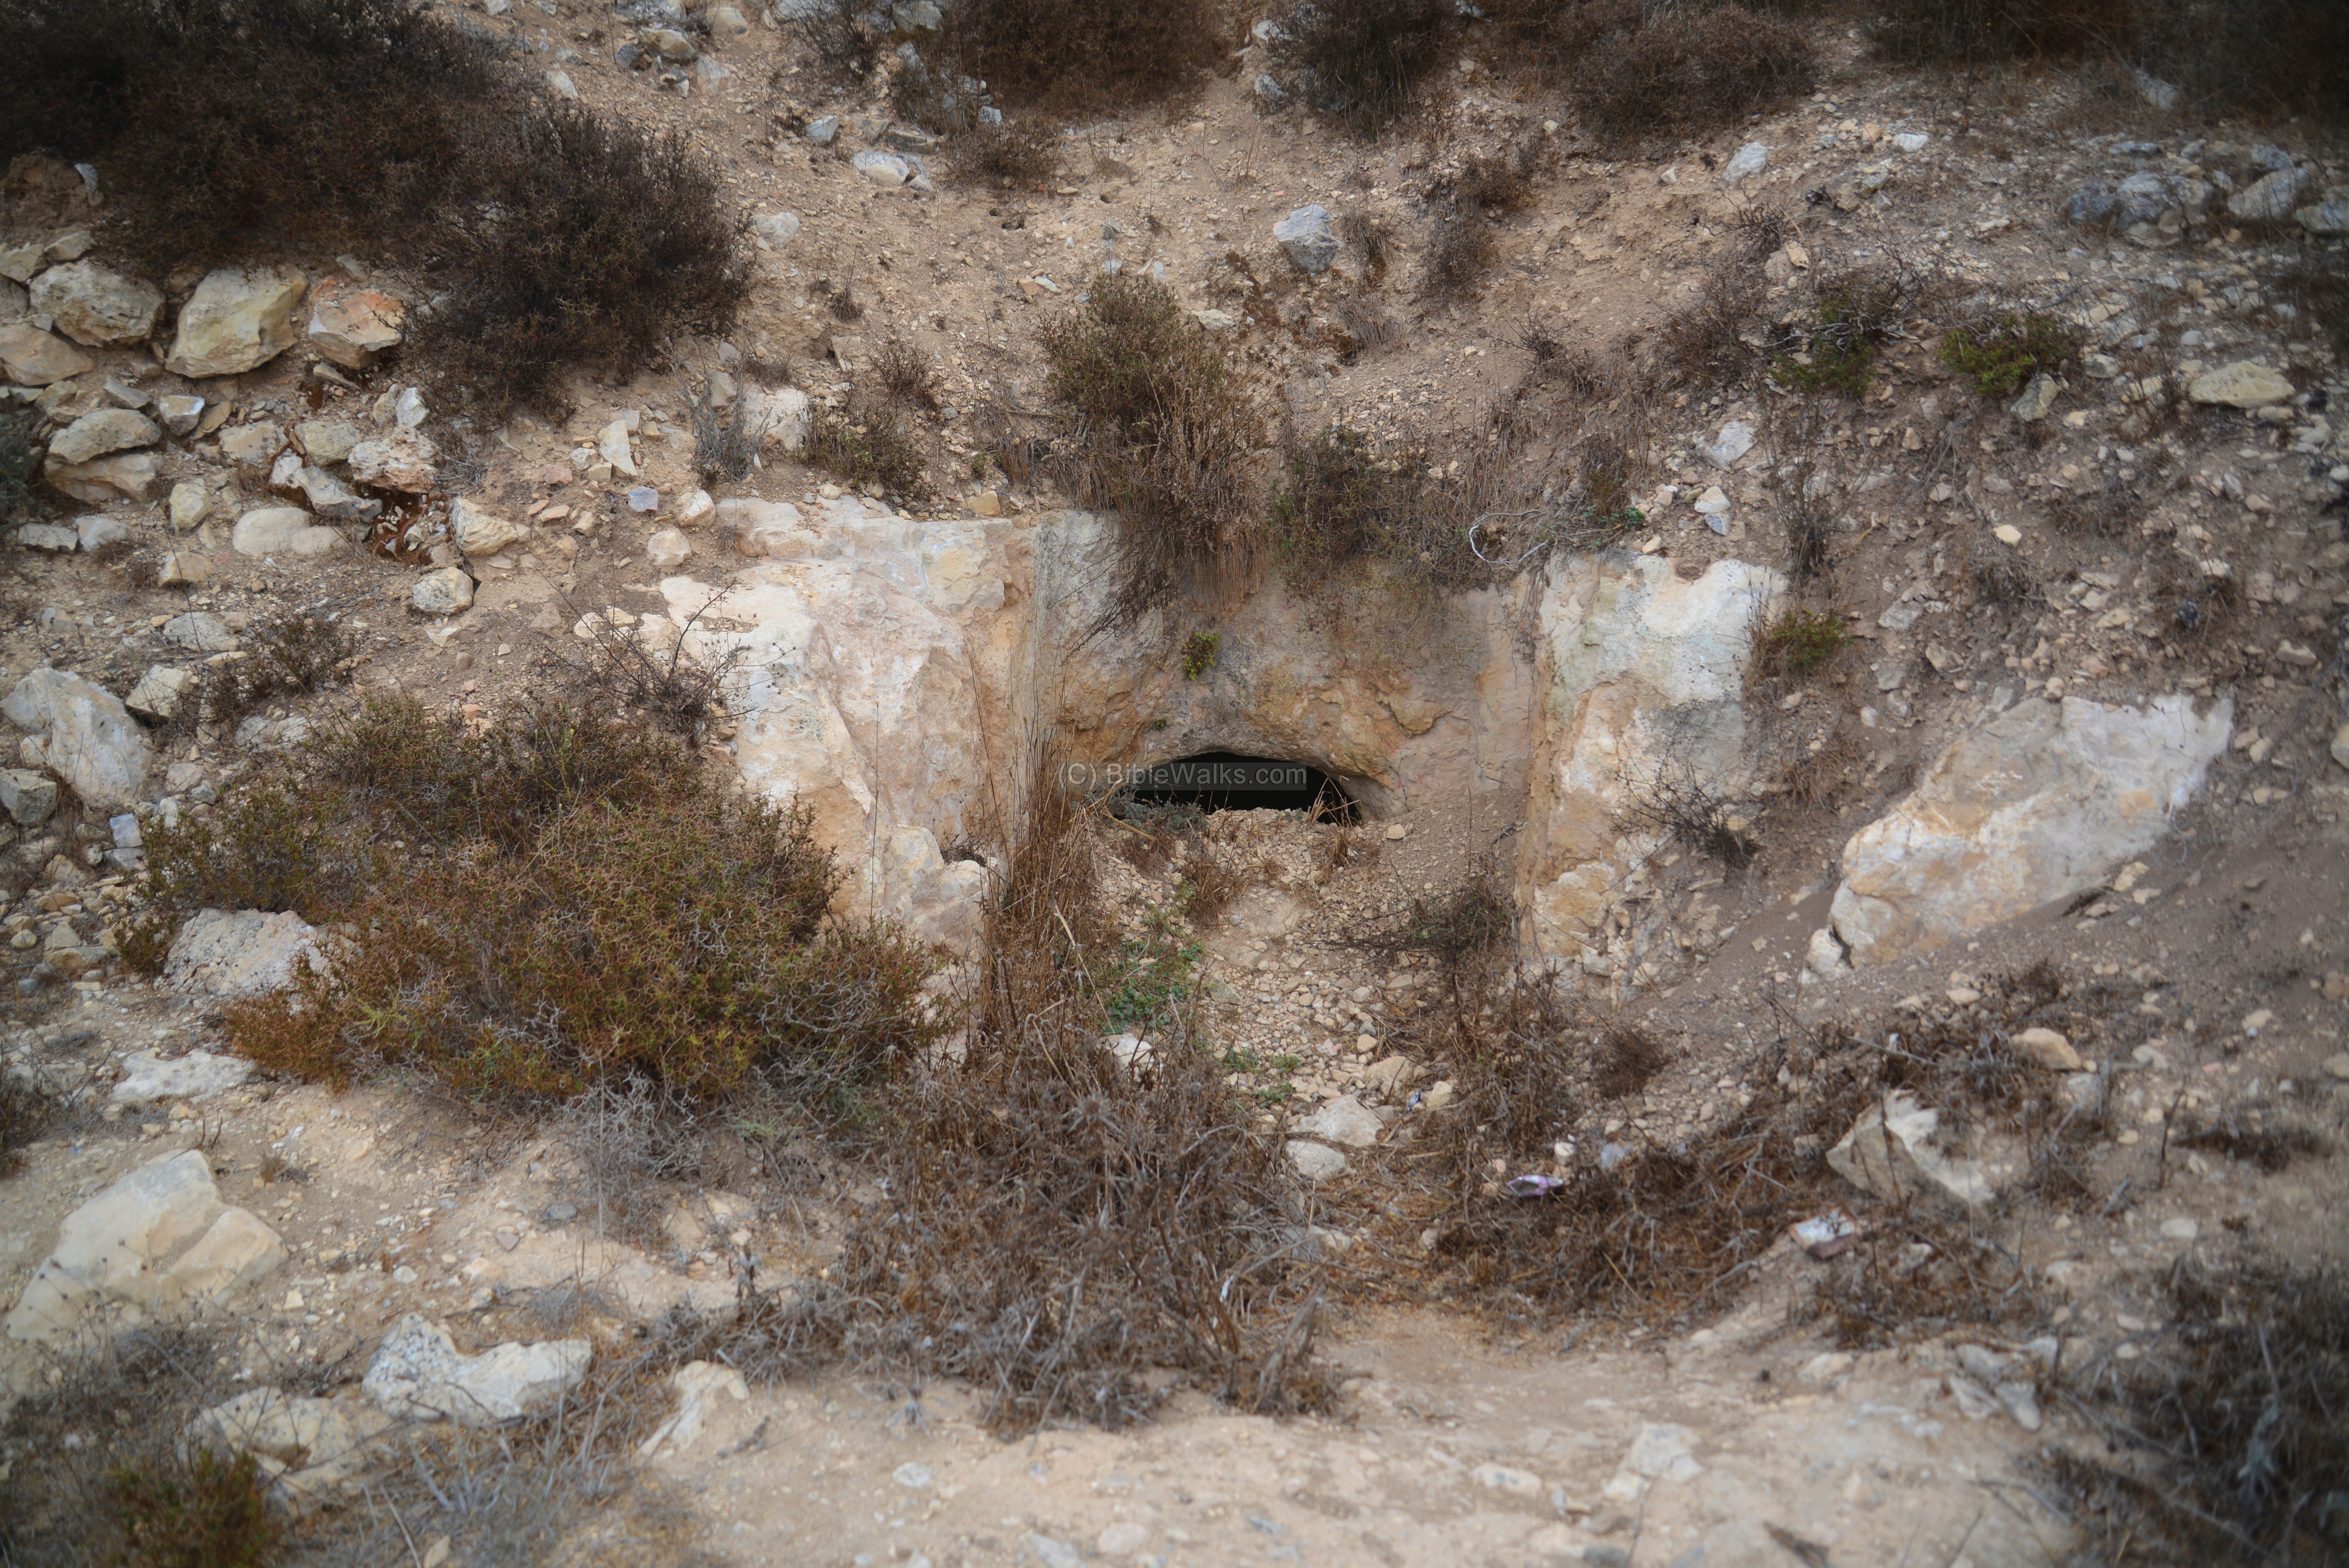
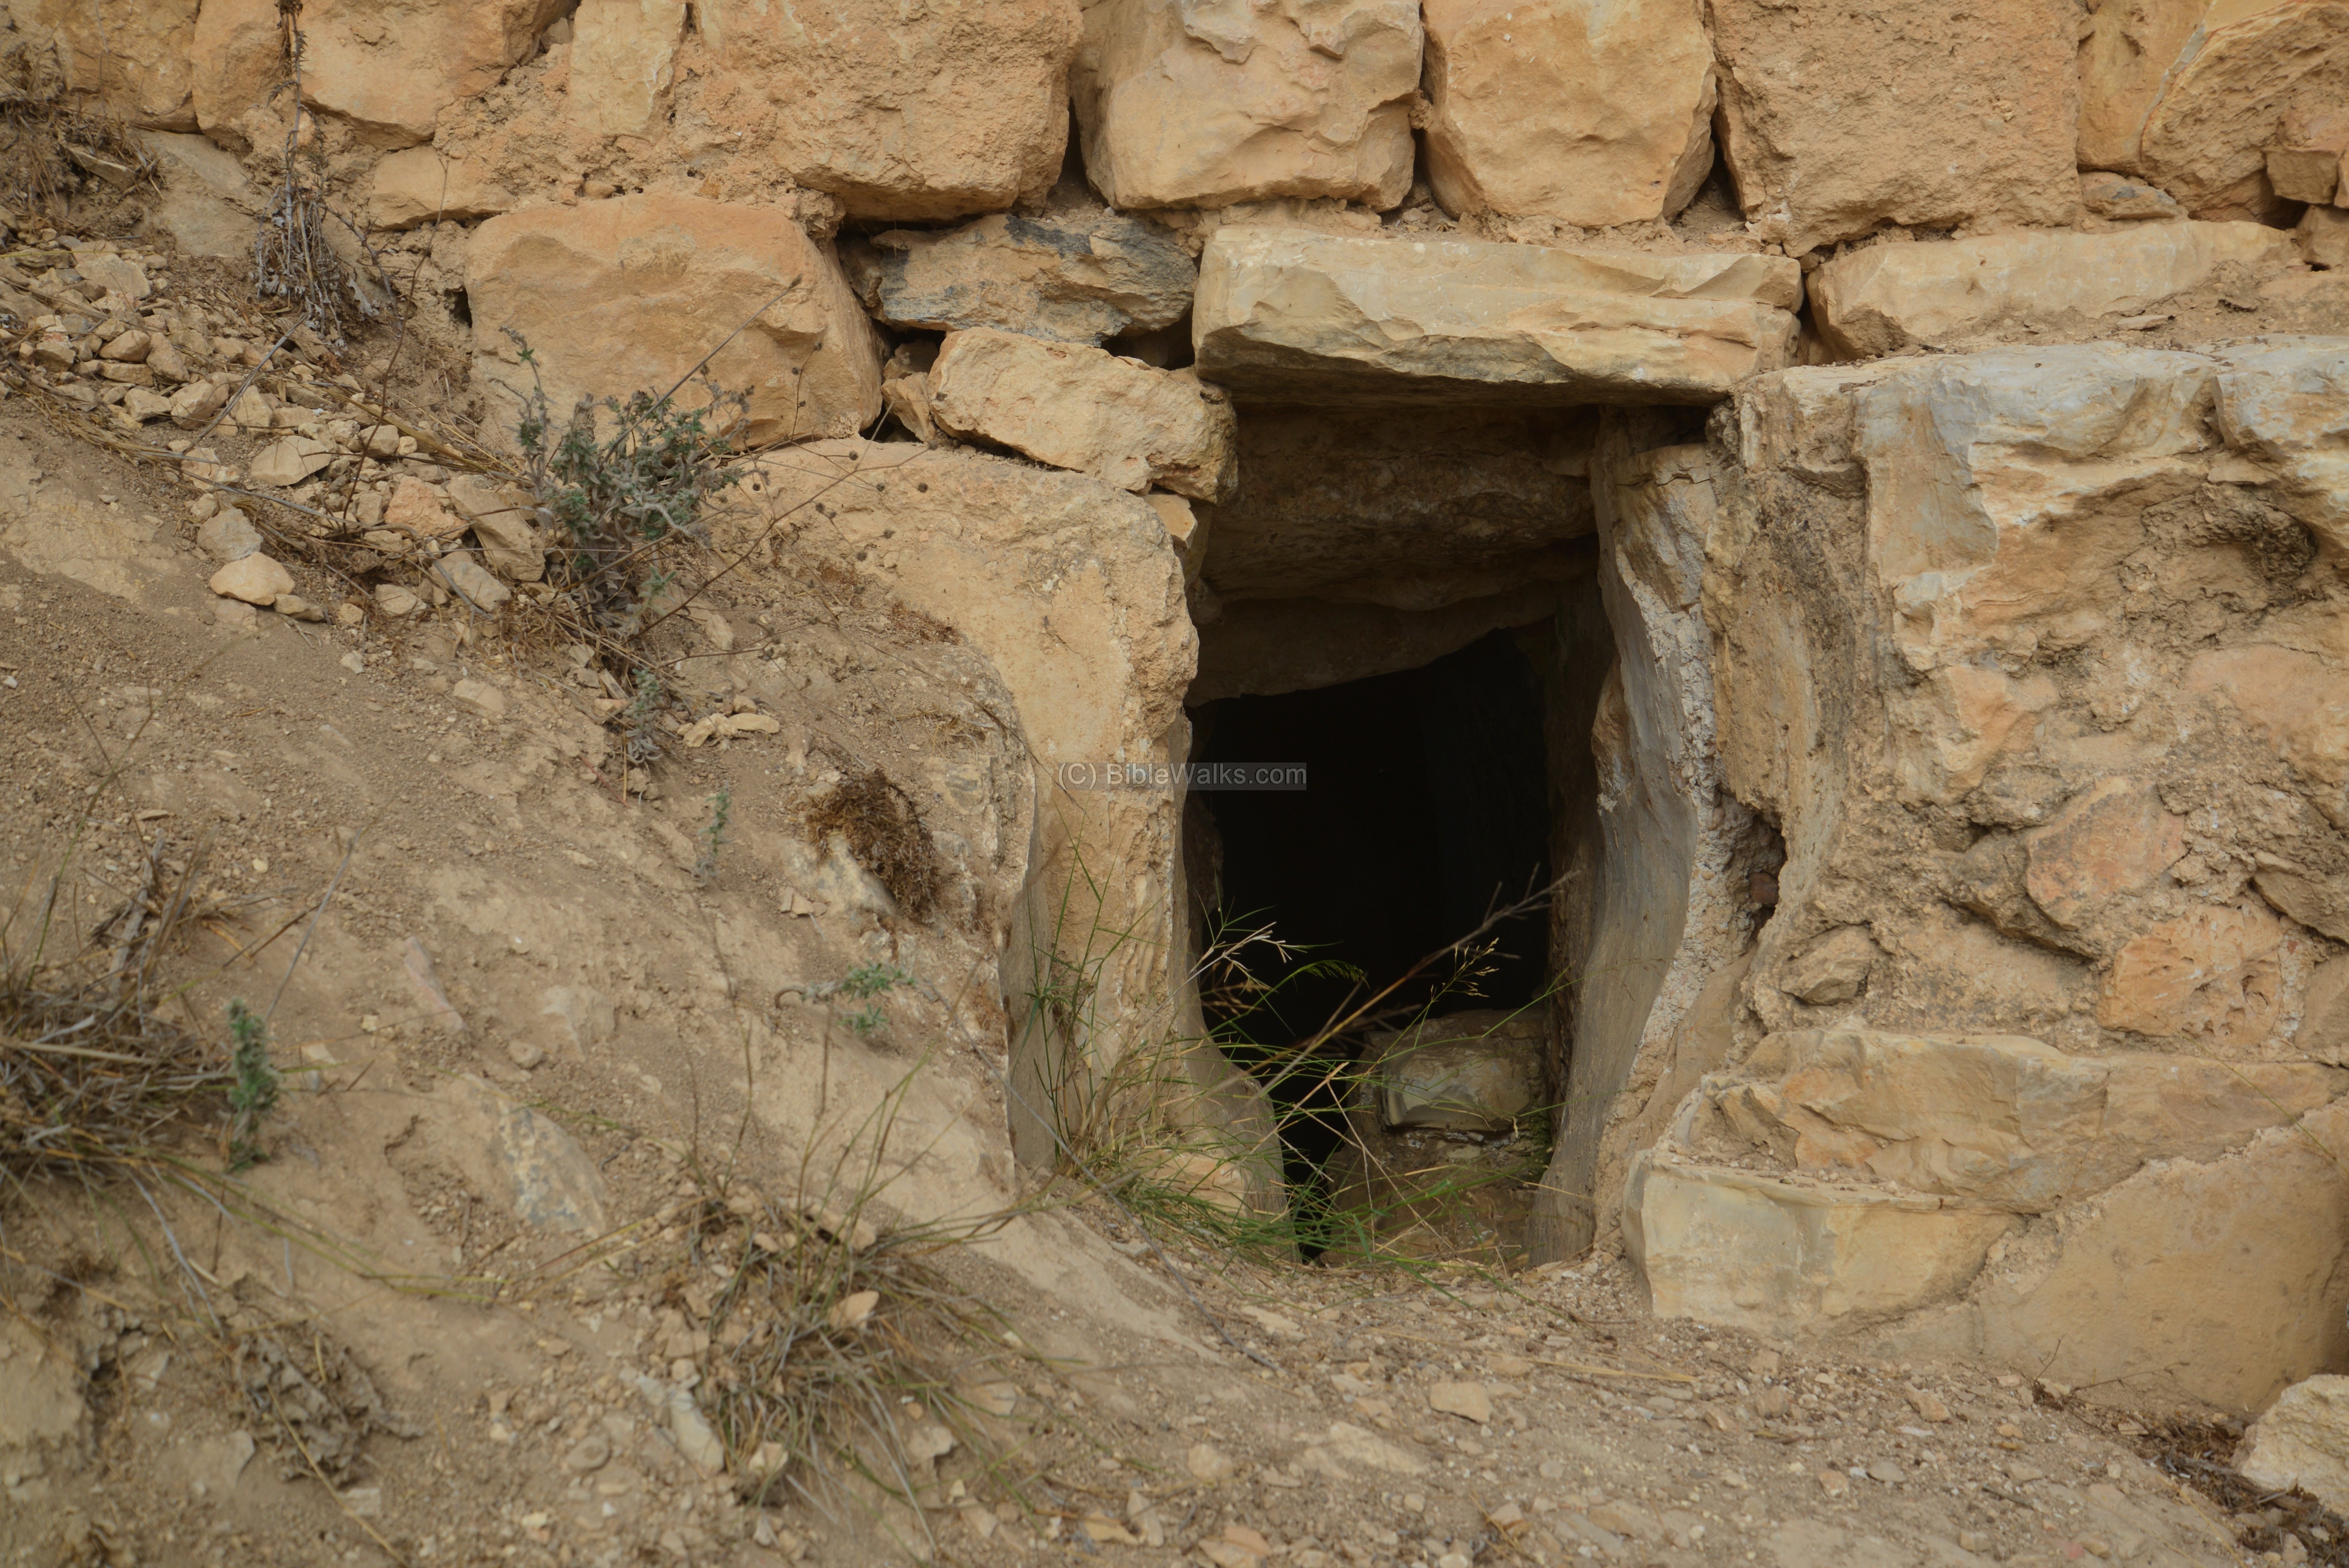
In some sections of the hill, the robbers come with heavy equipment to dig out the treasures.
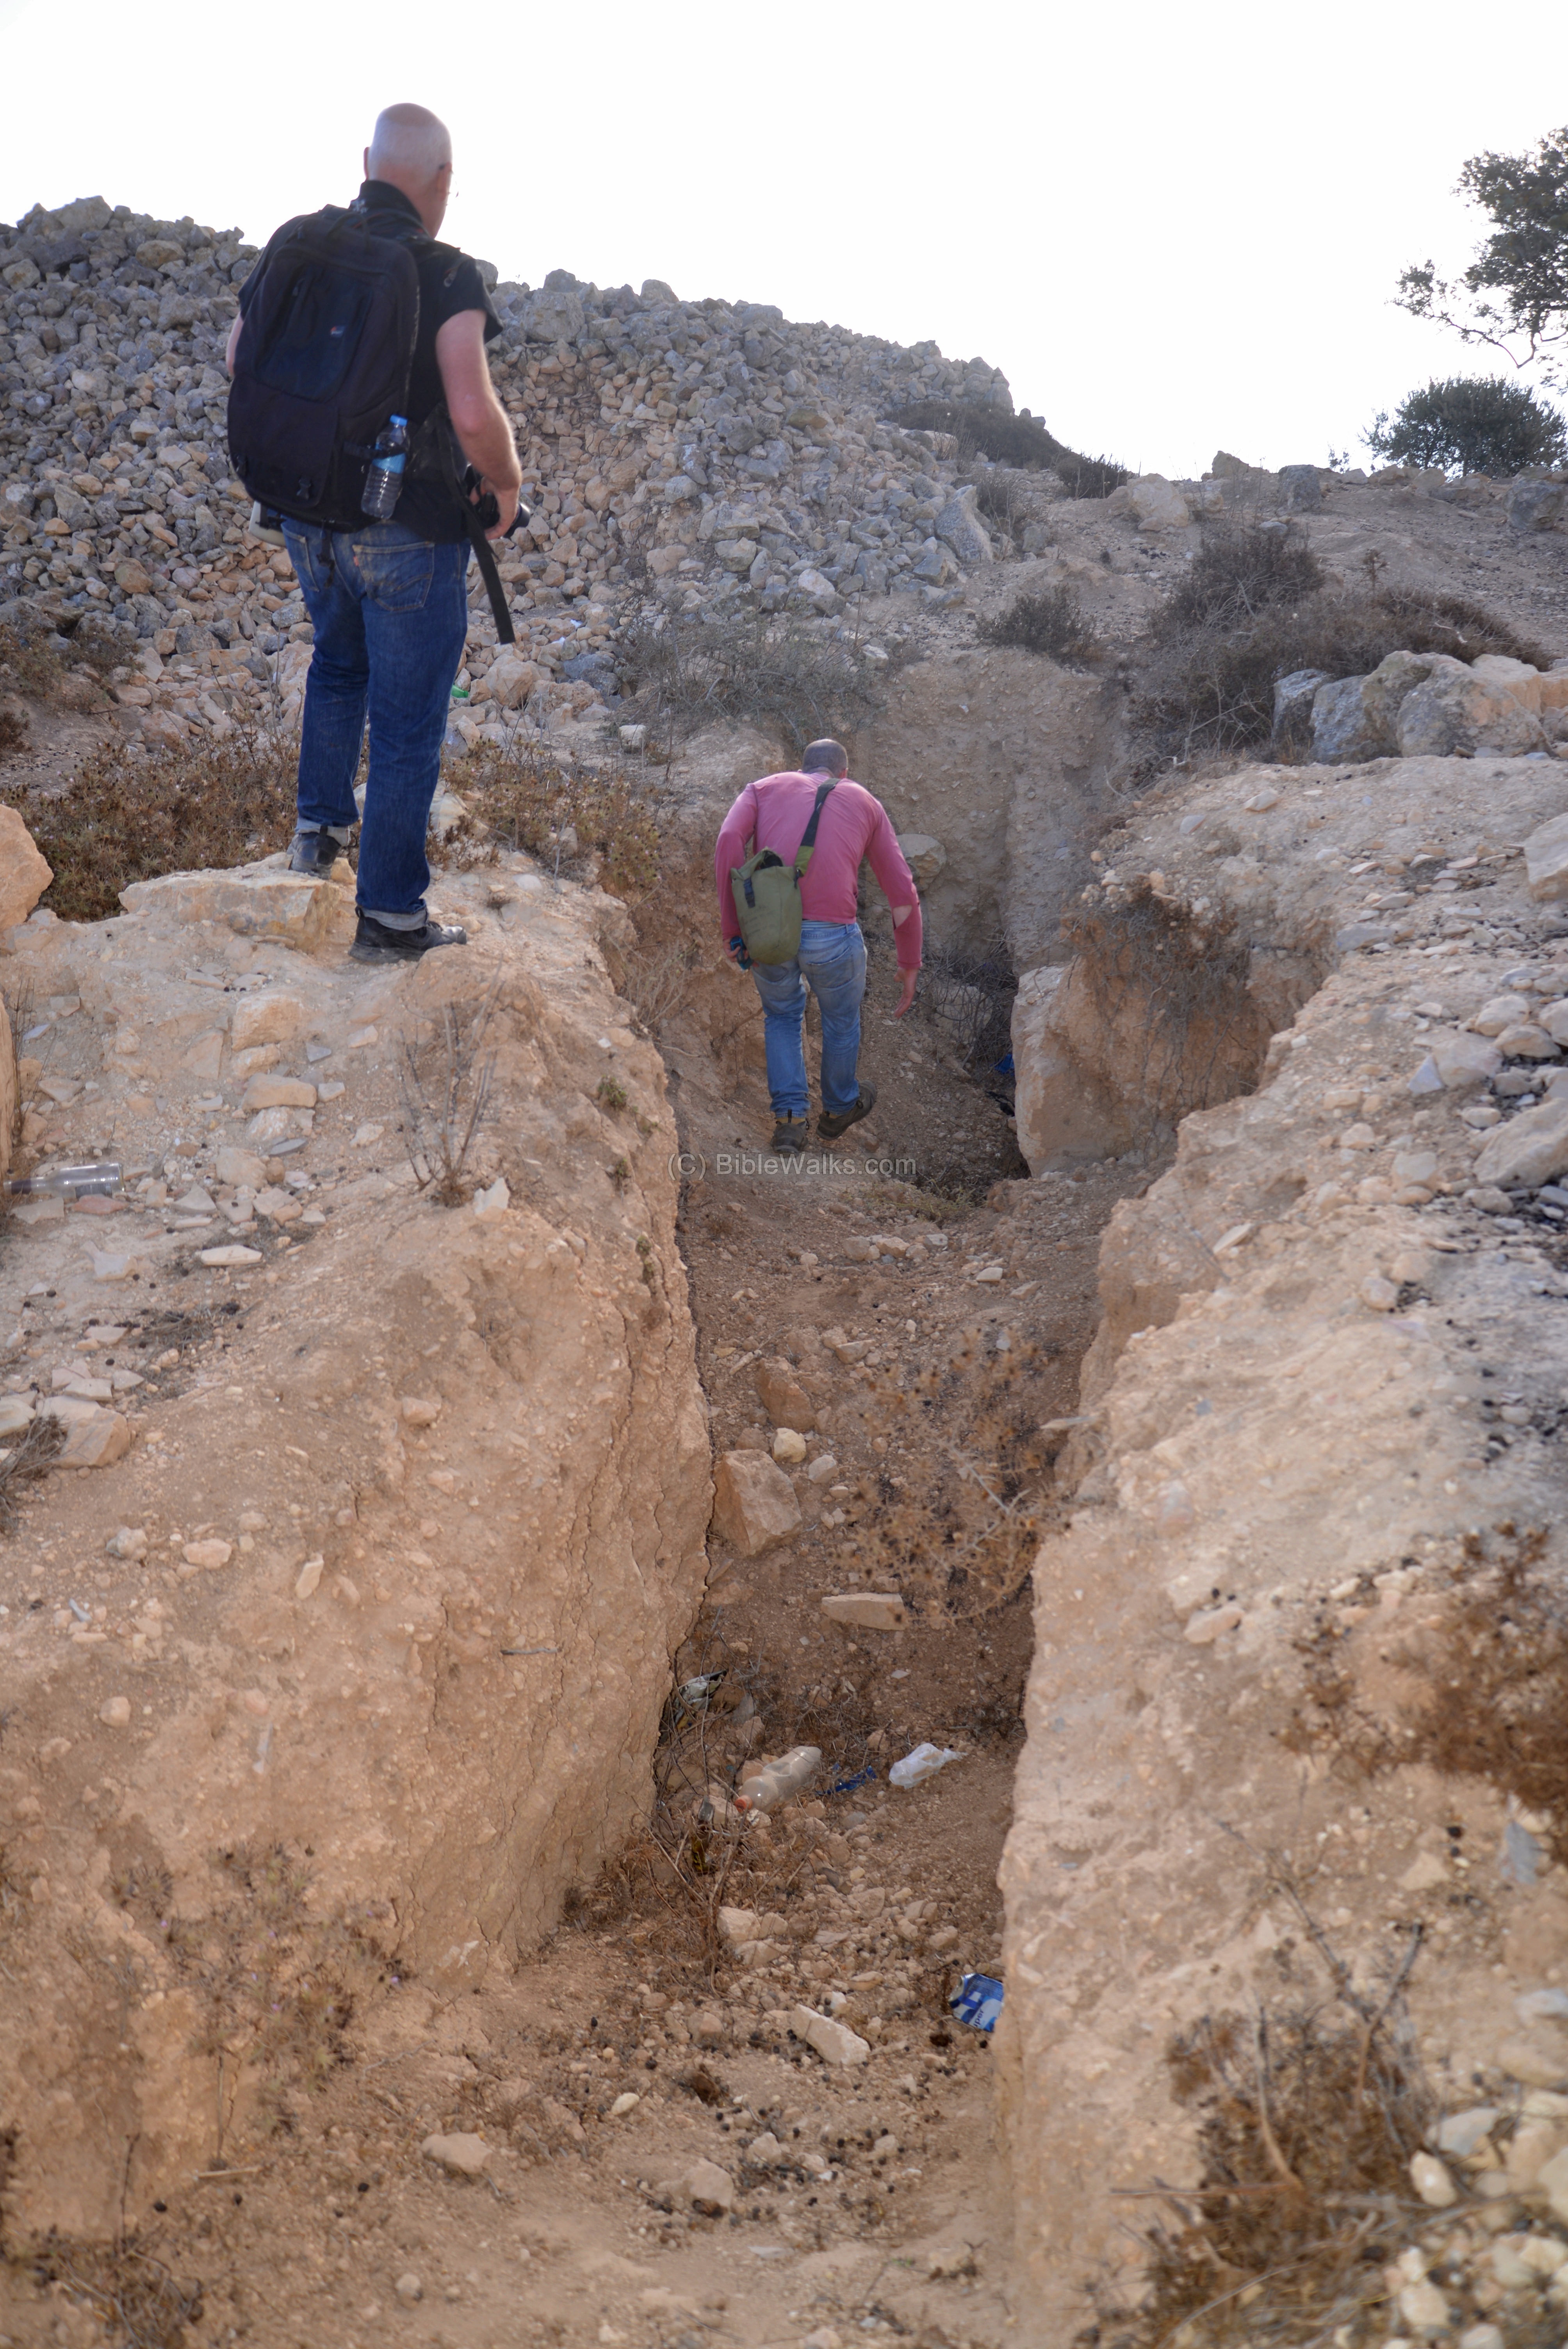
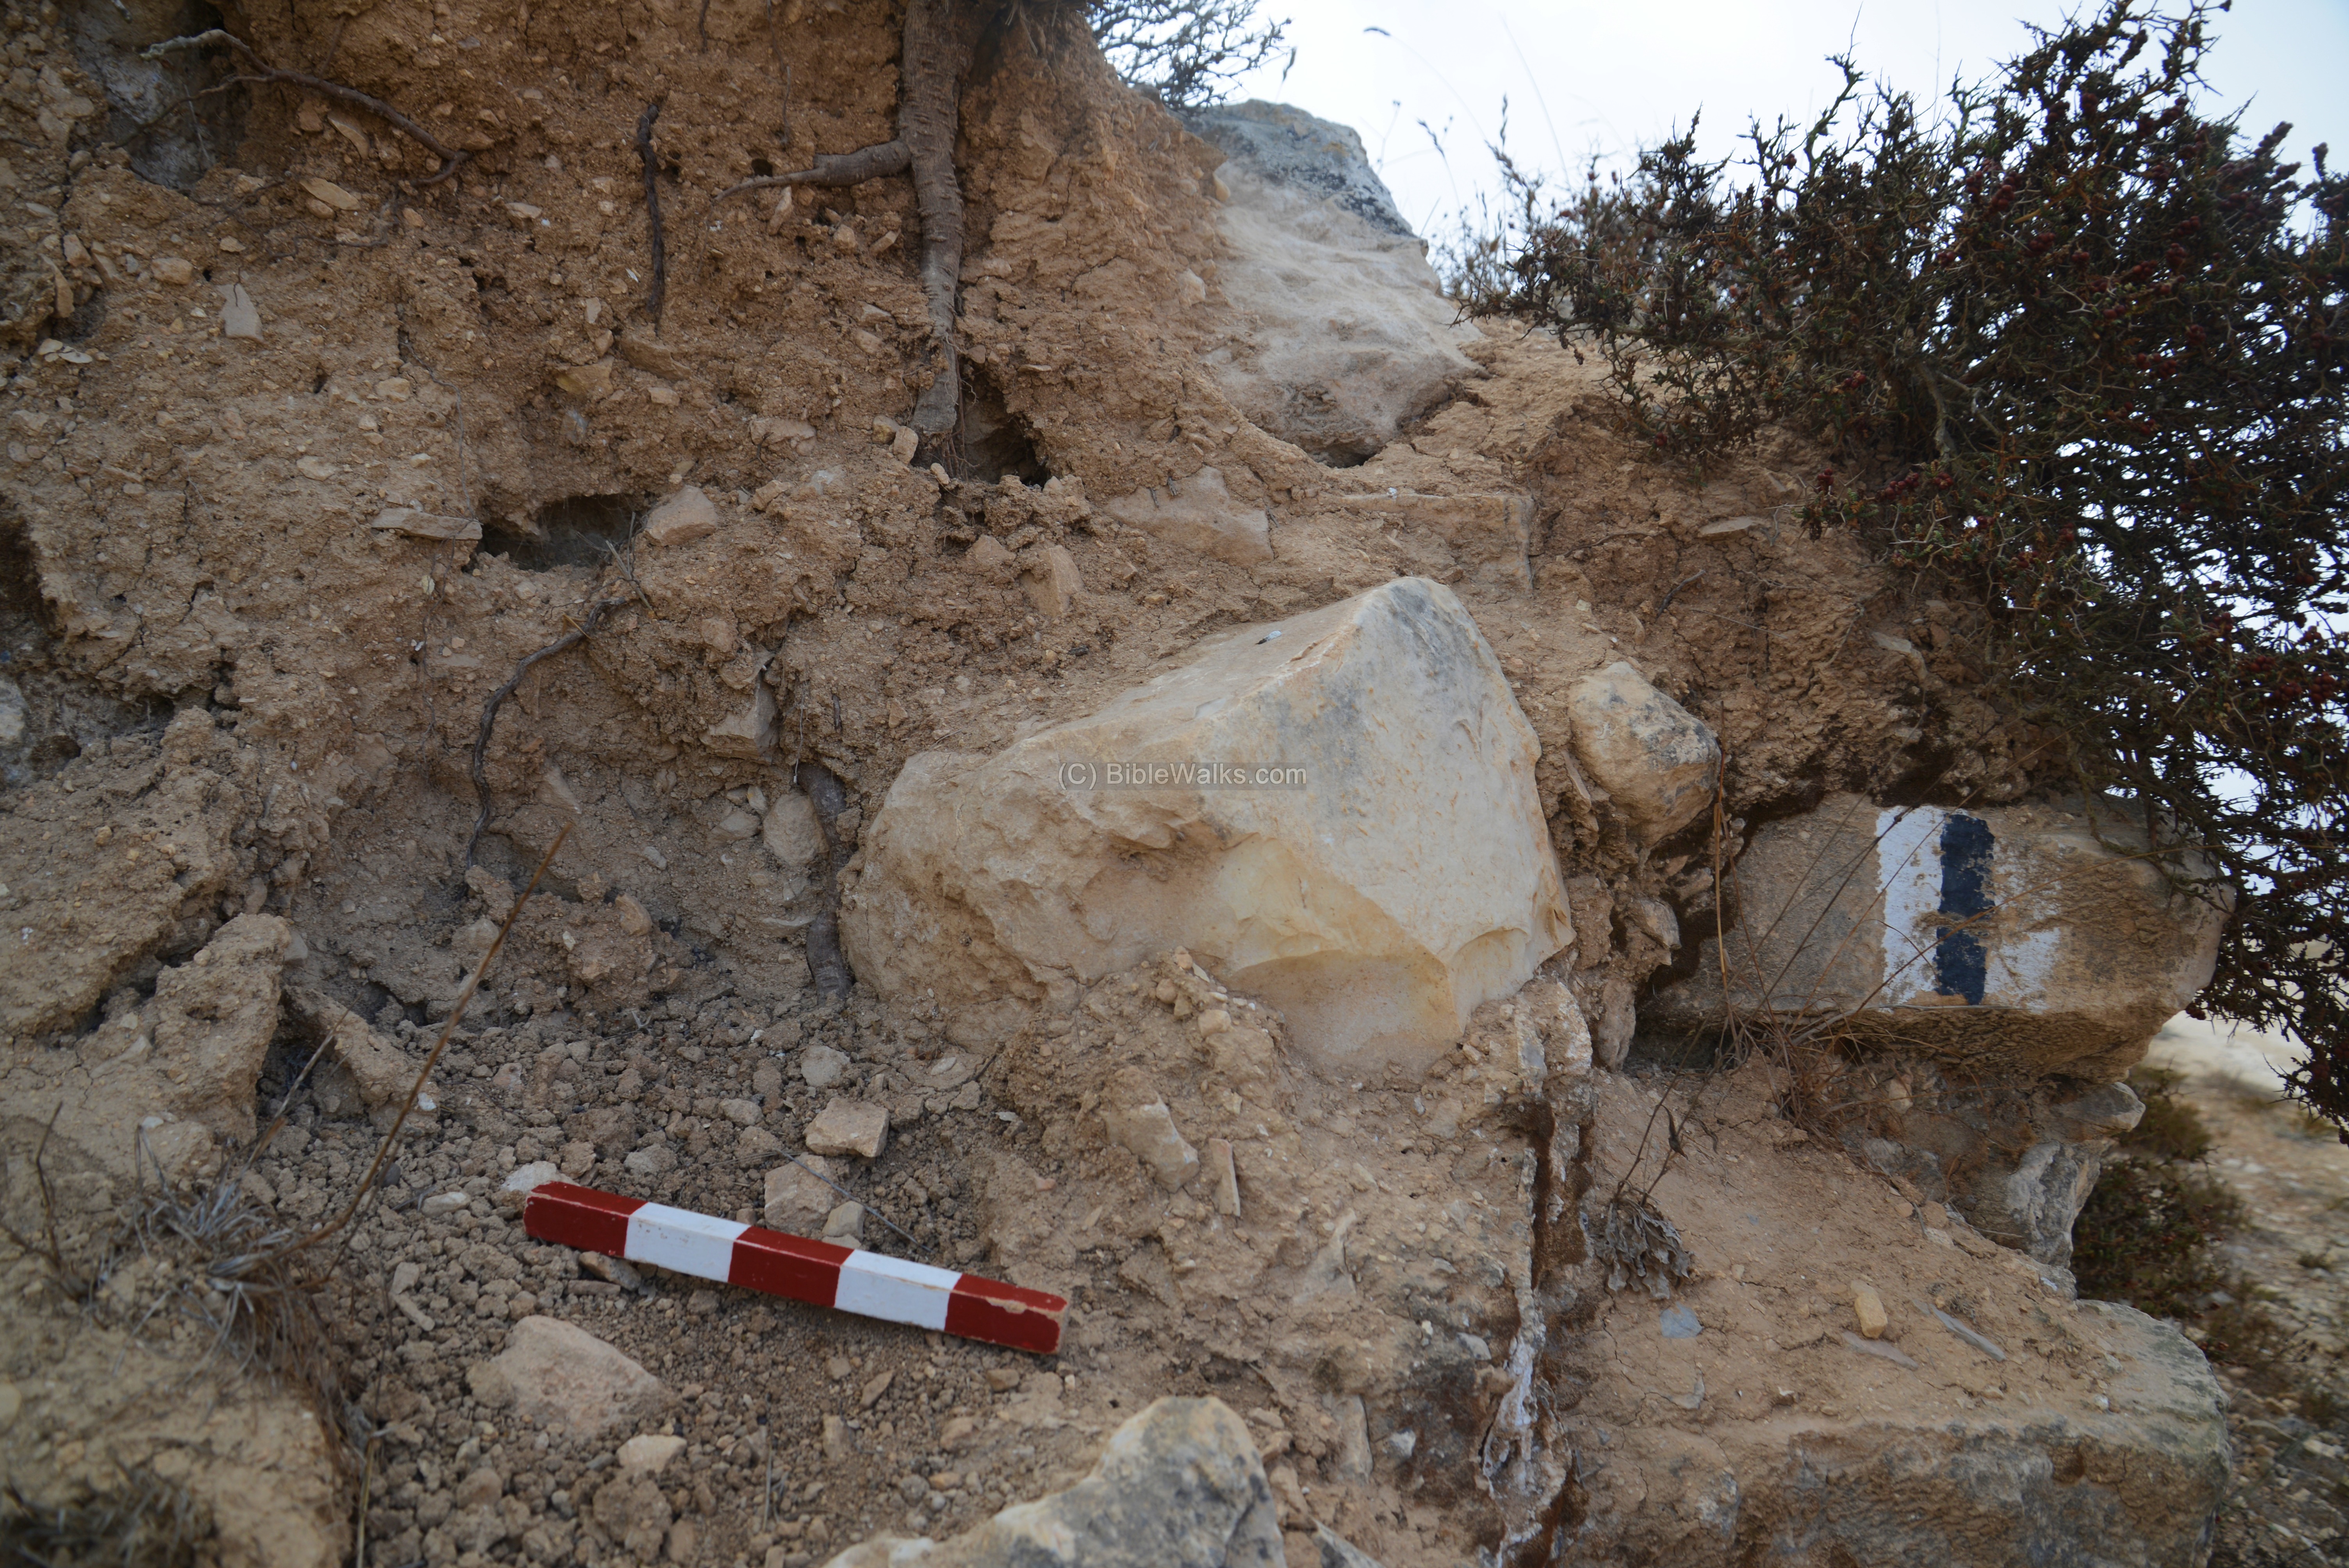
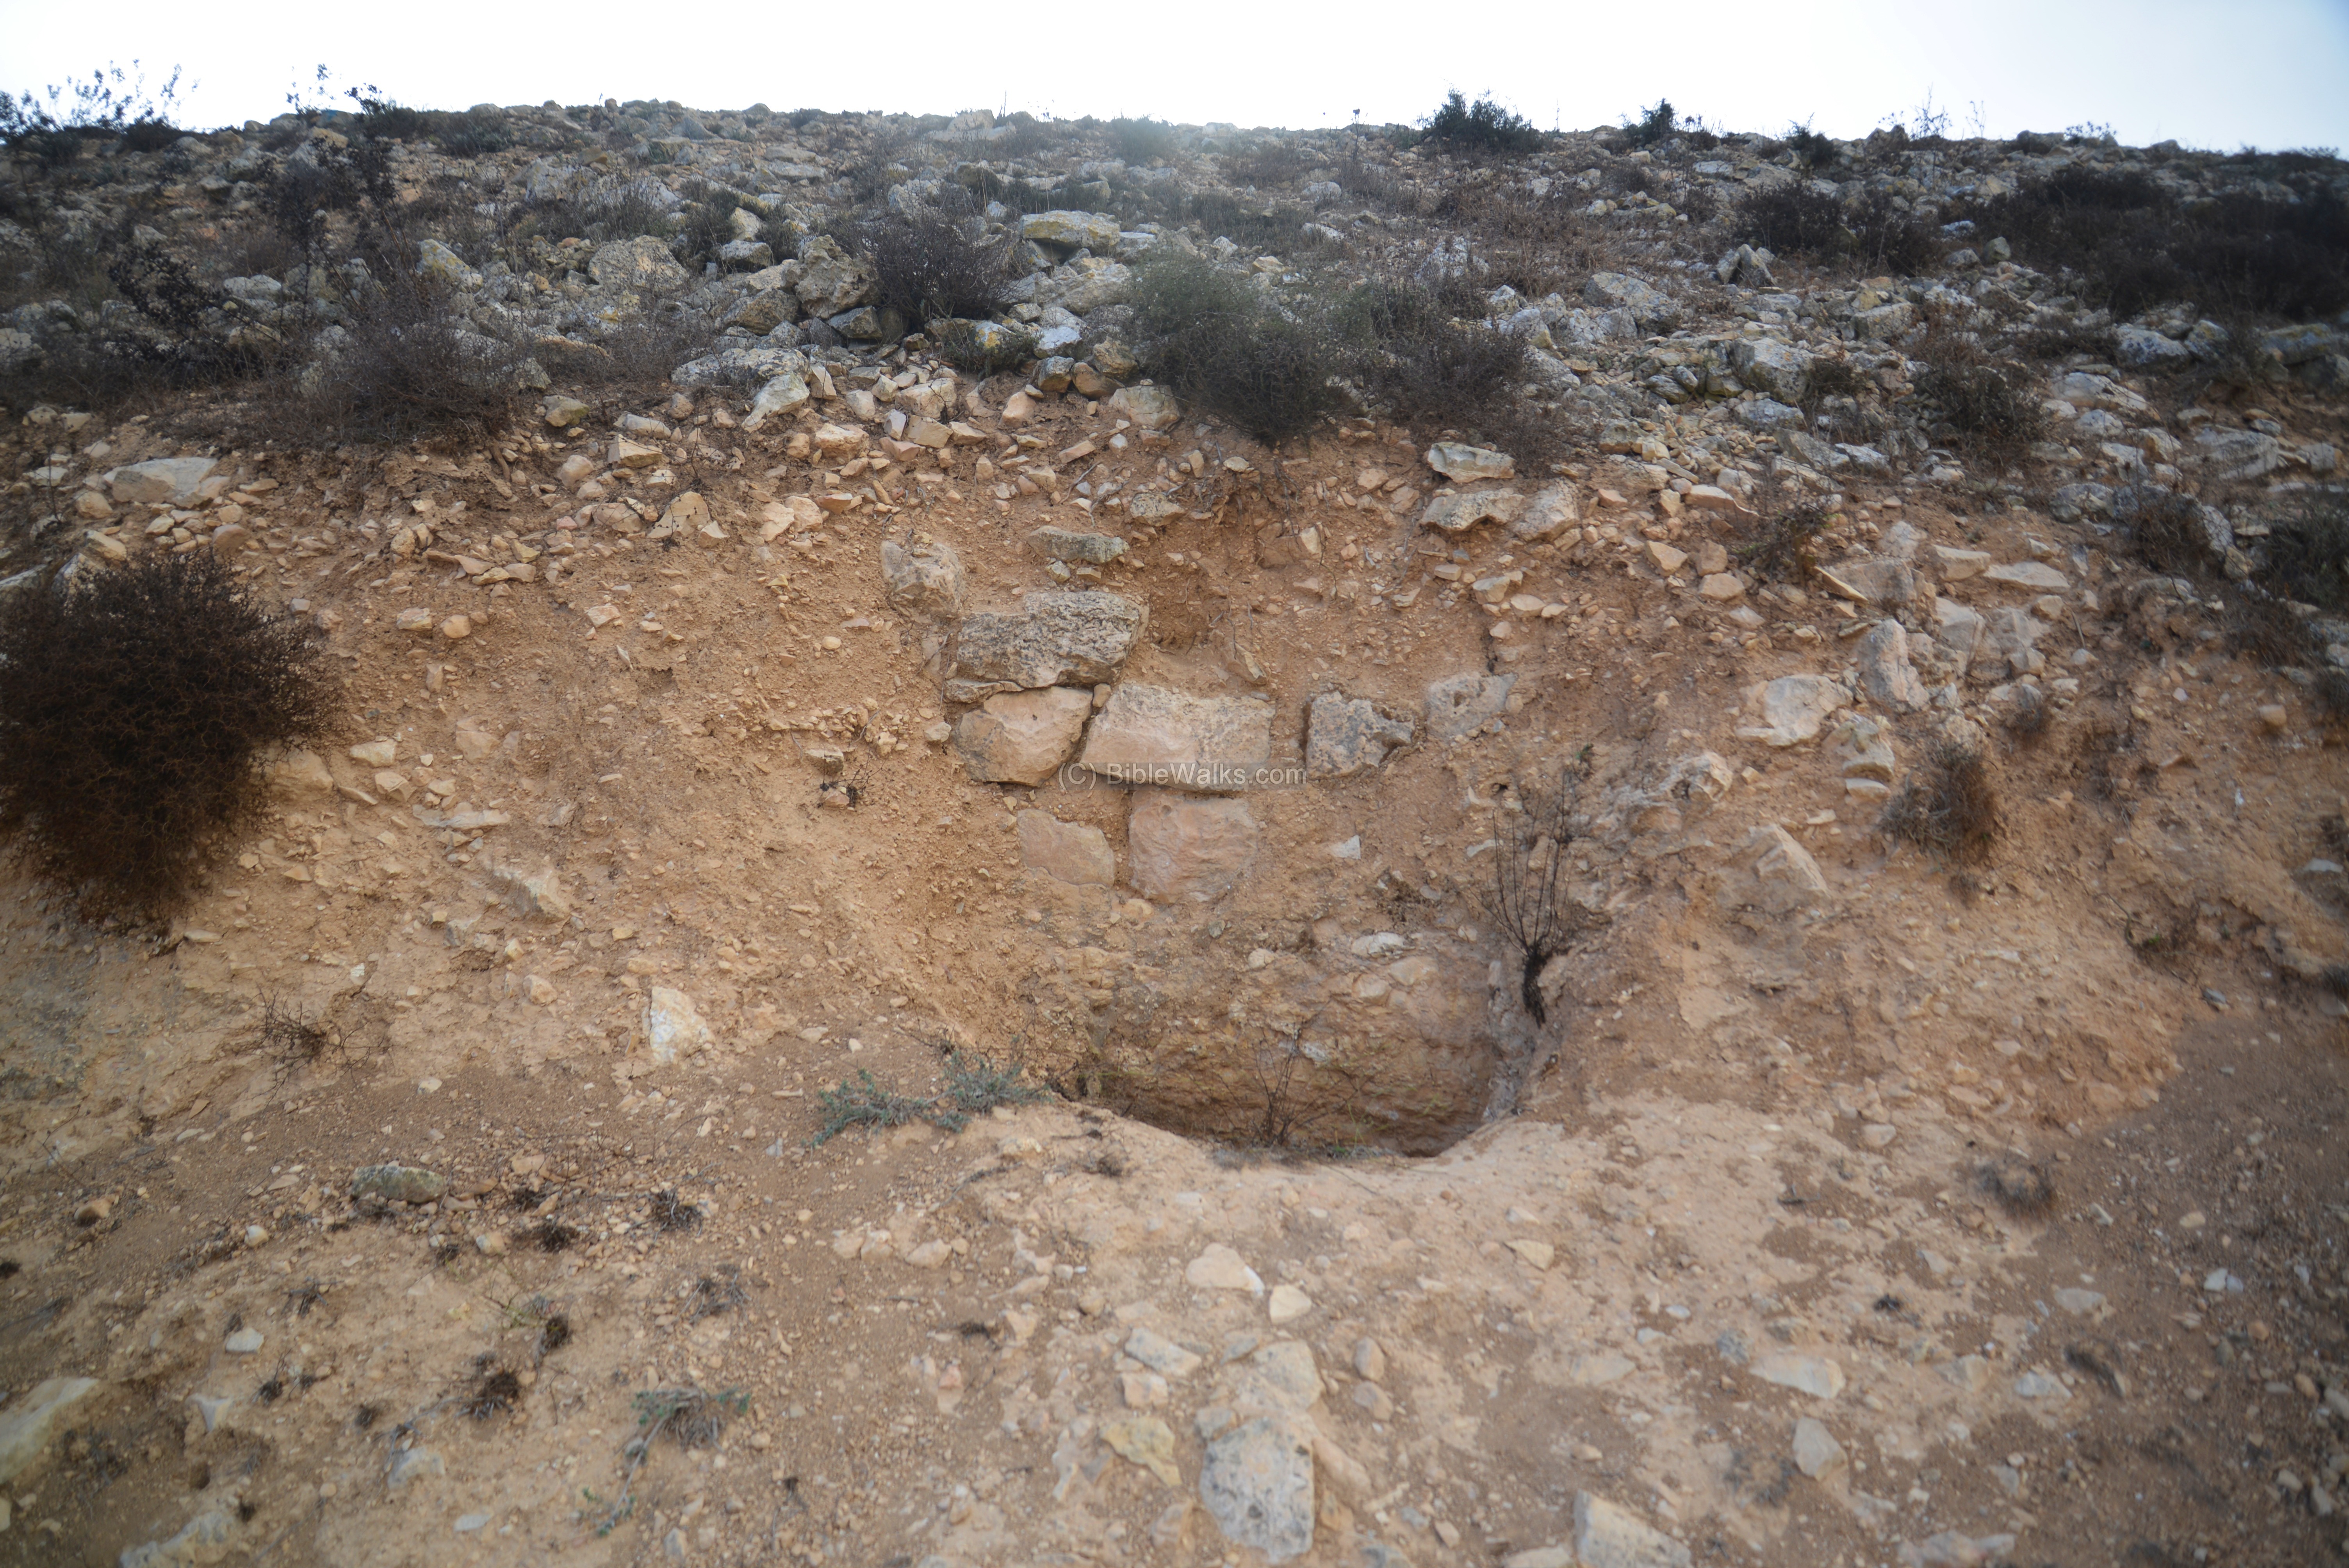
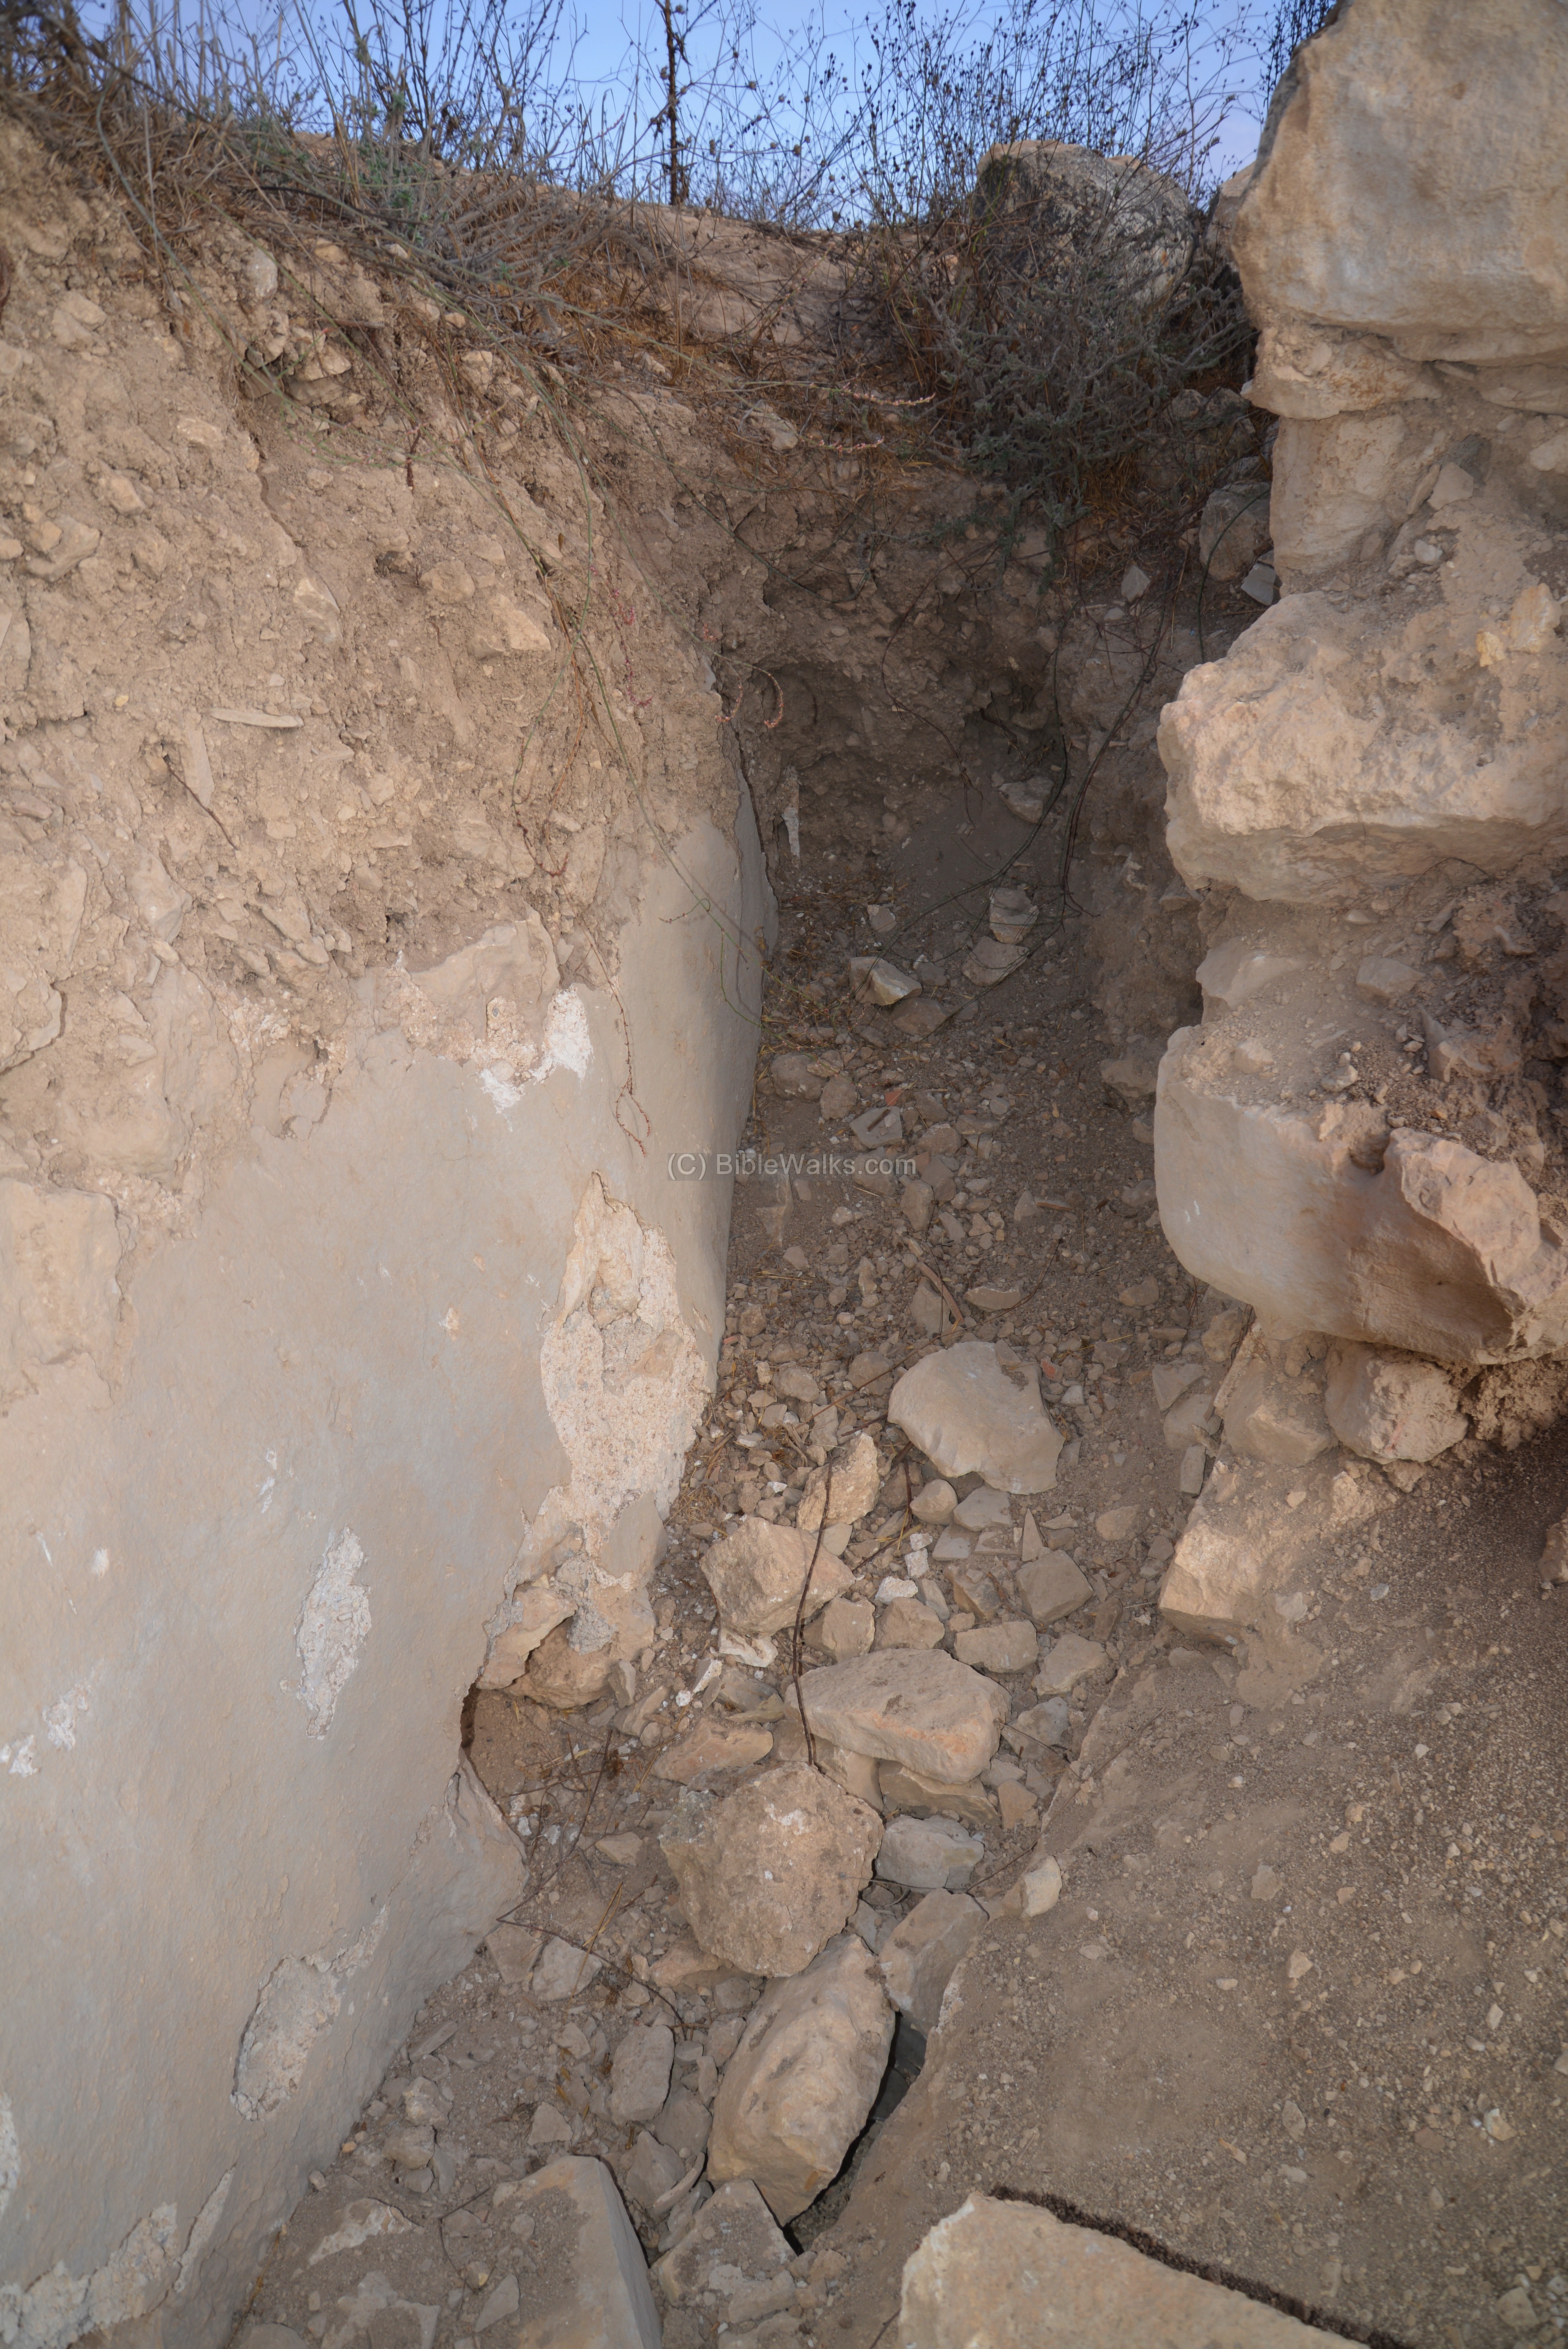
Another section with a trench opened by the robbers:
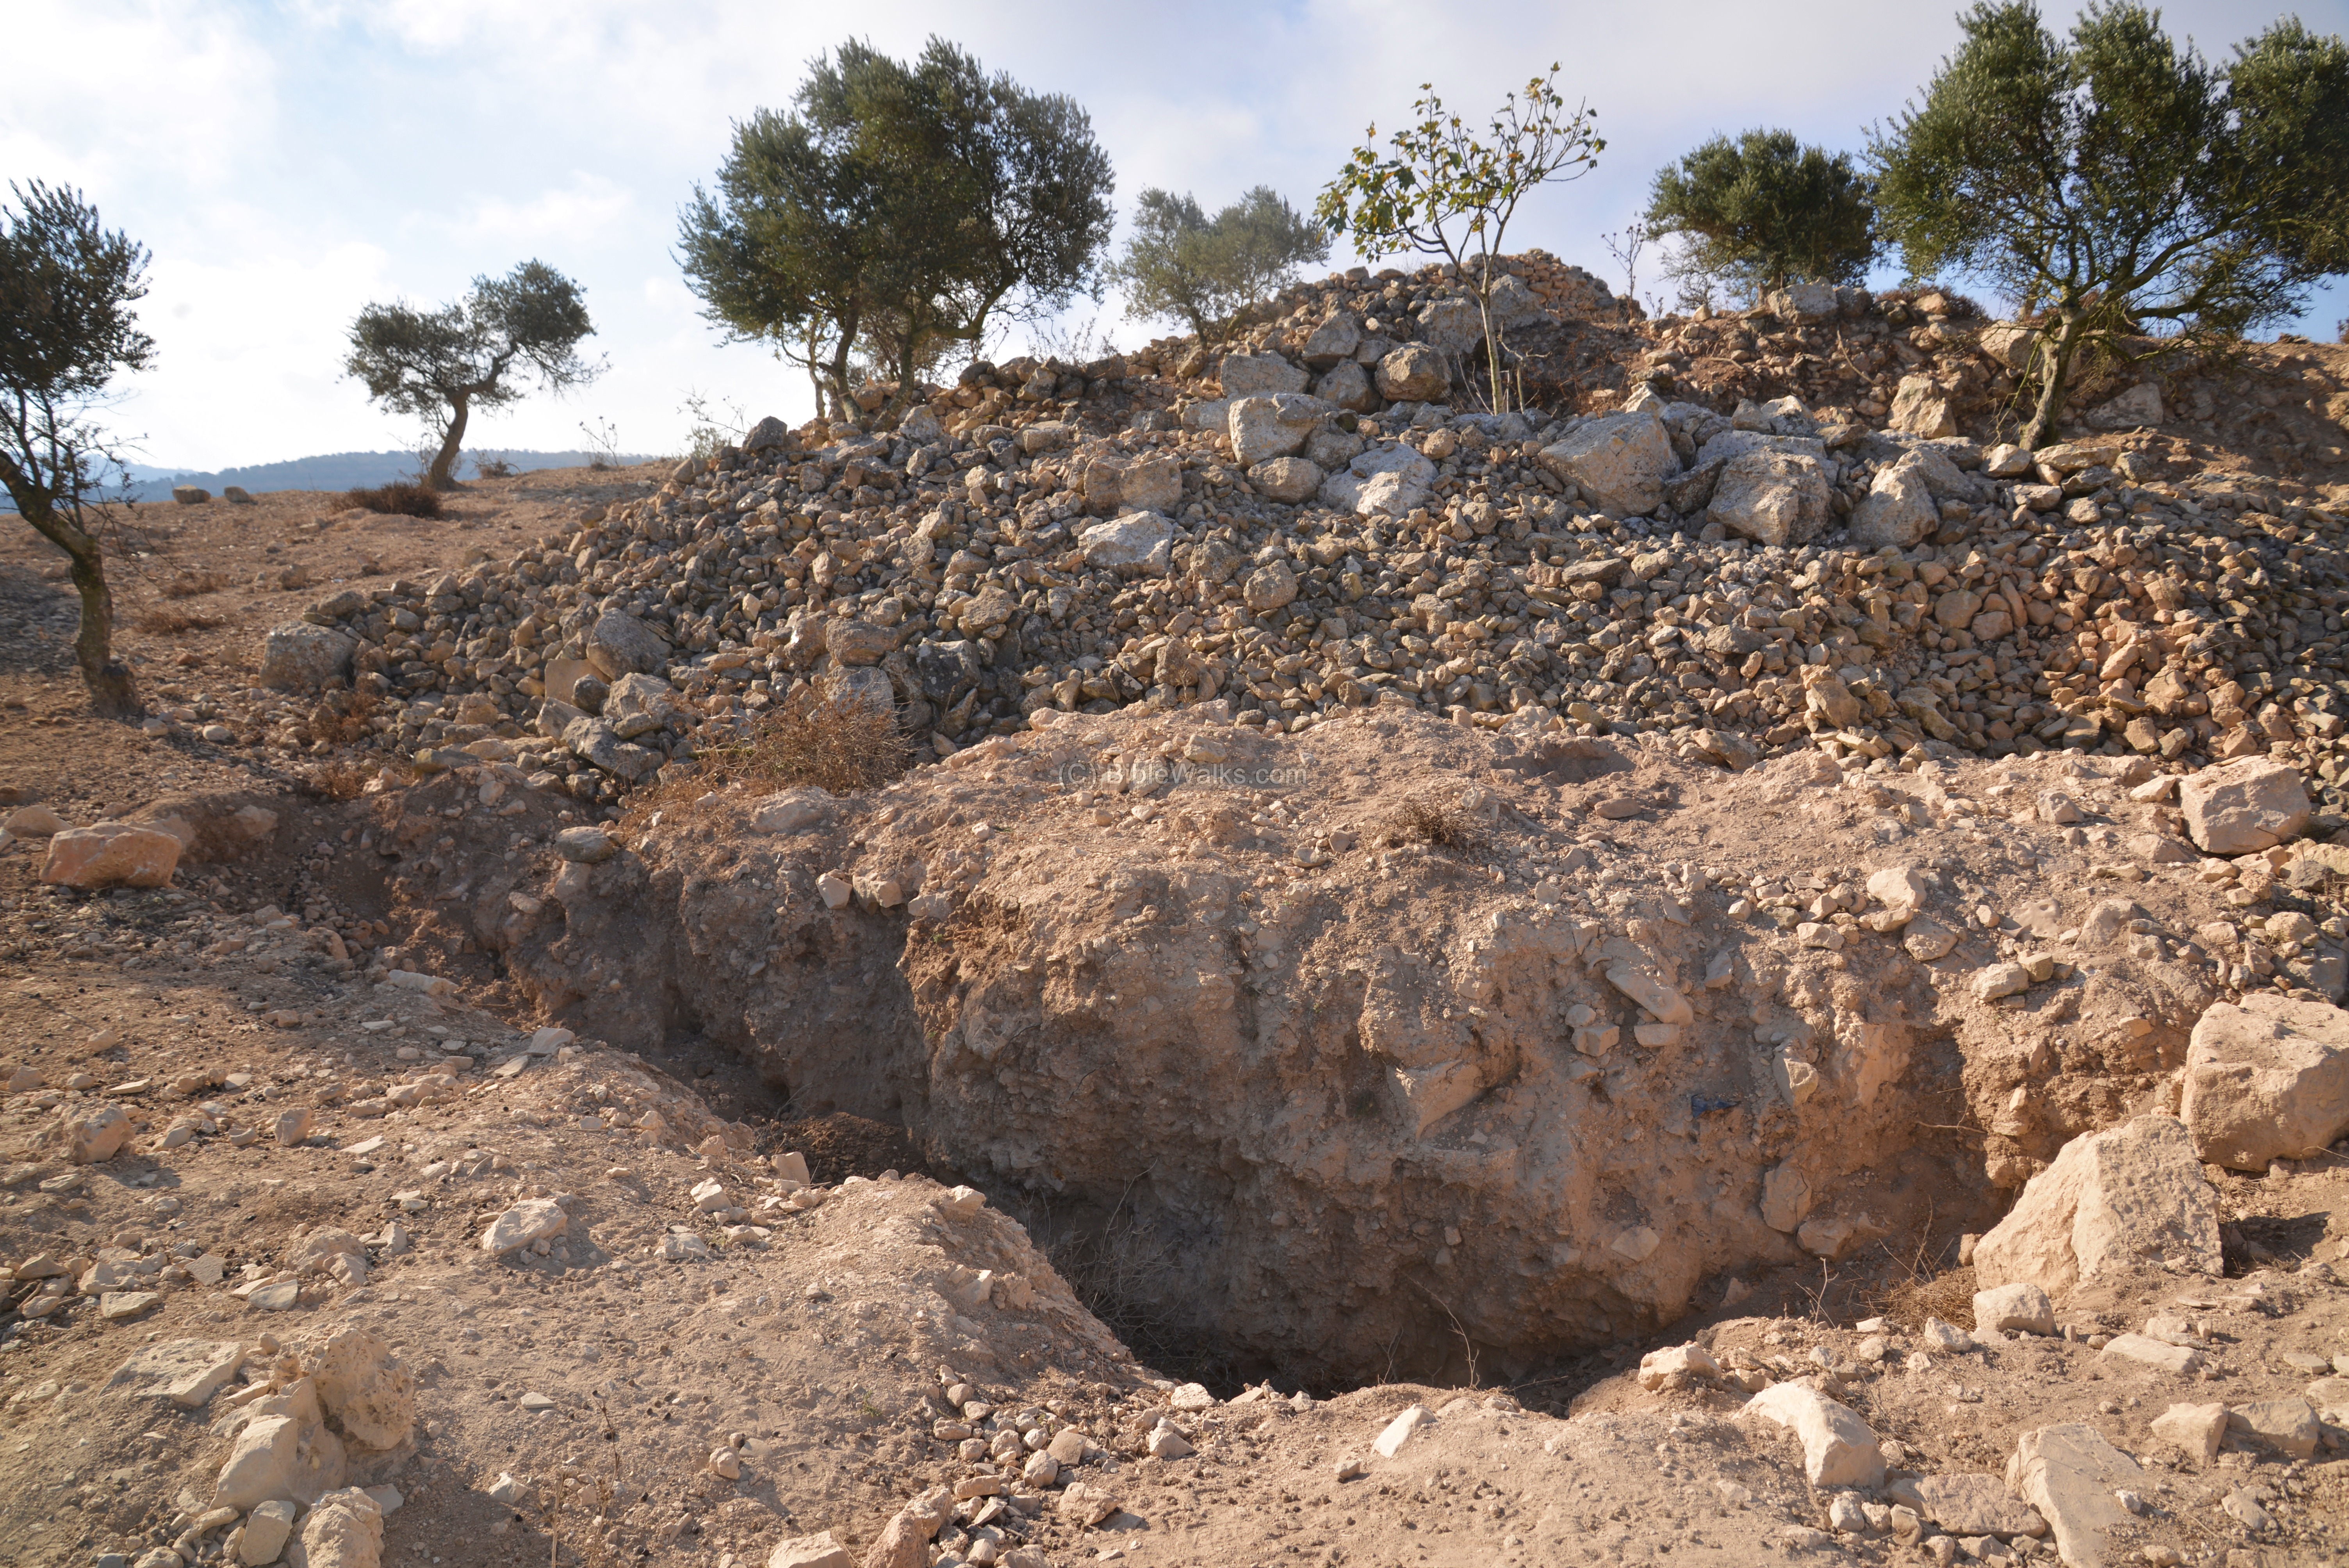
The archaeological layers are made visible by these trenches, showing that depth of the ruins.
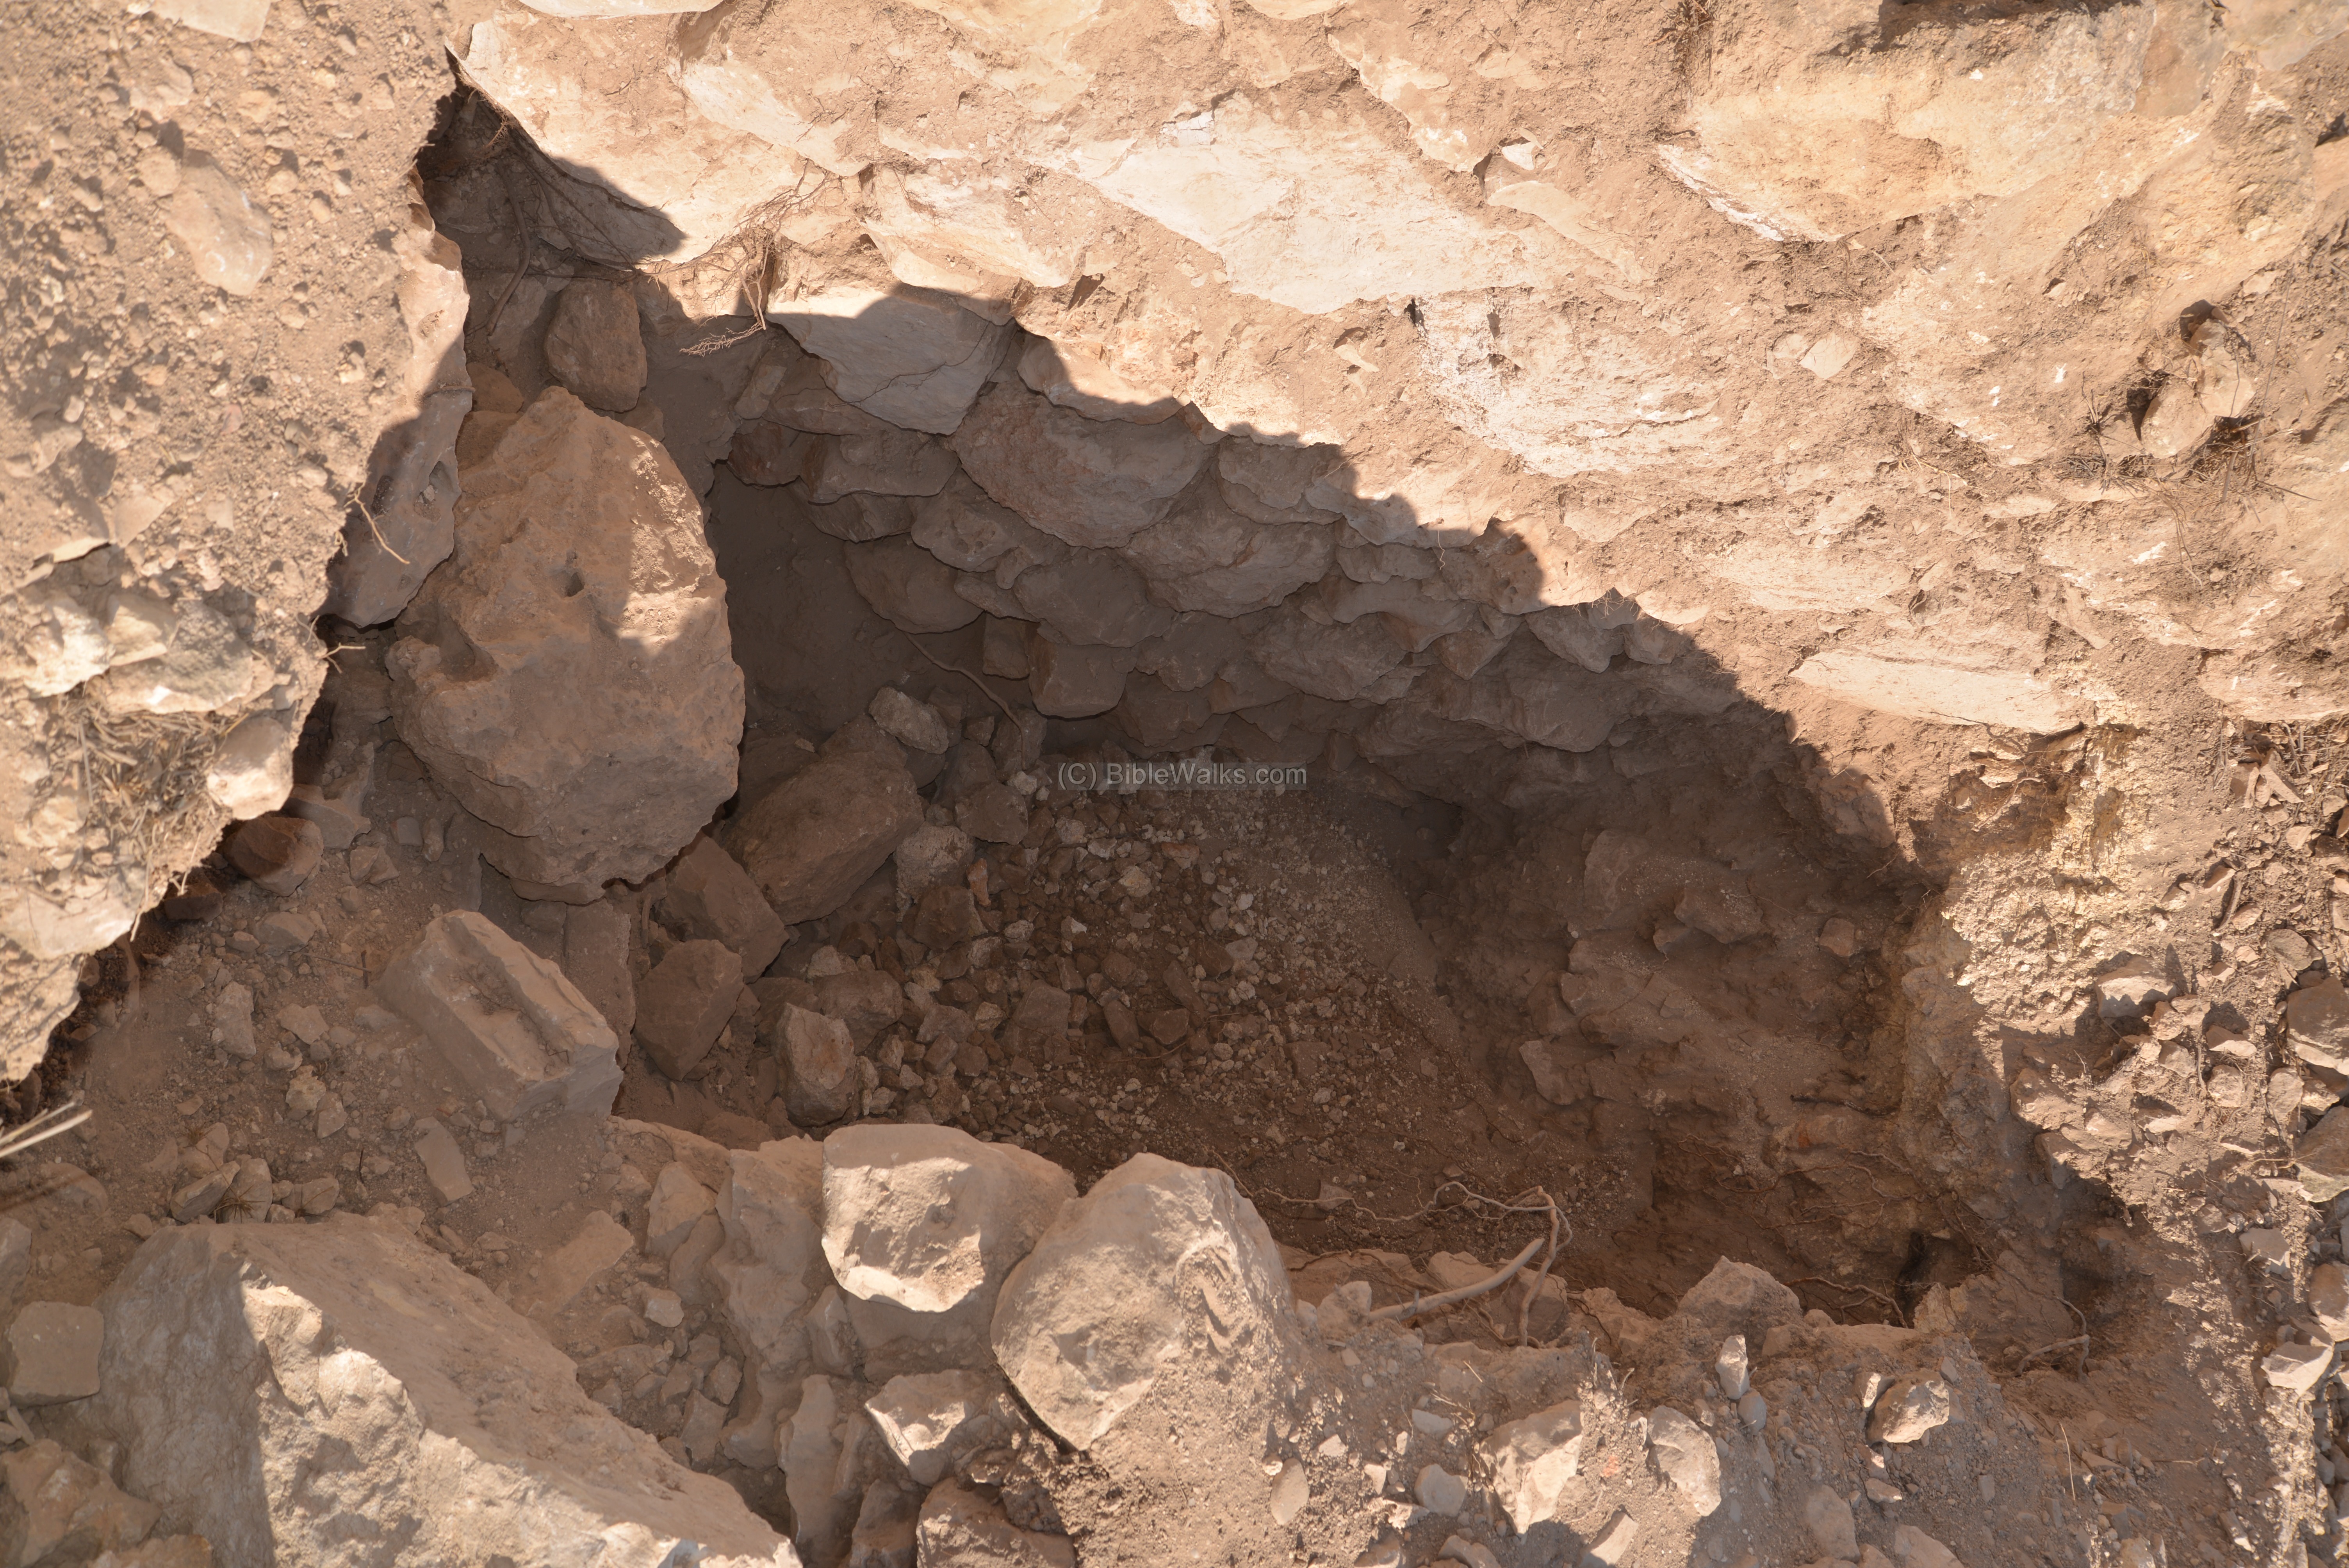
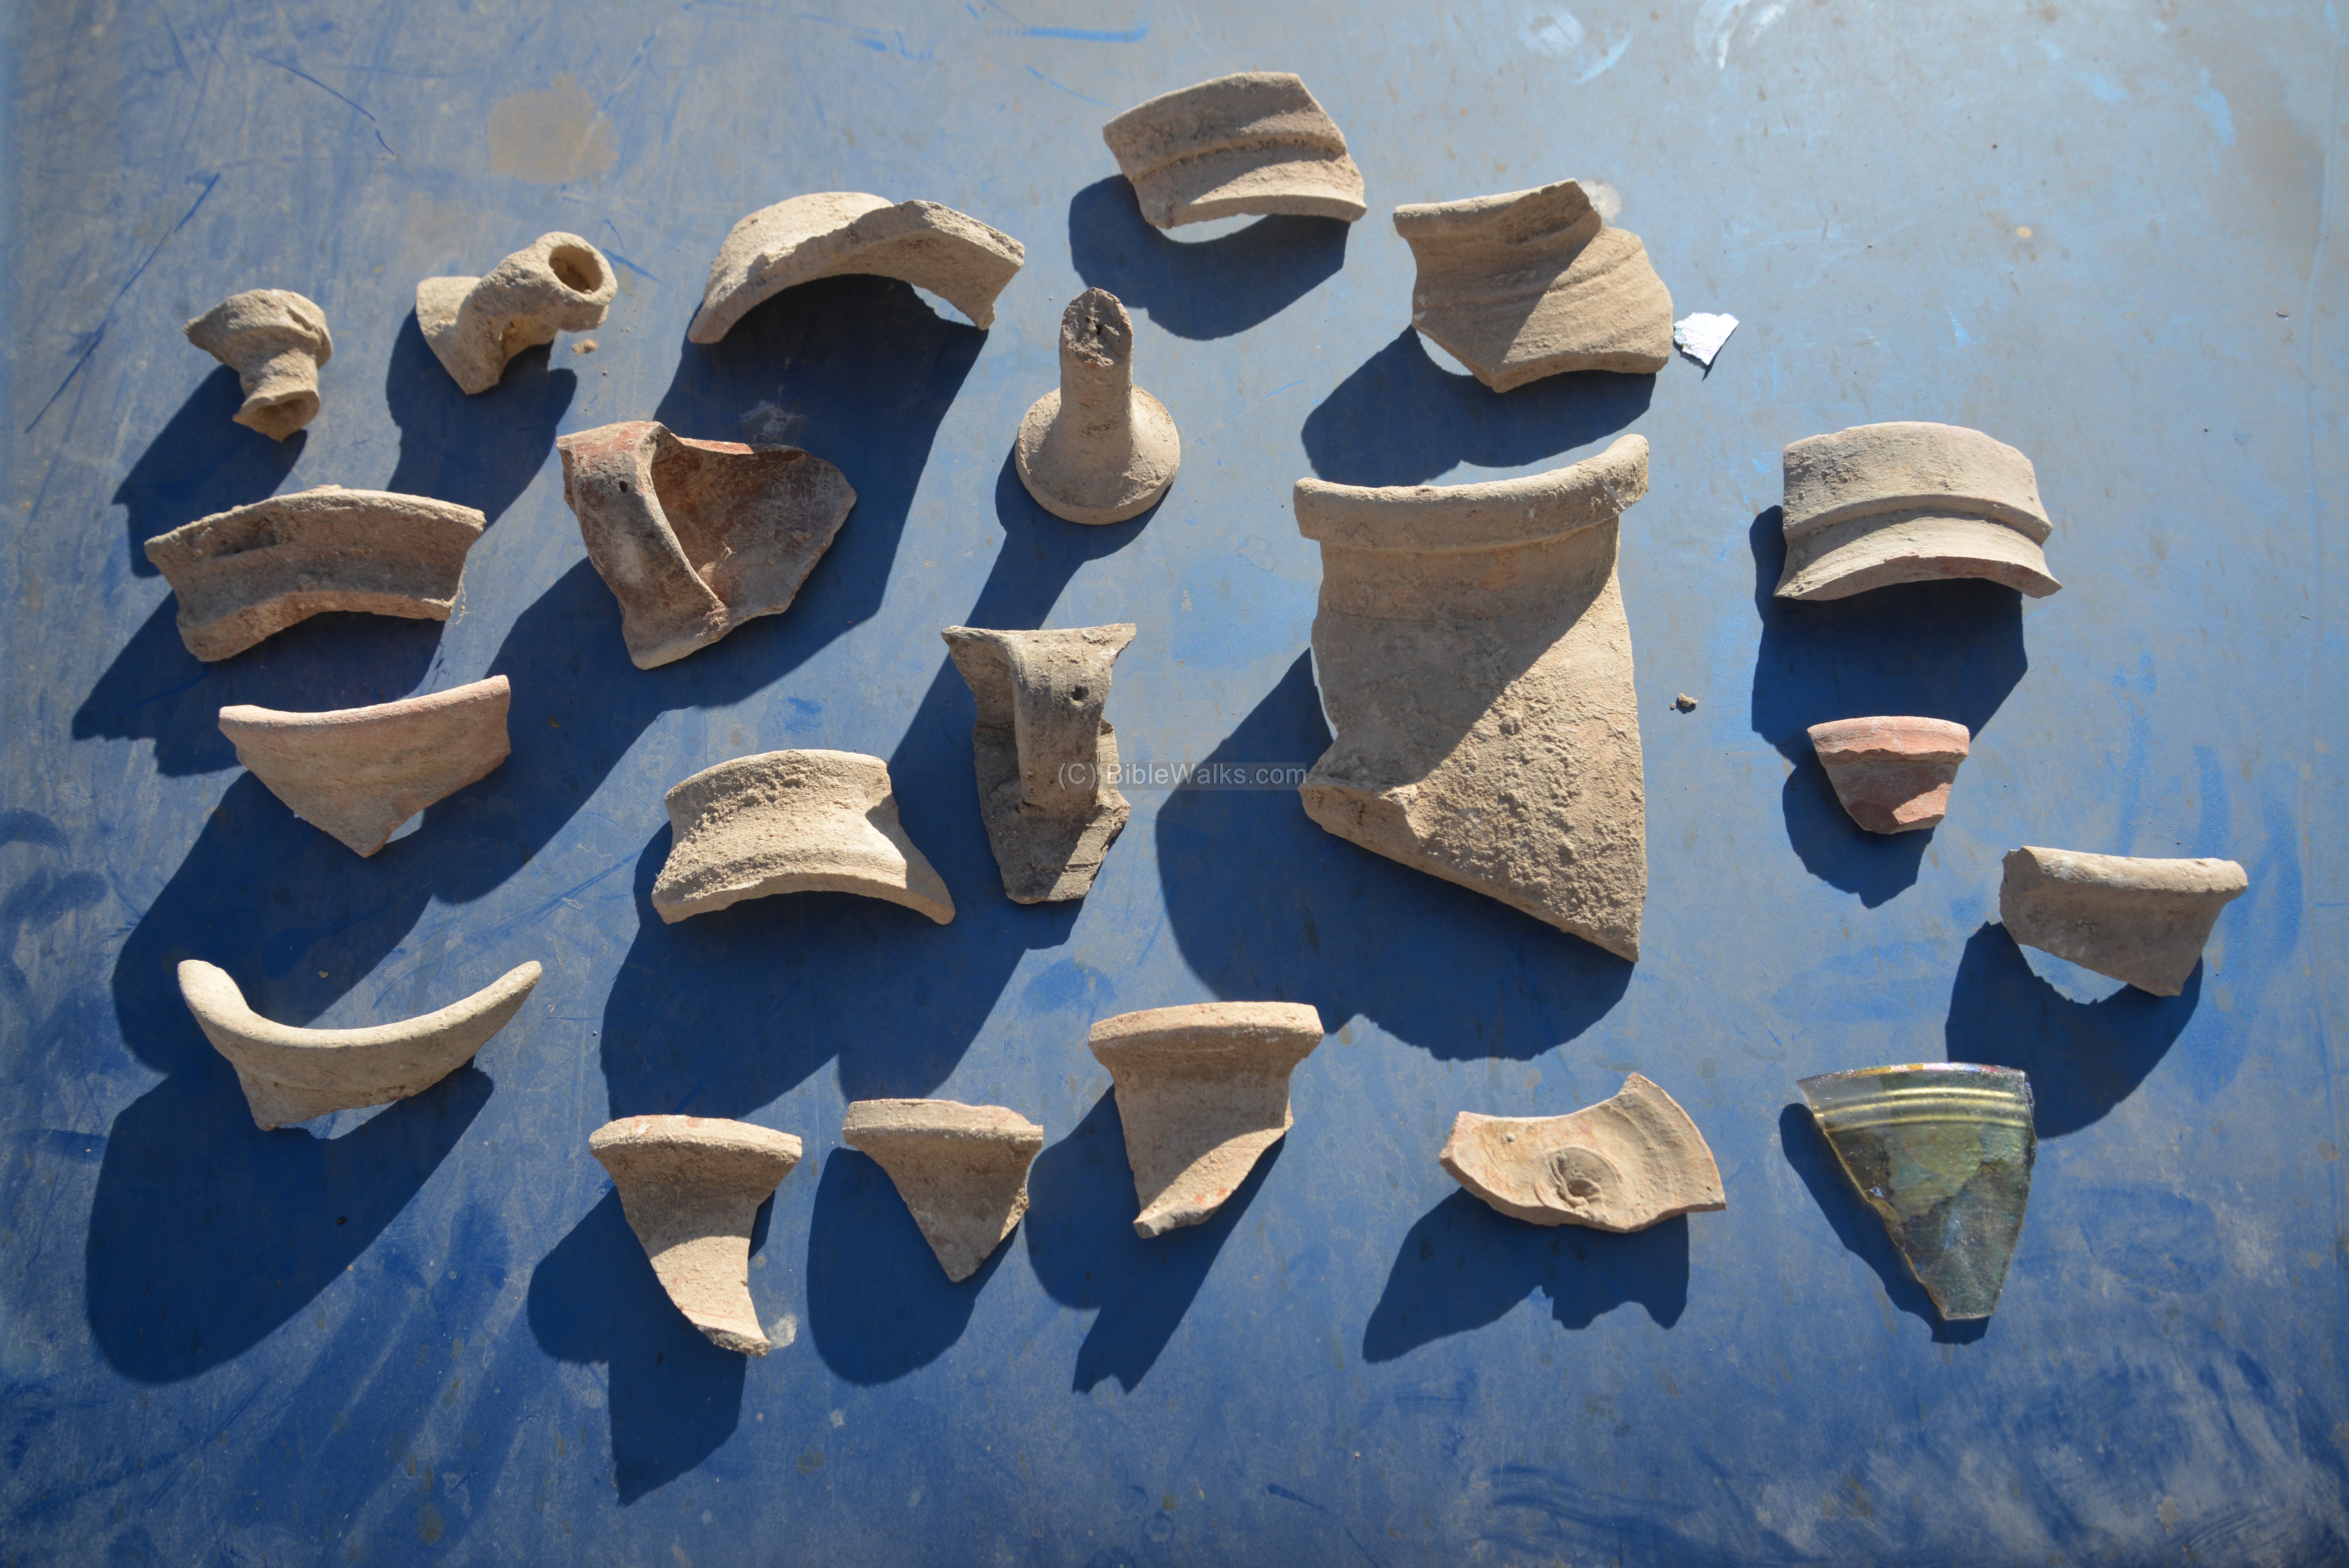
The robbers toss away fragments that are not commercially viable.
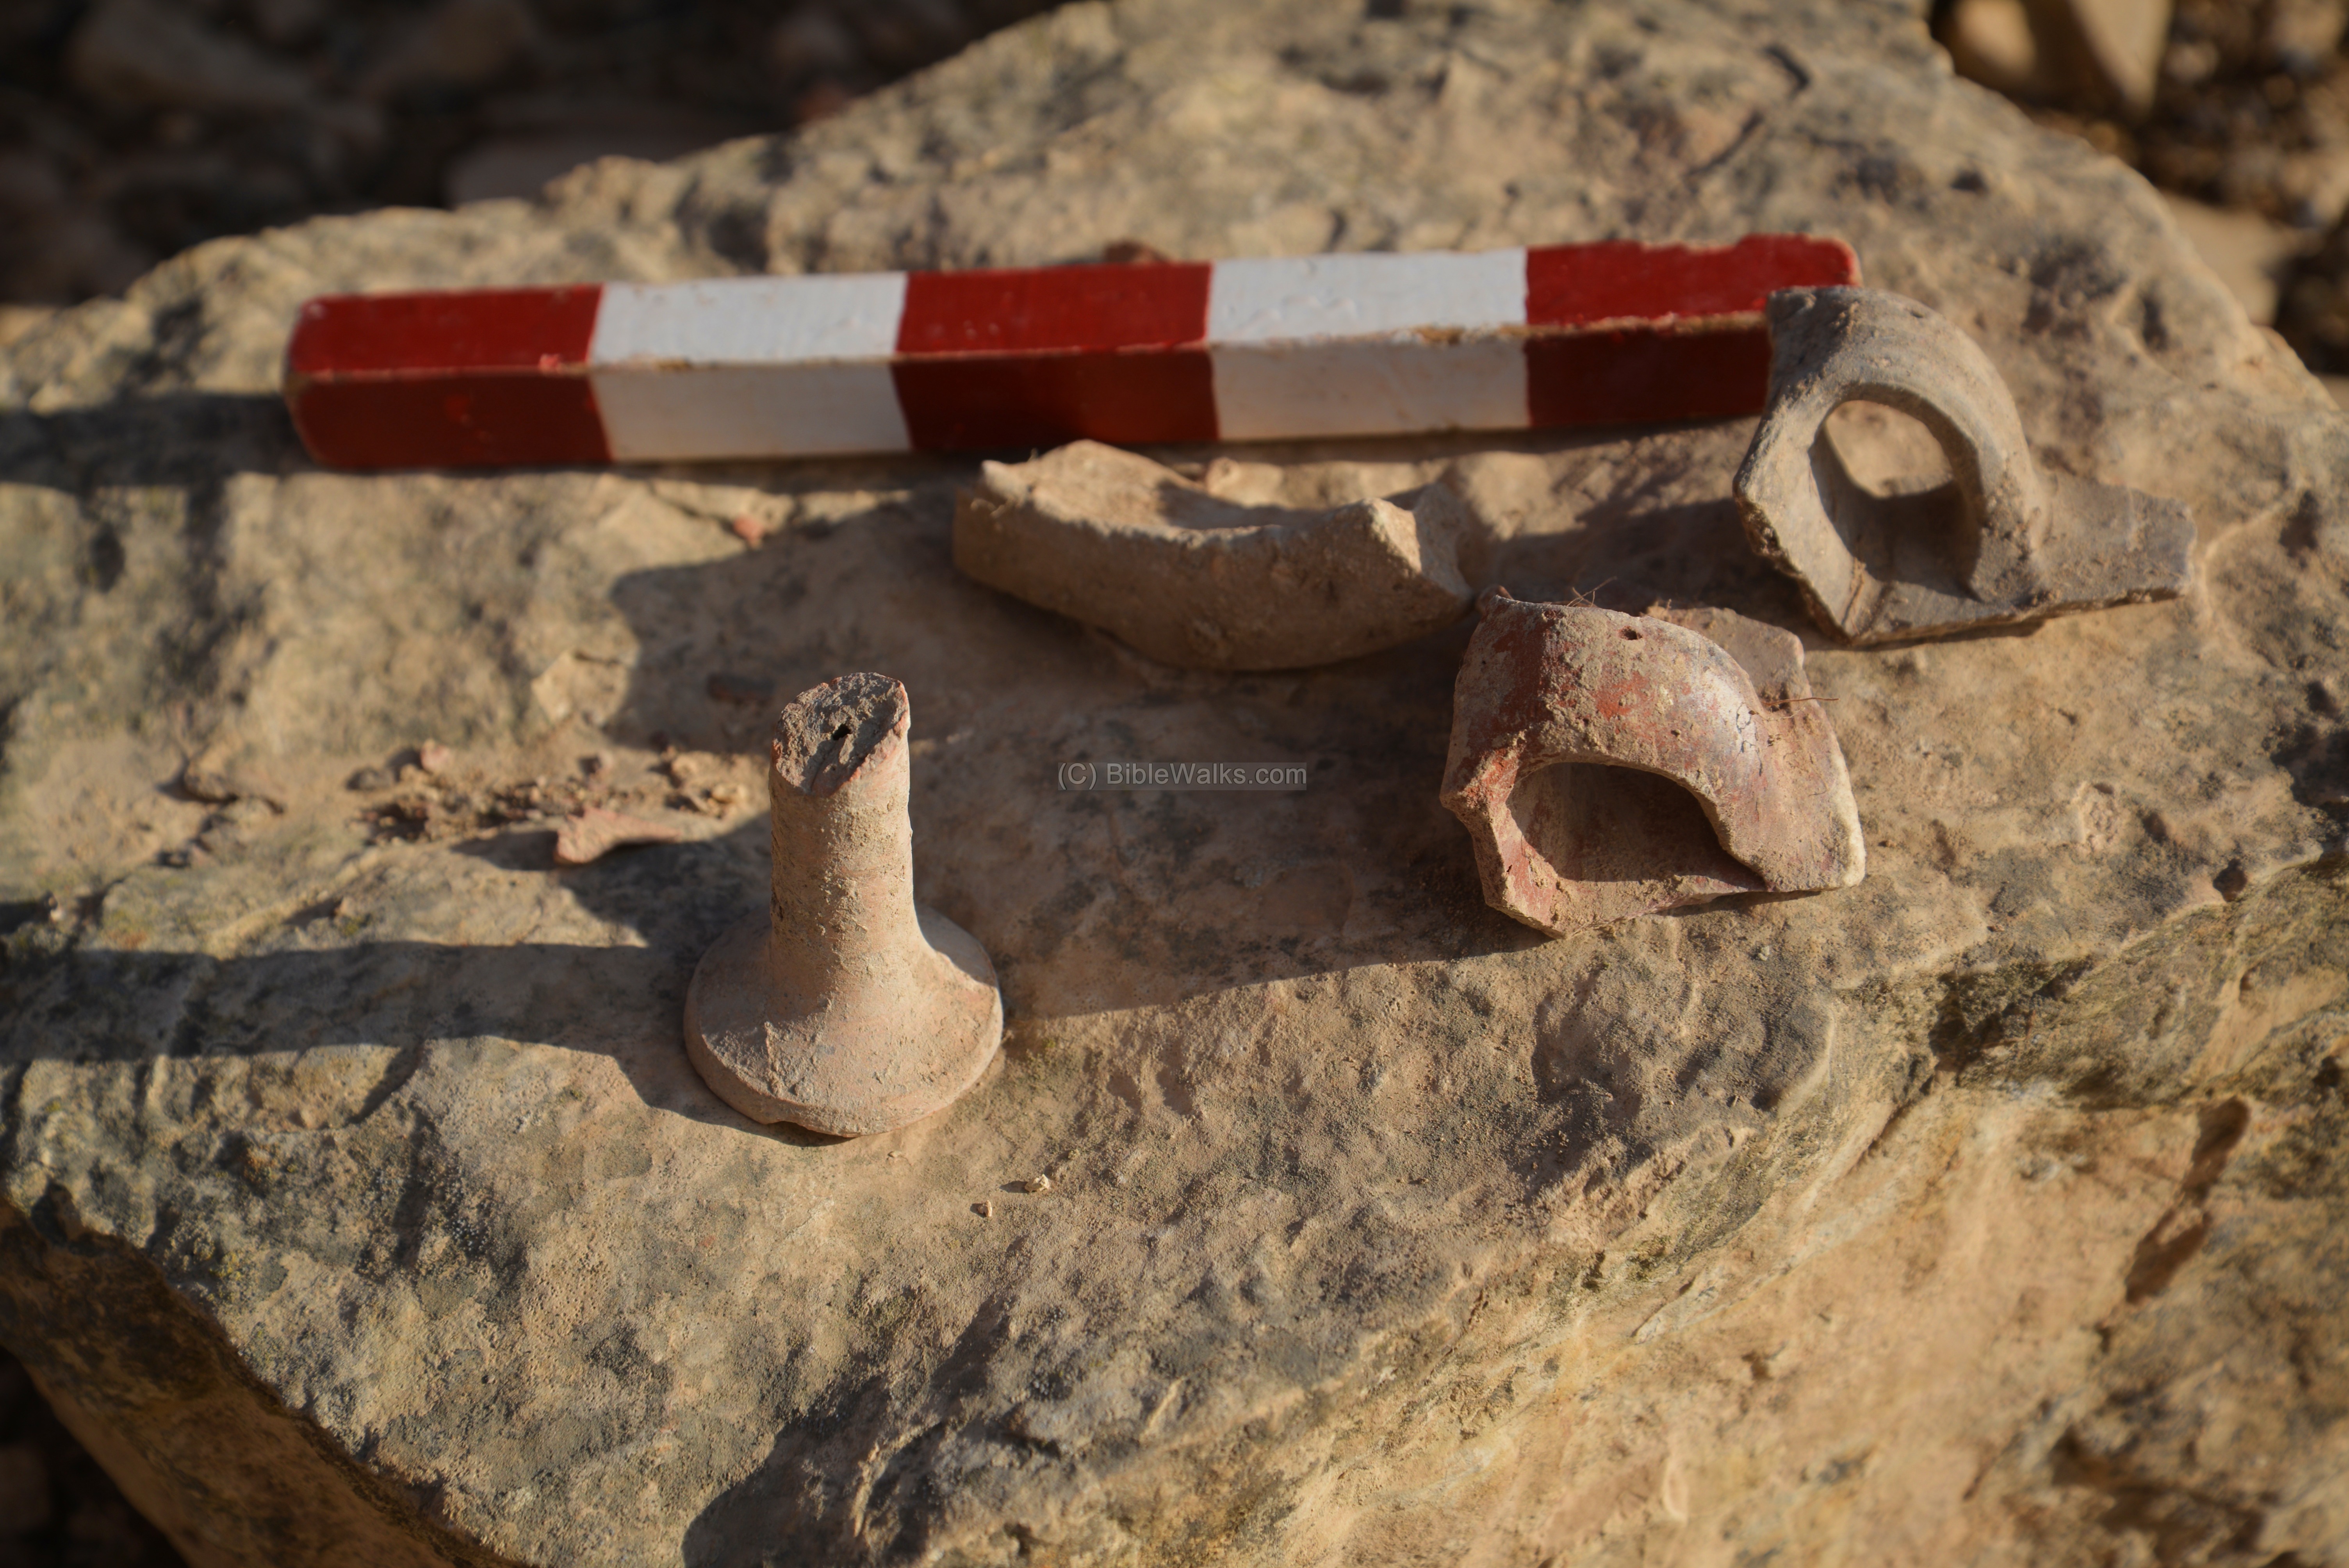
Glass fragments can also be found among the trenches:
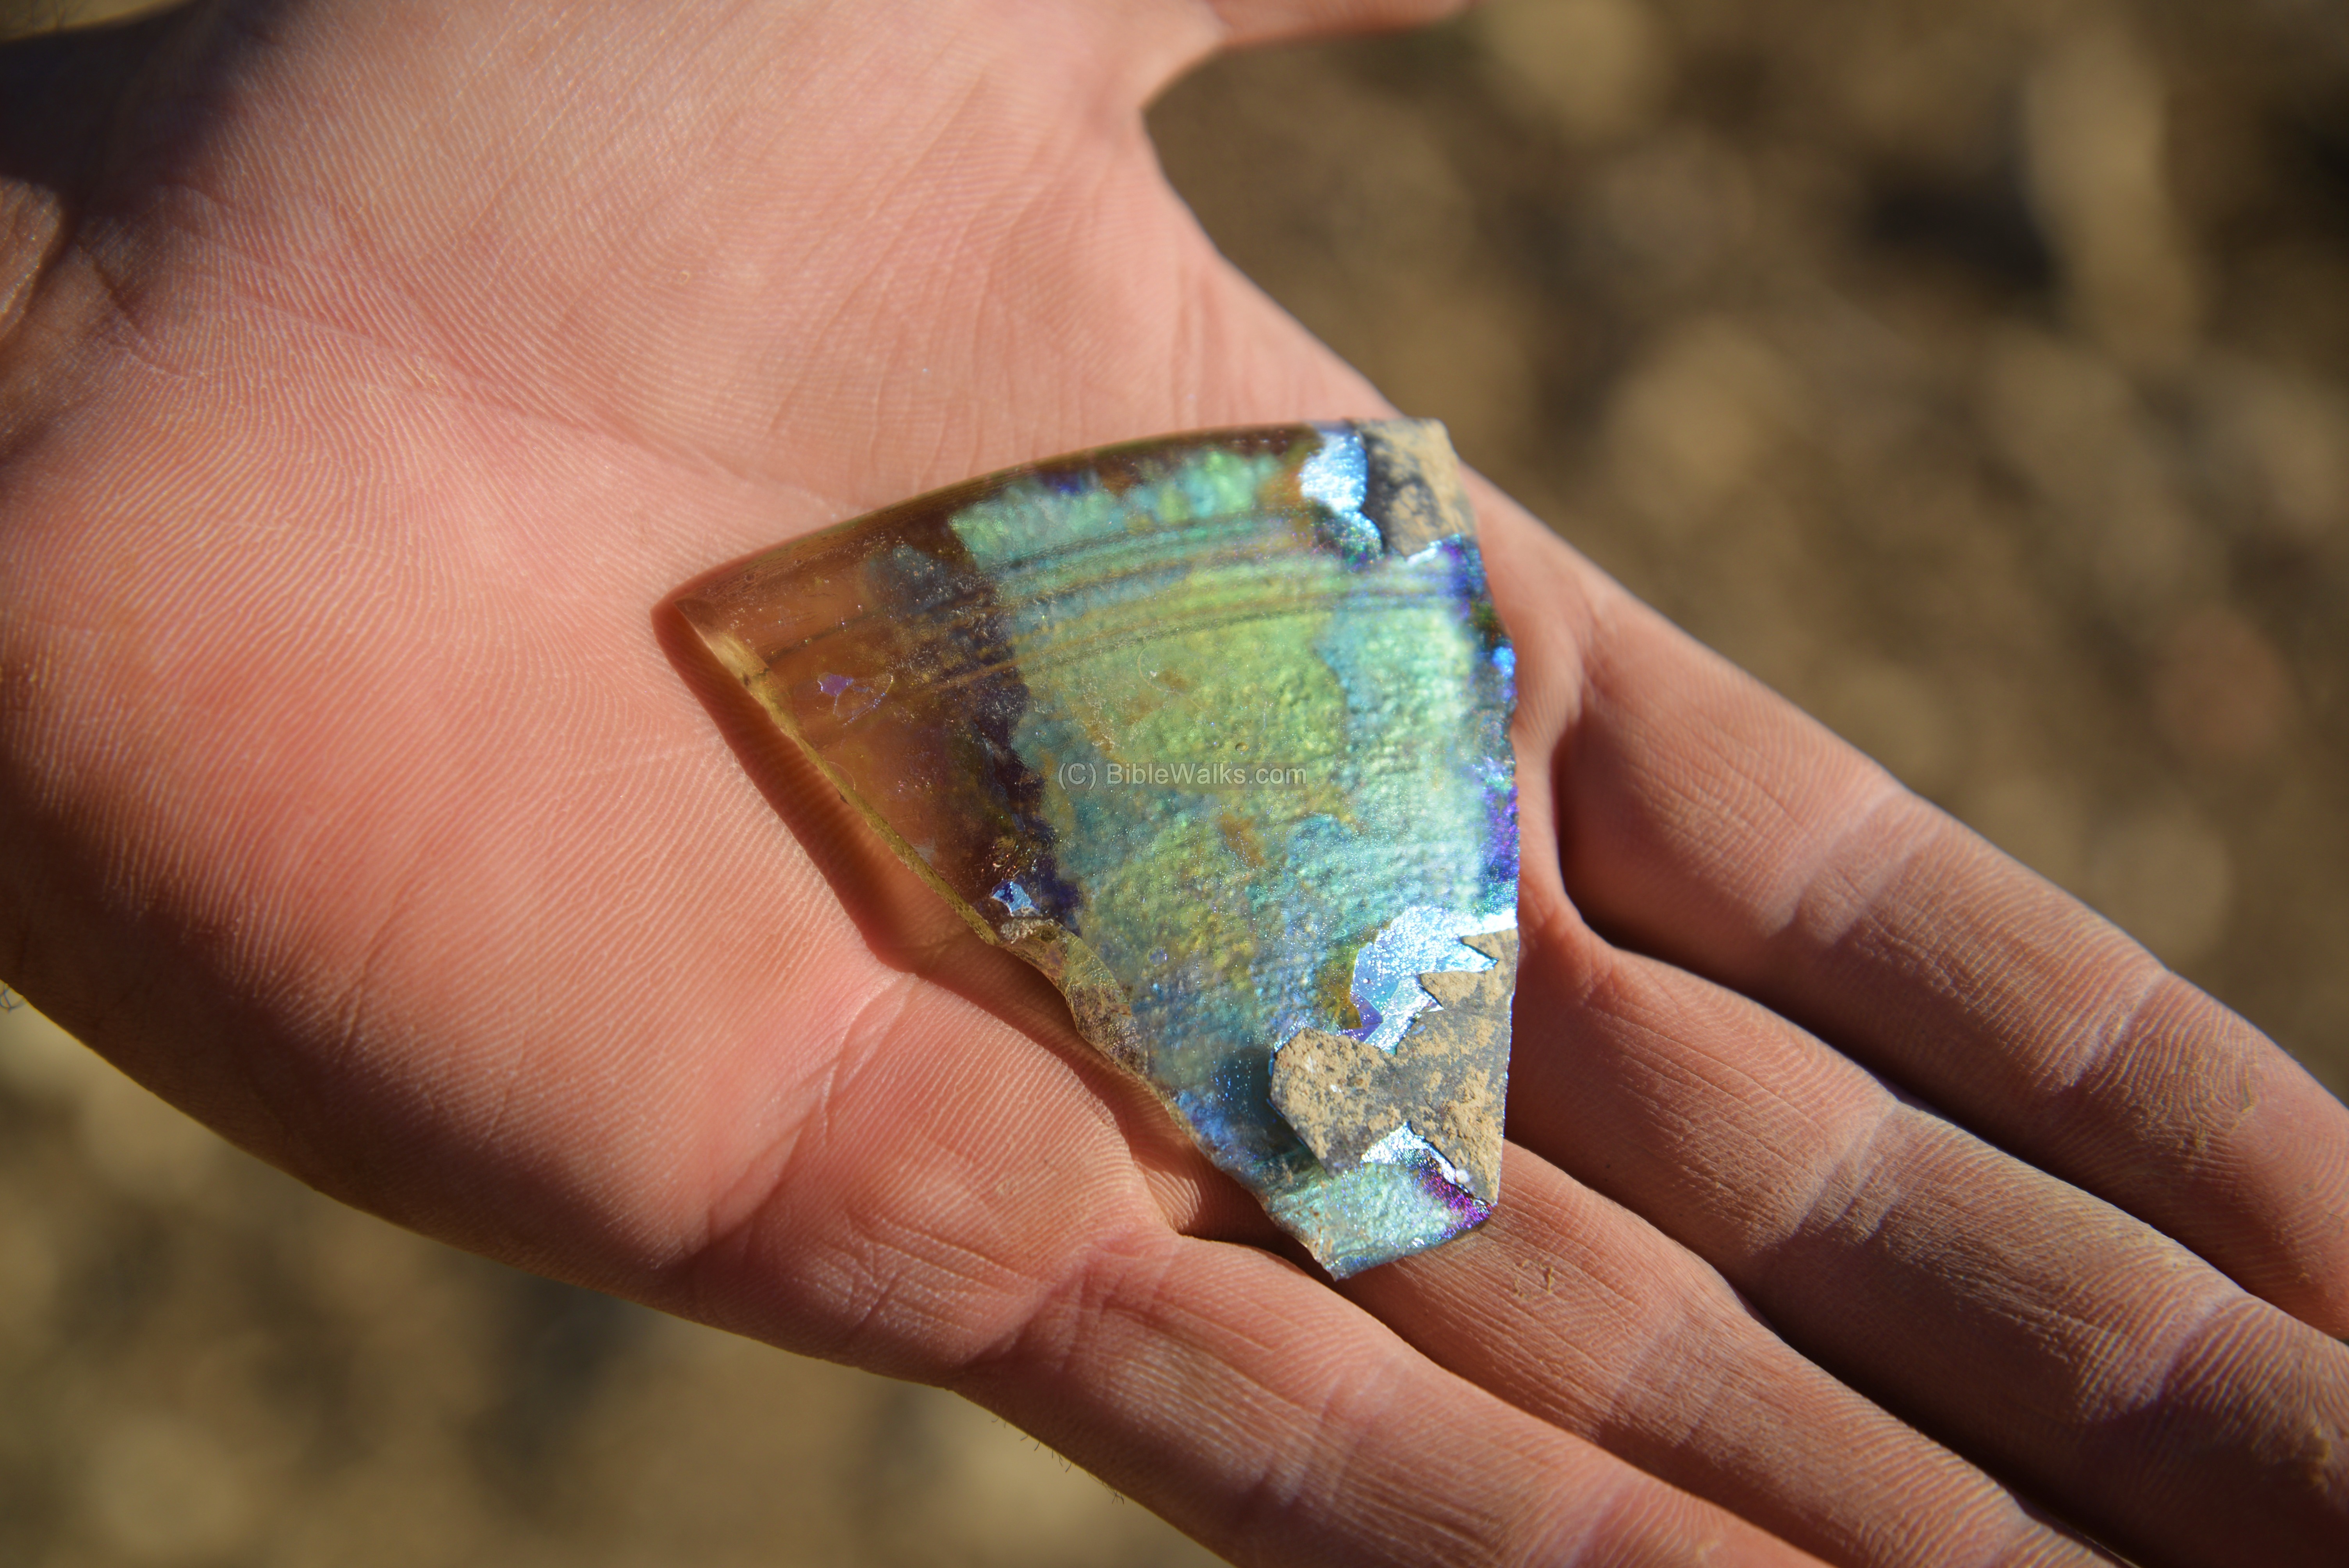
The next photo shows a collection of the ceramics fragments found around the areas of the illicit digging. Most of the ceramics are dated to the Hellenistic and early Roman period.
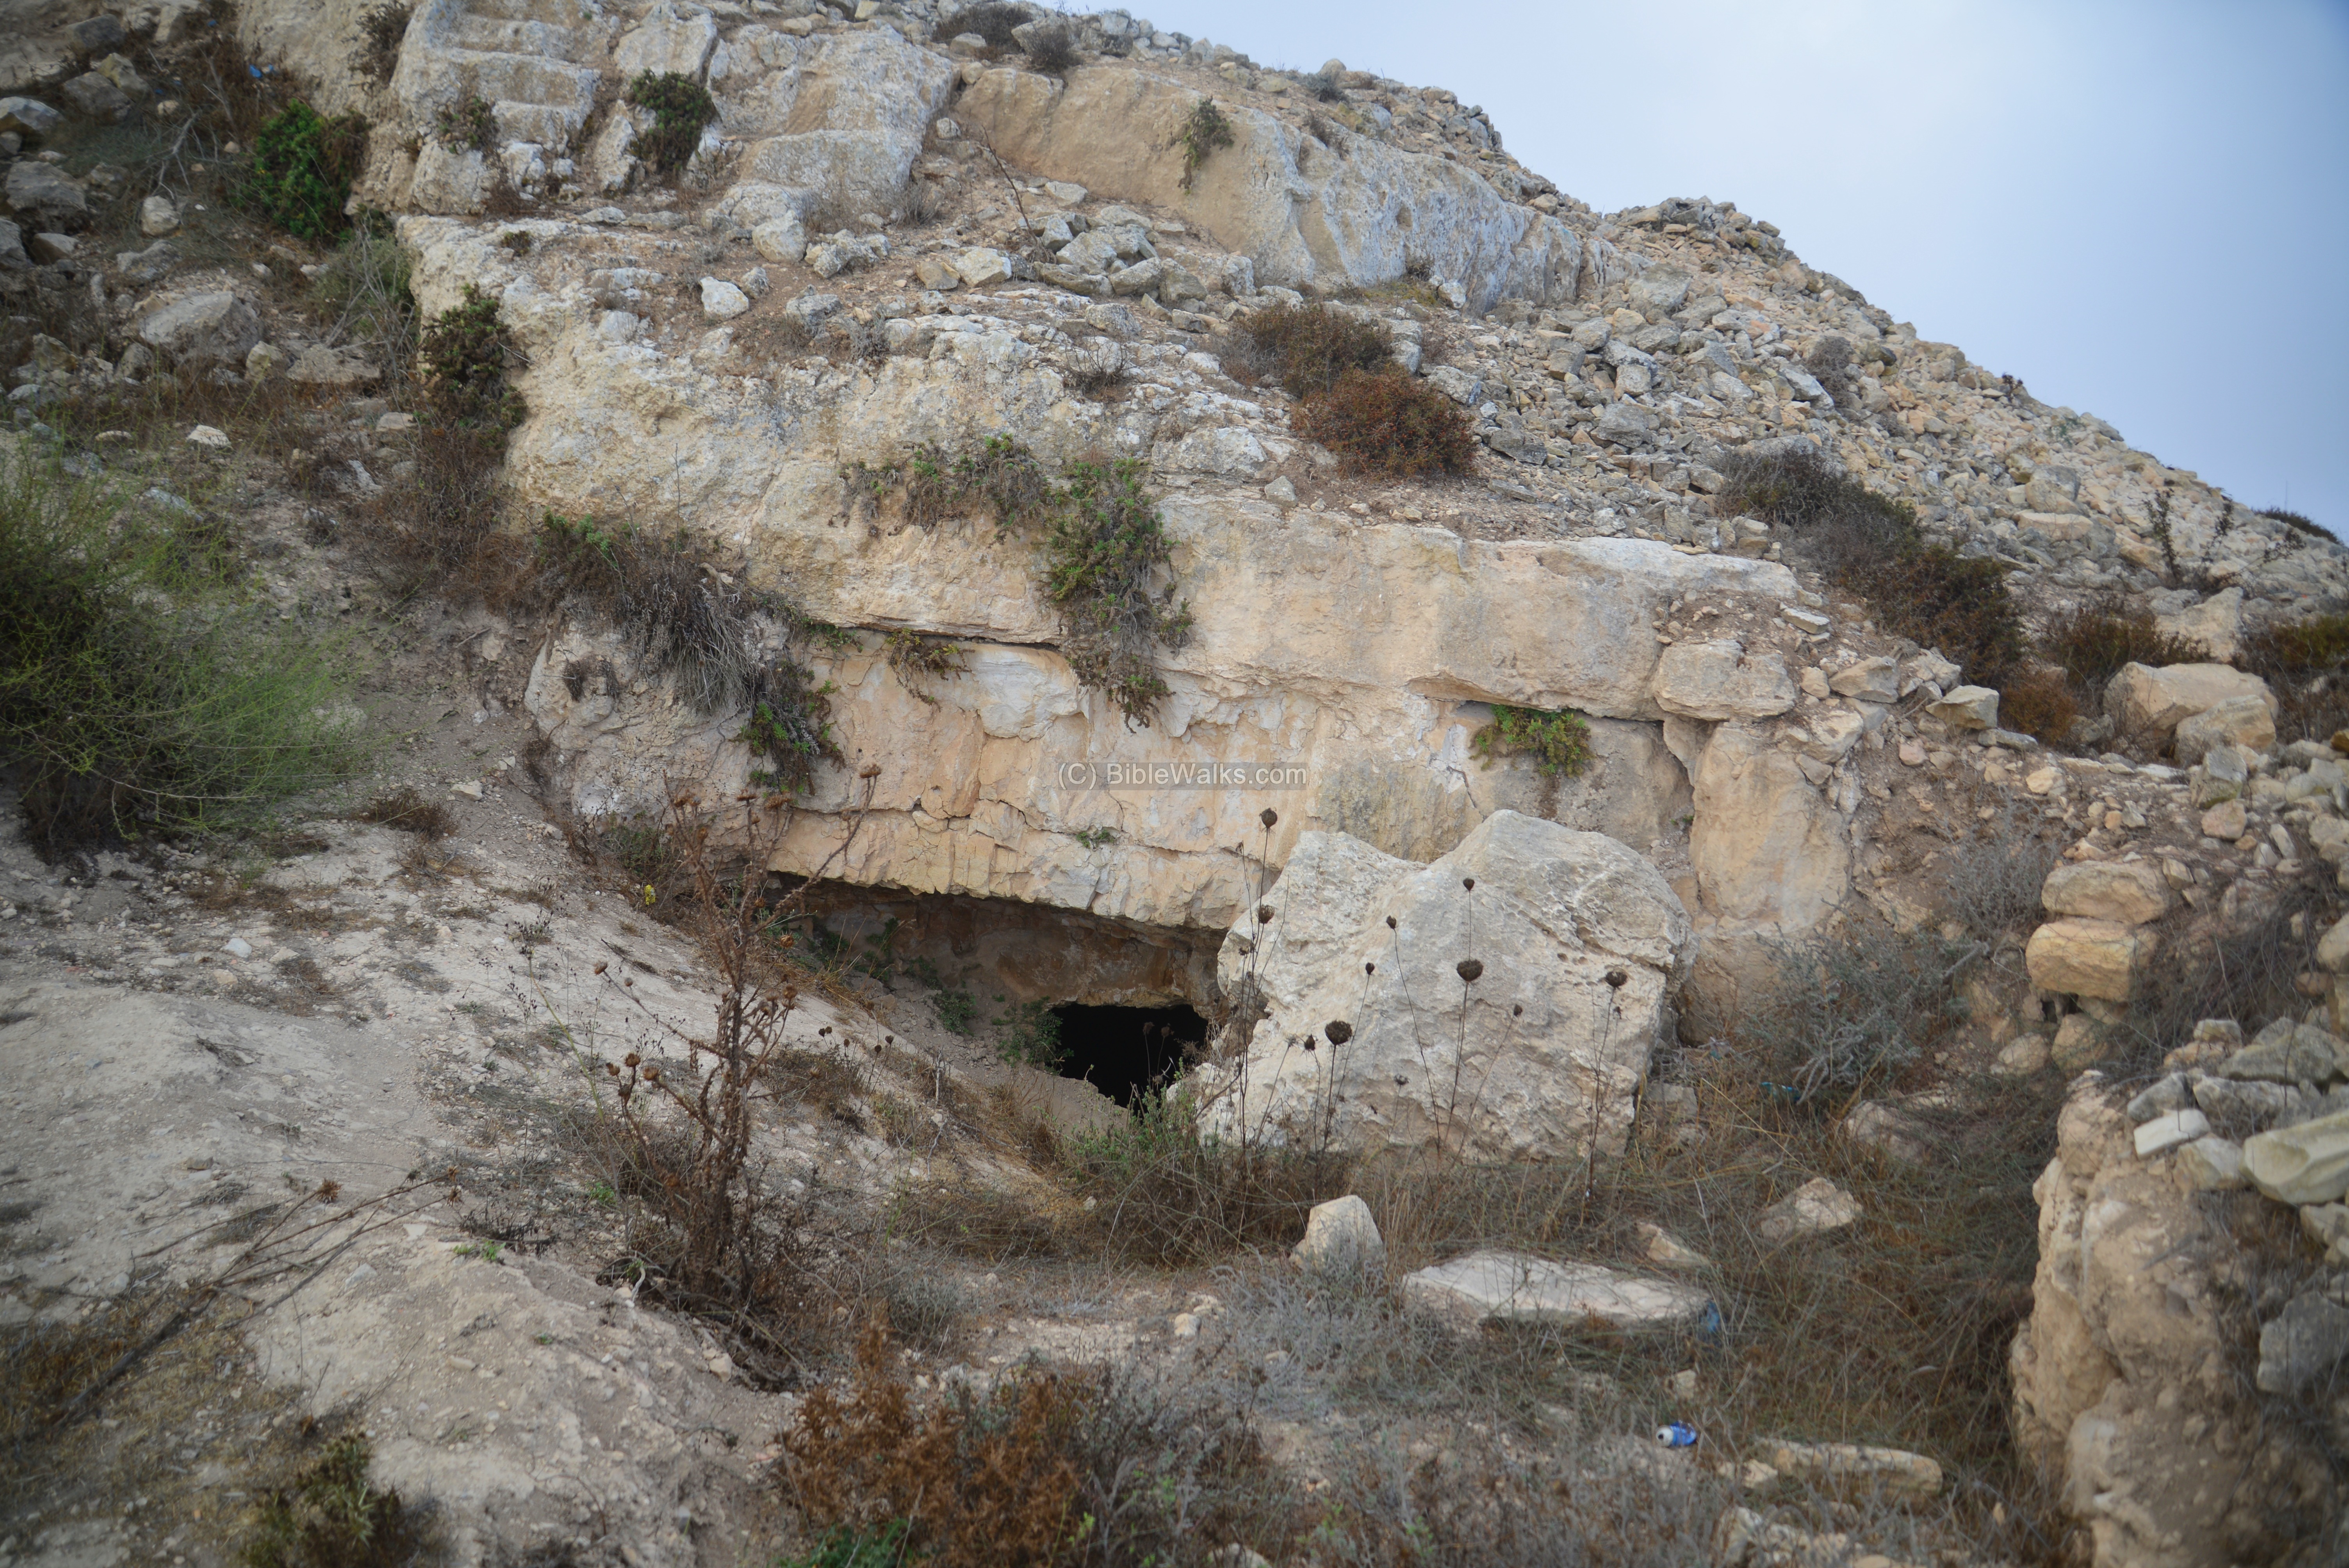
(g) The Cisterns
The most impressive structures on Tel Arumah are the huge water cisterns. More than 10 huge water reservoirs were cut on the west and north sides of the hill, with a total capacity of 15,000 cubic meters. They were designed to collect water runoff from the winter rains for storage throughout the dry season, and to supply water for the fortress in order to sustain lengthy sieges. Water channels led the runoff water from the roofs of the structures into an aqueduct that fed the cisterns.
All the cisterns are accessible from the road that passes along the western side of the hill. Their entrances are located at a common height of 824m, with a feeding aqueduct connecting between all entrances. Water channels lead the runoff water from the summit which is 15m above the aqueduct.
The following photos are ordered from south to north. The information is based on the article by Dvir and Ziso.
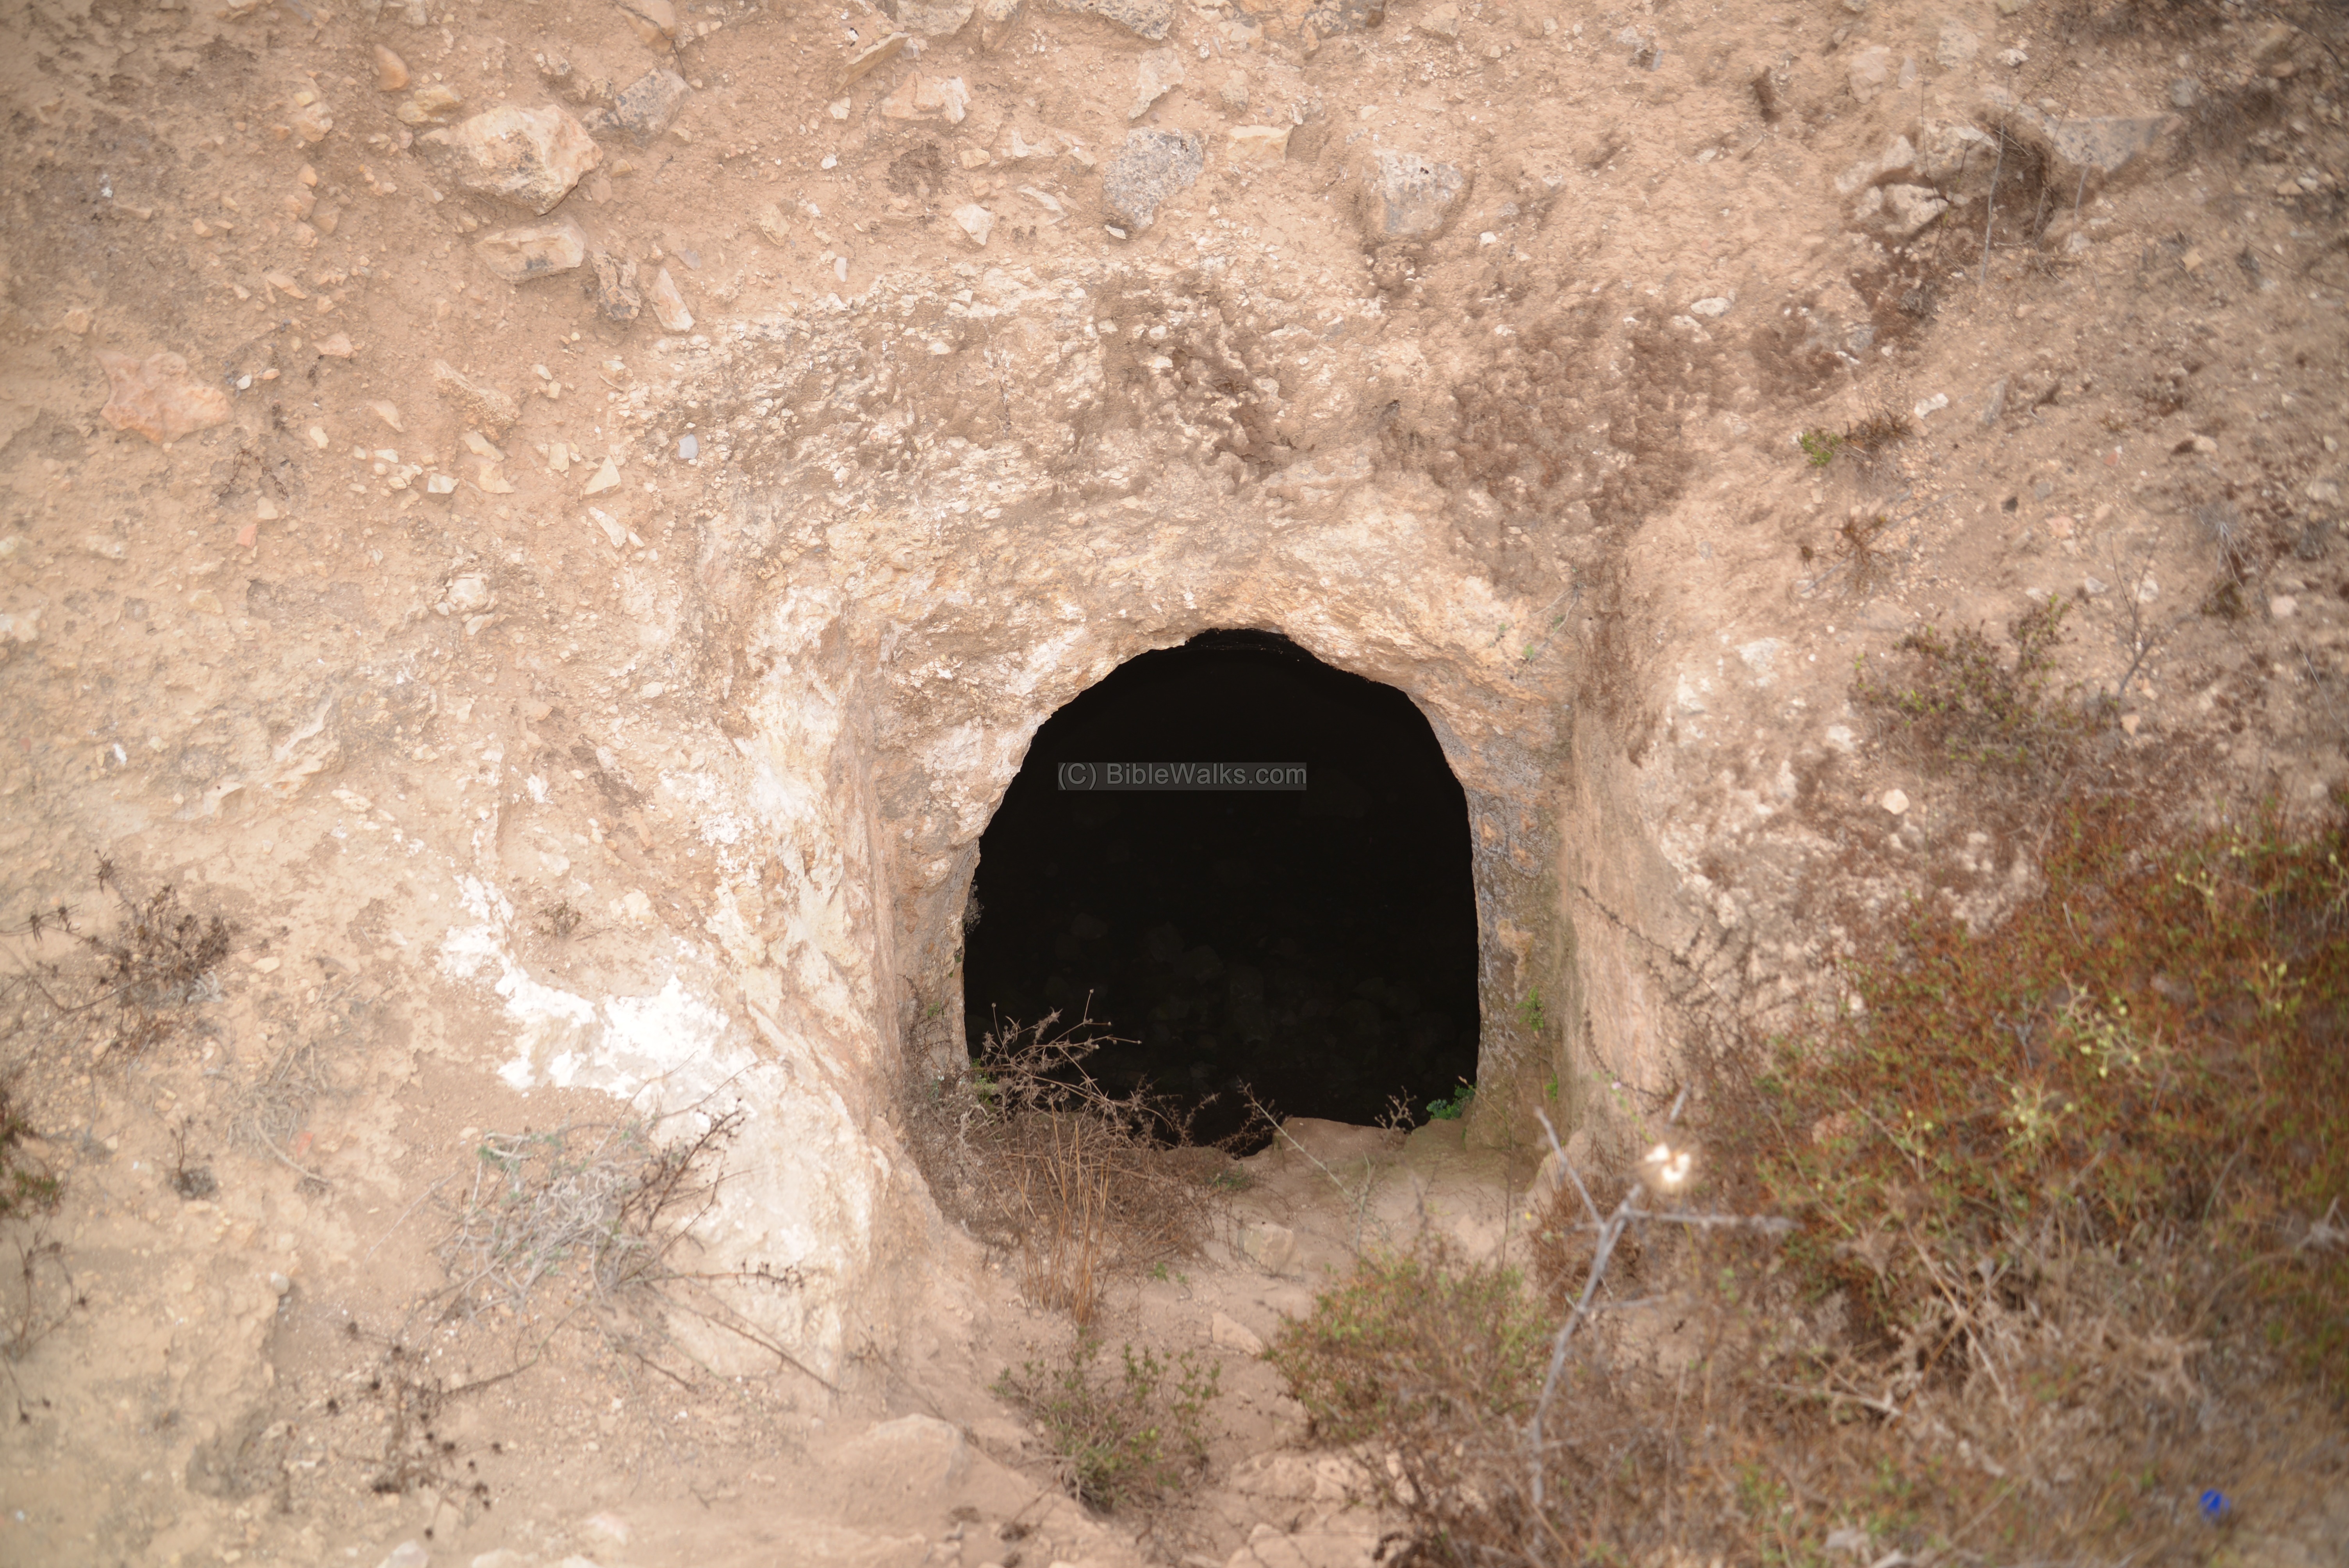
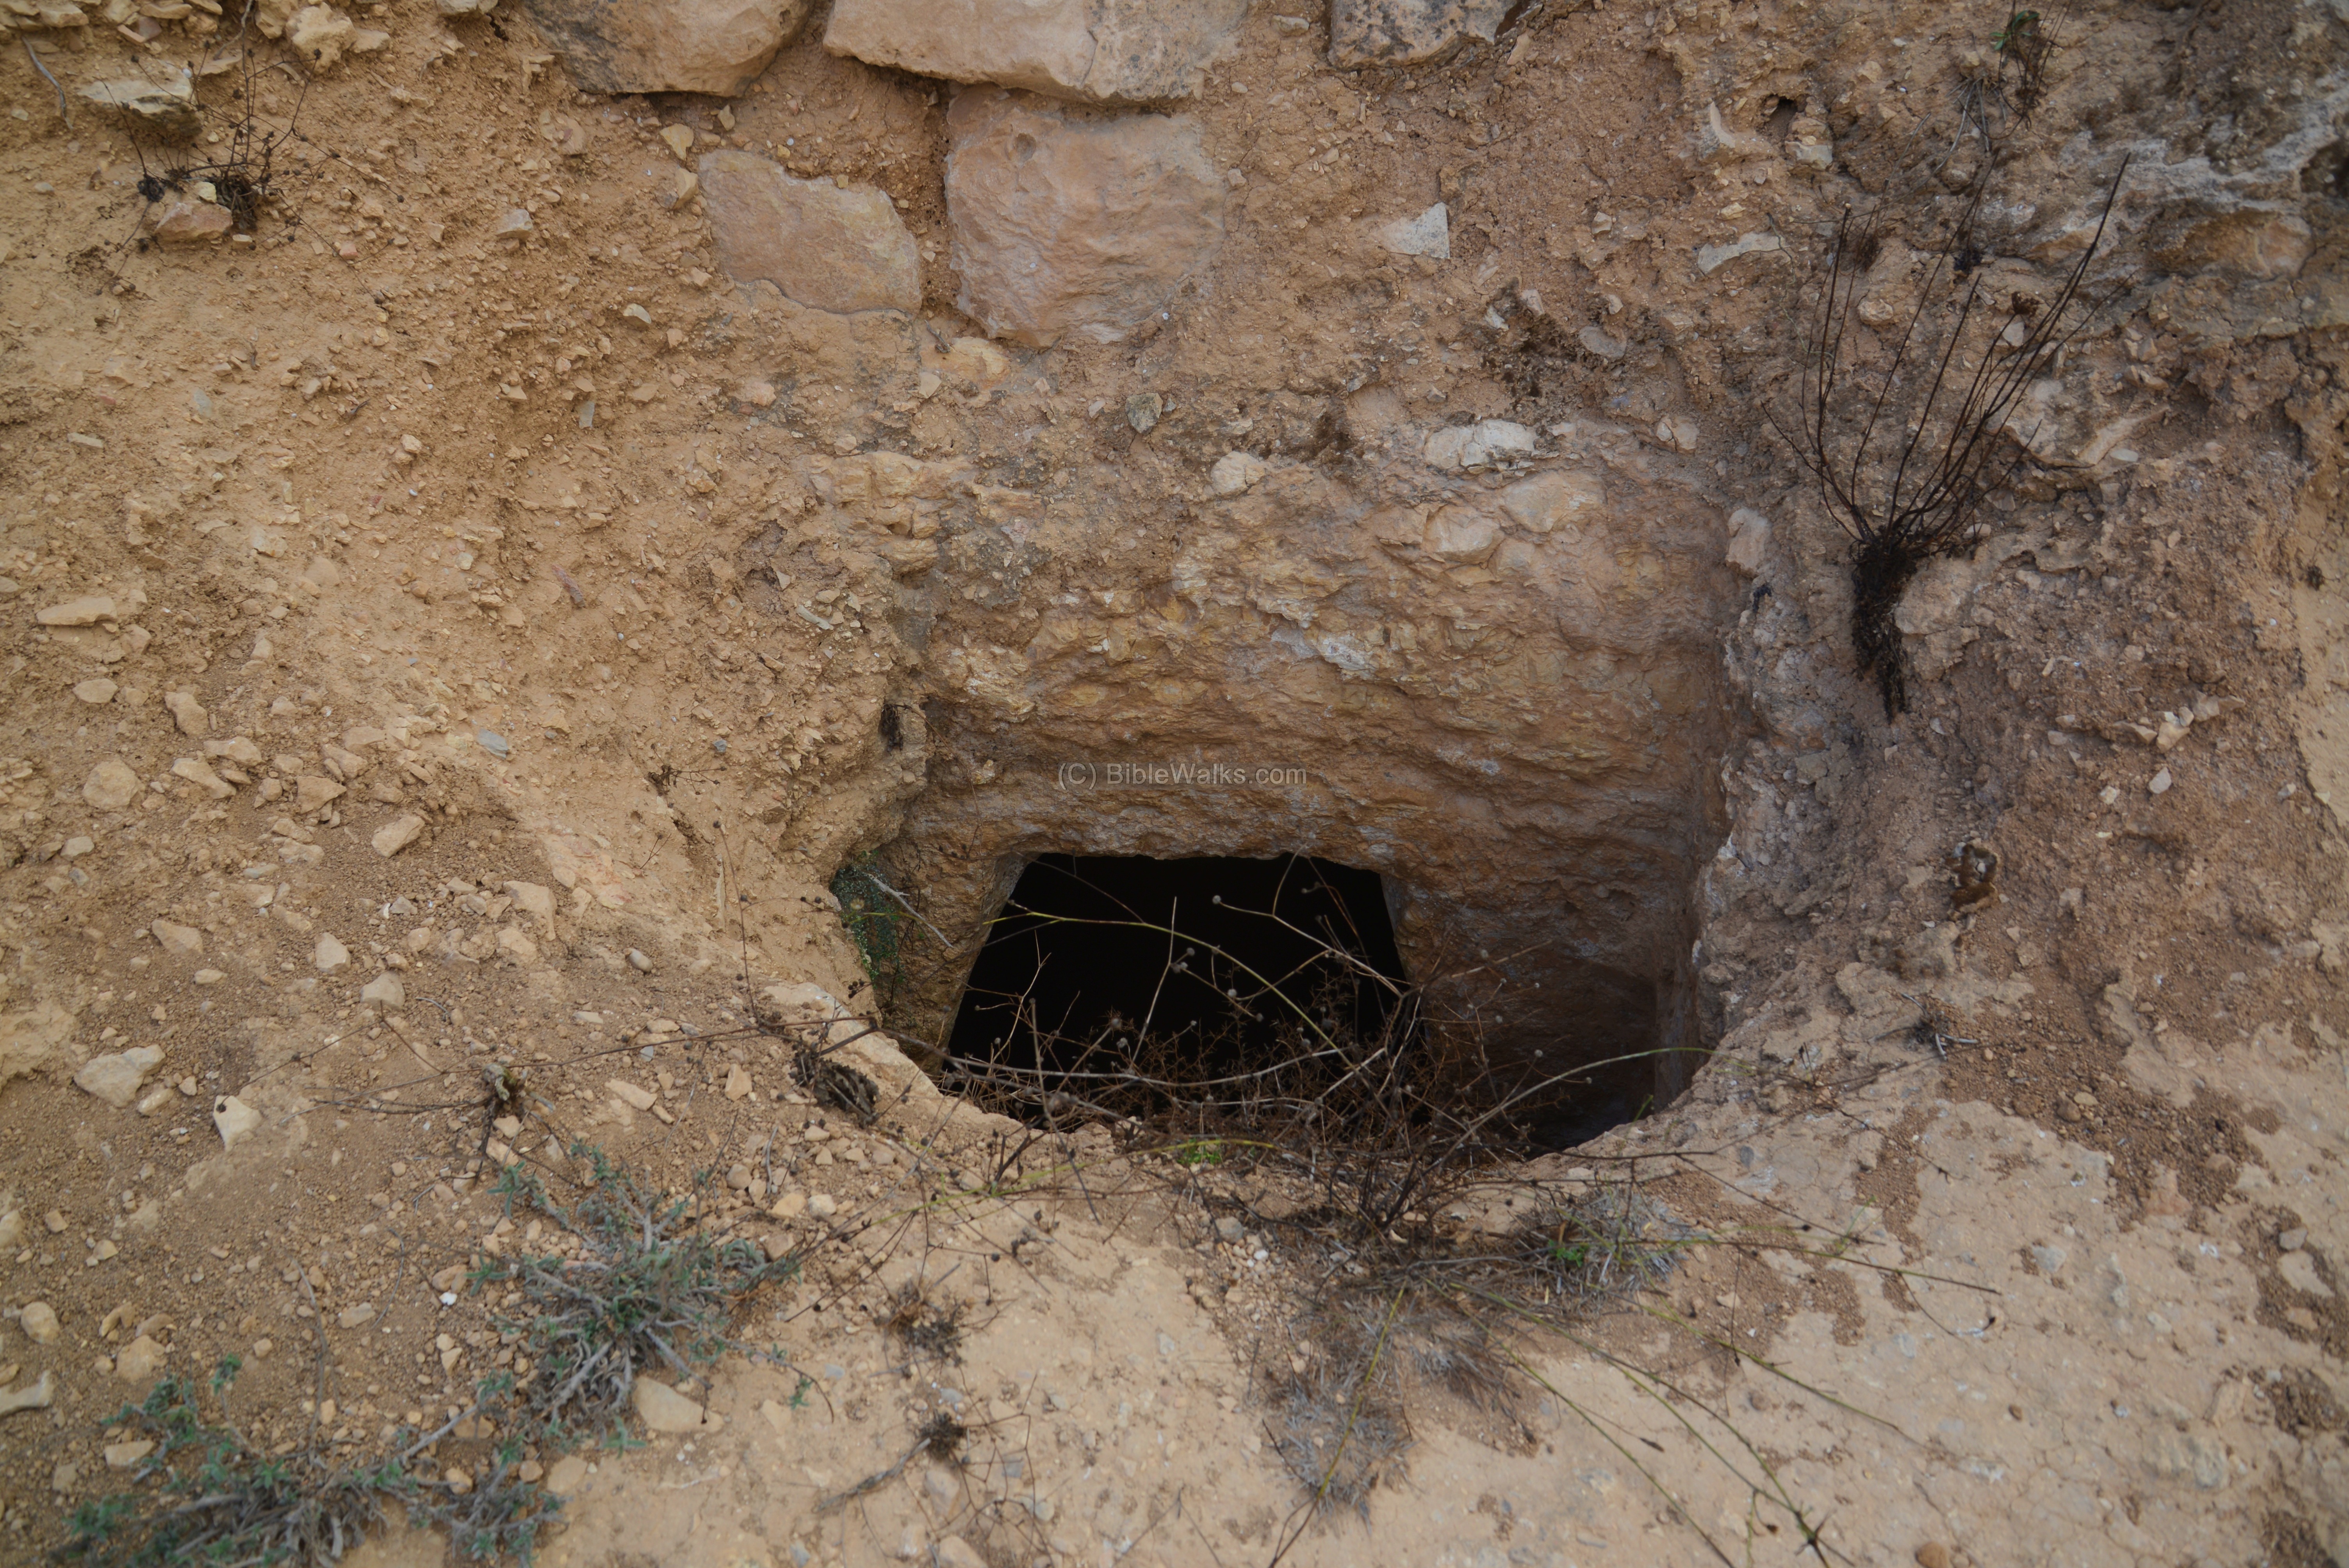
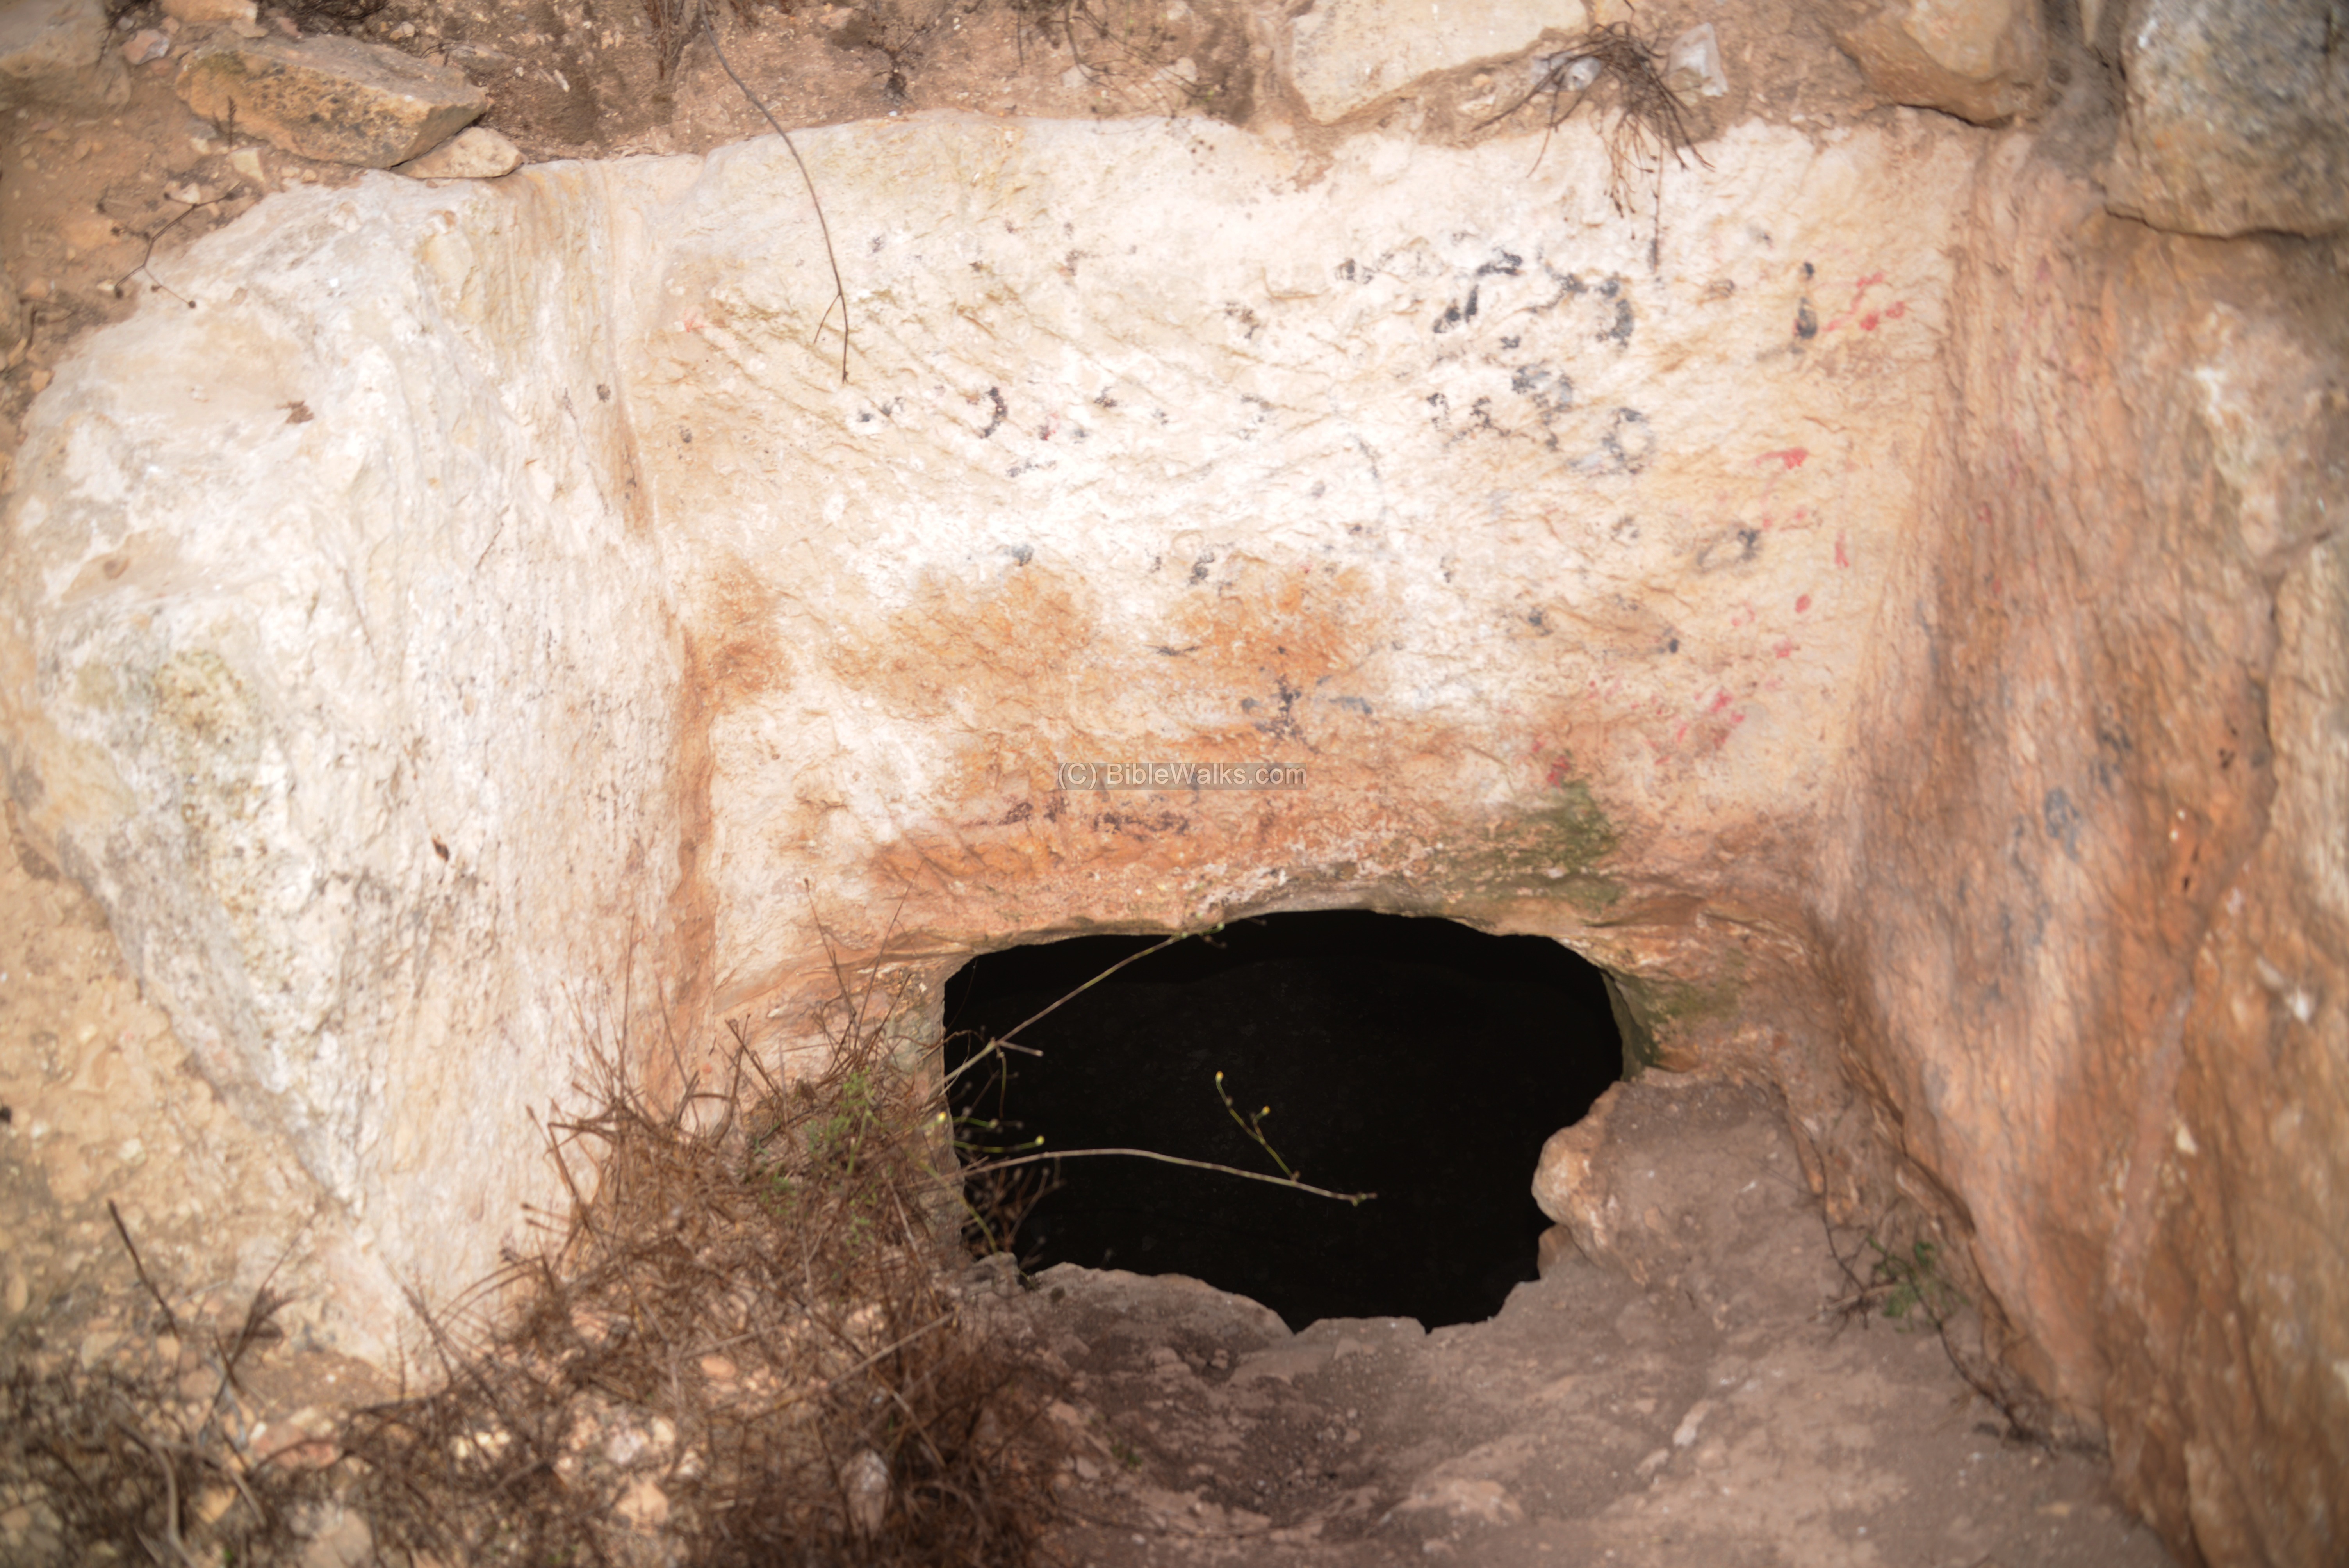
- Cistern #1
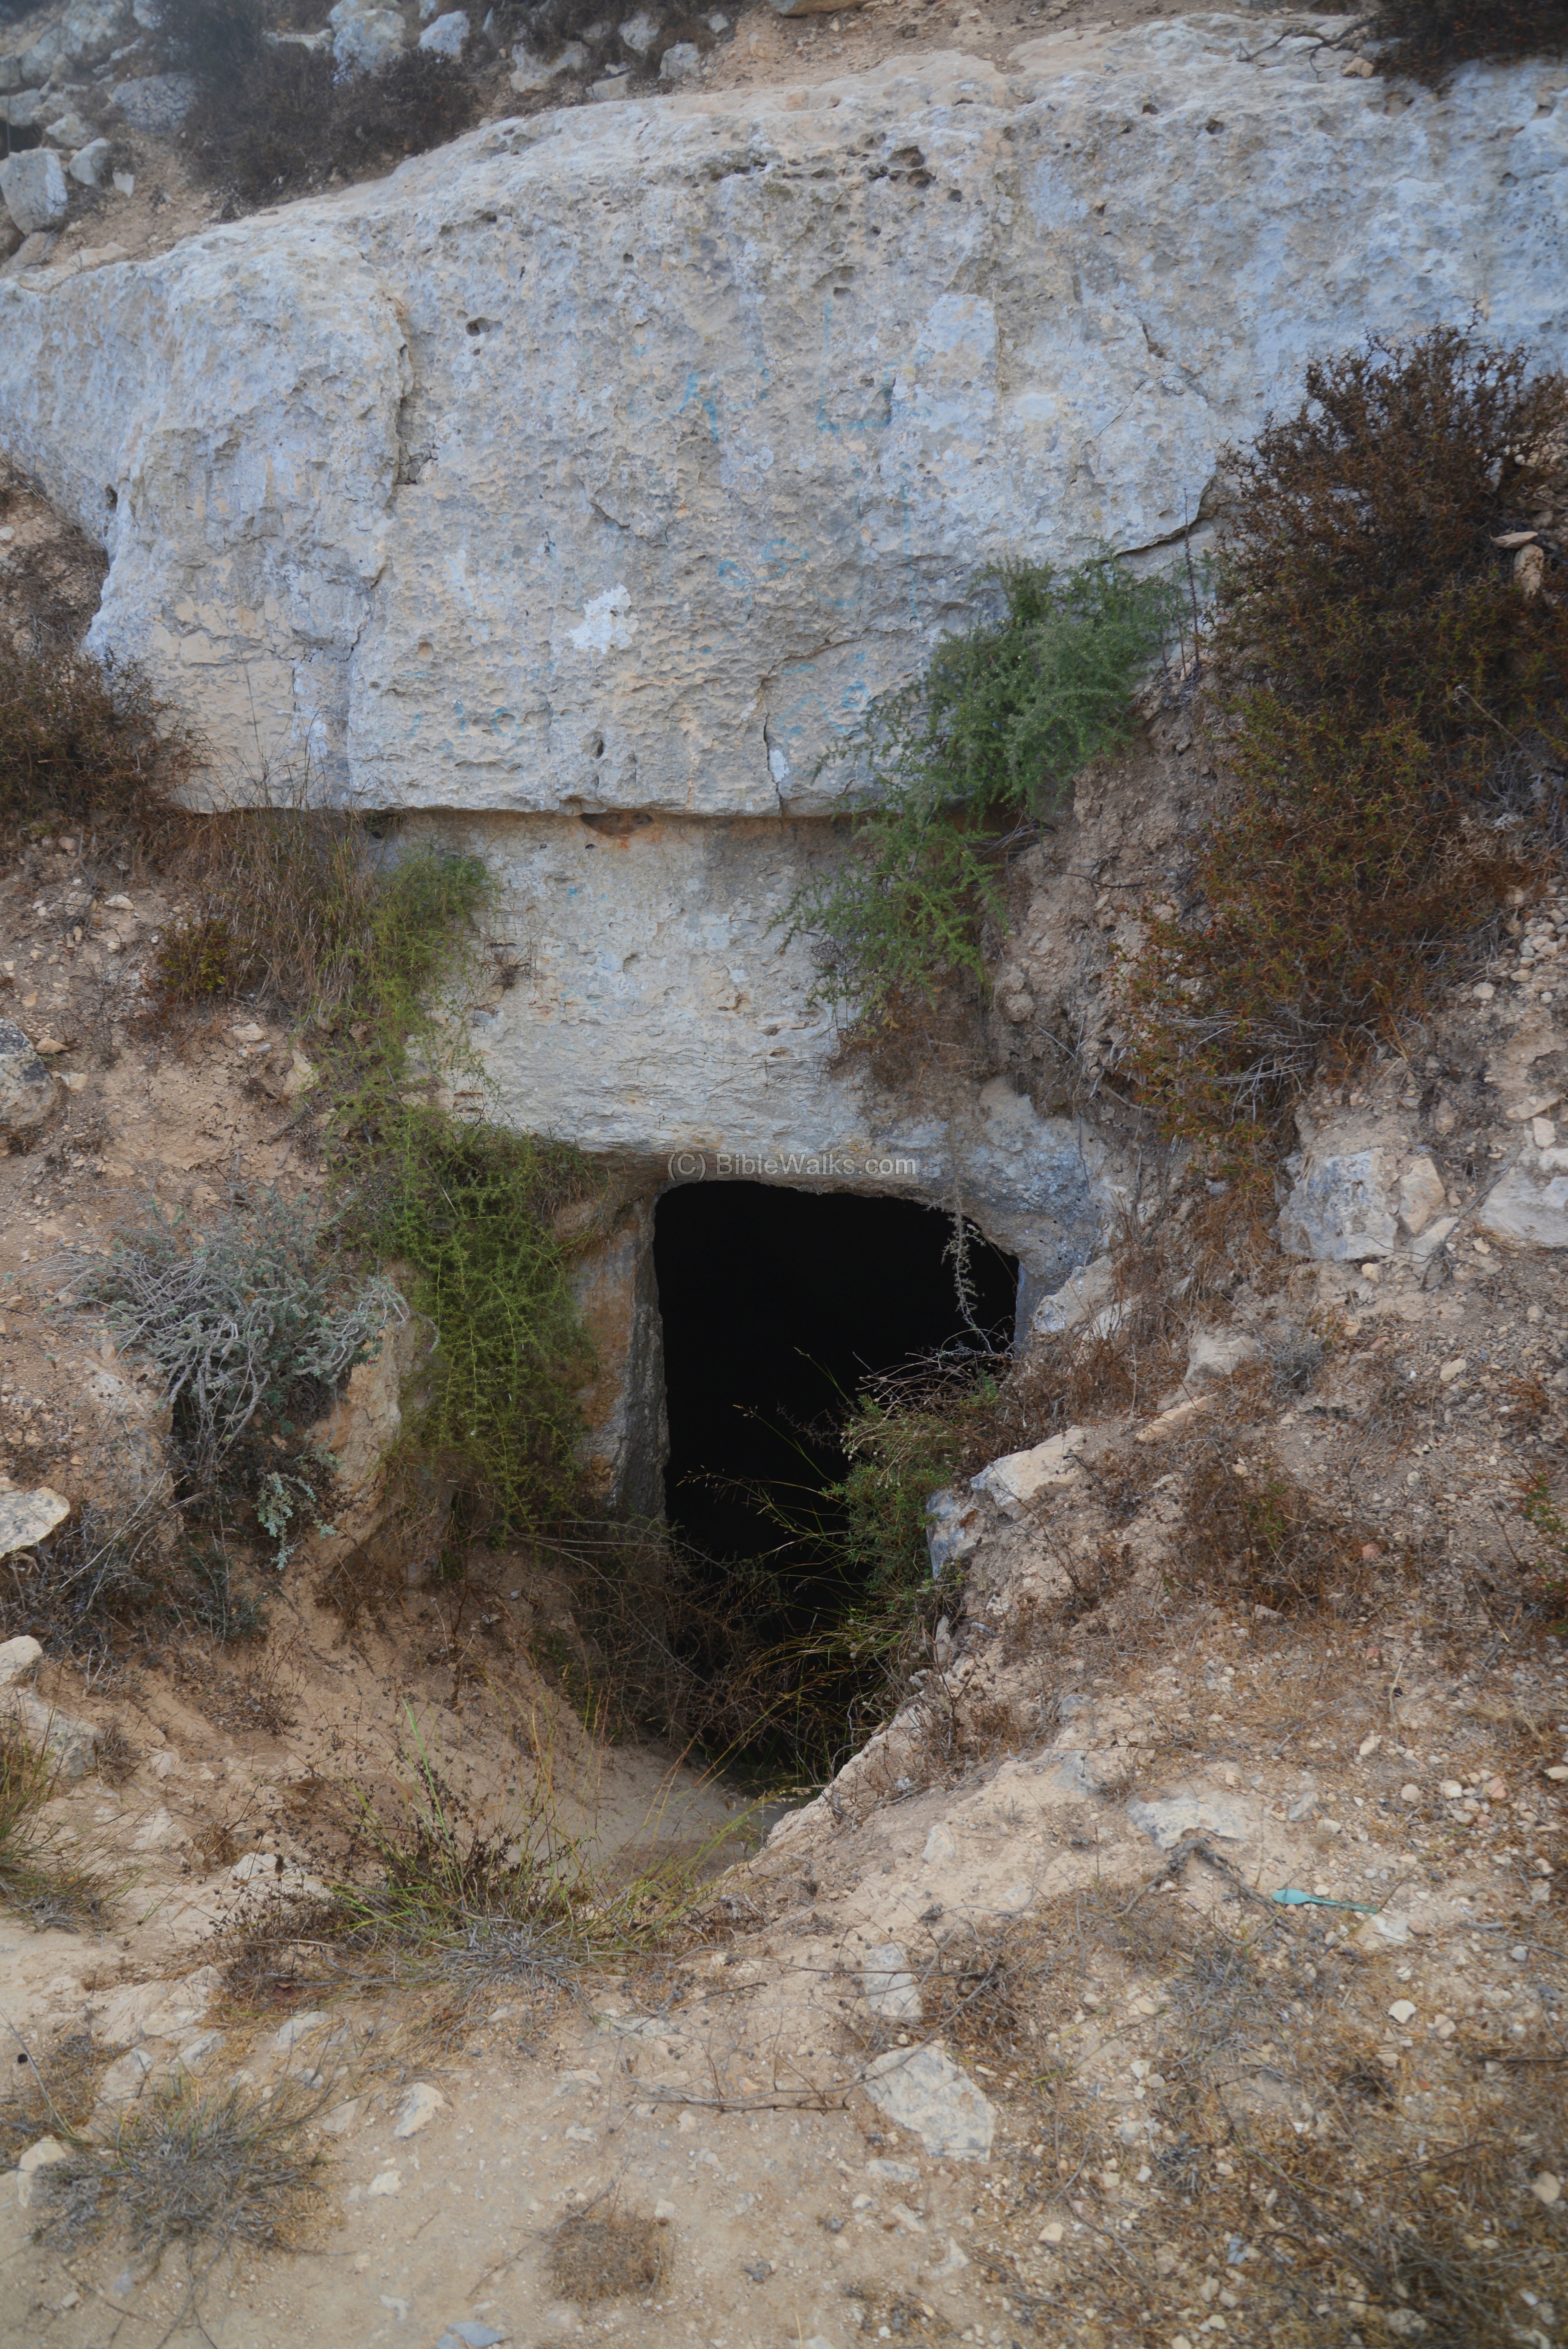
The first cistern was cut into the rock below the walls of the fortress, about 25m north of the south western tower. Its entrance is 1.5m wide.
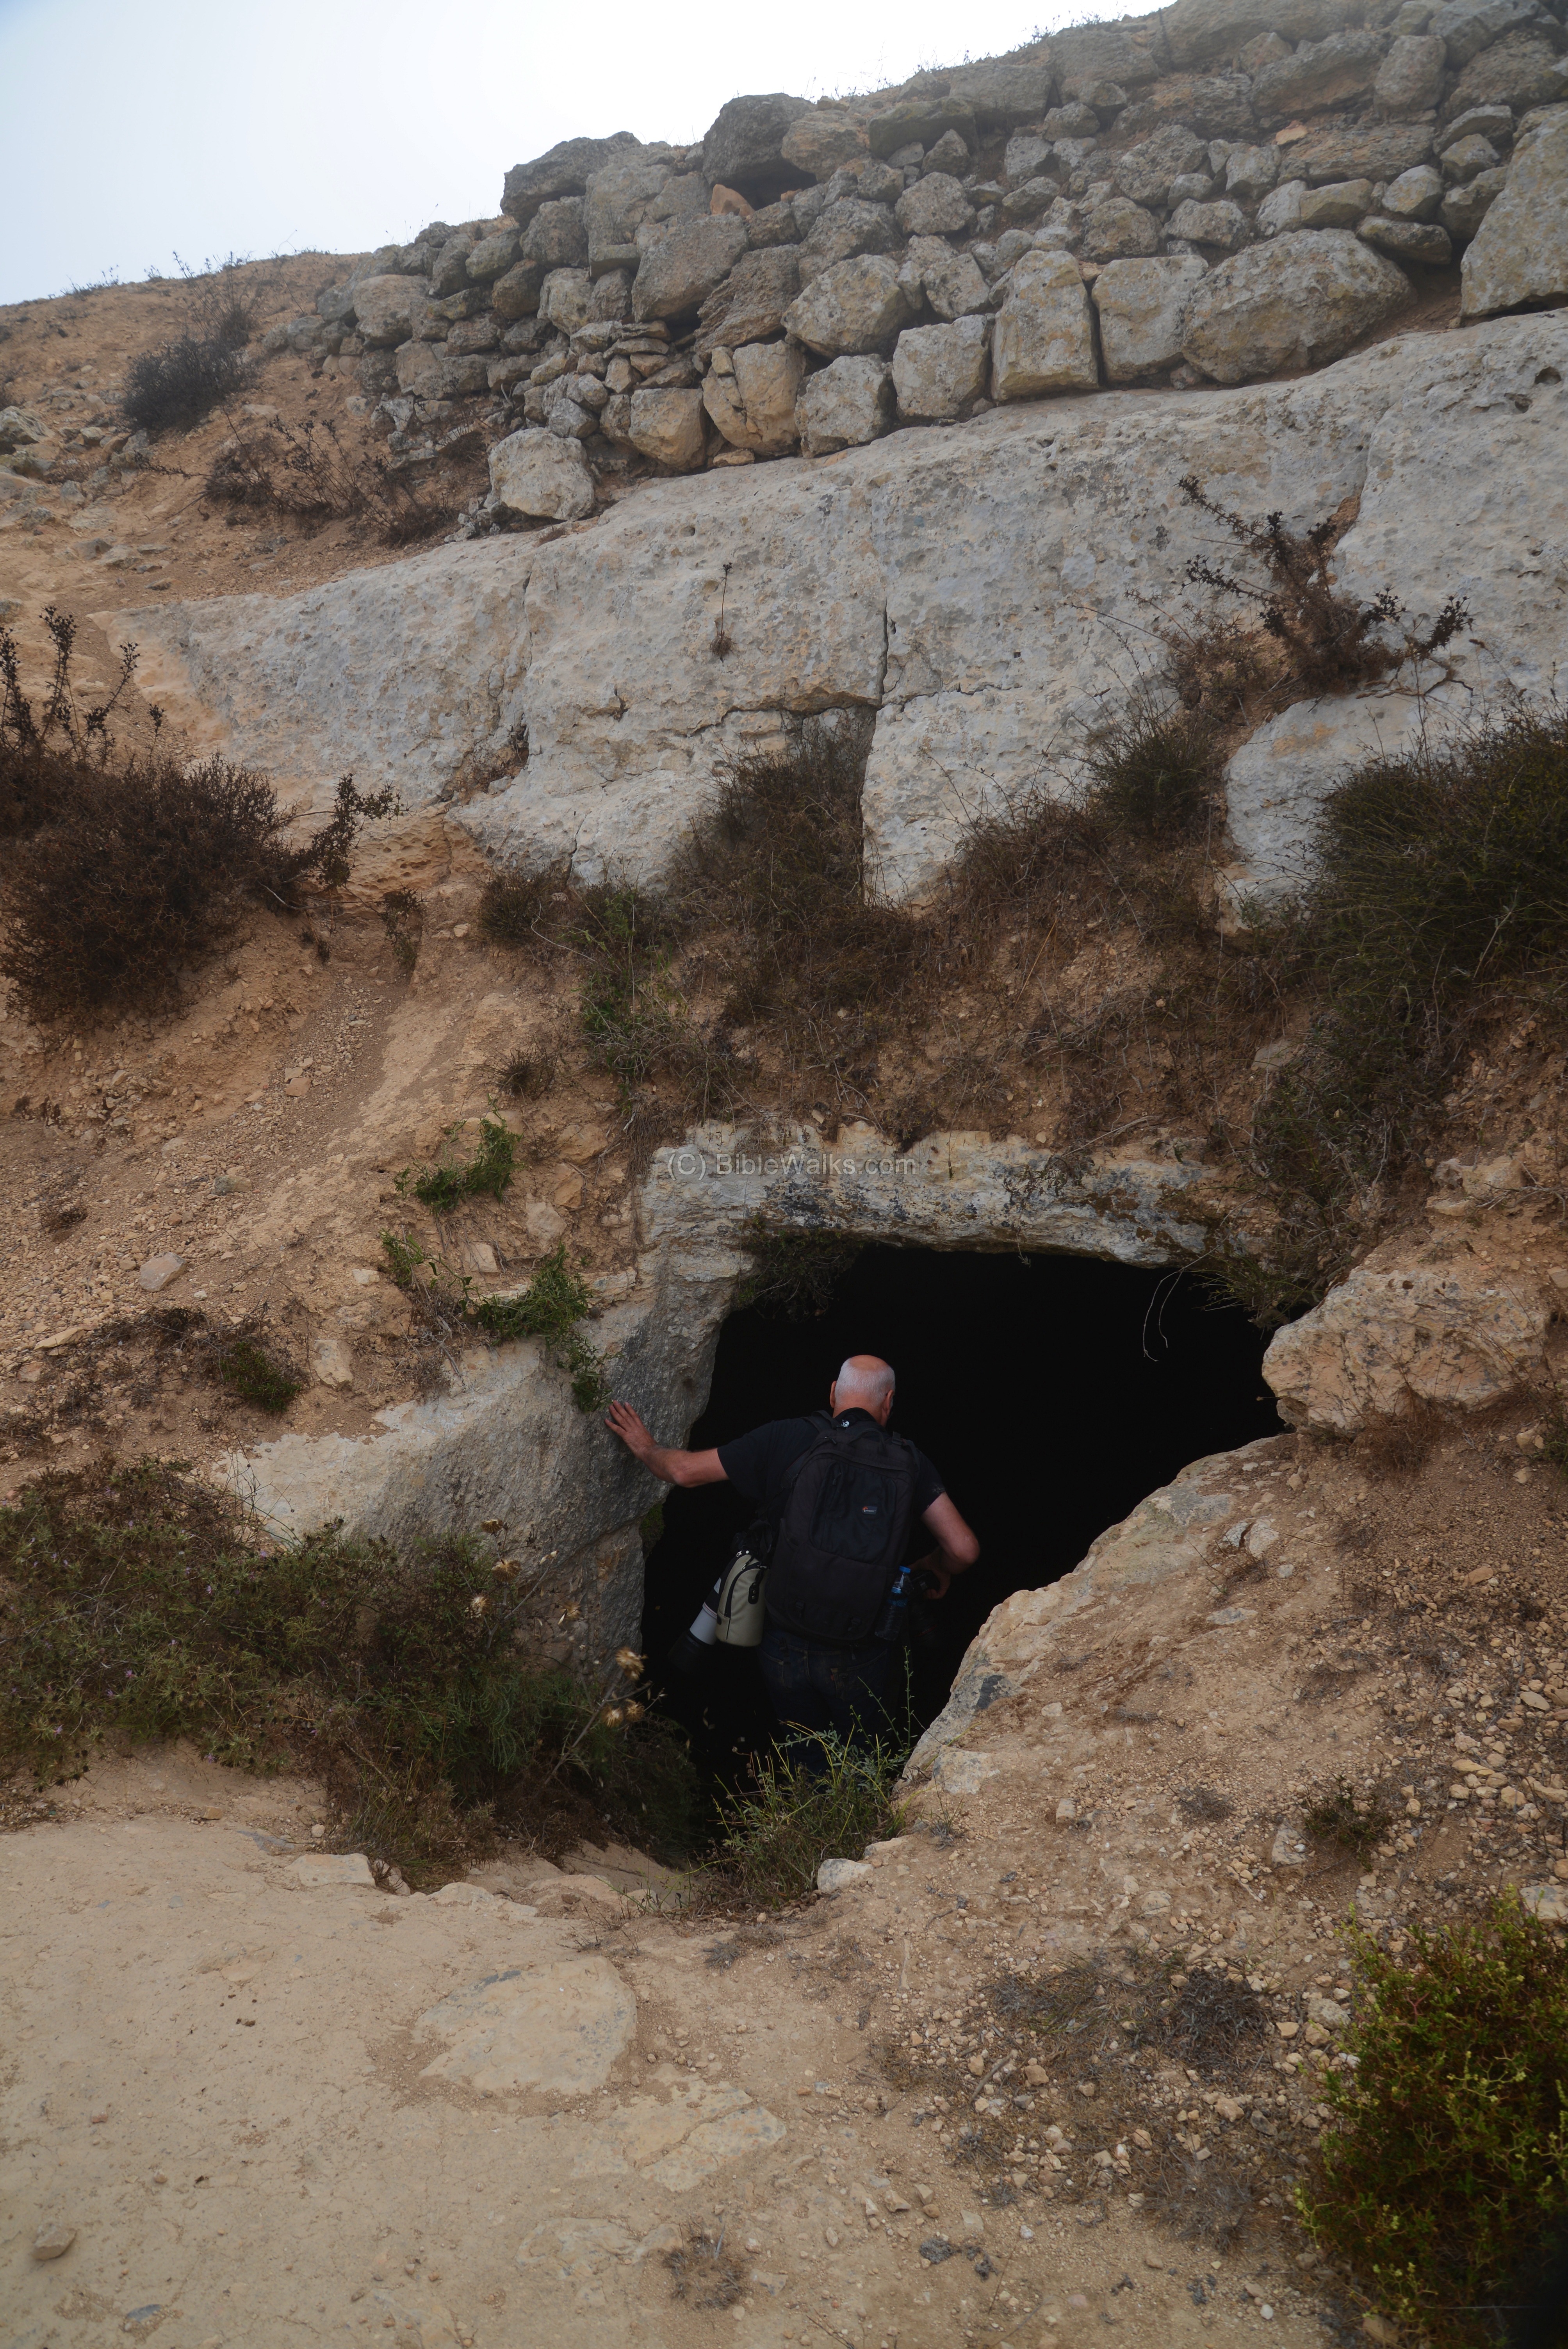
Walking into the cistern shows how large this hewn pool is…
This cistern is the second largest in the Arumah fortress. It is 20-24m long, 7.5m-10.5m wide, 10m wide, with a total capacity of 2,500 cubic meter.
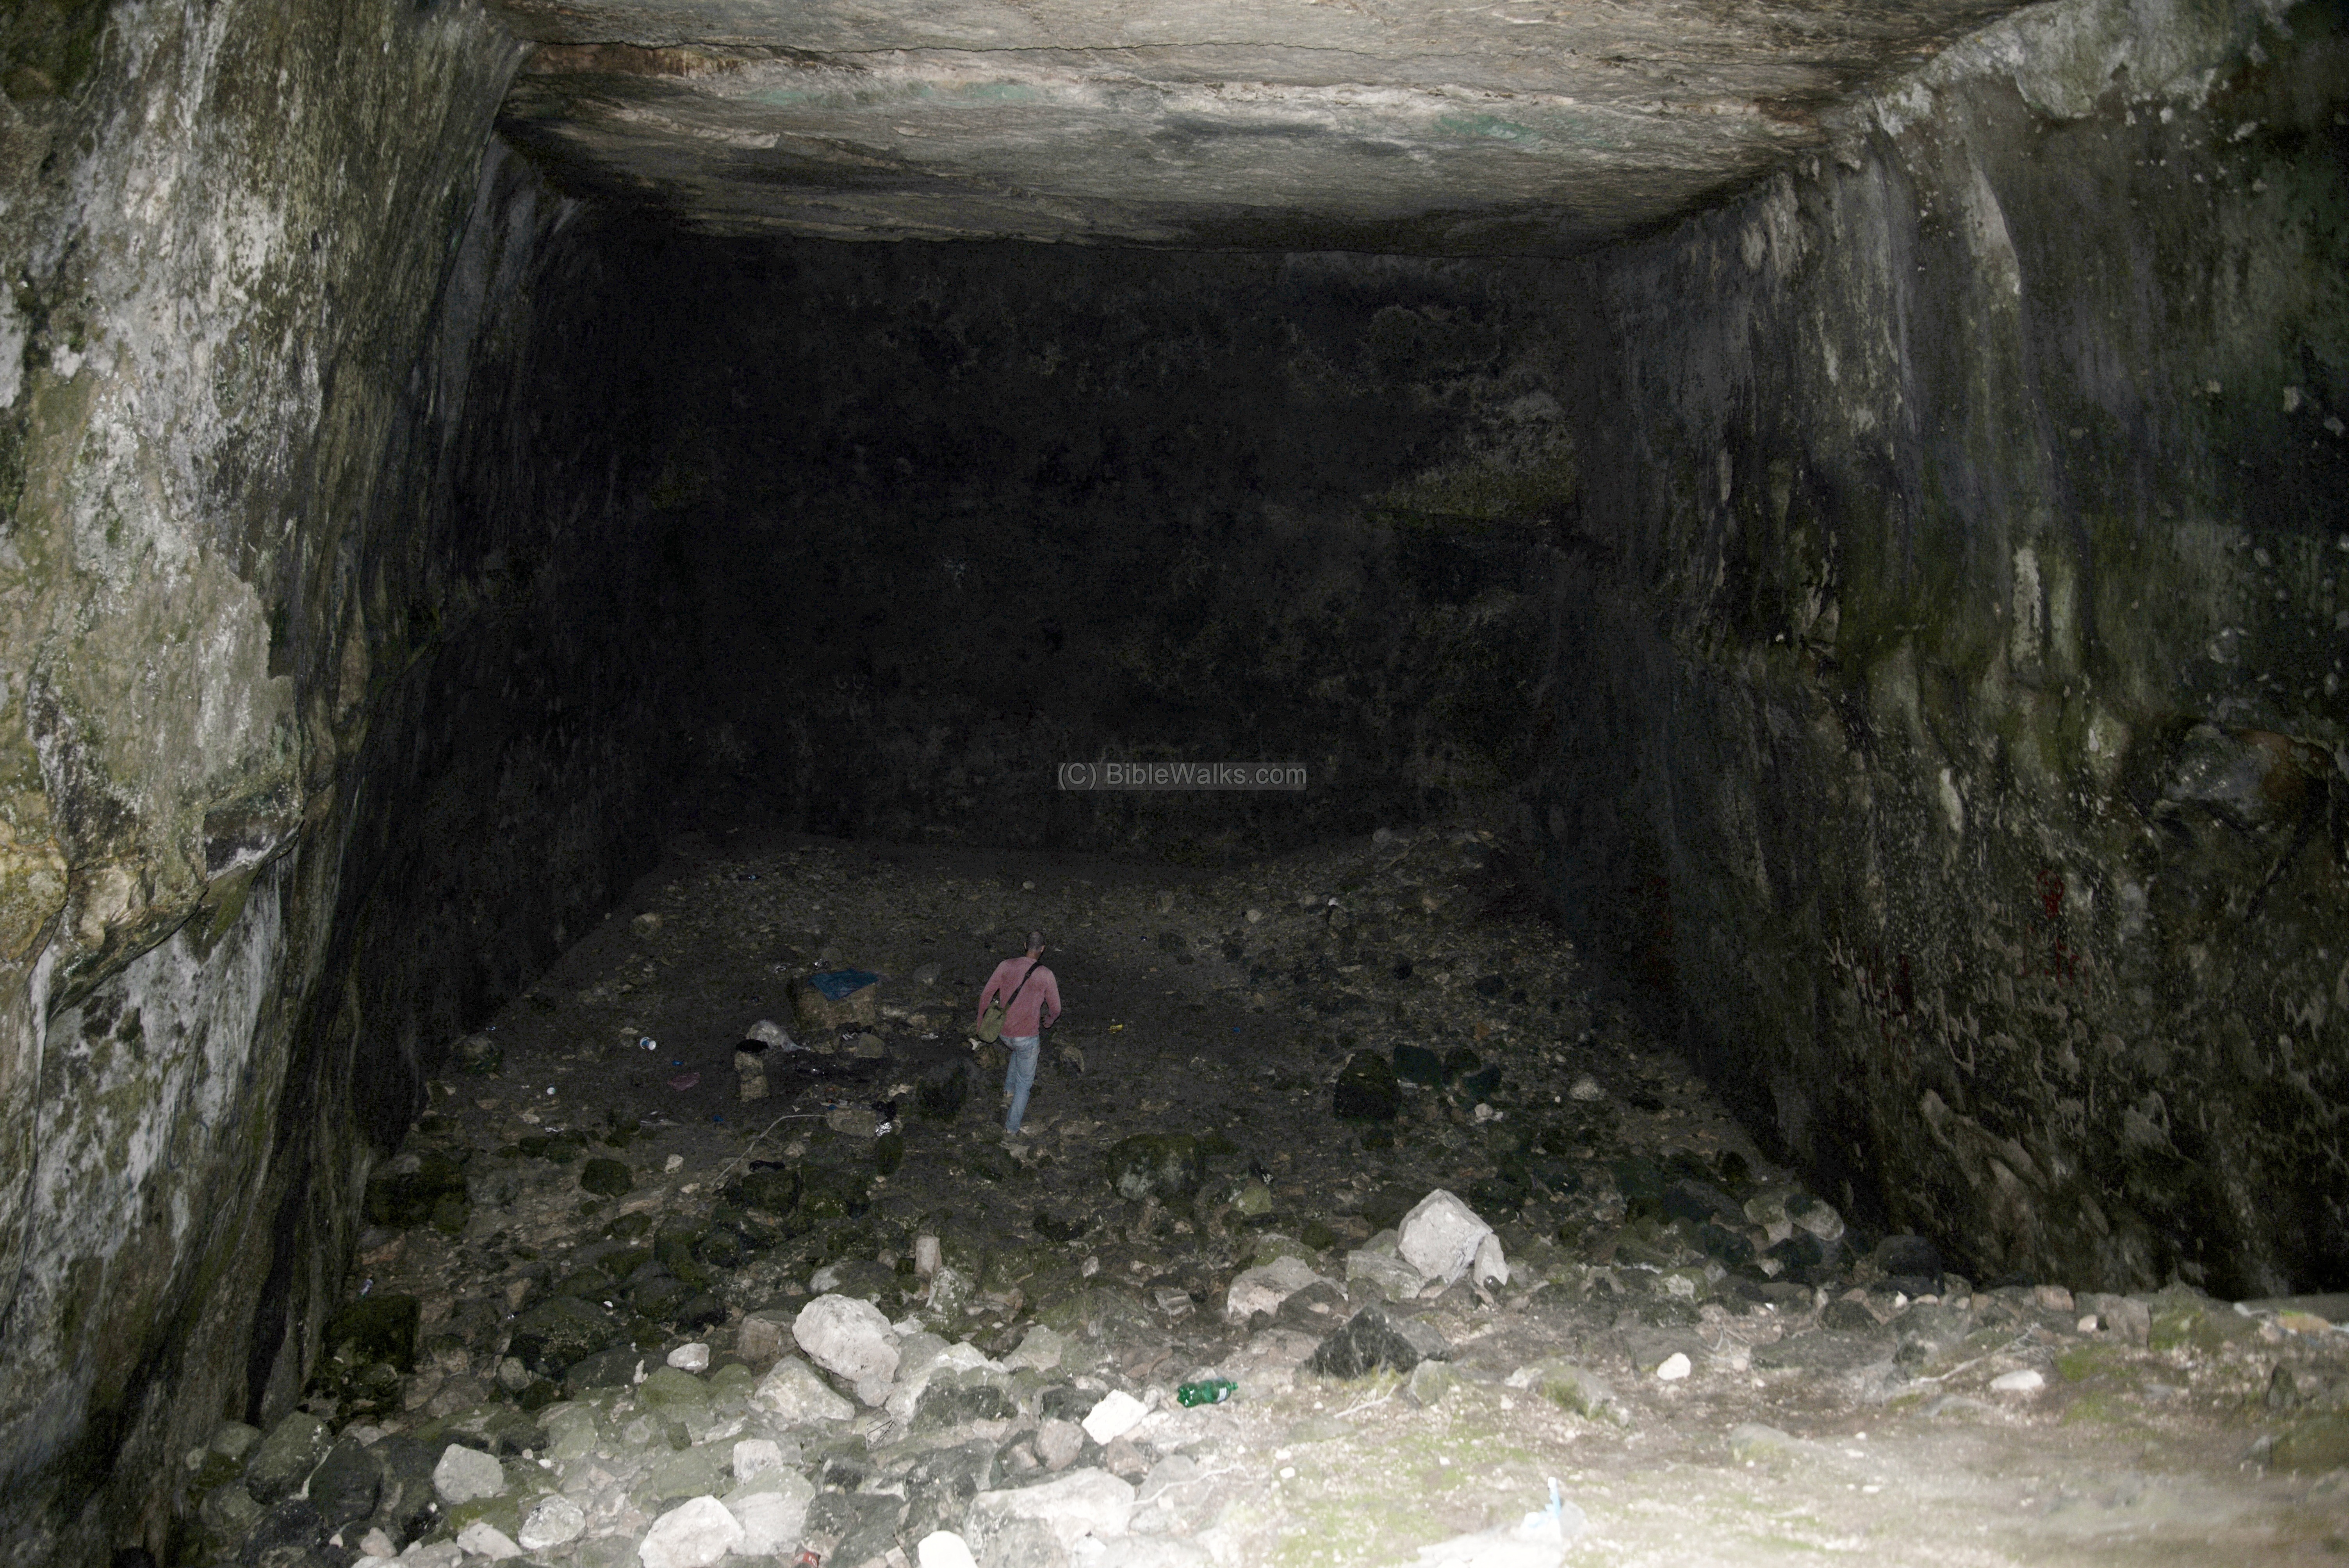
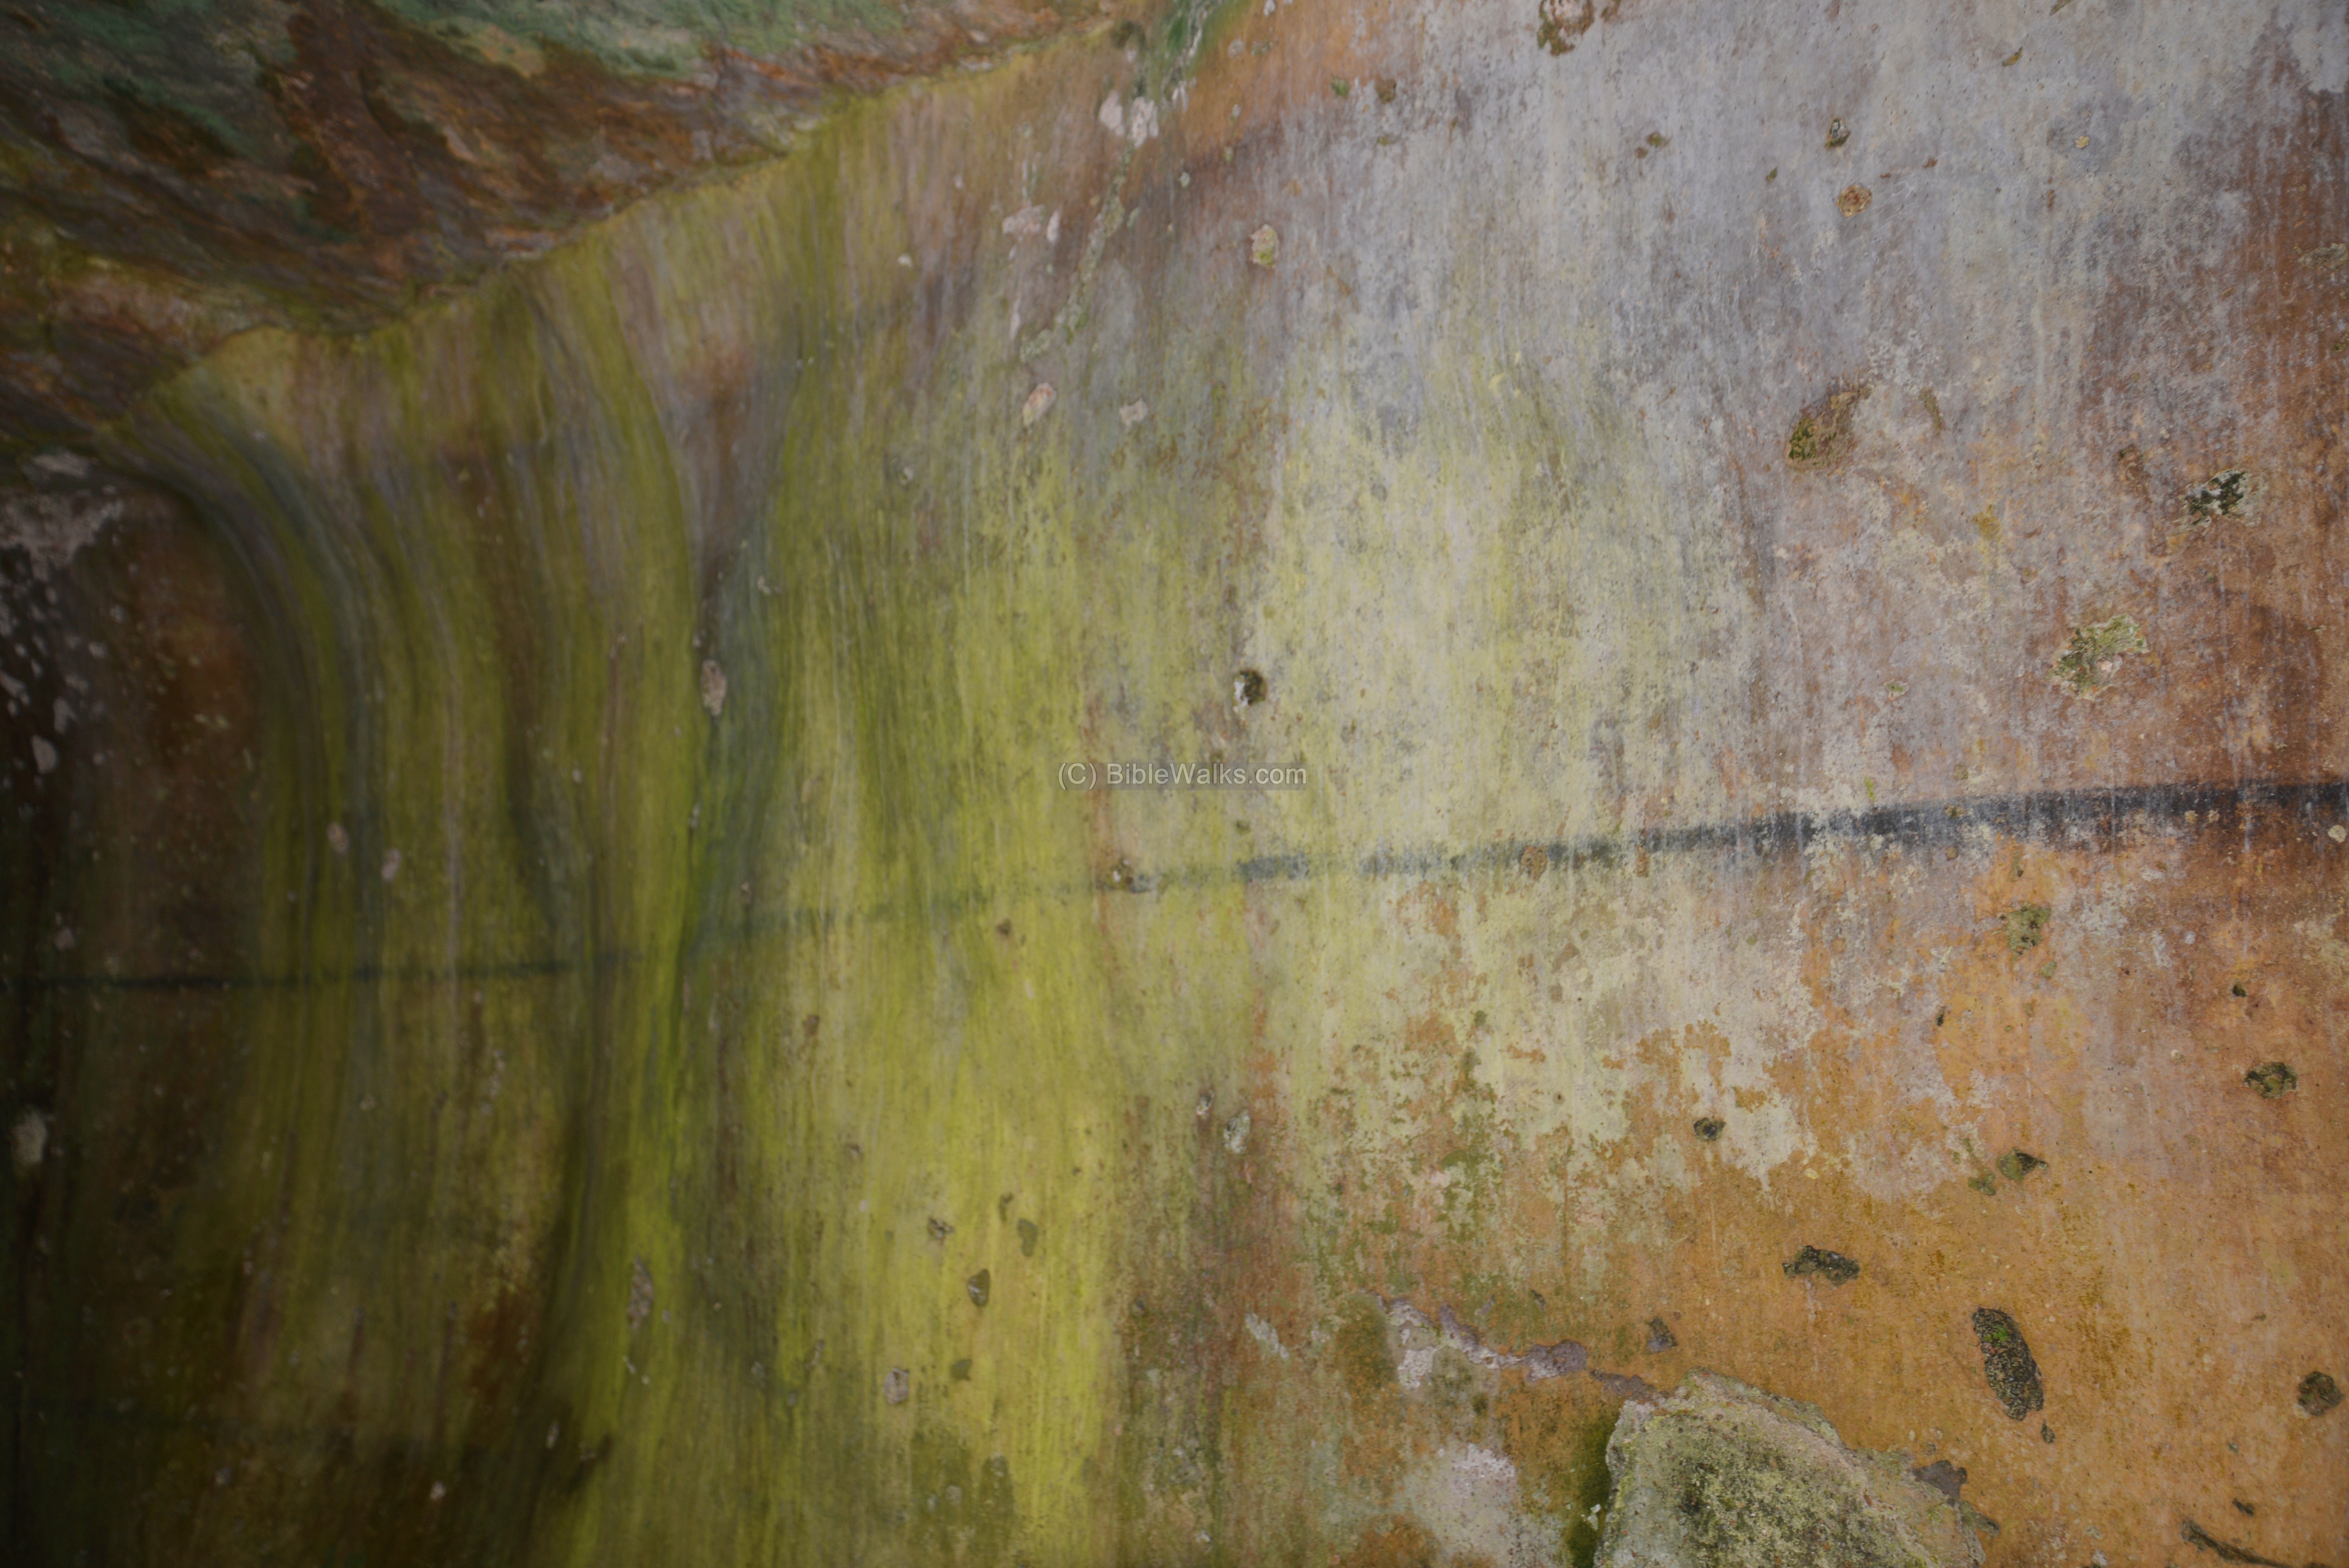
The cistern wall was covered by plaster in order to prevent the water to flow out of the cracks. The plaster is an original layer, dated from the 1st century BC to the 1st century AD, which fits the Hasmonean/Herodian period.
Dvir points to the water level which left horizontal marks on the walls.

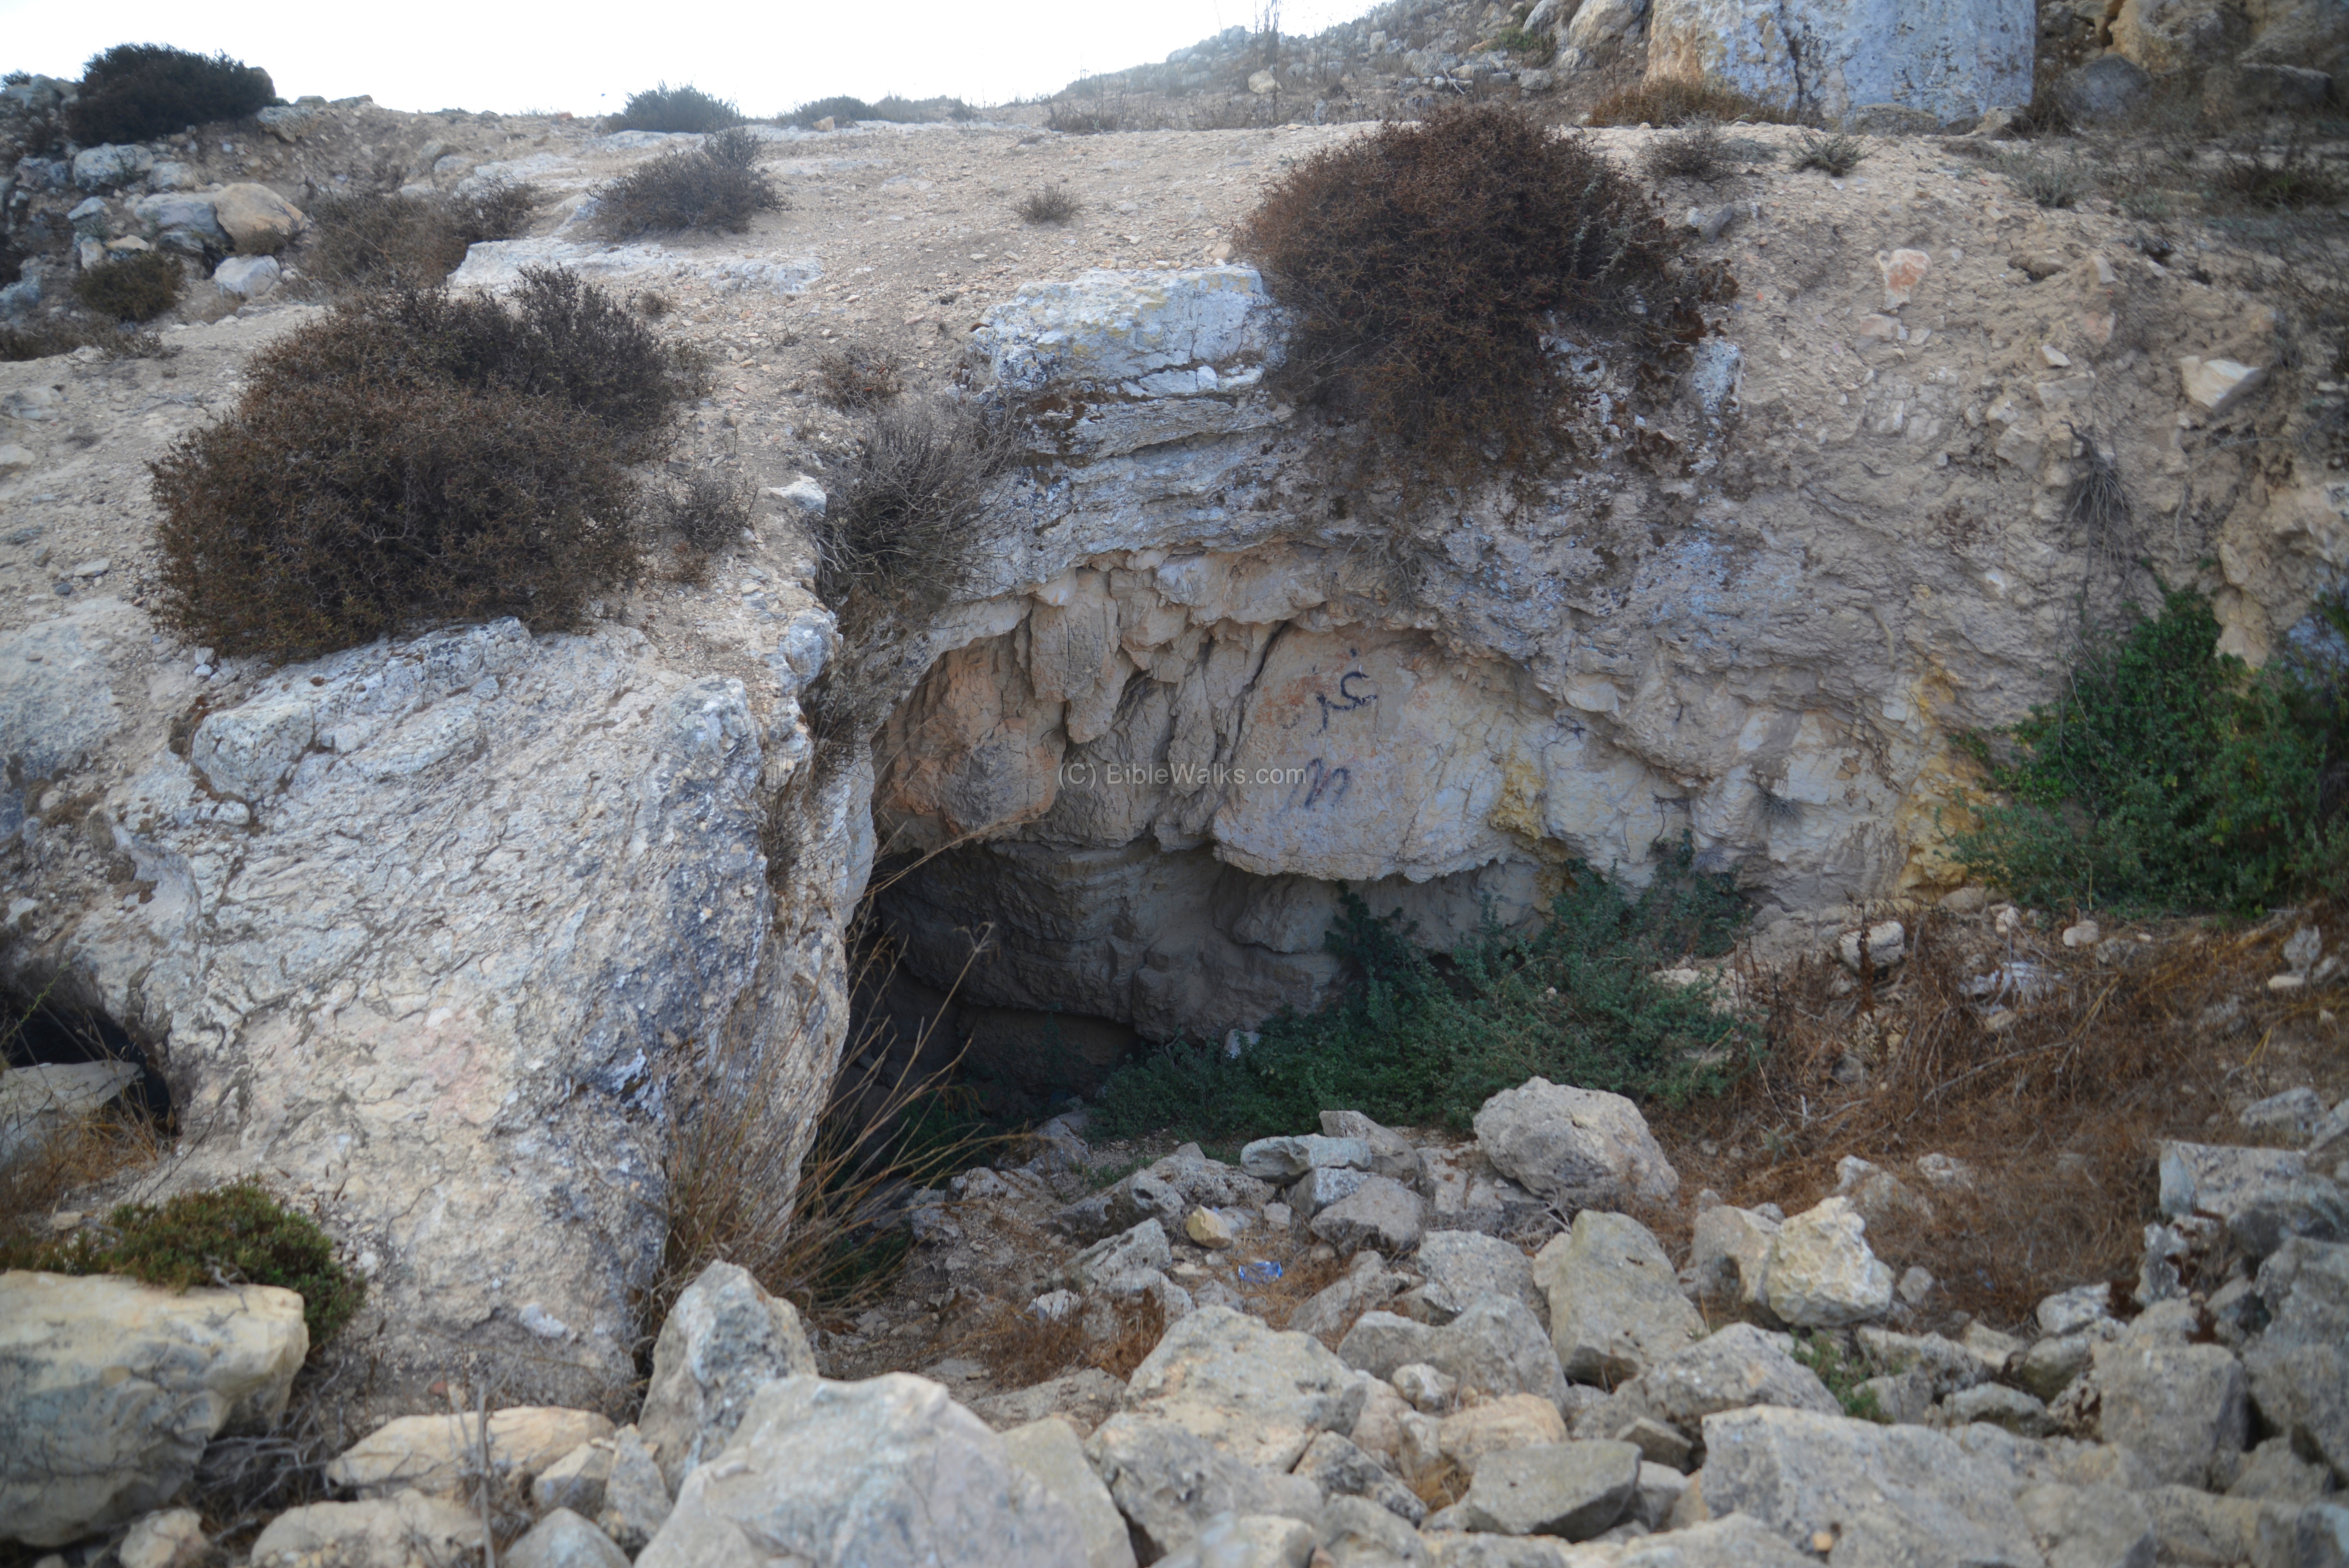
- Cistern #2
The next cistern is located 17.5m north of the previous cistern.
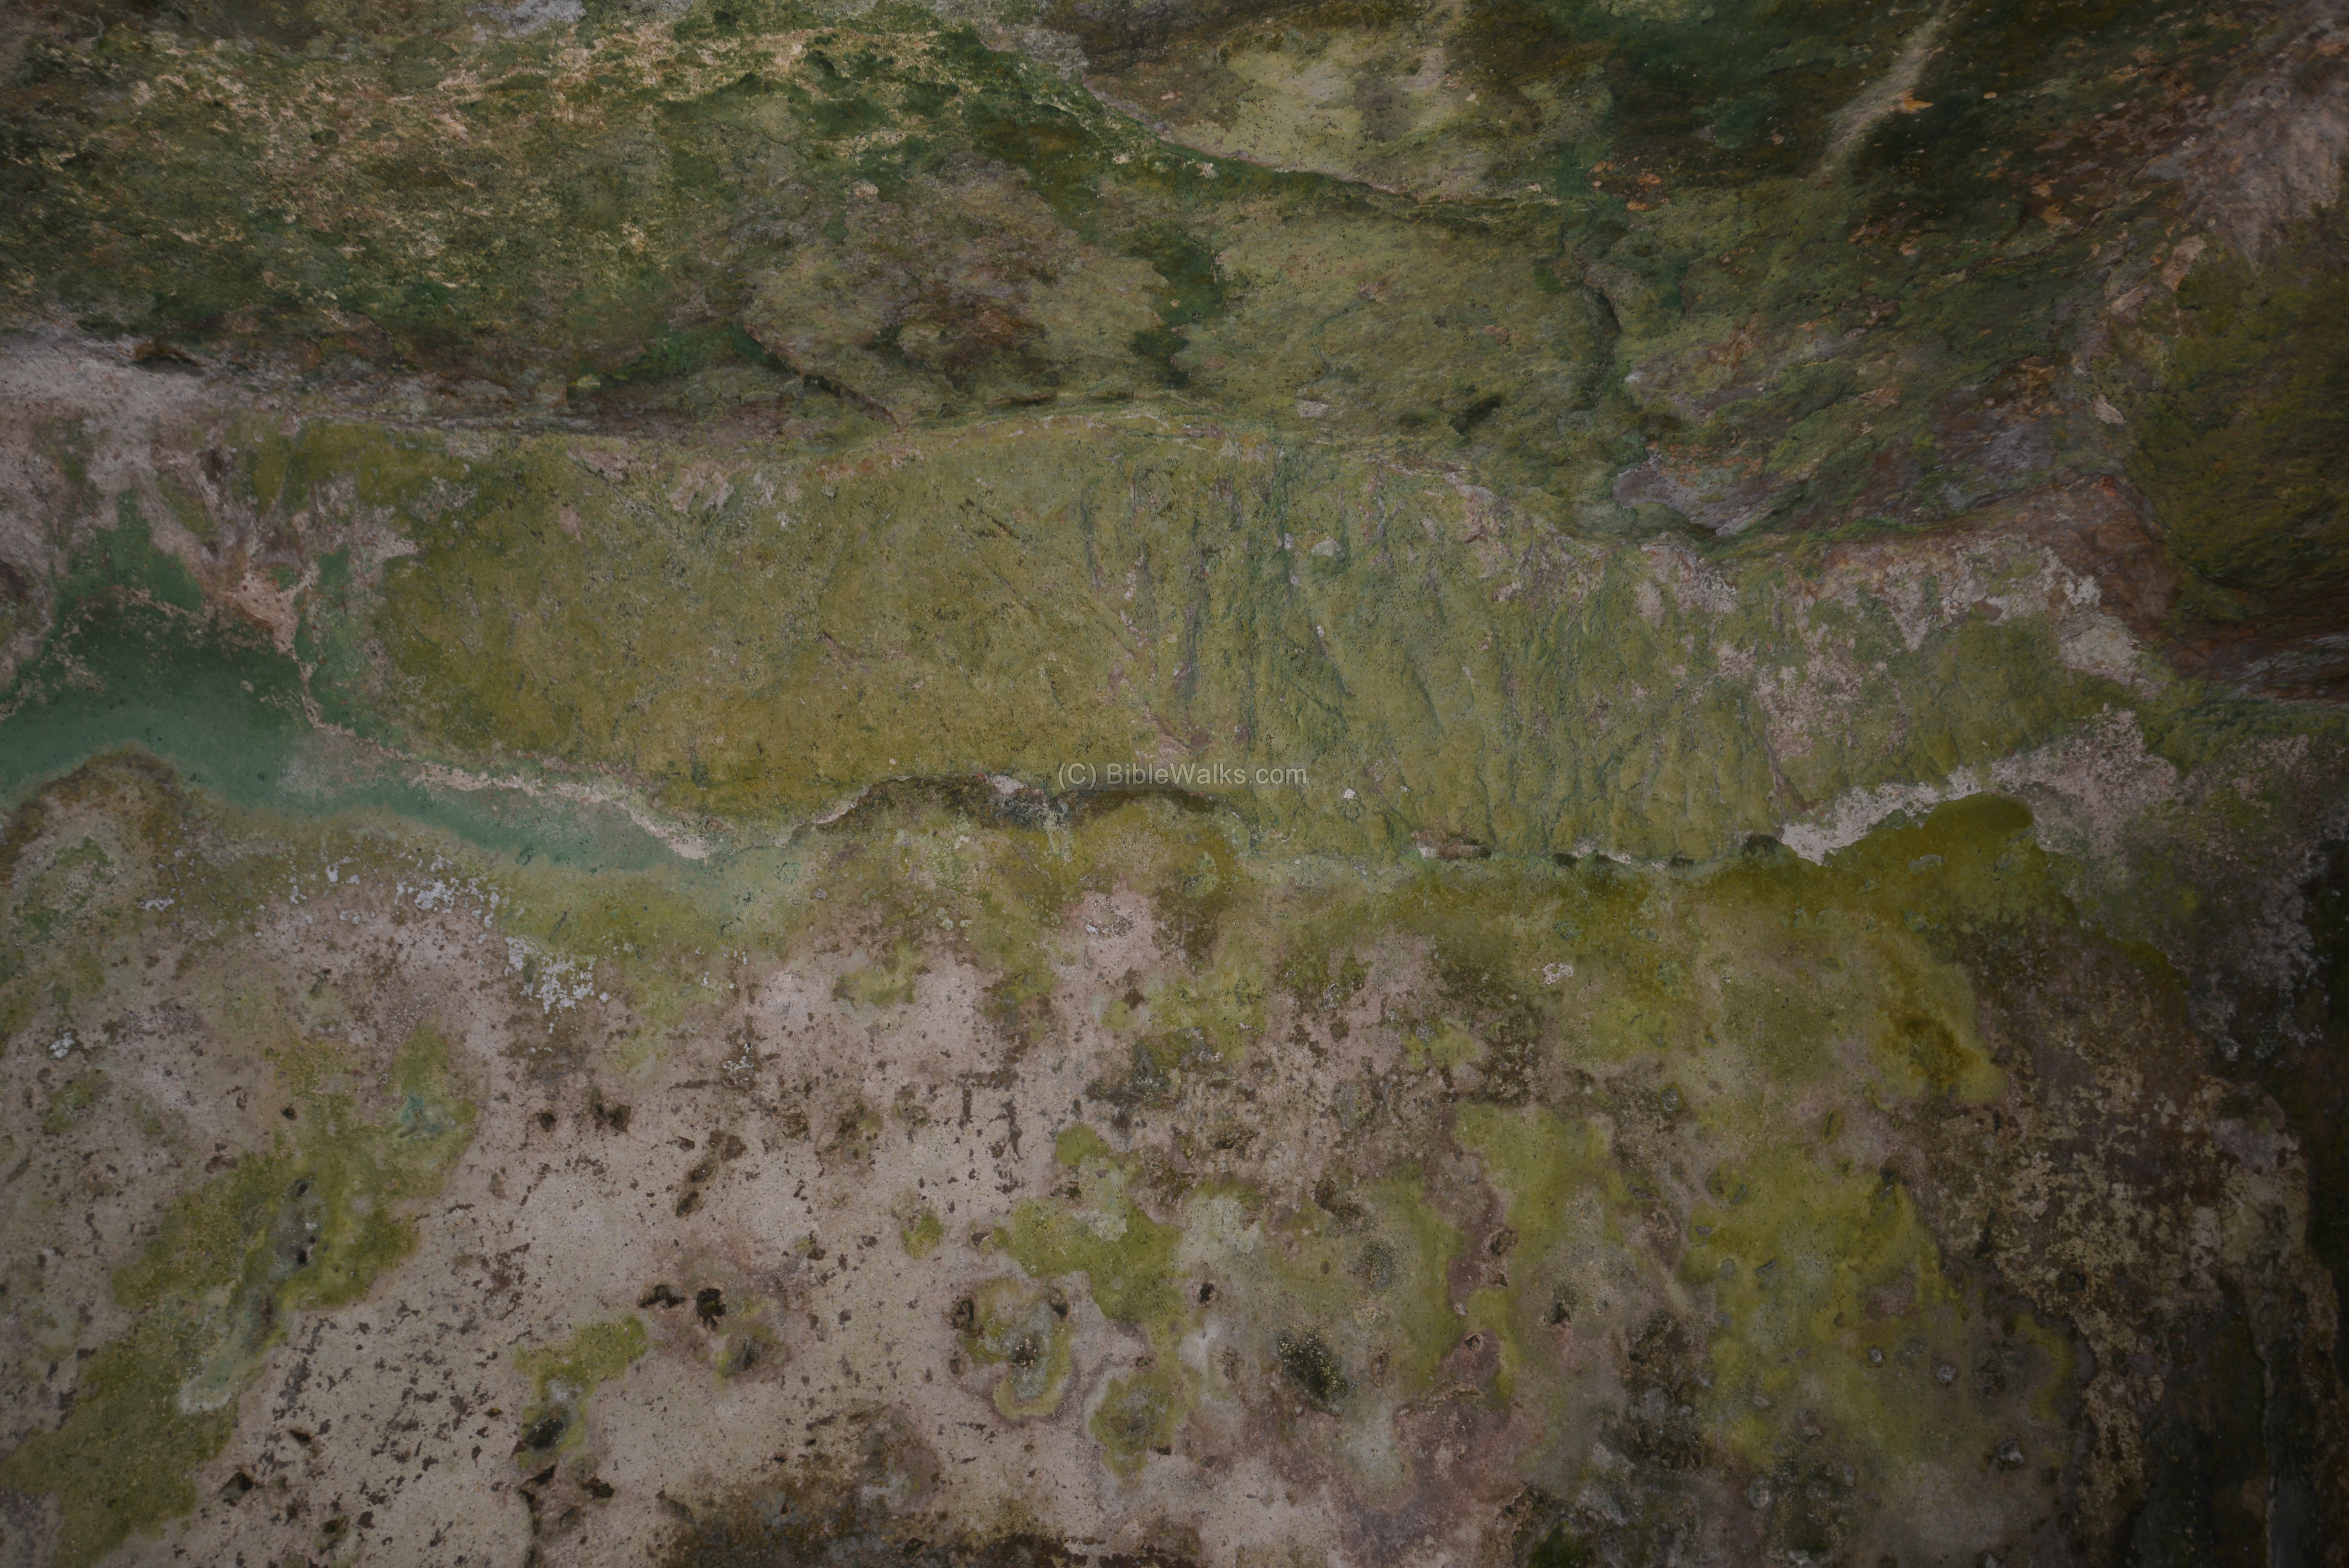
A view inside the cistern is below. It is 16.5m long, 6m to 8.5m wide, 8m high, with a total capacity of 1,000 cubic meter.
All cisterns share the common trapezoid plan, with the narrower side closer to the entrance. Also, the bottom of the cisterns is wider than its ceiling, so the vertical plan was also trapezoid.
Notice the green line indicating the level of the water in ancient times:
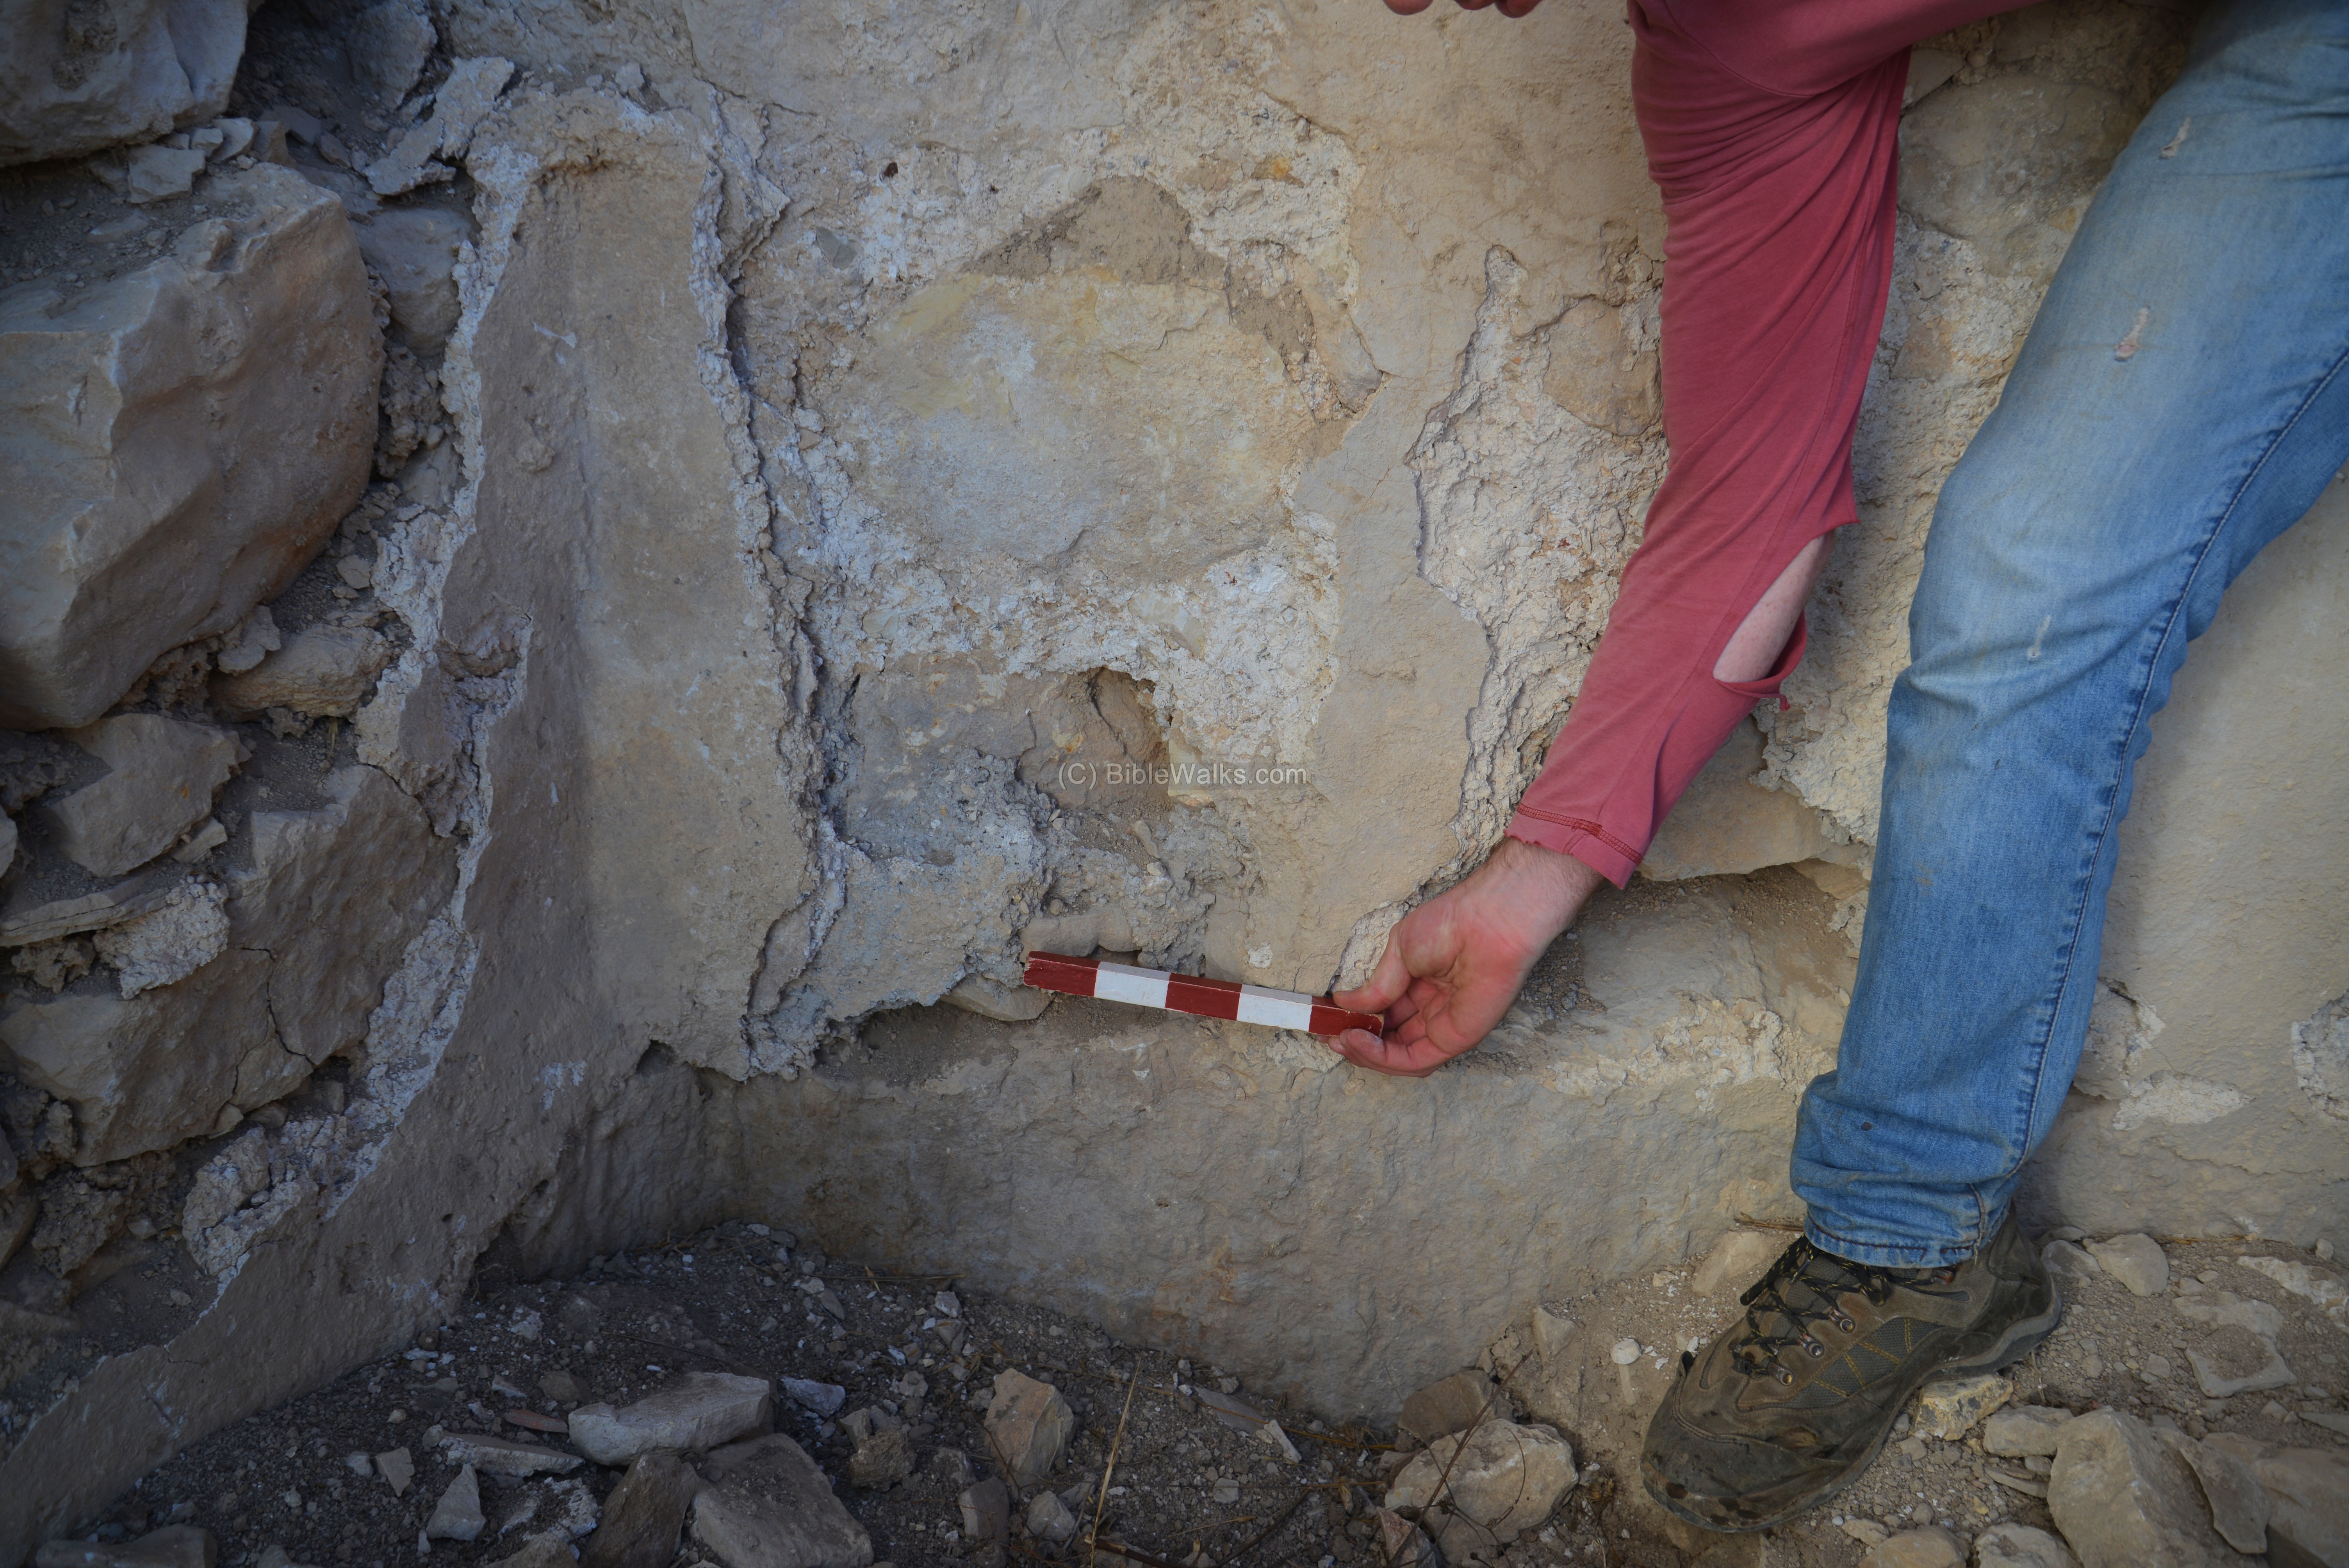
The walls and floors of the cisterns were coated by a two-layer water proof (hydraulic) white plaster. A close view of the plaster is in the following photo. Note that the archaeological meter scale has 5 cm stripes.
The first plaster layer was a base coat, made of the lime putty mixed with sand and a high concentration of wood ash. The wood ash increased its water retention and the adhesion to the stone with minimal cracks. The color of the base layer was grey due to the charcoal.
The second layer sealed the holes in the first layer, as it was highly porous. This plaster layer was made of a mix of lime putty with sand, gravel and crushed pottery, as seen in the tiny colorful dots inside the layer. The sealant was added in several phases, in order to fix new cracks and patch fallen plaster areas.
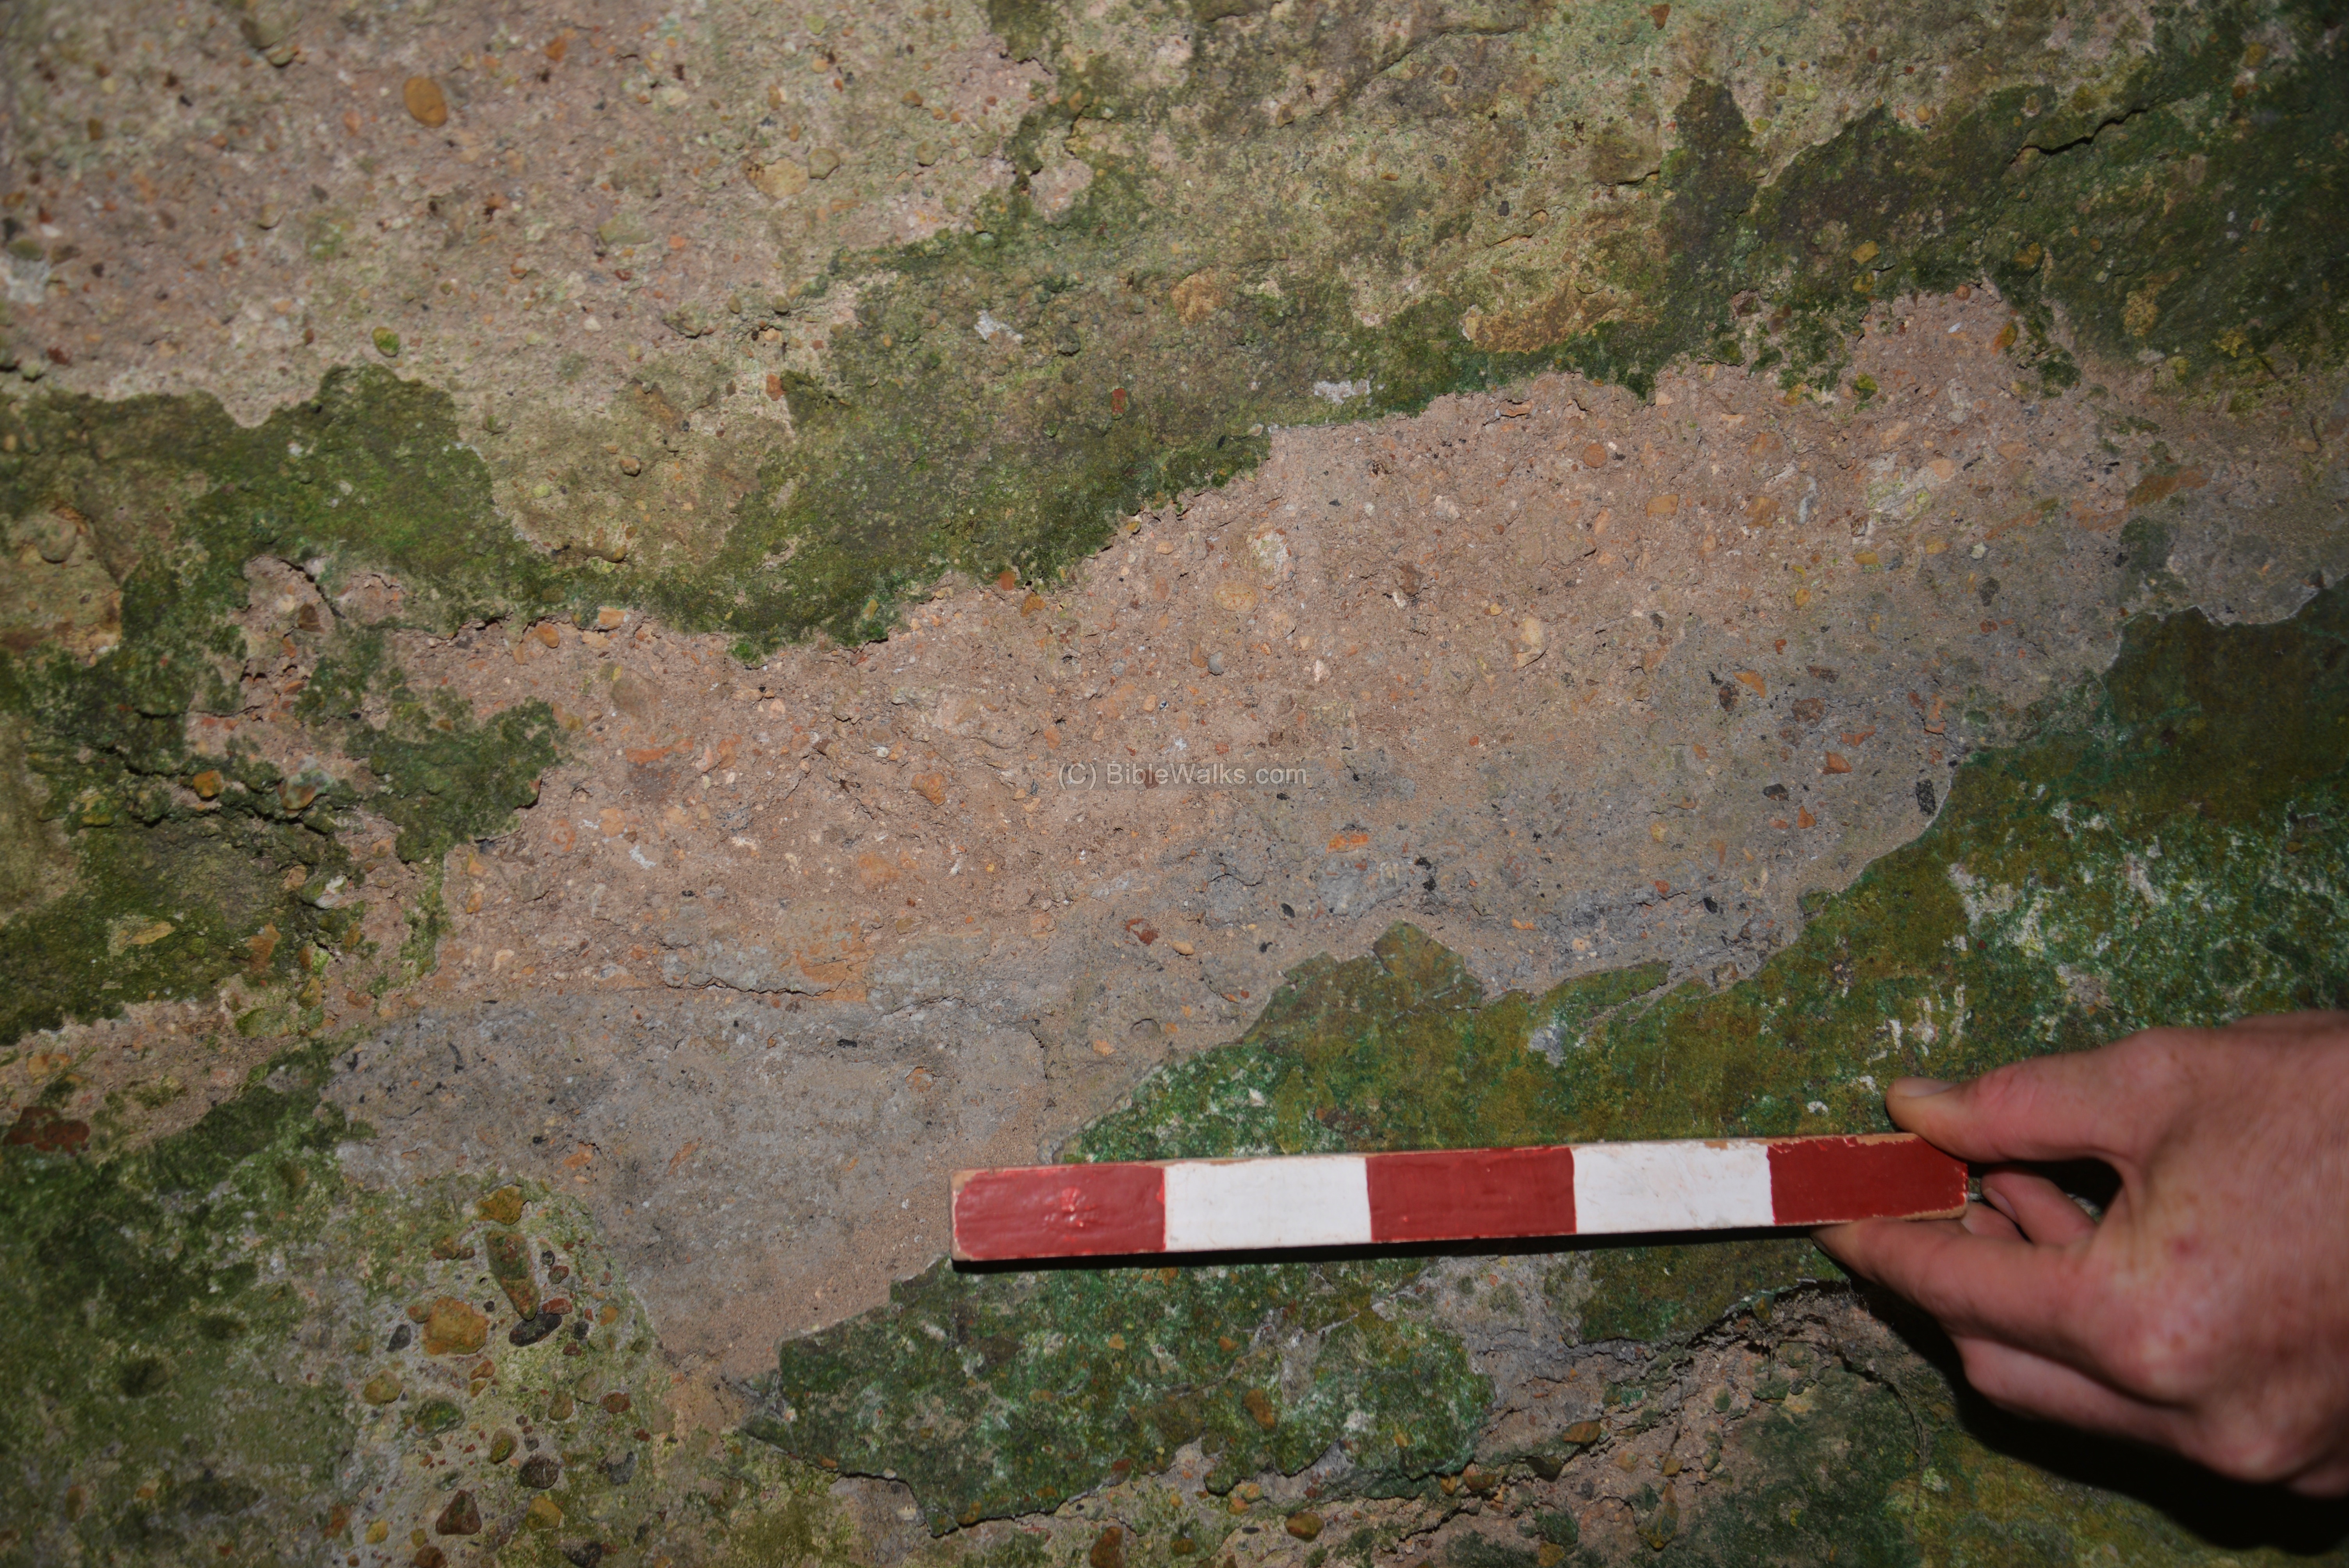
The local soft marlstone made it relatively easy to cut these huge storage pools. The hewn rock was burnt in a lime kiln in order to create the sealant plaster, and also for creating mortar for reinforcing the walls and structures of the fortress.
The narrow entrance (1.6m wide) is viewed here from the inner side. All cisterns share the common plan of a narrow, rectangular entrance, cut in the center of the western wall. They all receive the water from an external aqueduct that collects runoff rain water from the surface.

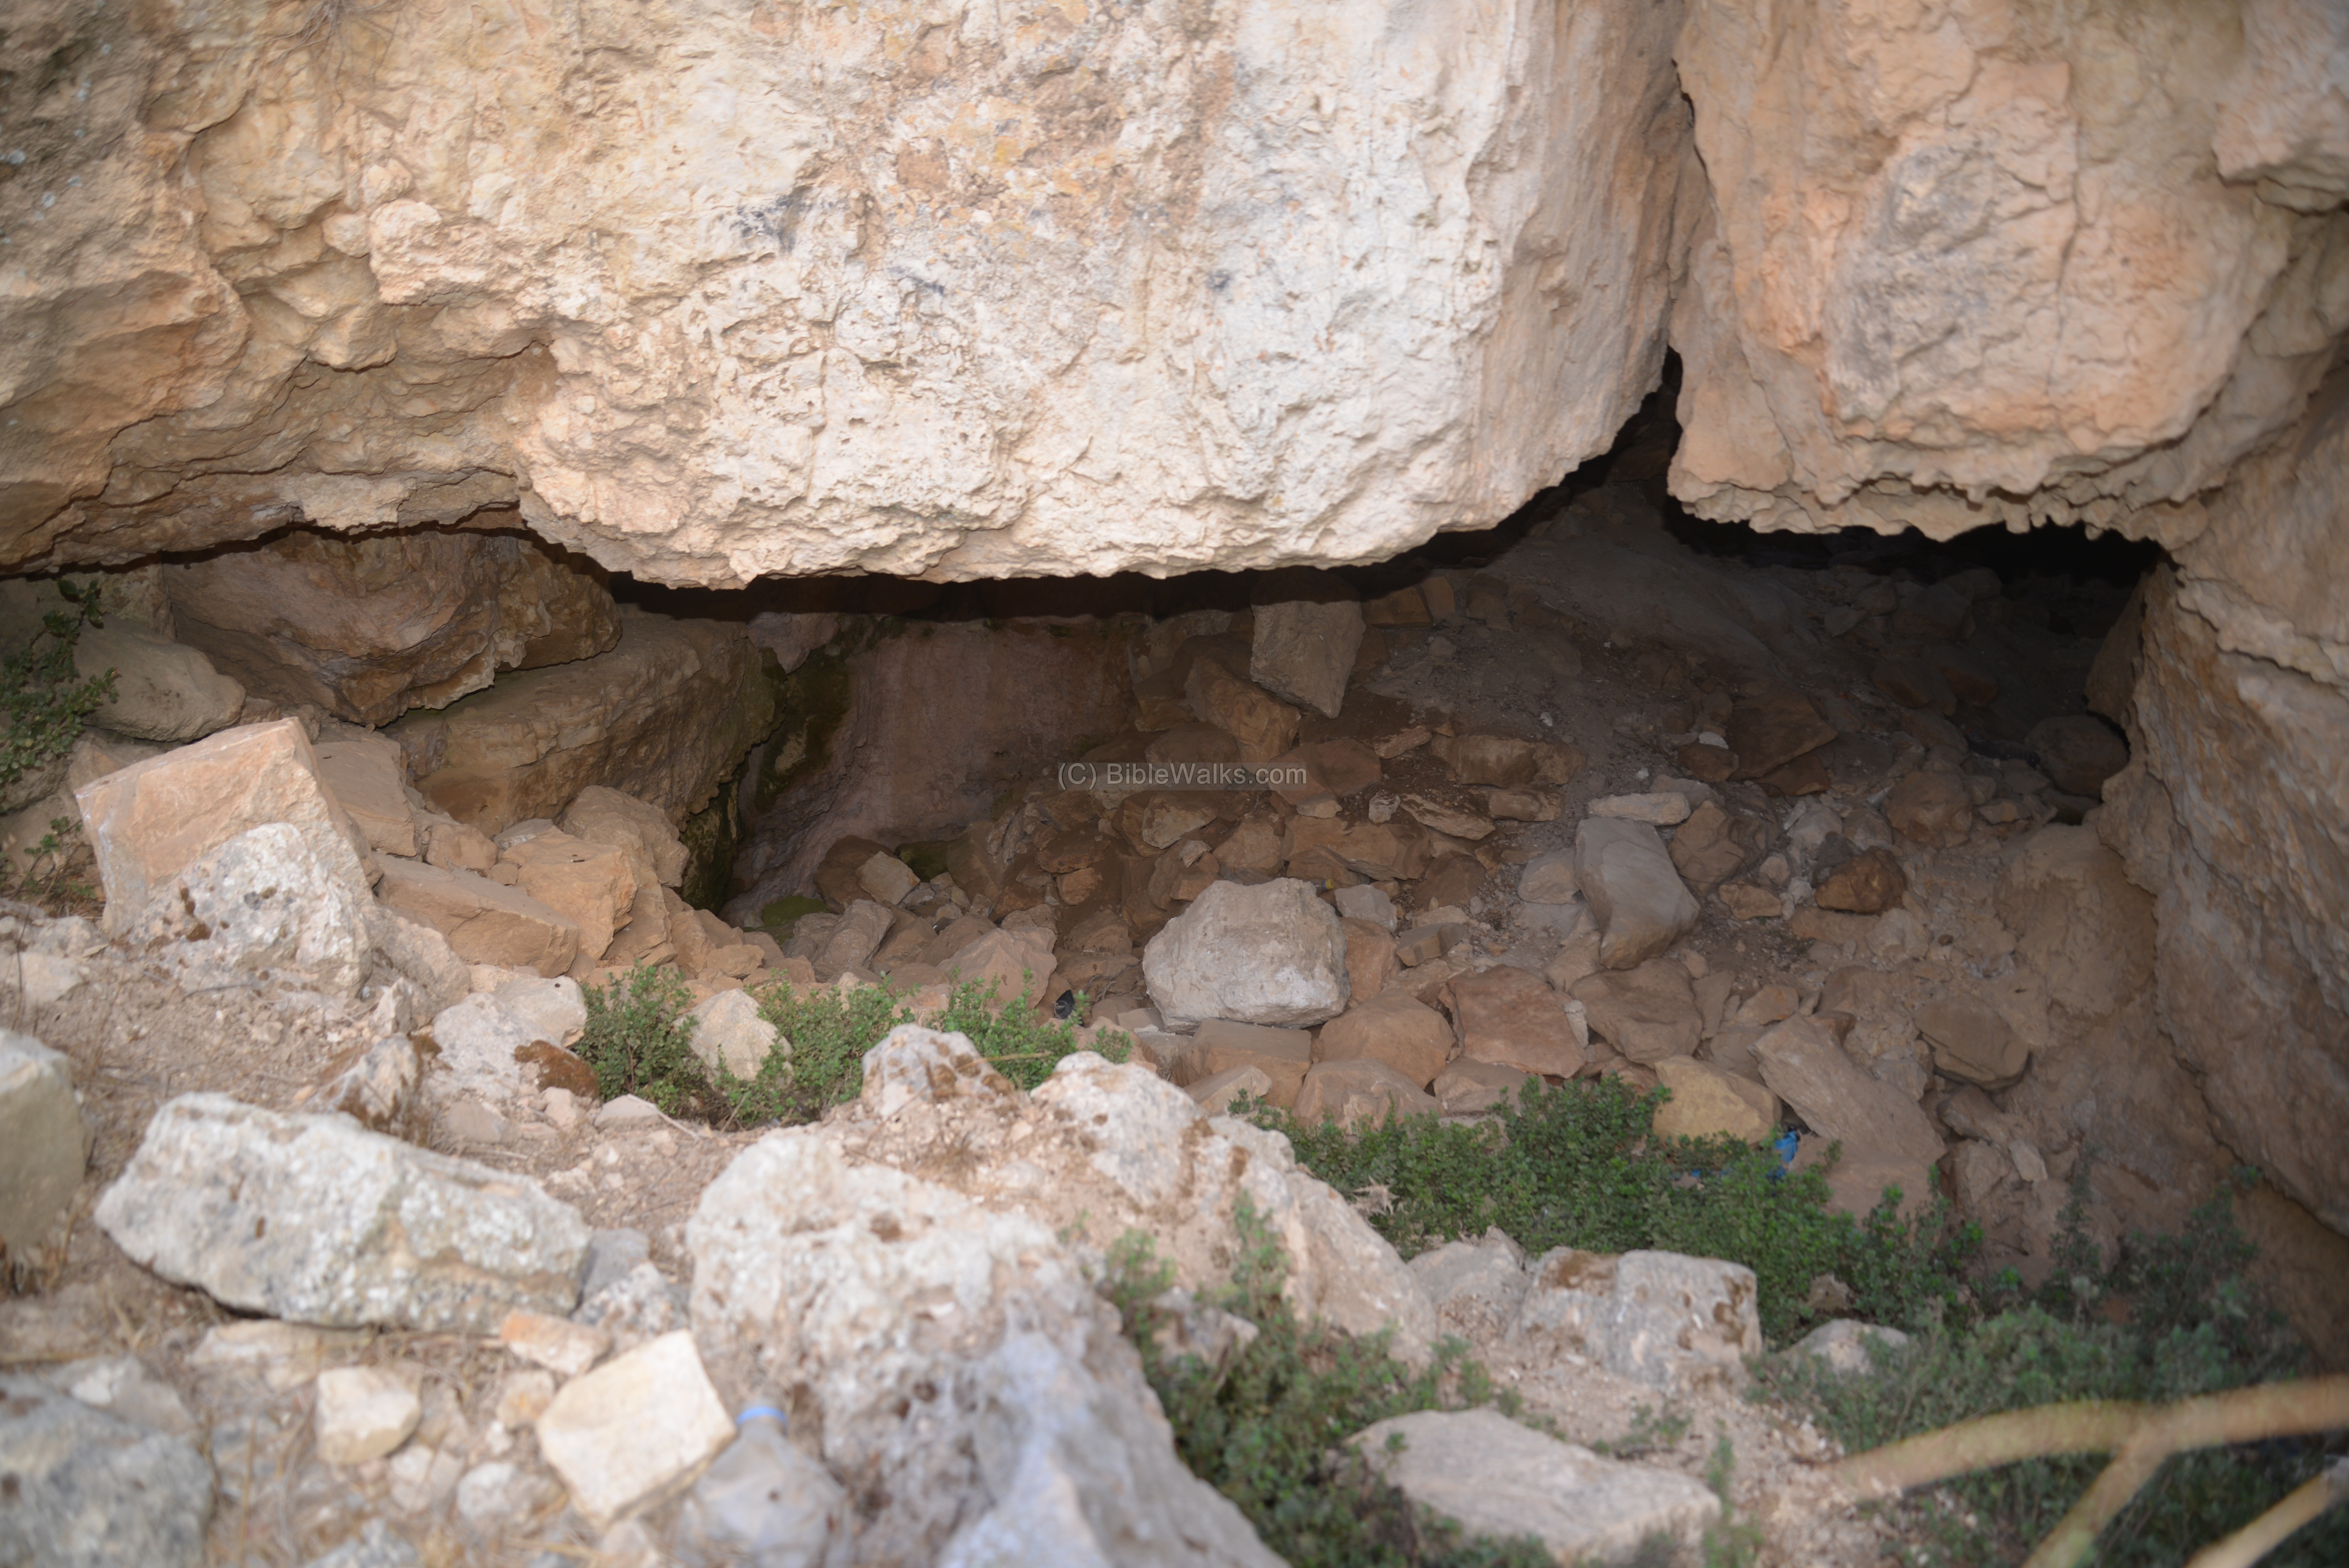
- Cistern #3
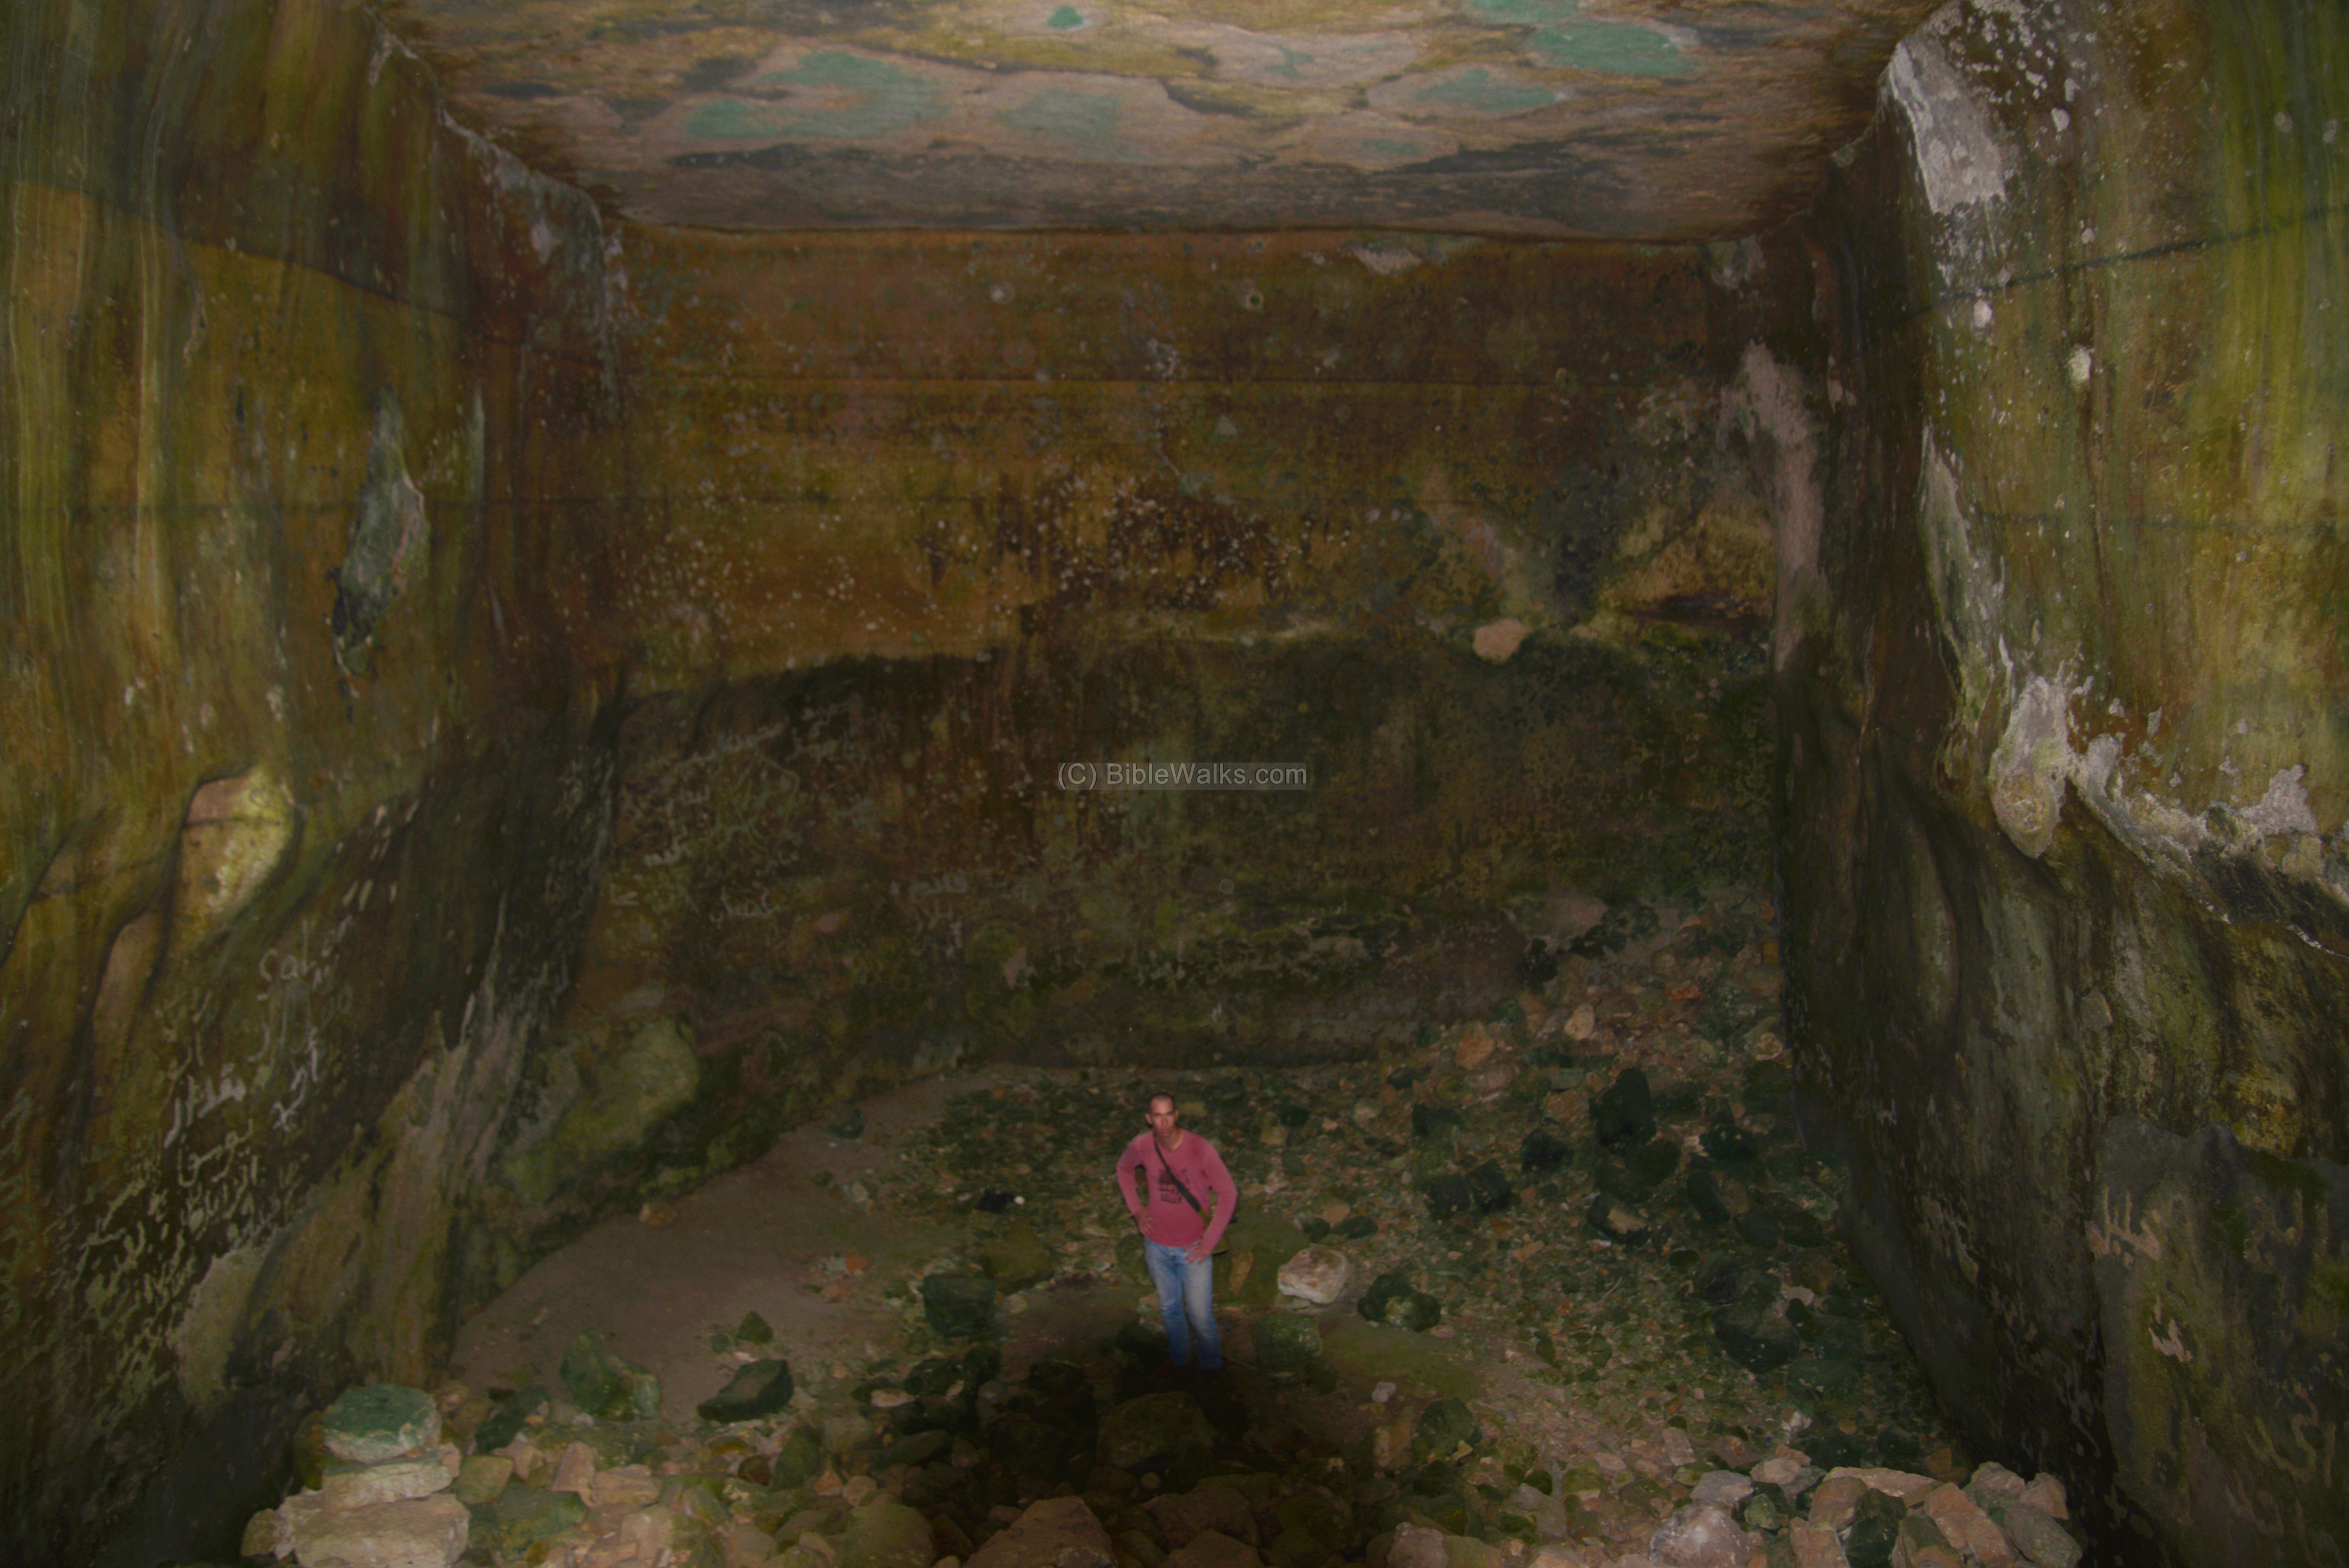
The next cistern is located 17.5m north of the previous cistern.
A narrow 1.5m wide entrance is cut into the rock. It is 21.5m-23m long, 7 to 13.5m wide, 12m high, with a total capacity of 3,500 cubic meter.
A section of the aqueduct that conveyed water from the surface of the summit into the cisterns is pointed out by Dvir in the following photo.
According to Dvir’s article, the collection of runoff water from the roofs of the fortress was not enough to fill up the cisterns. Therefore, he hypothesizes that the aqueduct was also connected to the south ridge, where the runoff water was collected via water channels and may have been brought in via an arched aqueduct bridge, although no remains were found of such bridge.
A closer view of the aqueduct:
- Cistern #4
The next cistern is located 15.5m north of the previous cistern. It is 15.5m-17.5m long, 6 to 8.5m wide, 8m high, with a total capacity of 1,000 cubic meter.
- Cistern #5
The next cistern is located 17.5m north of the previous cistern.
Its narrow 1.5m wide entrance is seen in the following photo. It is 17m-20m long, 8.5 to 11m wide, 11m high, with a total capacity of 2,300 cubic meter.
- Cistern #6
The next cistern is located ~30m north of the previous cistern, close to the northern side of the hill.
Its entrance is 1.6m wide. The plan of the cistern is 19m-20m long, 8.5 to 10.5m wide, 7m high, with a total capacity of 1,300 cubic meter.
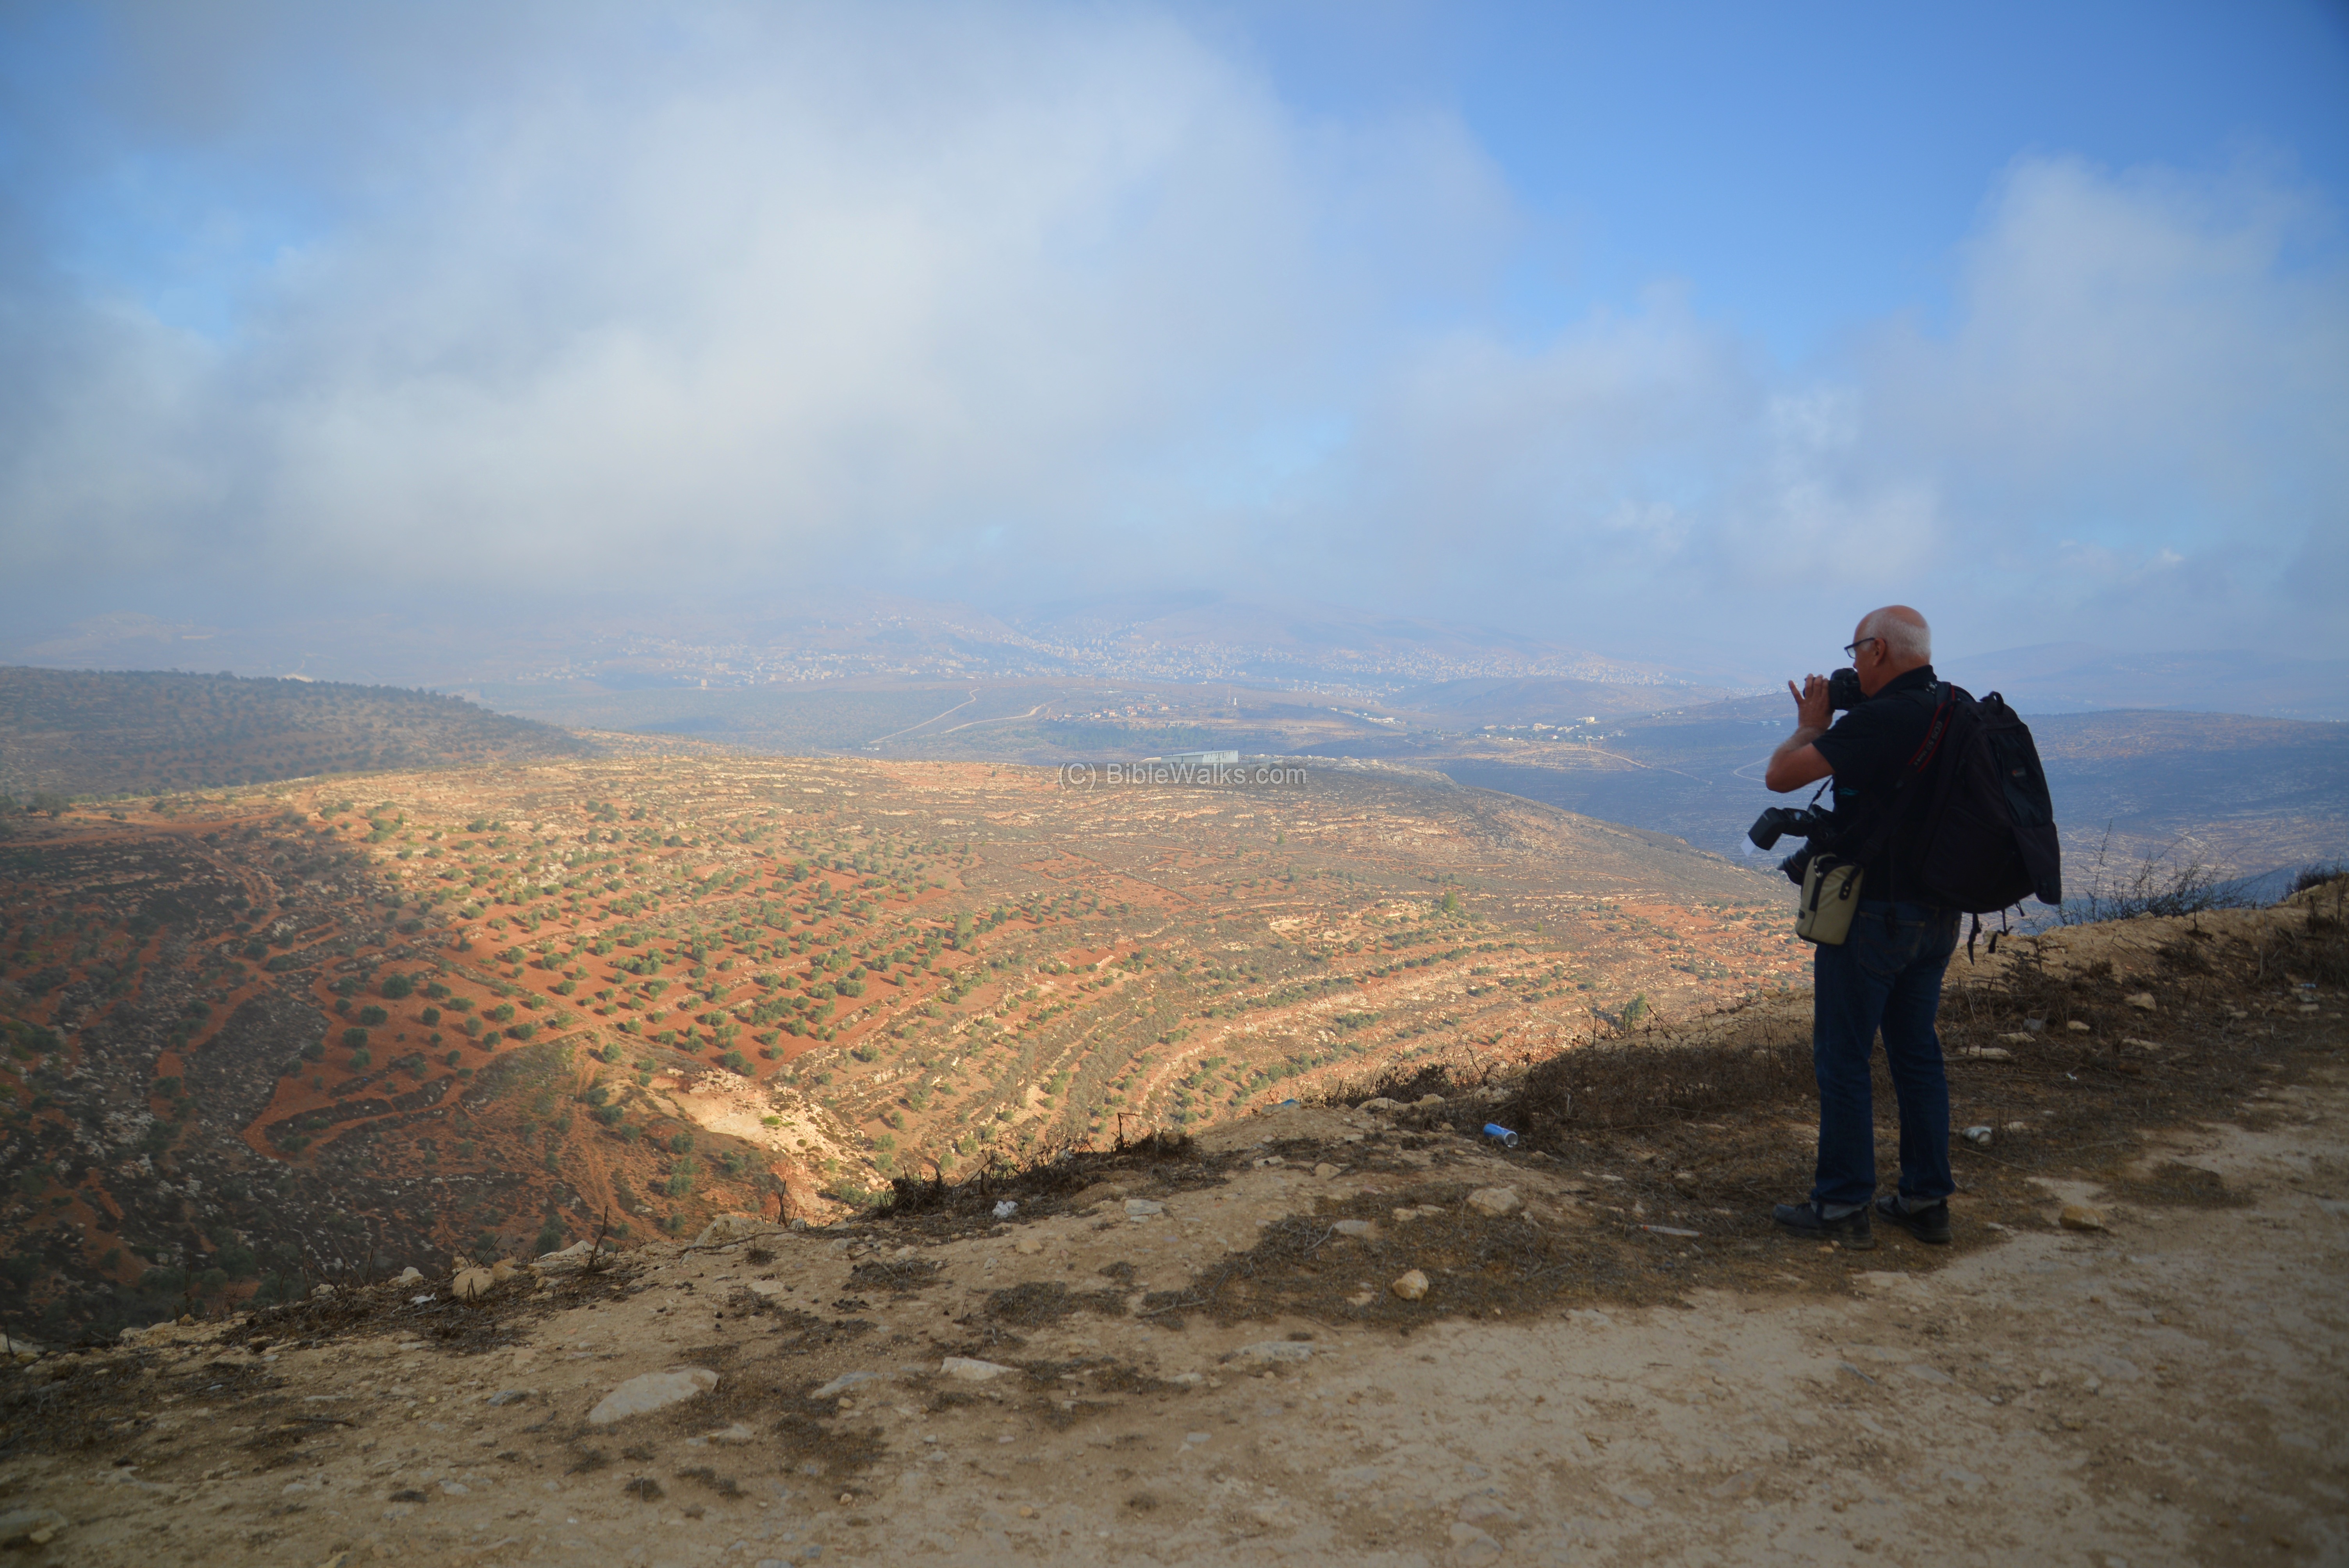
The modern dirt road, which constructed at about 2009, connects to all the cisterns and thus provides and easy access. However, it also offers great scenes of the area around the site:
- Cistern #7
The next cistern is located only 10m north of the previous cistern.
It is 17m long, 6.5 to 8.5m wide, 6m high, with a total capacity of 800 cubic meter. Its entrance, 1.6m wide, is here:
The cistern is located close to the northern edge of the hill.
- Cistern #8
The next cistern is located on the north side of the hill, 32.5m north east of the previous cistern. This longer distance implies that another hidden cistern would have been hewn in the middle between #7 and #8.
This one is 18m-19m long, 6.5 to 10.5m wide, 9m high, with a total capacity of 1,500 cubic meter.
The entrance to the cistern was sealed off by stones in ancient times, then later reopened.
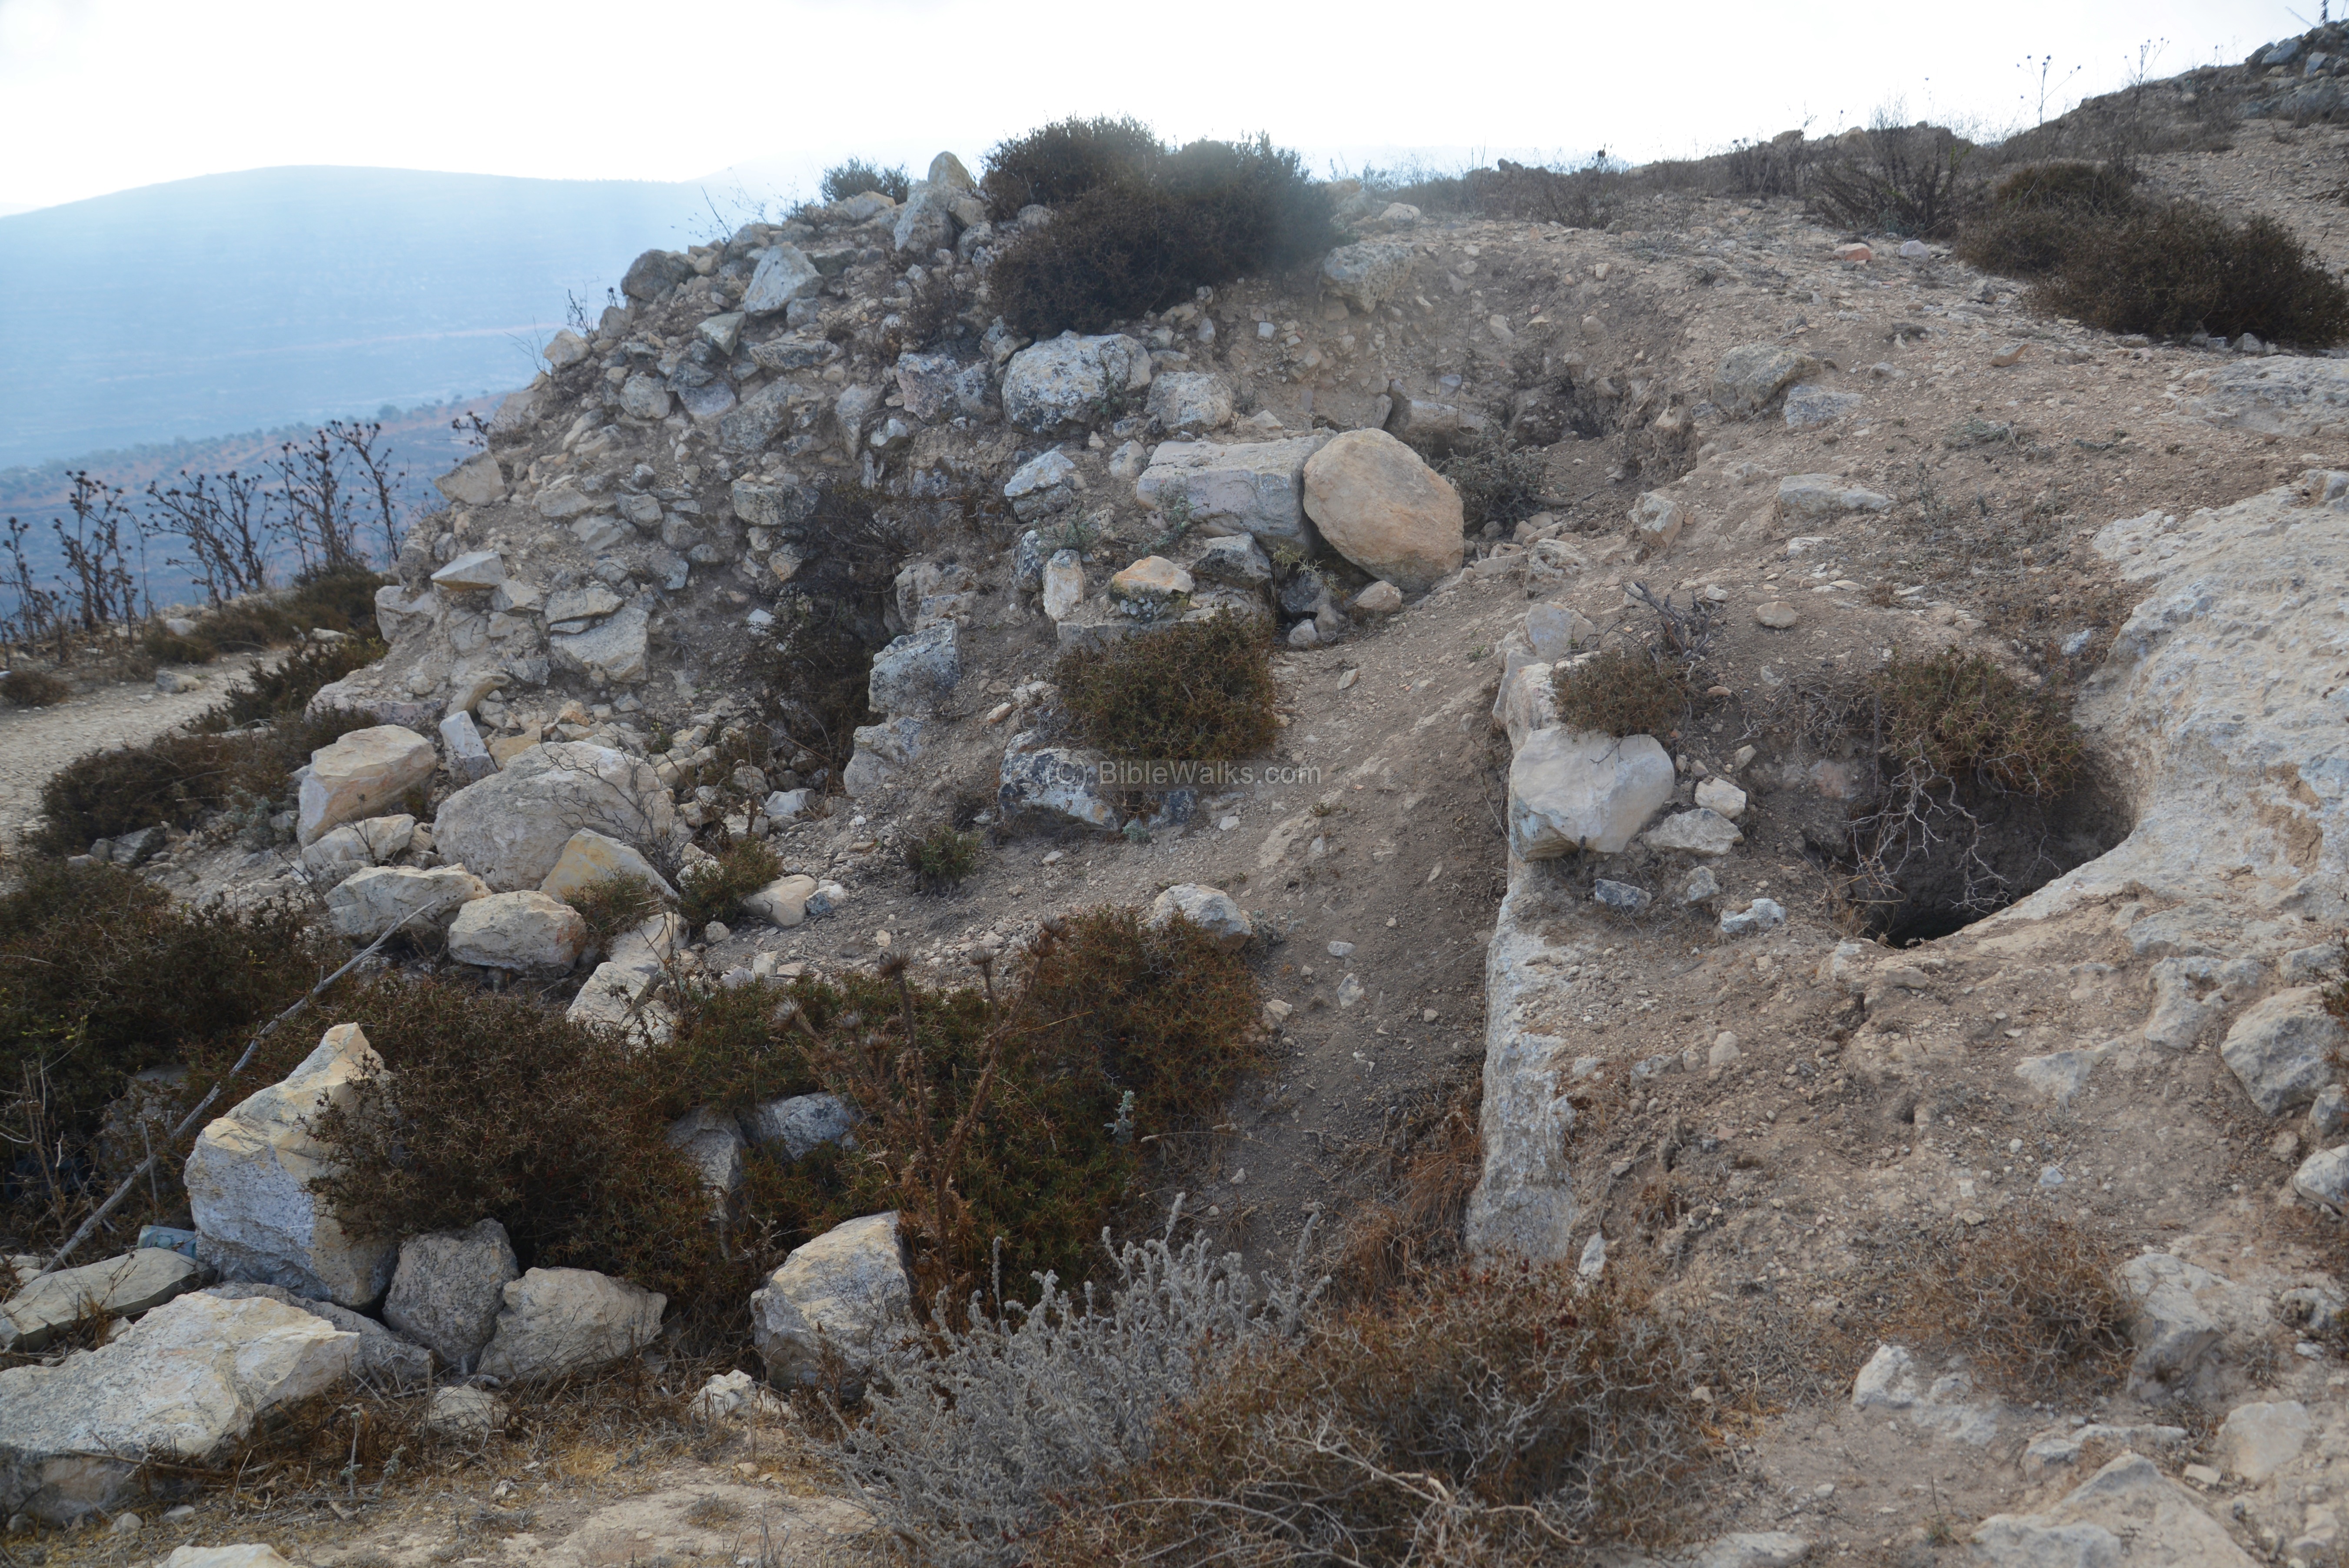
- Cistern #9
This cistern is hewn on the north side of the hill, 15.5m to the east of the previous cistern. Its entrance has collapsed.
The unique plan of this cistern is ‘L” shaped, with two sections (3m x 3.5m and 8m x 4m), 4m high, and a total capacity of 150 cubic meter.
This cistern actually incorporated an earlier ancient installation – an underground wine cellar. It was composed of 4 bell shaped shafts, where the grape juice jars were stored. These cellars are dated to the Biblical times, perhaps from the times of Abimelech. When the cisterns of the Hasmonean fortress were constructed, this one reused the existing cavities. The feeding aqueduct actually passed over one of the cellar shafts, and used it to fill up the cistern.
- Cistern #10
The last cistern is located on the north east side of the hill, 34m from the previous cistern.
This cistern is 17m-17.5m long, 6.5 to 9m wide, 6m-7m high, with a total capacity of 900 cubic meter.
- The aqueduct
A section of the aqueduct is visible near cistern #10.
The aqueduct’s plaster layer is visible in the following photo.
Another section of the aqueduct, leading to cistern #9:
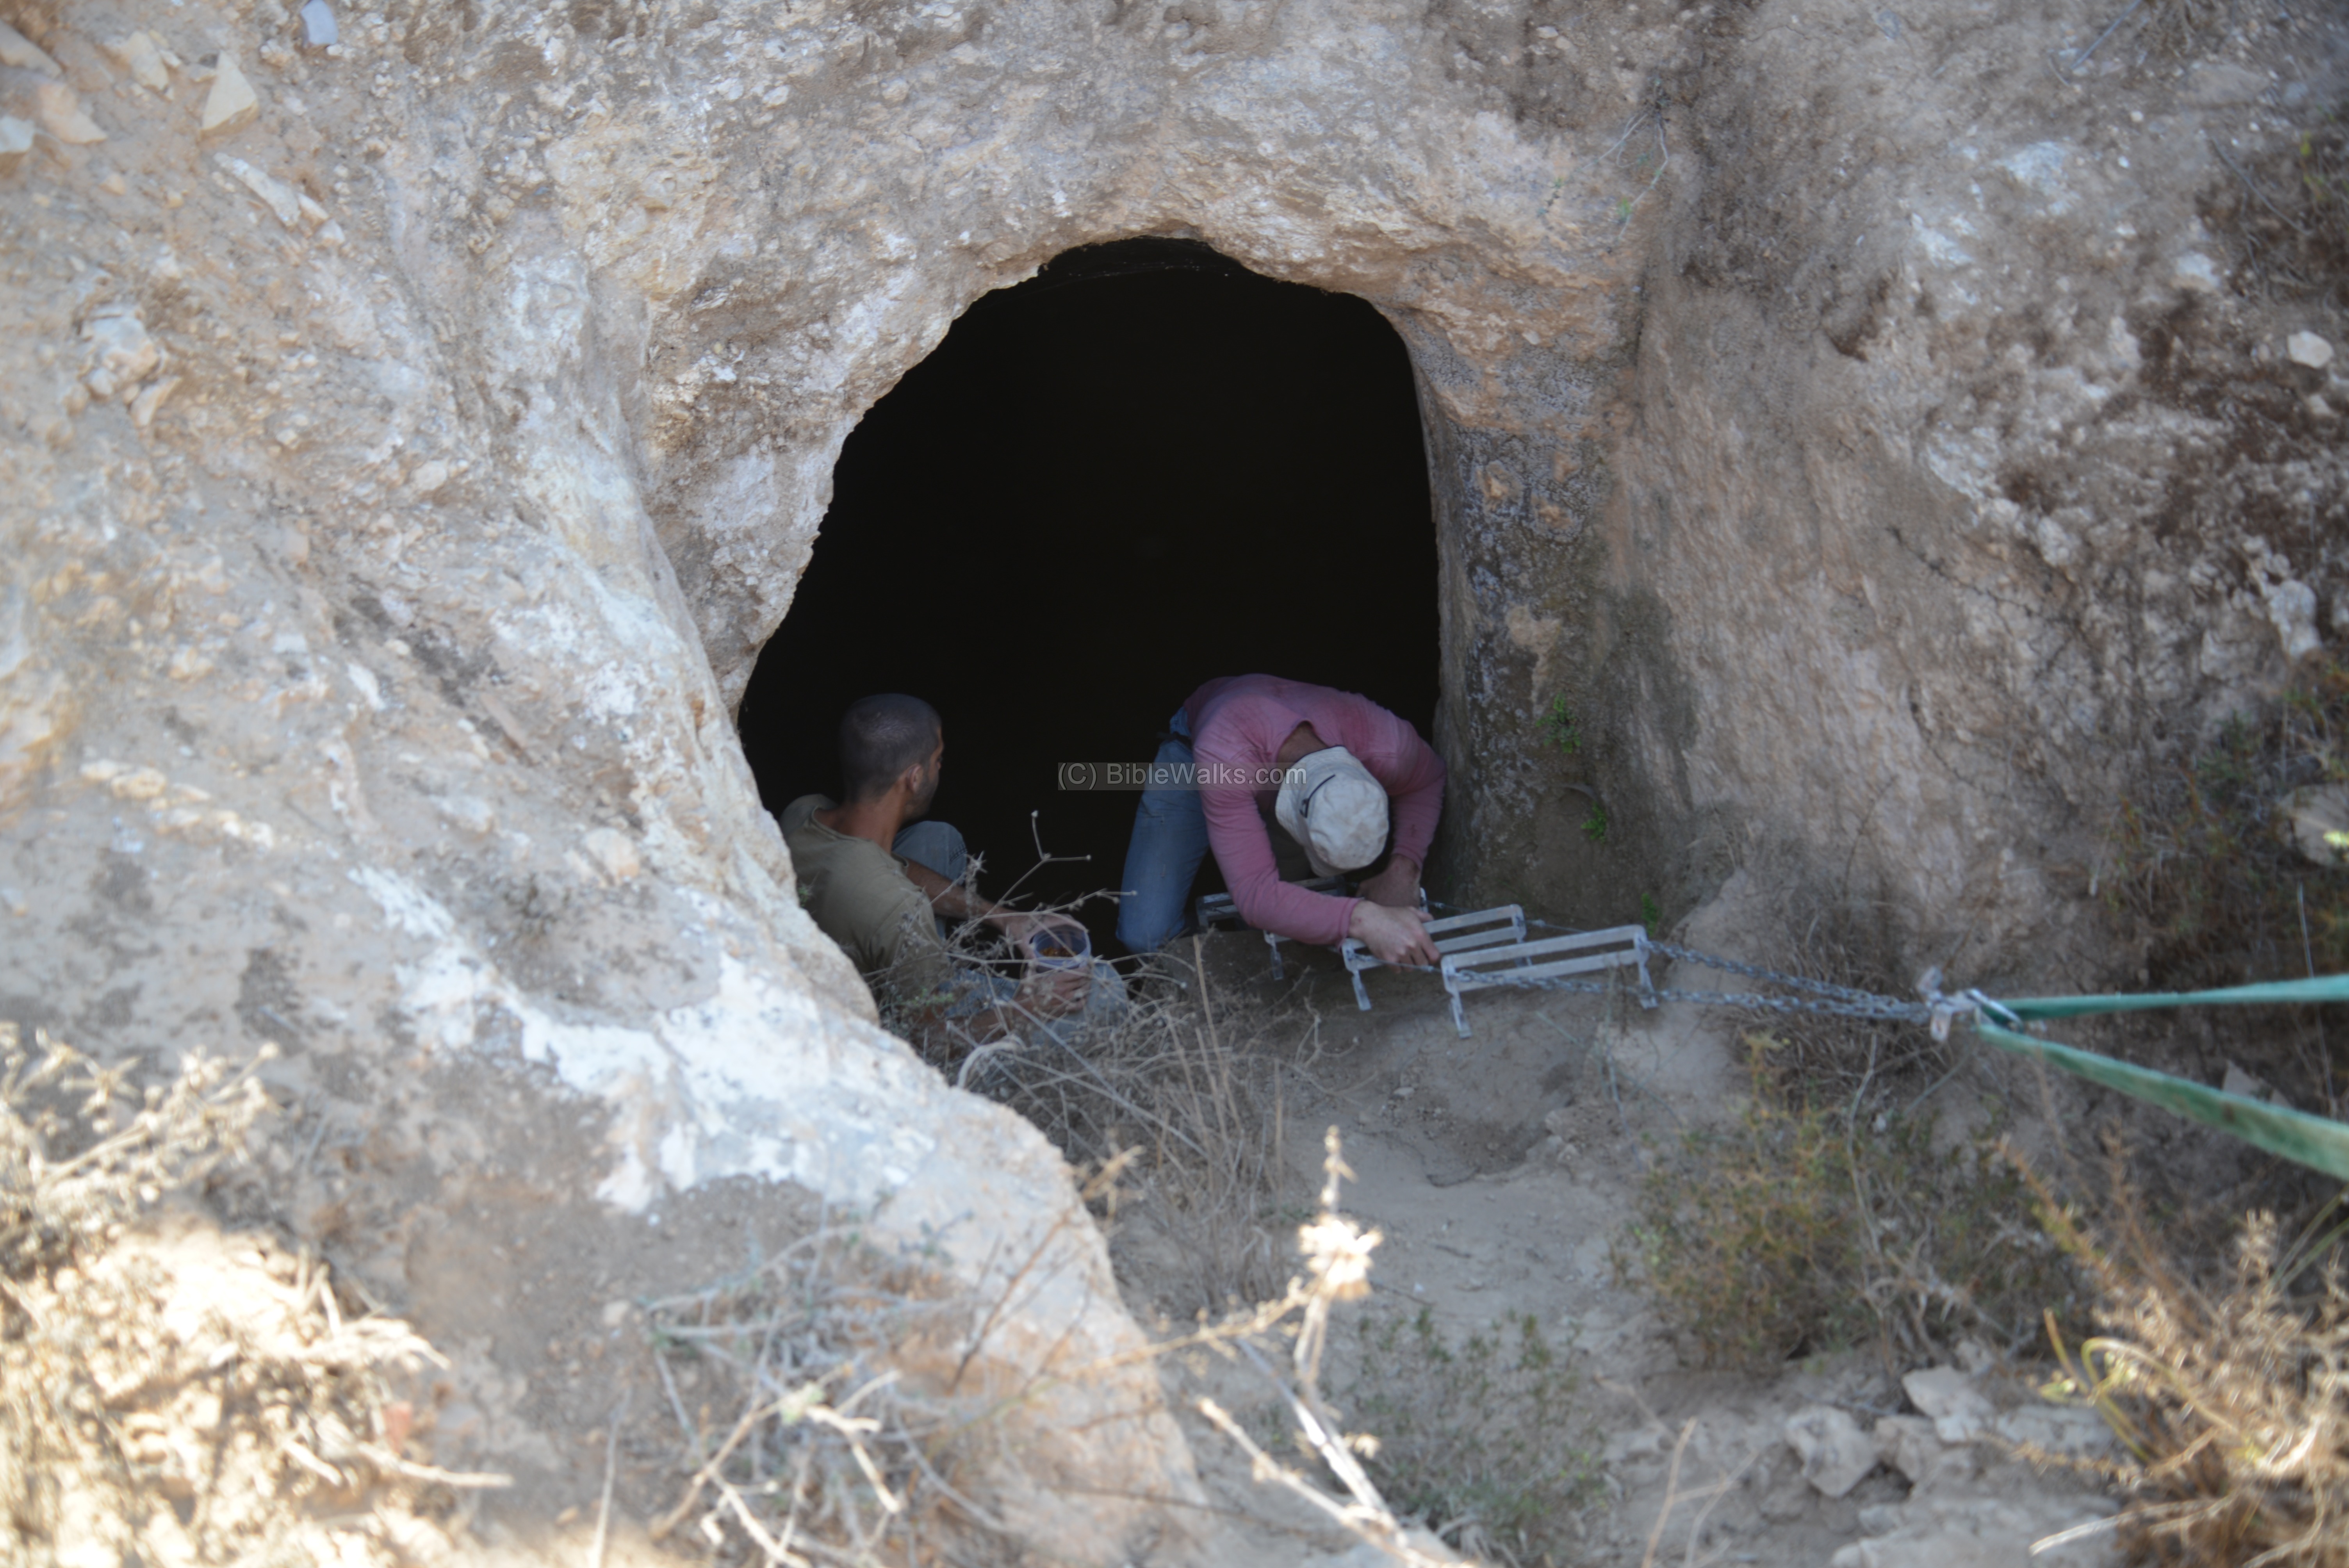
- Exploring Cistern #3
Dvir is like a real life Indiana Jones; any interesting hole that intrigues him he sets out to explore it.
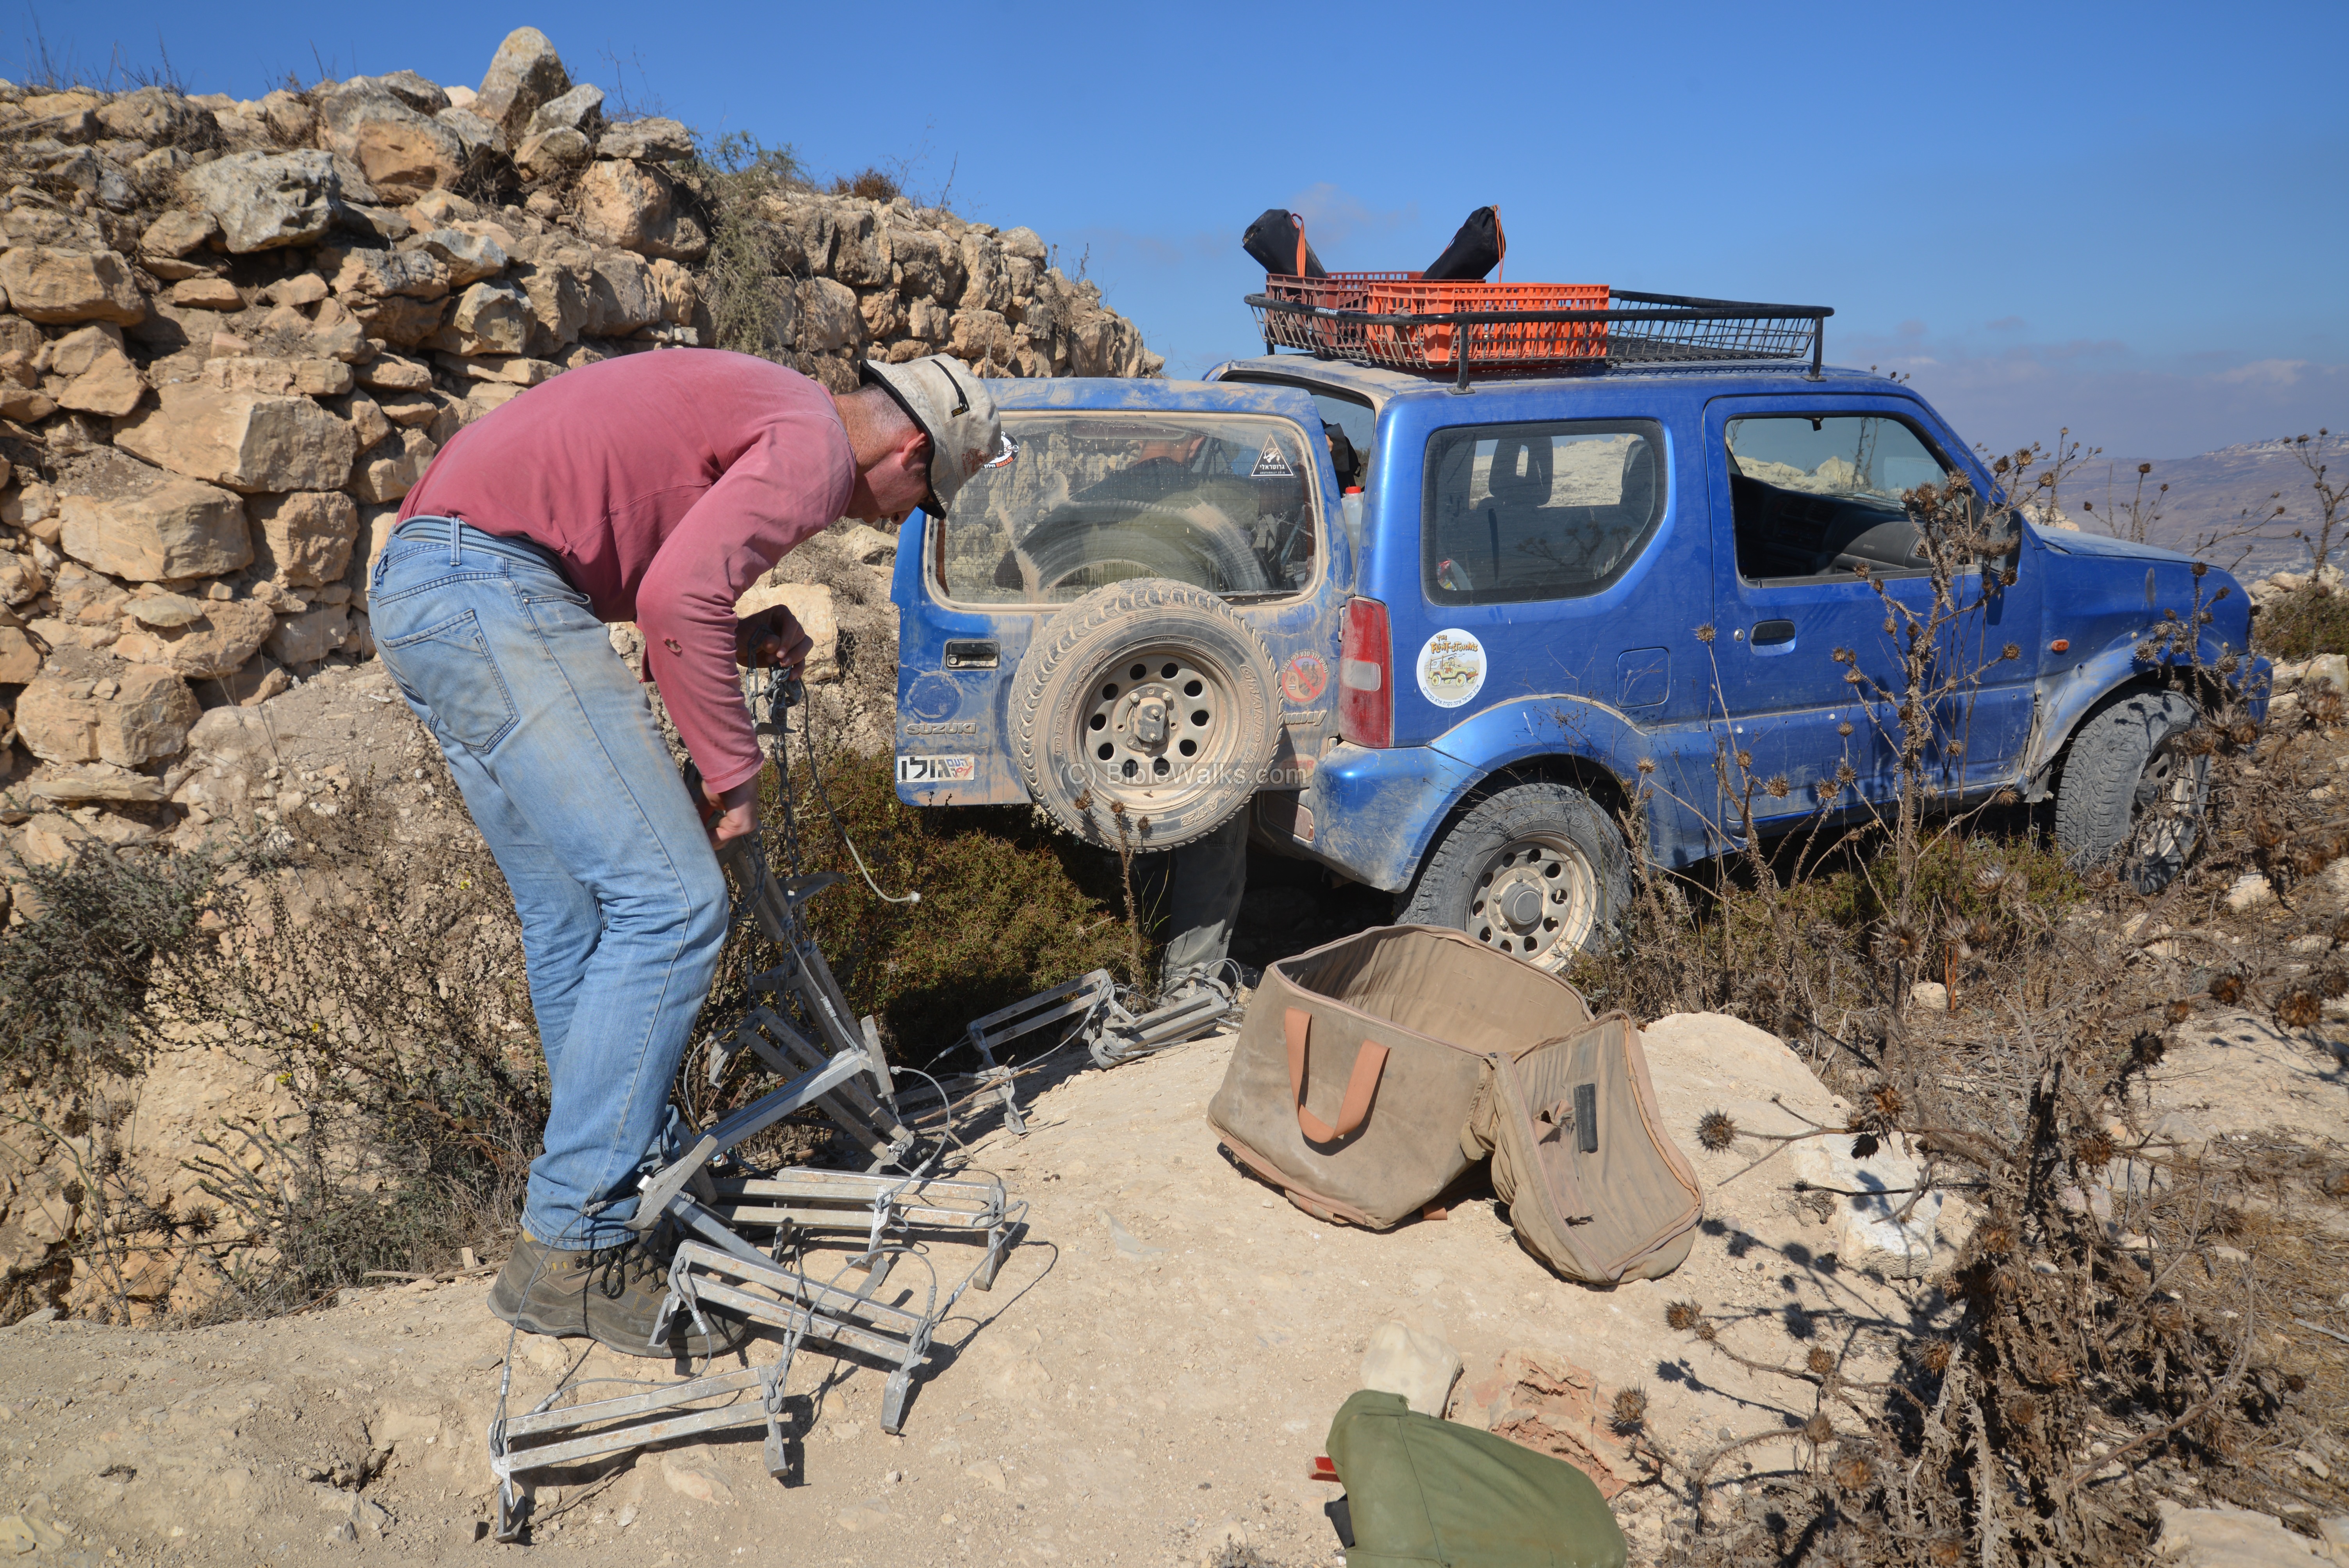
Dvir, together with the Jeep driver Joshua Carmel, lowered a ladder into cistern #3, connecting it to the rear of the Jeep.

Both of them lowered themselves down into the 12m deep cistern.
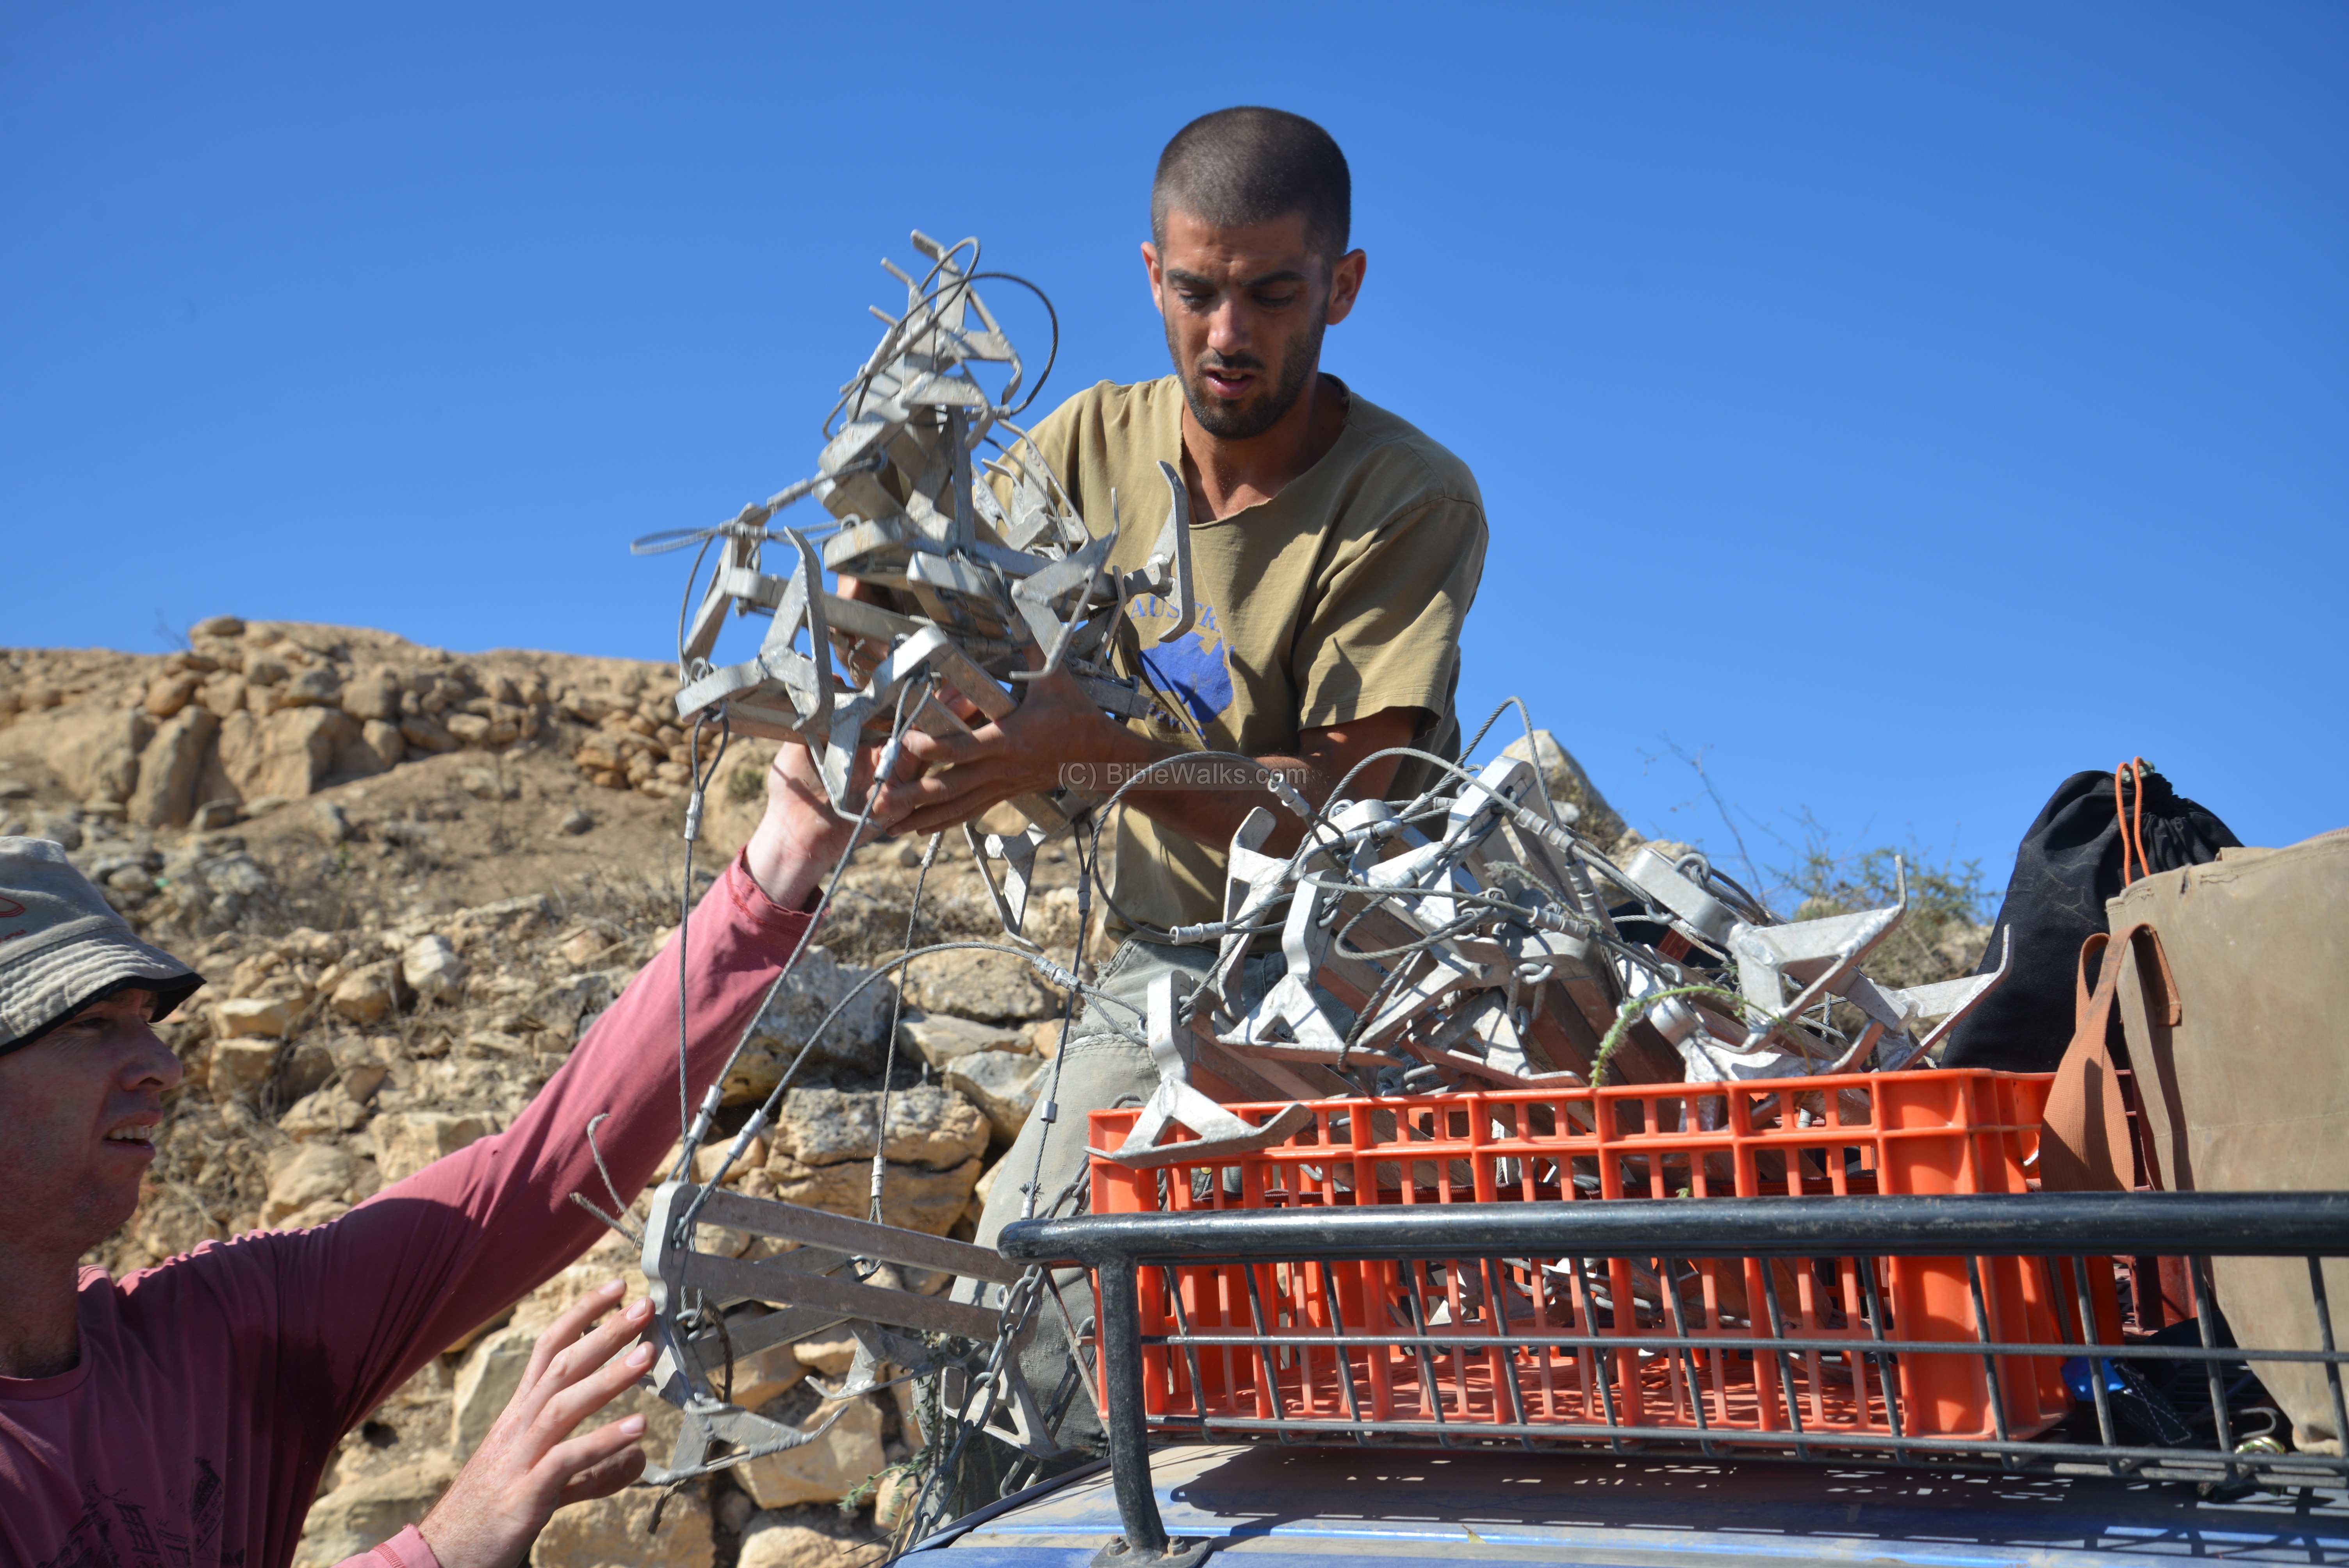
After packing up the ladder, we completed this amazing tour of the cisterns and the fortress.
(h) Panoramic views
A Panoramic view, as seen from the west side of Tel Arumah, is shown in the following picture. If you press on it, a panoramic viewer will pop up. Using this flash-based panoramic viewer, you can move around and zoom in and out, and view the site in the amazing full screen mode (like you are really there). Hotspots are indicated on the view, indicating the major points of interest.

To open the viewer, simply click on the photo above. Note that it may take minutes to upload, but then its worth the waiting time.
Etymology (behind the name):
* Names of the place:
- Arumah – mentioned in the Bible as Abimelech’s residency (Judges 9: 41): “And Abimelech dwelt at Arumah…”. The name may have been based on the root word Ram (high) or Rom (height), and so it may mean “lofty” (of imposing height).
- el Ormeh – Arabic name of the site, which preserved the name. The PEF dictionary translated it to “the dam”.
Links and References:
* External:
- Looting in the west bank Adel H. Yahya (2010)
- Water cisterns of Arumah Zissu & Dvir (2011)
- Jeeps in Samaria – Joshua Carmel (yehoshua072@gmail.com)
- The Arumah Fortress (Khirbet al-‘Urma): A Fortified Site from the Second Temple Period in Eastern Samaria (Dvir Raviv, Boaz Zissu; IEJ V69, 2019)
* Biblewalks sites:
- Drone Aerial views – collection of Biblical sites from the air
BibleWalks.com – exploring Ephraim
Allon Road <<<—previous Samaria site—<<<All Sites>>>—next Samaria site—>>> Tibneh
This page was last updated on Nov 24, 2019
Sponsored links: